Customer Action Flows
Log a Call
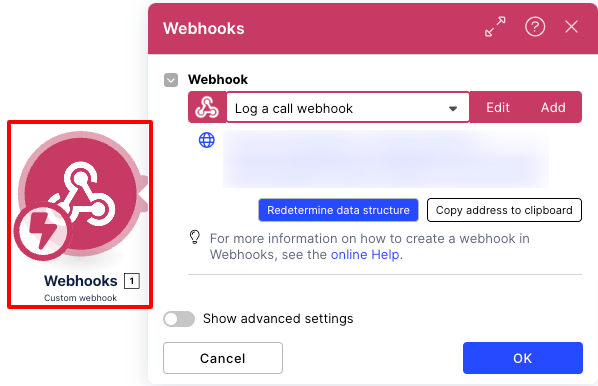
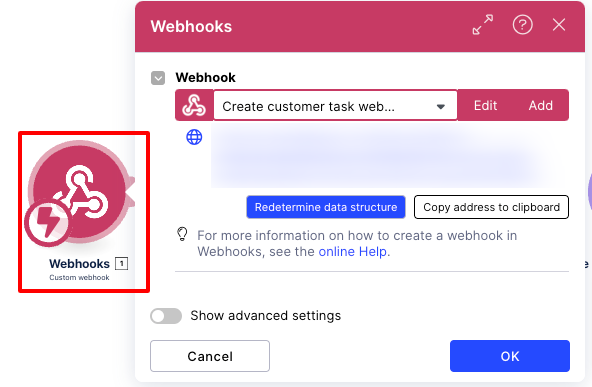
Step 1: Add Webhooks (1):
Step 2: Set variable (11):
Click on Set variable (11).

Enter the Team domain name in the item 1 field.
Enter the env name in the item 2 field.
Enter the App key in the item 3 field.
Enter the update account augmented URL in the item 4 field (Open update account augmented action flow, copy webhooks URL and paste).
Enter the write account activity URL in the item 5 field (Open write account activity action flow, copy webhooks URL and paste).
Click the OK button.
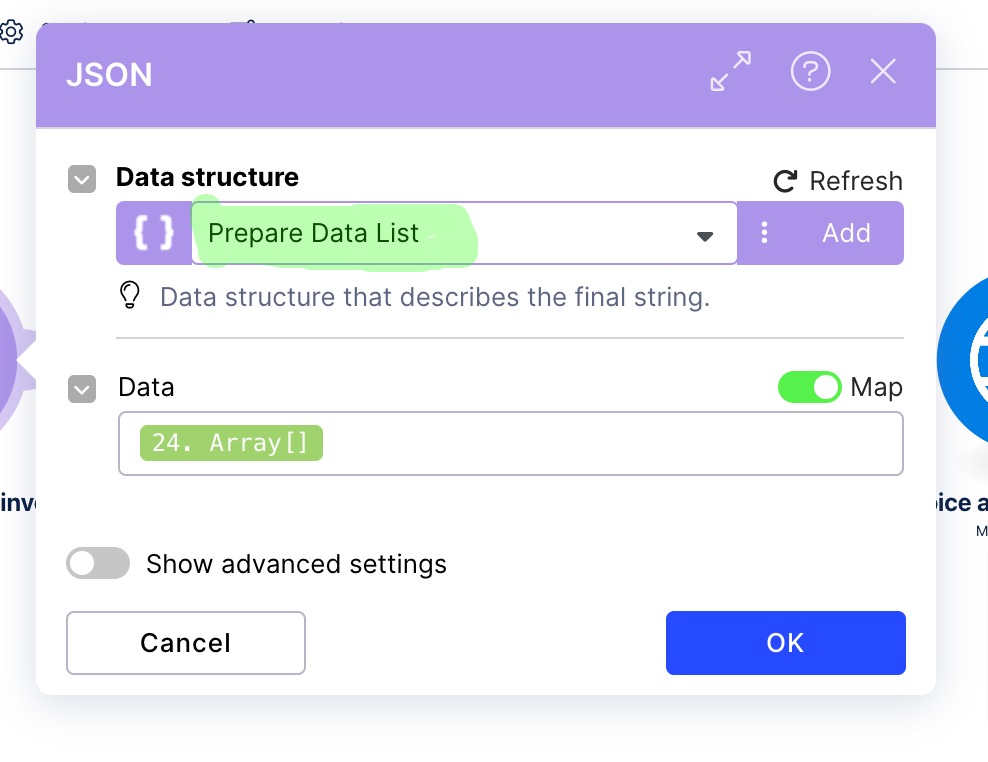
Step 3: Prepare data list (12):
Click on Prepare data list (12).
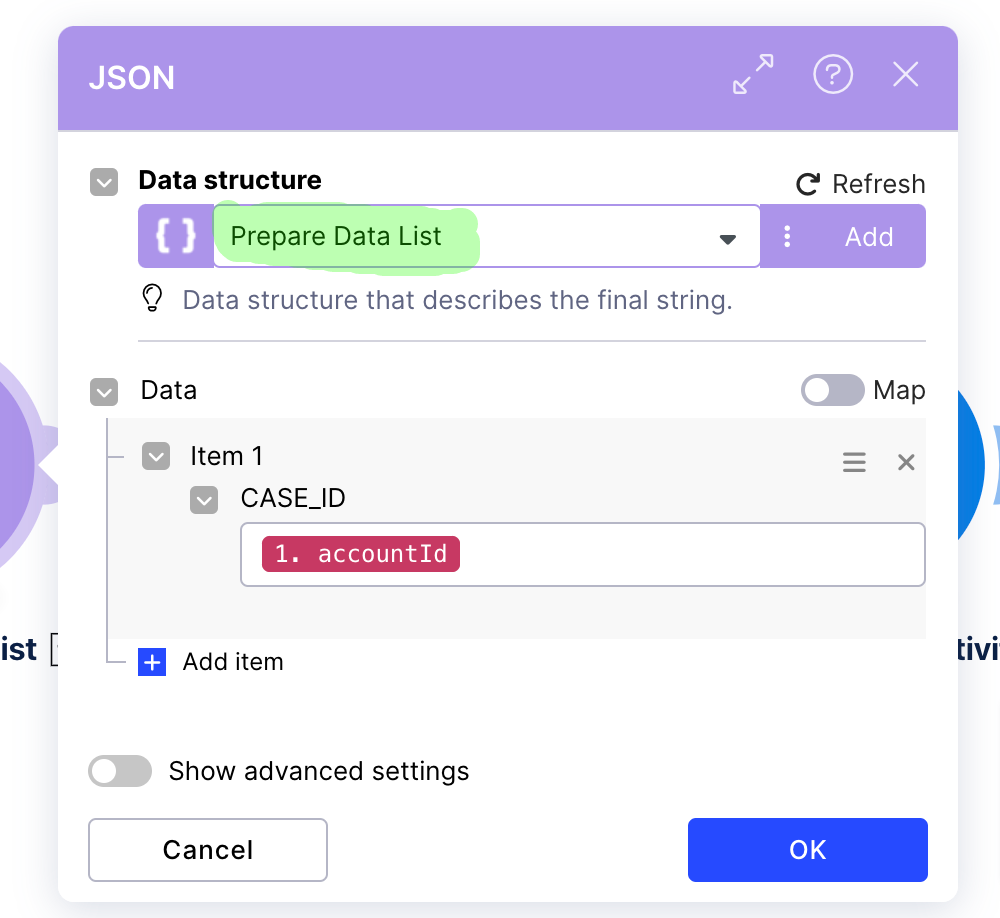
Select “Prepare Data List” in the Data structure field.
Click the OK button.
Step 4: Prepare HTTP body for account (13):
Click on Prepare HTTP body for account (13).
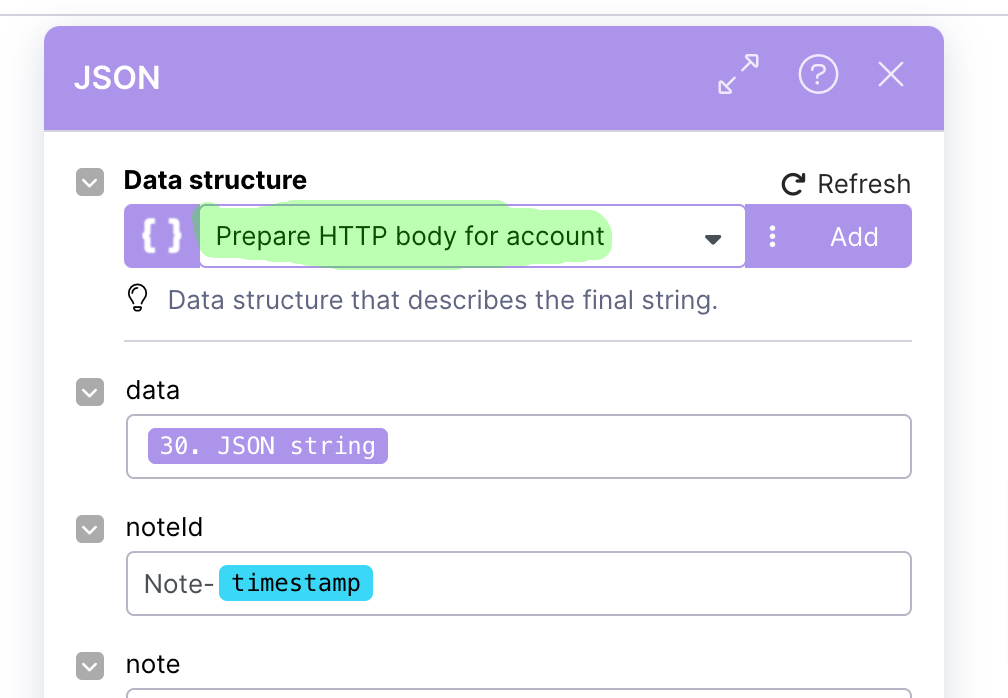
Select “Prepare HTTP body for account” in the Data structure field.
Click the OK button.
Step 5: Create Follow Up Task (9):
Click on Create Follow Up Task (9).
Select the Connection.
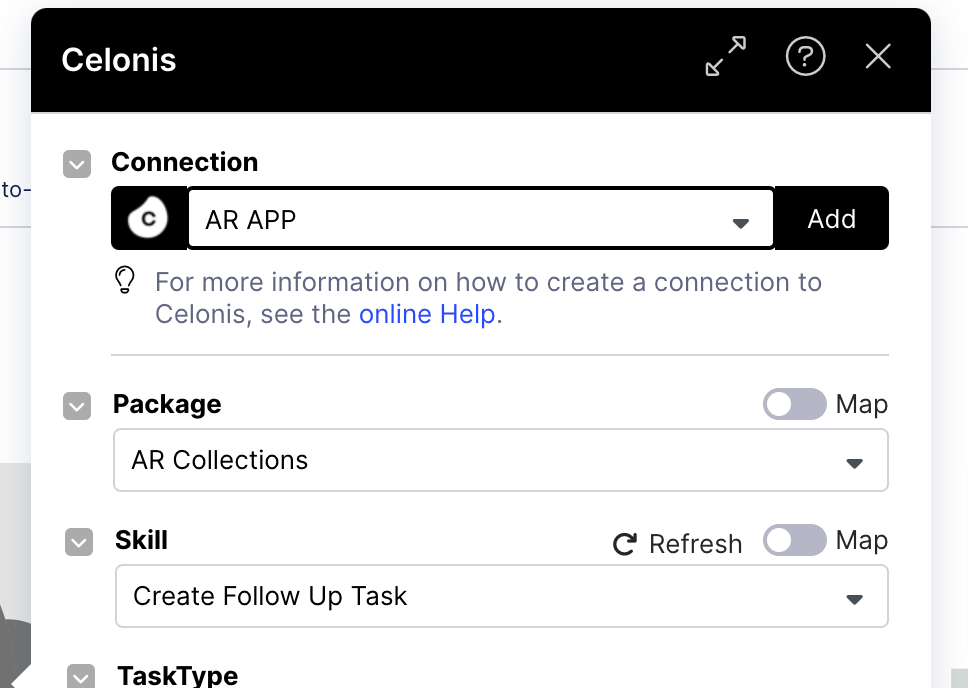
Select a Package.
Select “Create Follow Up Task” in the Skill field.
Click the OK button.
Step 6: Save the action flow.
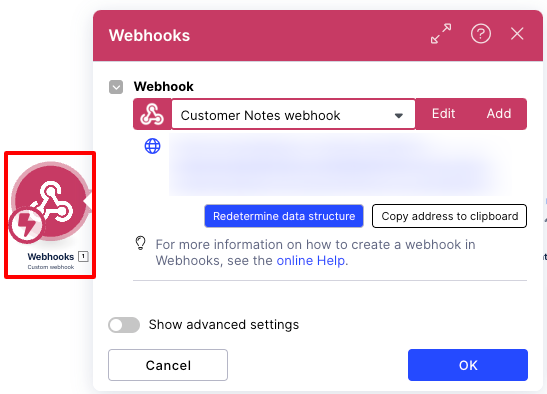
Customer Notes:
Step 1: Add Webhooks (1):
Step 2: Set variable (9):
Click on Set variable (9).
Enter the Team domain name in the item 1 field.
Enter the env name in the item 2 field.
Enter the App key in the item 3 field.
Enter the update account augmented URL in the item 4 field (Open update account augmented action flow, copy webhooks URL and paste).
Enter the write account activity URL in the item 5 field (Open write account activity action flow, copy webhooks URL and paste).
Click the OK button.
Step 3: Prepare data list (10):
Click on Prepare data list (10).
Select “Prepare Data List” in the Data structure field.
Click the OK button.
Step 4: Prepare HTTP body for account (11):
Click on Prepare HTTP body for account (11).
Select “Prepare HTTP body for account” in the Data structure field.
Click the OK button.
Step 5: Save the action flow.
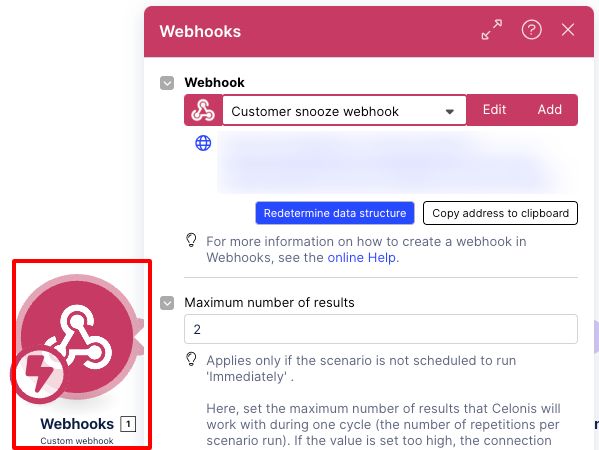
Customer Snooze:
Step 1: Add Webhooks (1):
Step 2: Set variable (22):
Click on Set variable (22).
Enter the Team domain name in the item 1 field.
Enter the env name in the item 2 field.
Enter the App key in the item 3 field.
Enter update account augmented URL in the item 4 field (Open update account augmented action flow, copy webhooks URL and paste).
Enter the write account activity URL in the item 5 field (Open write account activity action flow, copy webhooks URL and paste).
Enter the AF key.
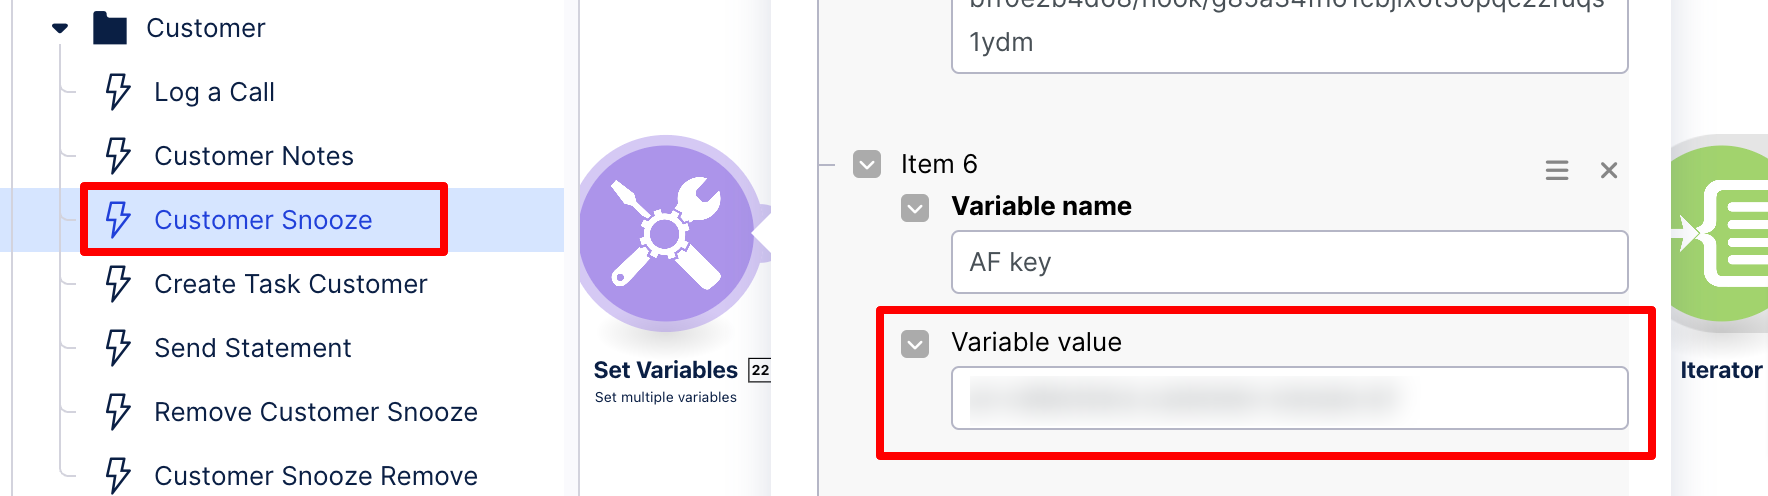
Enter the KM key.
Click the OK button.
Step 3: JSON for update augmented (23):
Click on JSON for update augmented (23).
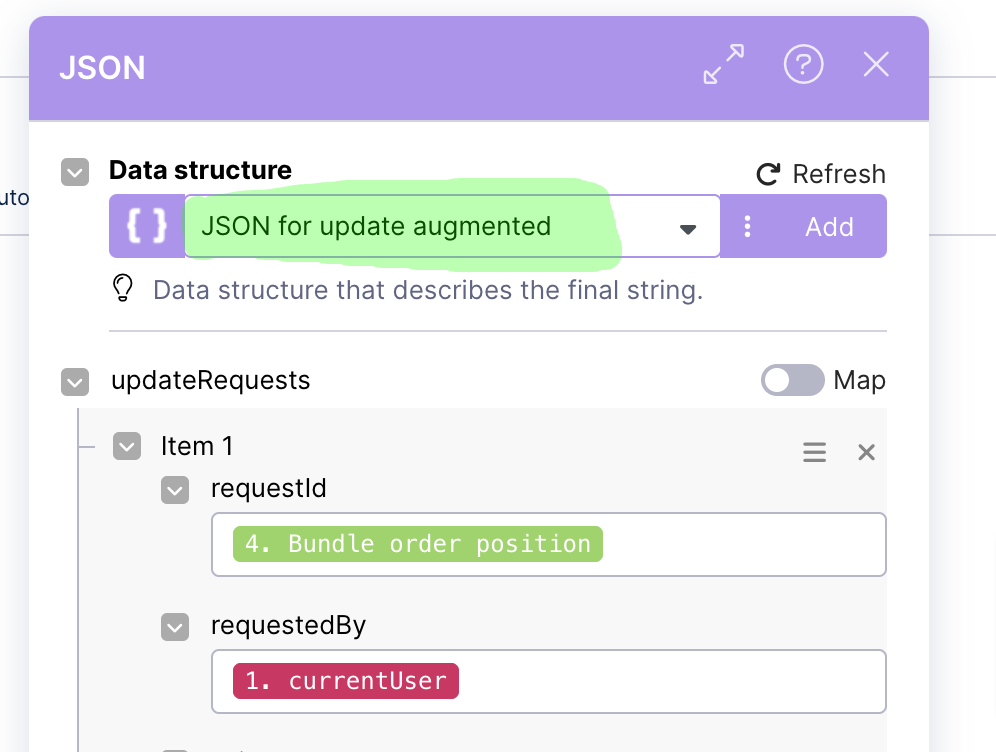
Select “JSON for update augmented” in the Data structure field.
Click the OK button.
Step 4: Prepare data list (27):
Click on the Prepare data list (27).
Select “Prepare Data List” in the Data structure field.
Click the OK button.
Step 5: Prepare HTTP body for account (28):
Step 5: Save the action flow.
Click on Prepare HTTP body for account (28).
Select “Prepare HTTP body for account” in the Data structure field.
Click the OK button.
Create Task Customer:
Step 1: Add Webhooks (1):
Step 2: Set variable (5):
Click on Set variable (5).
Enter the Team domain name in the item 1 field.
Enter the env name in the item 2 field.
Enter the App key in the item 3 field.
Enter the update account augmented URL in the item 4 field (Open update account augmented action flow, copy webhooks URL and paste).
Enter the write account activity URL in the item 5 field (Open write account activity action flow, copy webhooks URL and paste).
Click the OK button.
Step 3: Prepare data list for account (6):
Click on Prepare data list for account (6).
Select “Prepare Data List” in the Data structure field.
Click the OK button.
Step 4: Prepare HTTP body for account (7):
Click on Prepare HTTP body for account (7).
Select “Prepare HTTP body for account” in the Data structure field.
Click the OK button.
Step 5: Create Follow Up Task (2):
Click on Create Follow Up Task (2).
Select a Connection.
Select the Package.
Select “Create Follow Up Task” in the Skill field.
Click the OK button.
Step 6: Save the action flow.
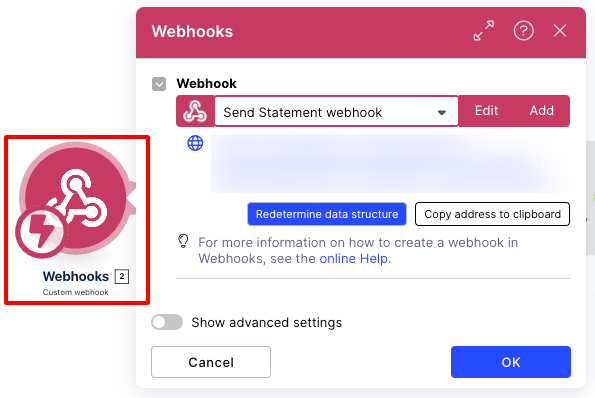
Send Statement:
Step 1: Add Webhooks (1):
Step 2: Set variables (33):
Click on Set variables (33).
Enter the Team domain name in the item 1 field.
Enter the env name in the item 2 field.
Enter the App key in the item 3 field.
Enter the update account augmented URL in the item 4 field (Open update account augmented attribute action flow, copy webhooks URL and paste).
Enter the write account activity URL in the item 5 field (Open write account activity action flow, copy webhooks URL and paste).
Enter the update invoice augmented URL in the item 6 field (Open update invoice augmented action flow, copy webhooks URL and paste).
Enter the write invoice activity URL in the item 7 field (Open write invoice activity action flow, copy webhooks URL and paste).
Click the OK button.
Step 3: Prepare data list for invoice (34):
Click on Prepare data list for invoice (34).
Select “Prepare Data List” in the Data structure field.
Click the OK button.
Step 4: Prepare HTTP body for invoice (35):
Click on Prepare HTTP body for invoice (35).
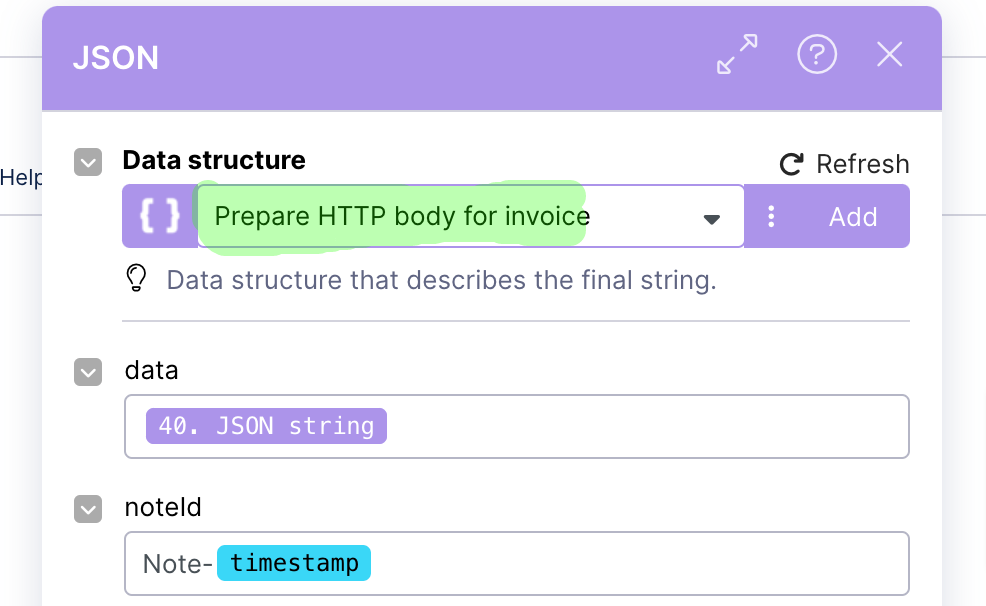
Select “Prepare HTTP body for invoice” in the Data structure field.
Click the OK button.
Step 5: Prepare data list for account (41):
Click on Prepare data list for account (41).
Select “Prepare Data List” in the Data structure field.
Click the OK button.
Step 6: Prepare HTTP body for account (42):
Click on Prepare HTTP body for account (42).
Select “Prepare HTTP body for account” in the Data structure field.
Click the OK button.
Step 7: Tools (6):
Click on Tools (6).
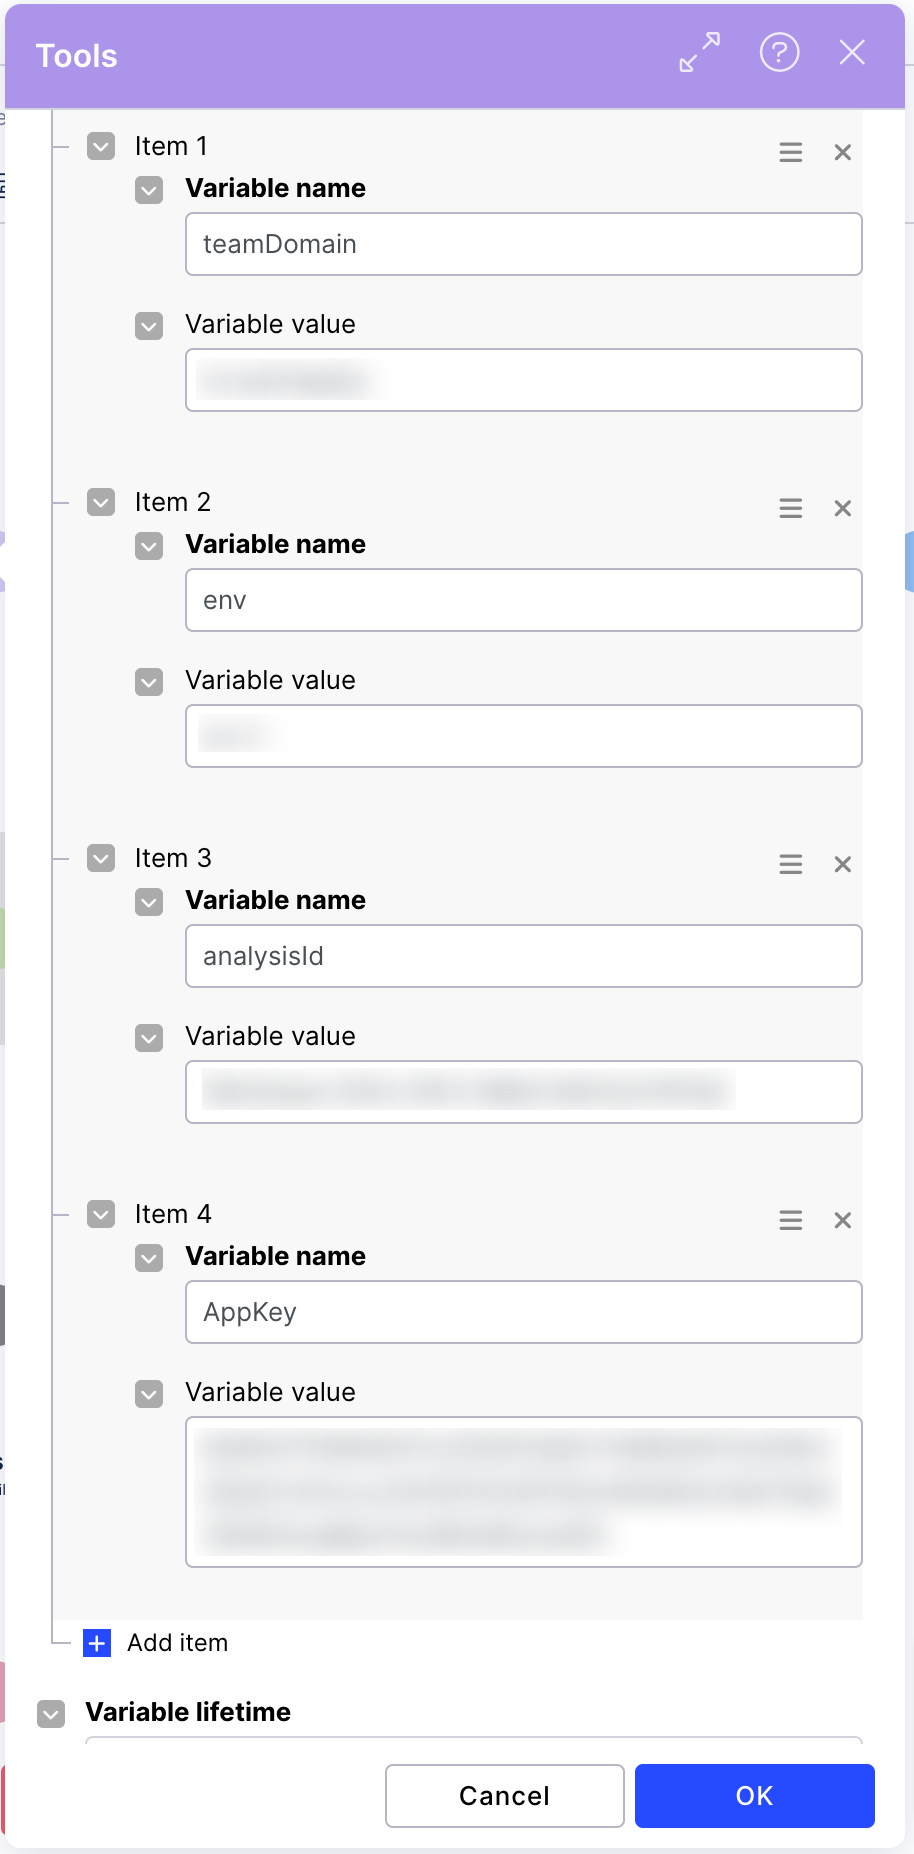
Enter the Team domain name in the item 1 field.
Enter the env name in the item 2 field.
Enter the analysisID in the item 3 field.
Enter the App key in the item 4 field.
Click the OK button.
Step 8: JSON (7):
Click on JSON (7).

Enter the name (send statement excel) in the udts.name field.
Click the Generate button.
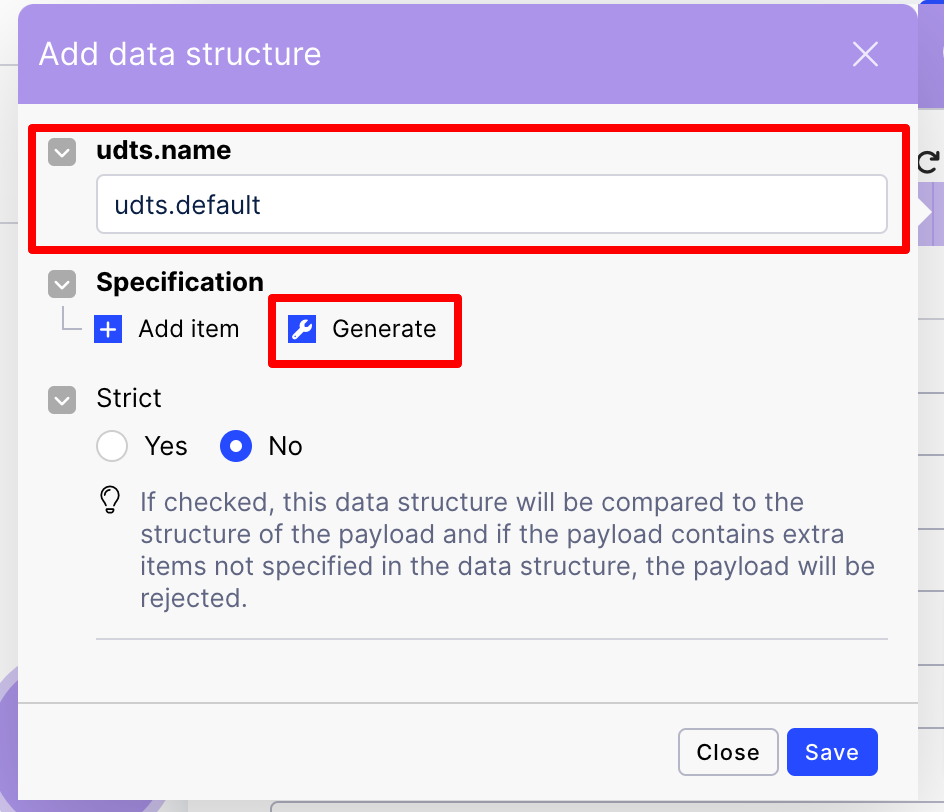
Enter the Json statement below in the datastores.generator.sample_data field.
Note
Select “number” for computationId and select “boolean” for isTransient.
{
"exportType": "EXCEL",
"dataCommandRequest": {
"request": {
"commands": [{
"computationId":
0,
"isTransient":
false,
"queries": [""]
}],
"cubeId": ""
},
"variables": [{
"name": "",
"type": "",
"value": ""
}]
}
}
For more details please refer to Export Excel using Analysis.pdf
Click on the Common.generator button.
Click on the Save button.
Click on the OK button.
Step 9: Send email to customer (with Excel) (11):
Click on Send email to customer (11).
Click the Add button.
Set the Connection type.
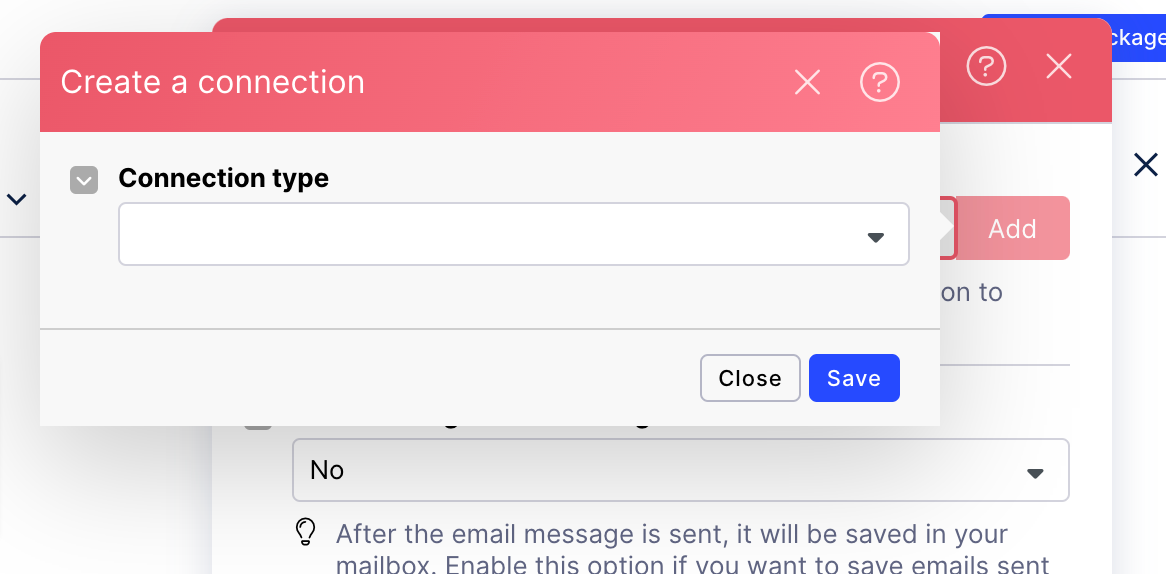
Click the Save button.
Click the OK button.
Step 10: Send email to customer (without Excel) (18):
Click on Send email to customer (18).
Click the Add button.
Set the Connection type.
Click the Save button.
Click the OK button.
Step 11: Create Follow Up Task (14):
Click on Create Follow Up Task (14).
Select the Connection.
Select a Package.
Select “Create Follow Up Task” in the Skill field.
Click the OK button.
Step 12: Save the action flow.
Remove Customer Snooze:
Step 1: Set variable (12):
Click on Set variable (12).
Enter the Team domain name in the item 1 field.
Enter the env name in item 2 field.
Enter the App key in item 3 field.
Enter the write account activity URL in the item 4 field (Open write account activity action flow, copy webhooks URL and paste).
Enter the AF key in item 5 field.
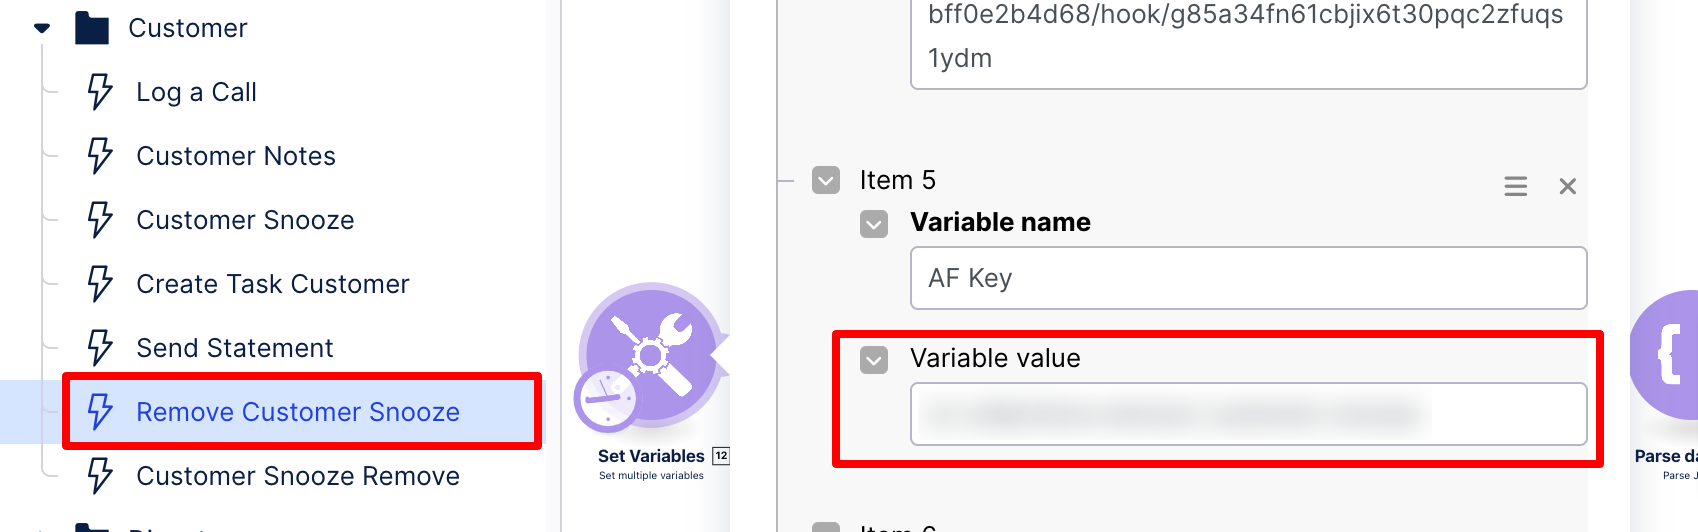
Enter the KM key in the item 6 field.
Click the OK button.
Step 2: Get all accounts with snooze date (1):
Click on Get all accounts with snooze date (1).
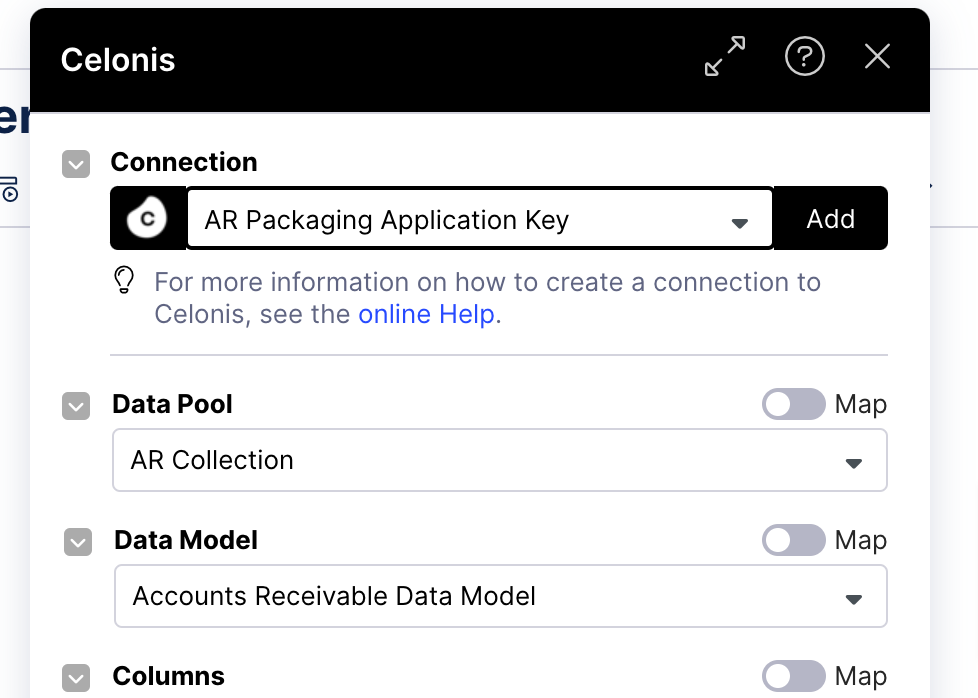
Select the Connection.
Select a data pool.
Select a data model.
Click the OK button.
Step 3: Prepare data list (18):
Click on the Prepare data list (18).
Select “Prepare Data List” in the Data structure field.
Click the OK button.
Step 4: JSON for update augmented (13):
Click on JSON for update augmented (13).
Select “JSON for update augmented” in the Data structure field.
Click the OK button.
Step 5: Prepare HTTP body for account (21):
Click on Prepare HTTP body for account (21).
Select “Prepare HTTP body for account” in the Data structure field.
Click the OK button.
Step 6: Save the action flow.
Customer Snooze Remove:
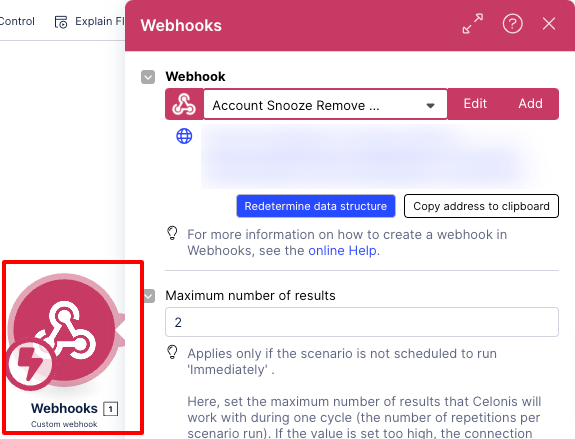
Step 1: Add Webhooks (1):
Step 2: Tools (27):
Click on Tools (27).
Enter the Team domain name in the item 1 field.
Enter the env name in the item 2 field.
Enter the App key in the item 3 field.
Enter the update account augmented URL in the item 4 field (Open update account augmented action flow, copy webhooks URL and paste).
Enter the write account activity URL in the item 5 field (Open write account activity action flow, copy webhooks URL and paste).
Enter the AF key in the item 6 field.
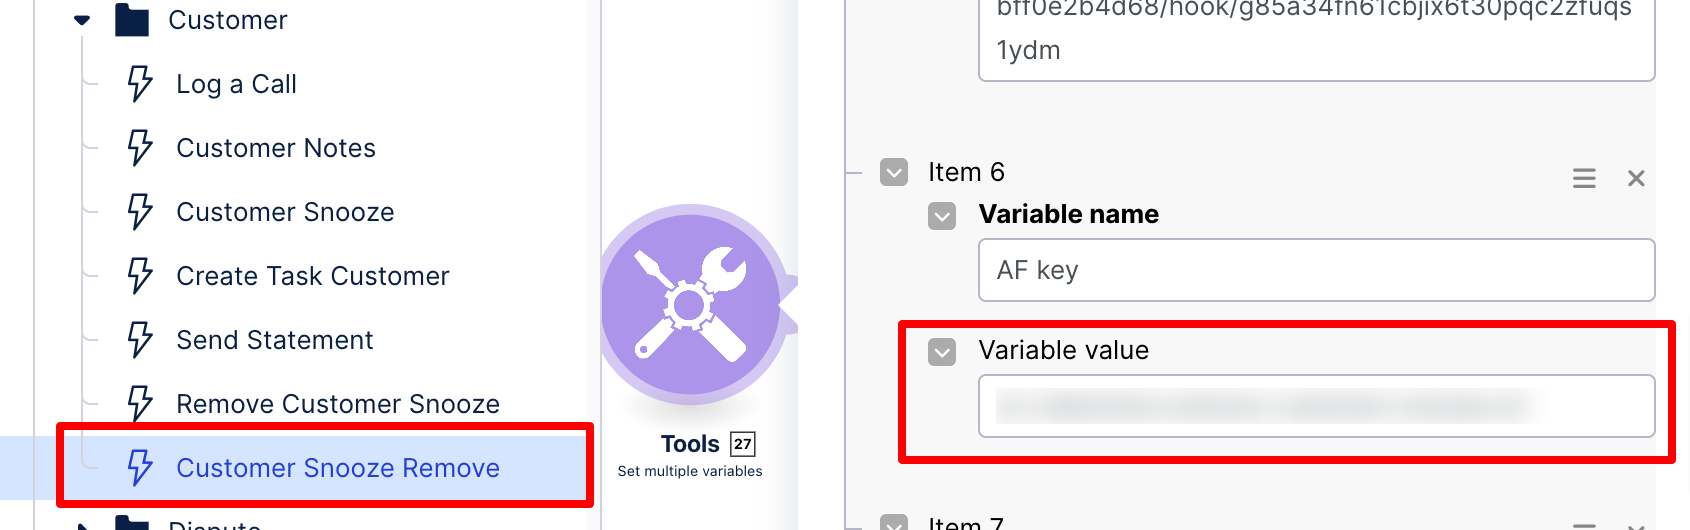
Enter the KM key in the item 7 field.
Click the OK button.
Step 3: JSON (29):
Click on JSON (29).
Select “JSON for update augmented” in the Data structure field.
Click the OK button.
Step 4: JSON (45):
Click on Prepare Data list (18).
Select “Prepare Data List” in the Data structure field.
Click the OK button.
Step 5: Prepare HTTP body (46):
Click on Prepare HTTP body (46).
Select “Prepare HTTP body for account” in the Data structure field.
Click the OK button.
Step 6: Save the action flow.