Dispute Action Flows
Write Dispute Activity:
Step 1: Add Webhooks (1):
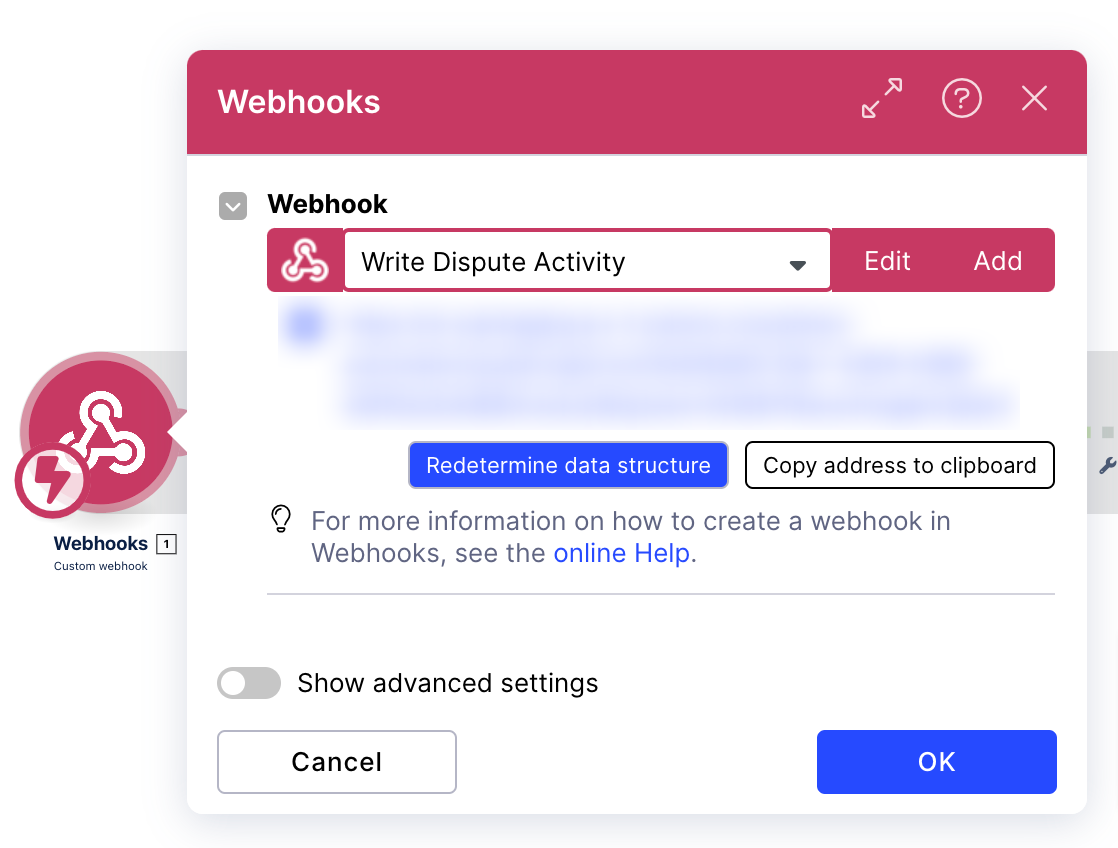
Step 2: CSV (12):
Click on CSV (12).
Click the Add button.
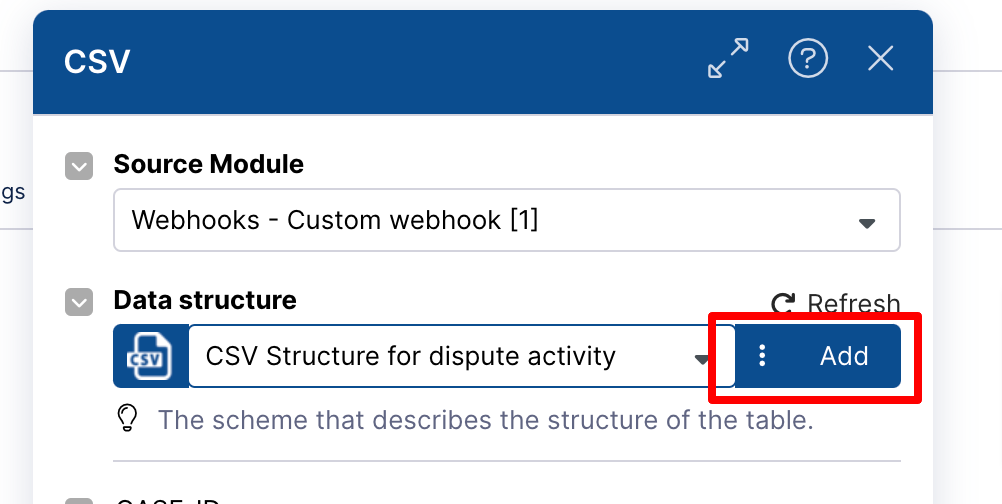
Enter the name (CSV Structure for dispute activity) in the udts.name field.
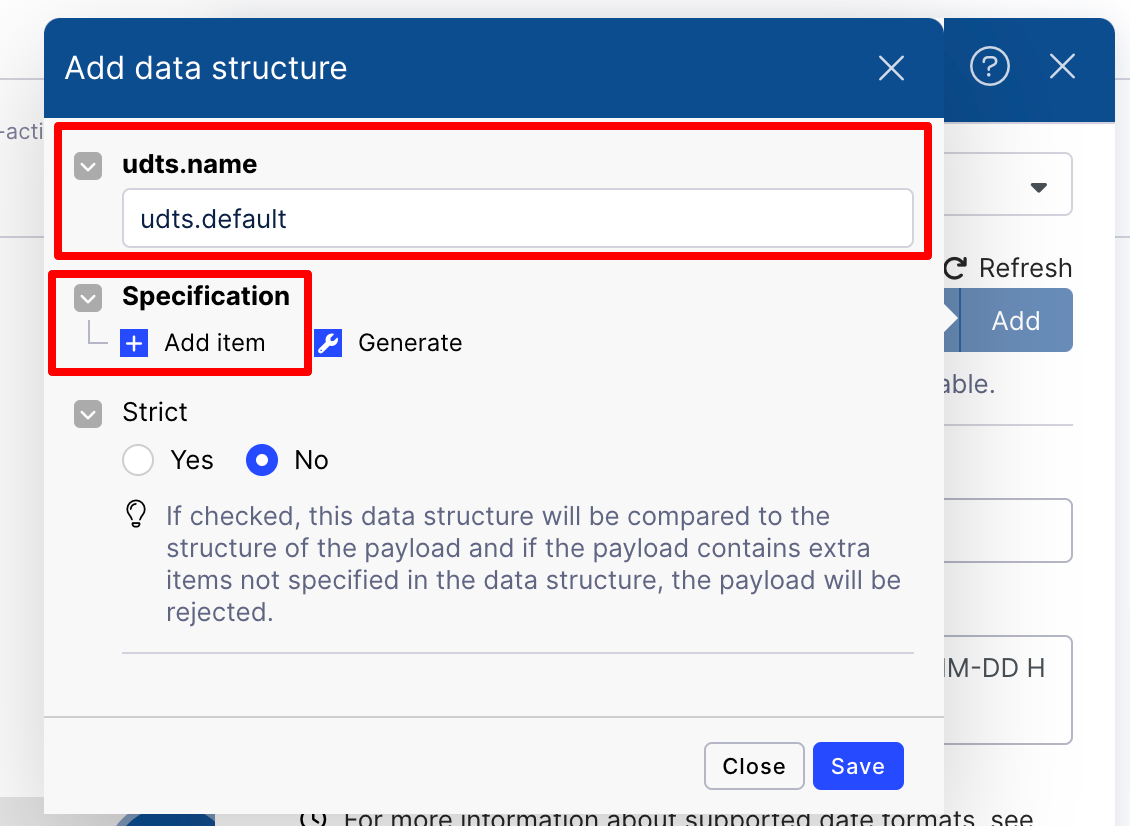
Click the Add item button.
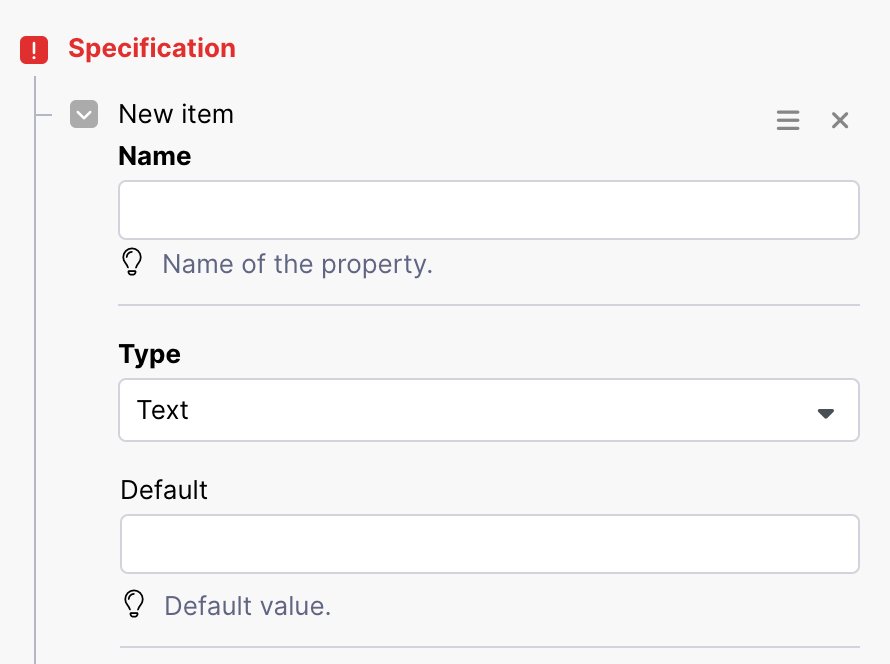
Enter the name from the table below in the Name field and select the corresponding Type.
Note
Add all items in the specification one by one.
Name
Type
CASE_ID
text
ACTIVITY_EN
text
USER_NAME
text
SORTING
Number
EVENTTIME
Date
TRANSACTION_ID
text
Click the Save button.
Click the OK button.
Step 3: Tools (7):
Click on Tools (7).
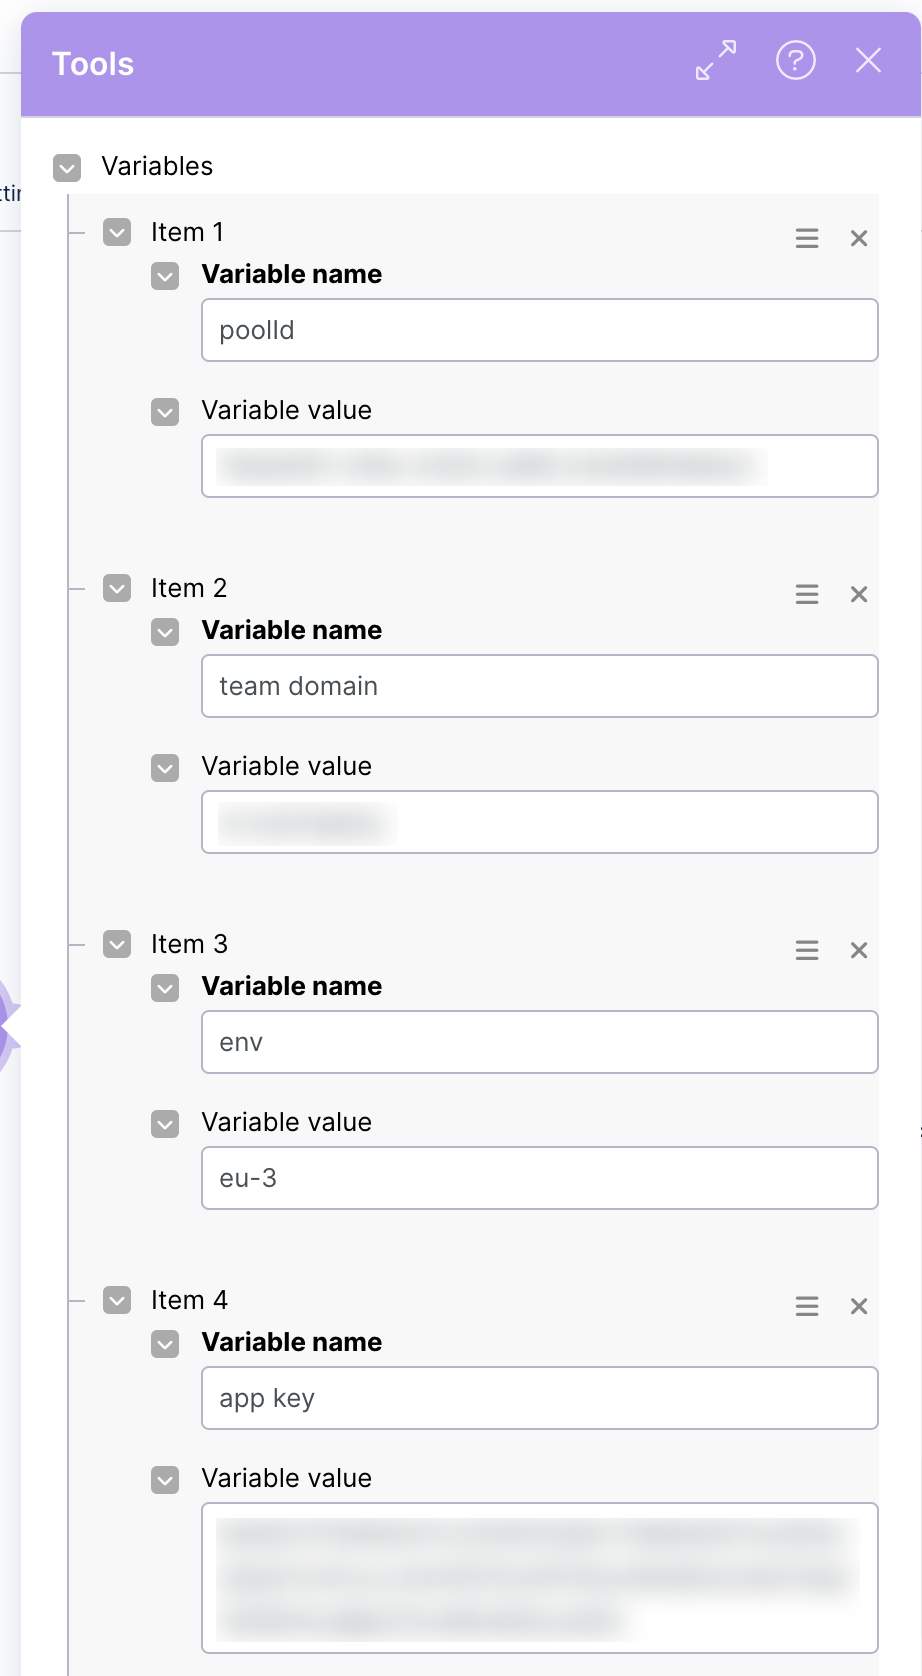
Enter the Poolid in the item 1 field.
Enter the Team domain name in the item 2 field.
Enter the env name in the item 3 field.
Enter the App key in the item 4 field.
Click the OK button.
Step 4: Define Job Setting (13):
Click on Define Job Setting (13).
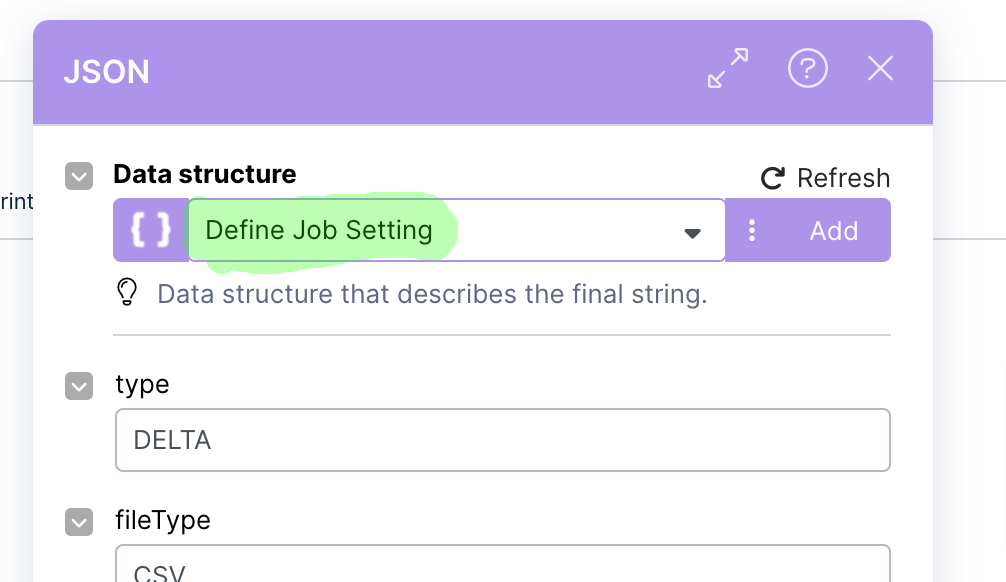
Select “Define Job Setting” in the Data structure field.
Click the OK button.
Step 5: Save the action flow.
Write Dispute Note:
Step 1: Add Webhooks (1):
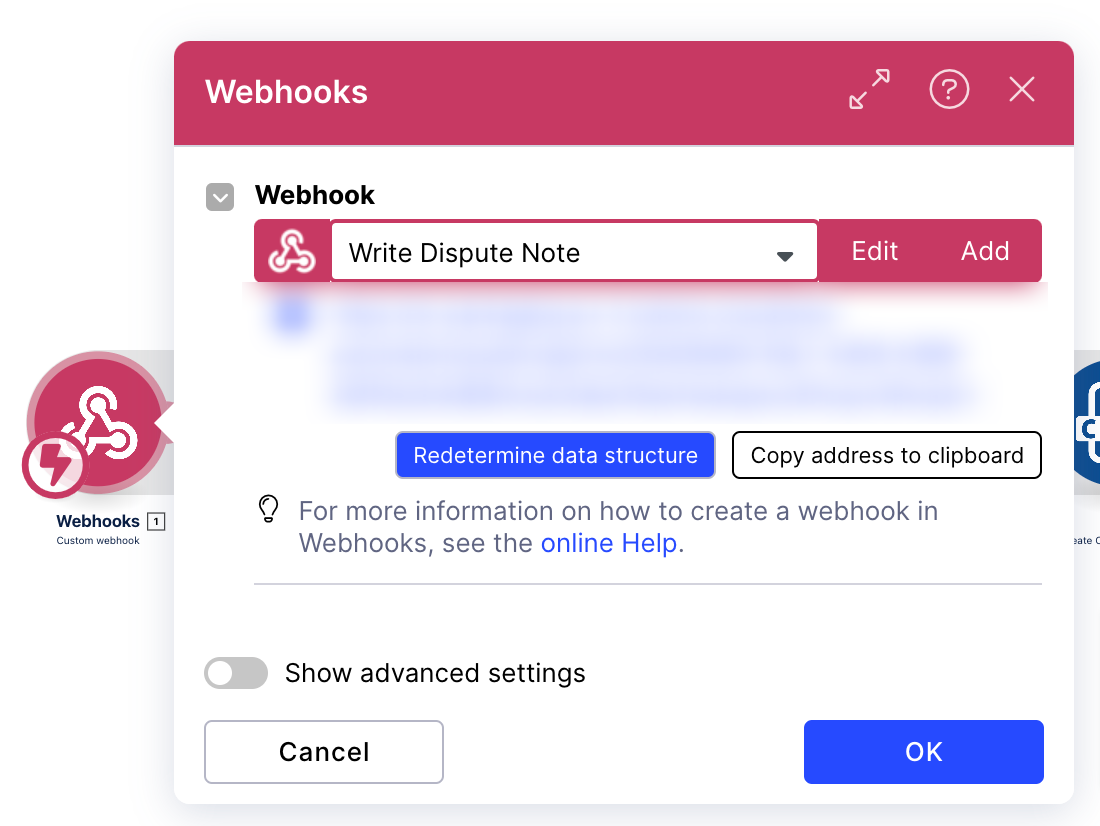
Step 2: CSV (12):
Click on CSV (12).
Click the Add button.
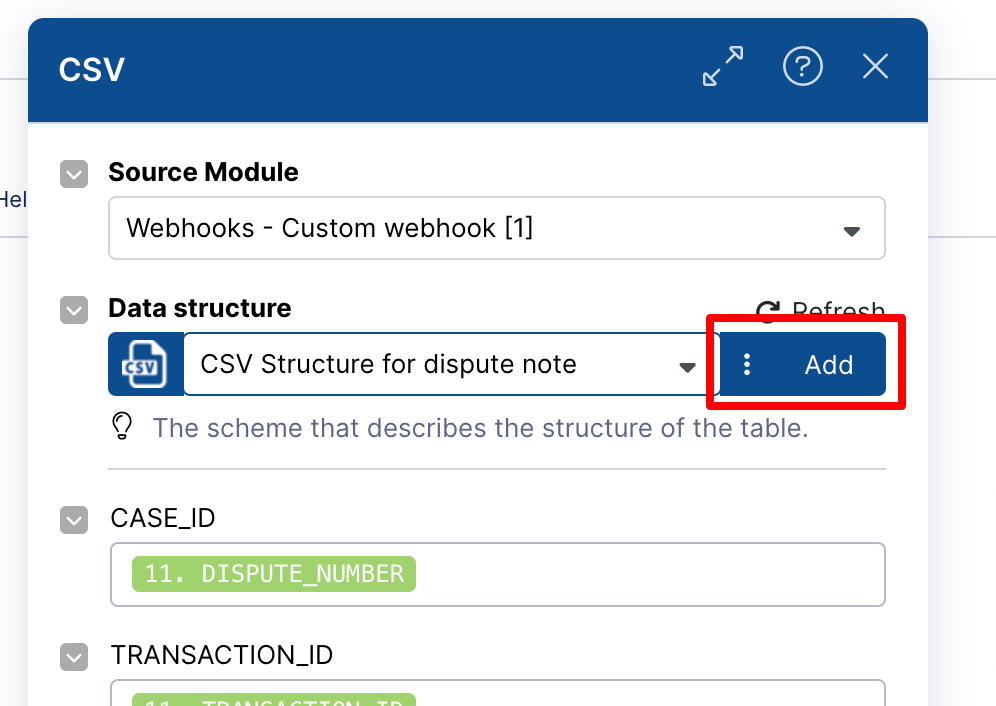
Enter the name (CSV Structure for dispute note) in the udts.name field.

Click the Add item button.

Enter the name from the table below in the Name field and select the corresponding Type.
Note
Add all items in the specification one by one.
Name
Type
CASE_ID
text
TRANSACTION_ID
text
NOTE_ID
text
SORTING
Number
EVENTTIME
Date
NOTE
text
UTILITY
text
CREATED_BY
text
Click the Save button.
Click the OK button.
Step 3: Set Variables (7):
Click on Set Variables (7).

Enter the Poolid in the item 1 field.
Enter the Team domain name in the item 2 field.
Enter the env name in the item 3 field.
Enter the App key in the item 4 field.
Click the OK button.
Step 4: Define Job Setting (13):
Click on Define Job Setting (13).

Select “Define Job Setting” in the Data structure field.
Click the OK button.
Step 5: Save the action flow.
Write Transaction Dispute:
Step 1: Add Webhooks (1):
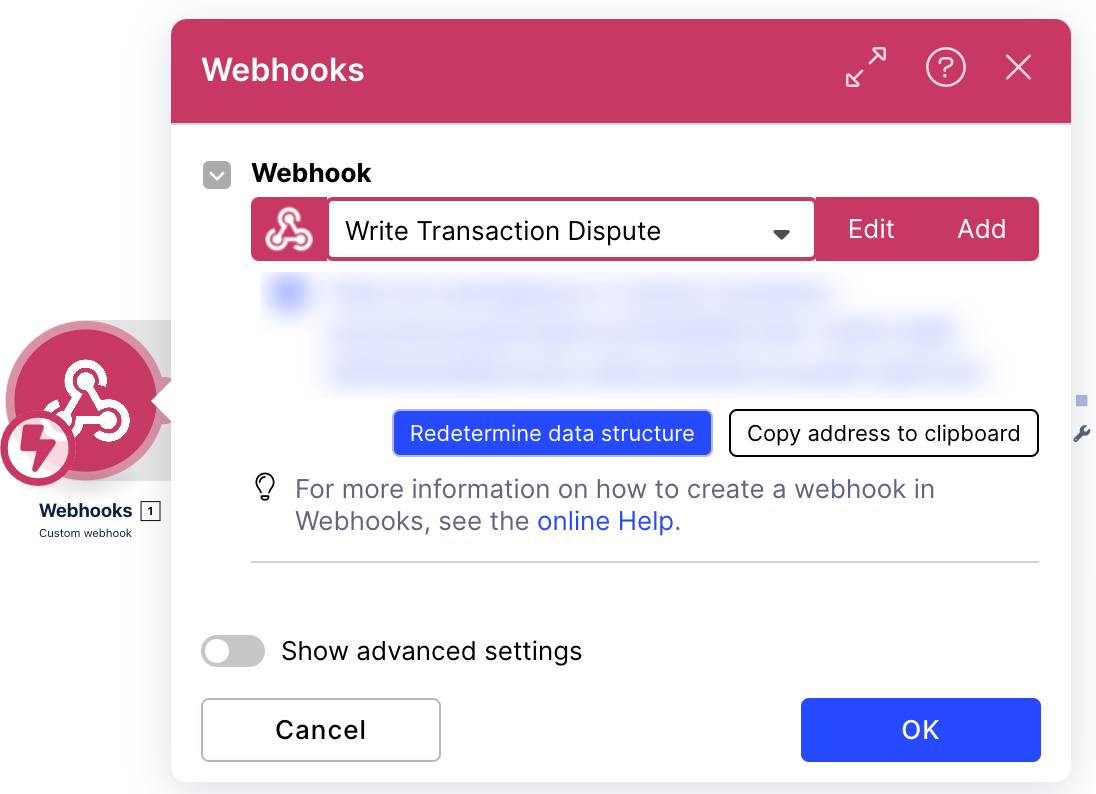
Step 2: CSV (12):
Click on CSV (12).
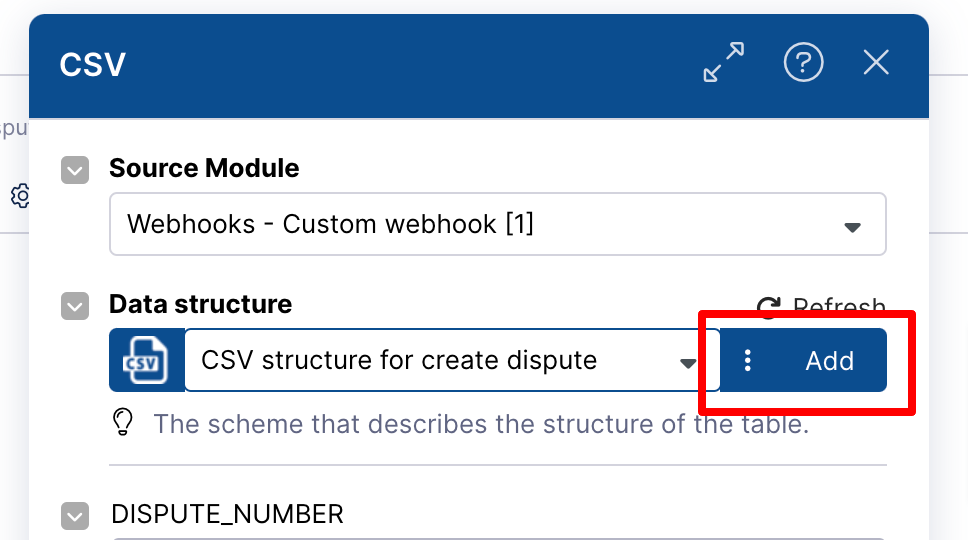
Click the Add button.
Enter the name (CSV structure for create dispute) in the udts.name field.

Click the Add item button.

Enter the name from the table below in the Name field and select the corresponding Type.
Note
Add all items in the specification one by one.
Name
Type
DISPUTE_NUMBER
text
TRANSACTION_ID
text
ACCOUNT_ID
text
AMOUNT
Number
OWNER
text
DISPUTE_RESOLVER
text
STATUS
text
CREATED_DATE
Date
CREATED_BY
text
TYPE
text
REASON_CODE
text
Click the Save button.
Click the OK button.
Step 3: Tools (7):
Click on Tools (7).

Enter the Poolid in the item 1 field.
Enter the Team domain name in the item 2 field.
Enter the env name in the item 3 field.
Enter the App key in the item 4 field.
Click the OK button.
Step 4: Define Job Setting (13):
Click on Define Job Setting (13).

Select “Define Job Setting” in the Data structure field.
Click the OK button.
Step 5: Save the action flow.
Close Open Dispute When Invoice Close:
Step 1: Tools (1):
Click on Tools (1).
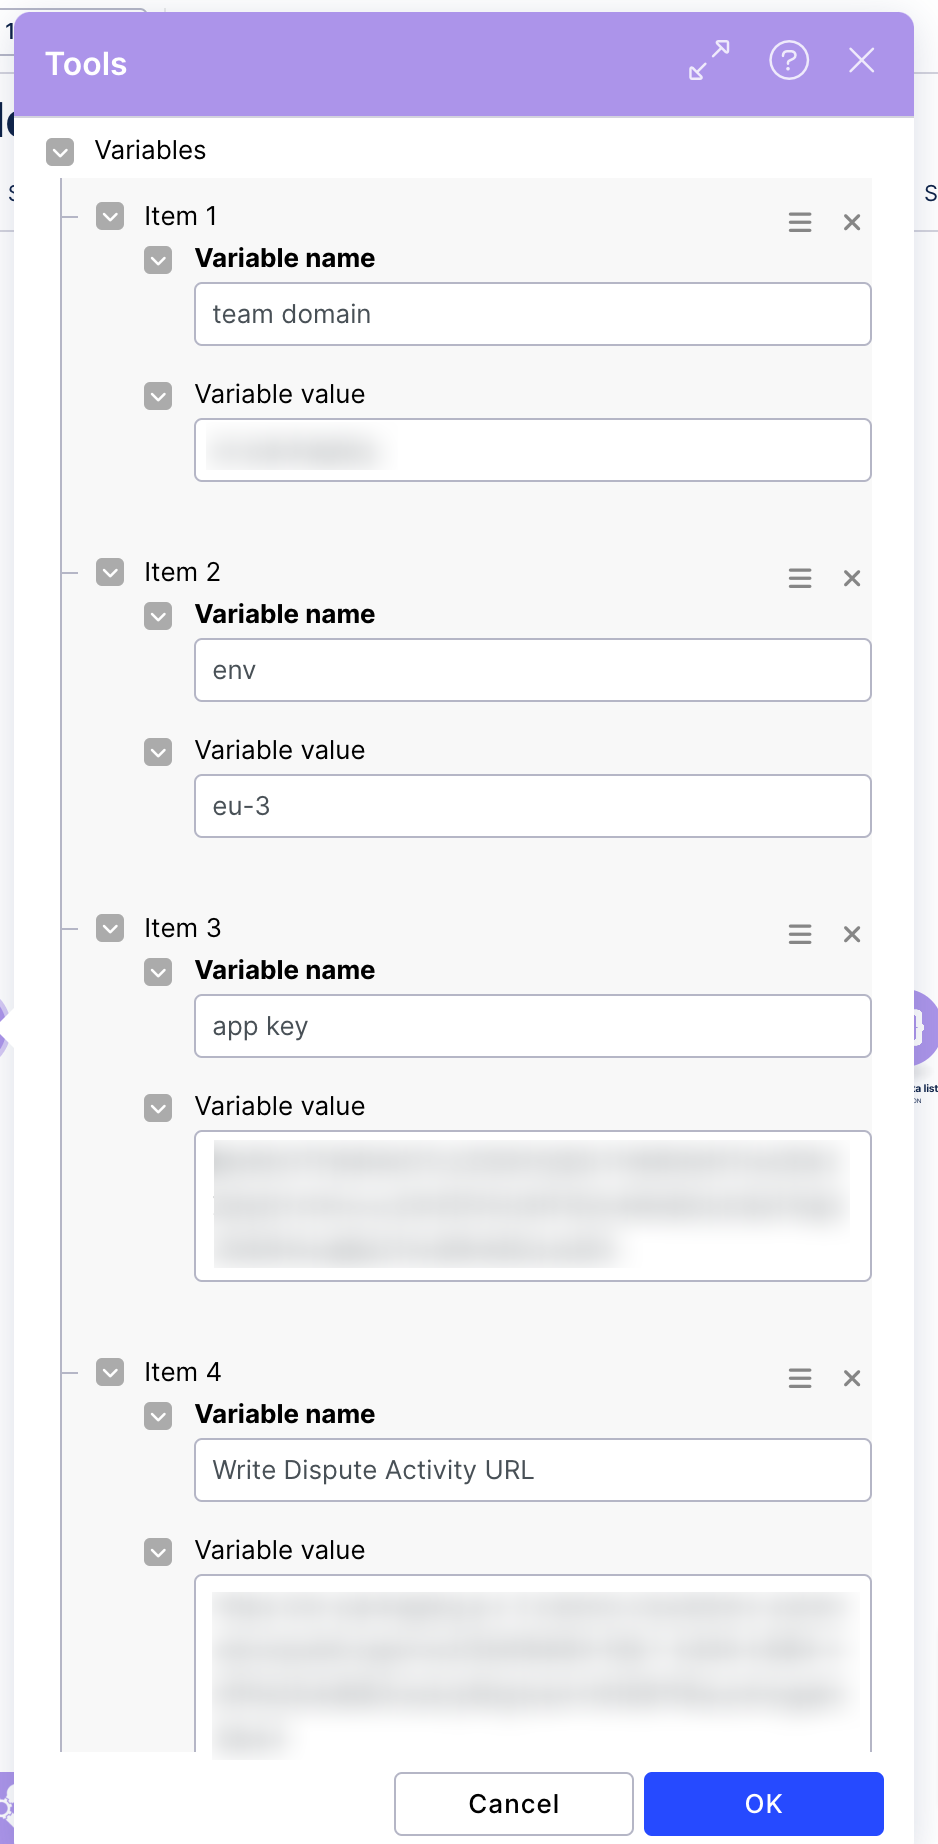
Enter the Team domain name in the item 1 field.
Enter the env name in the item 2 field.
Enter the App key in the item 3 field.
Enter the Write Dispute Activity URL in the item 4 field. (Open Write Dispute Activity action flow, copy webhooks URL and paste).
Enter the AF key in the item 5 field.

Enter the KM key in the item 6 field.
Click the OK button.
Step 2: Get Transaction (2):
Click on Get Transaction (2).
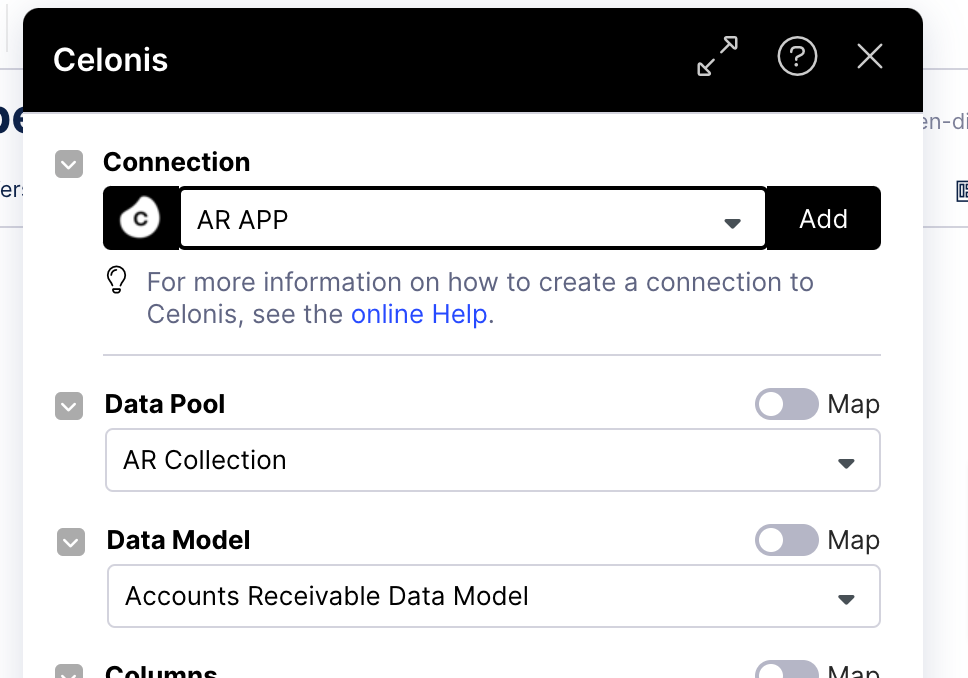
Select the Connection.
Select a data pool.
Select a data model.
Click the OK button.
Step 3: Get Dispute (6):
Click on Get Dispute (6).

Select the Connection.
Select a data pool.
Select a data model.
Click the OK button.
Step 4: Prepare Data List (13):
Click on Prepare Data List (13).
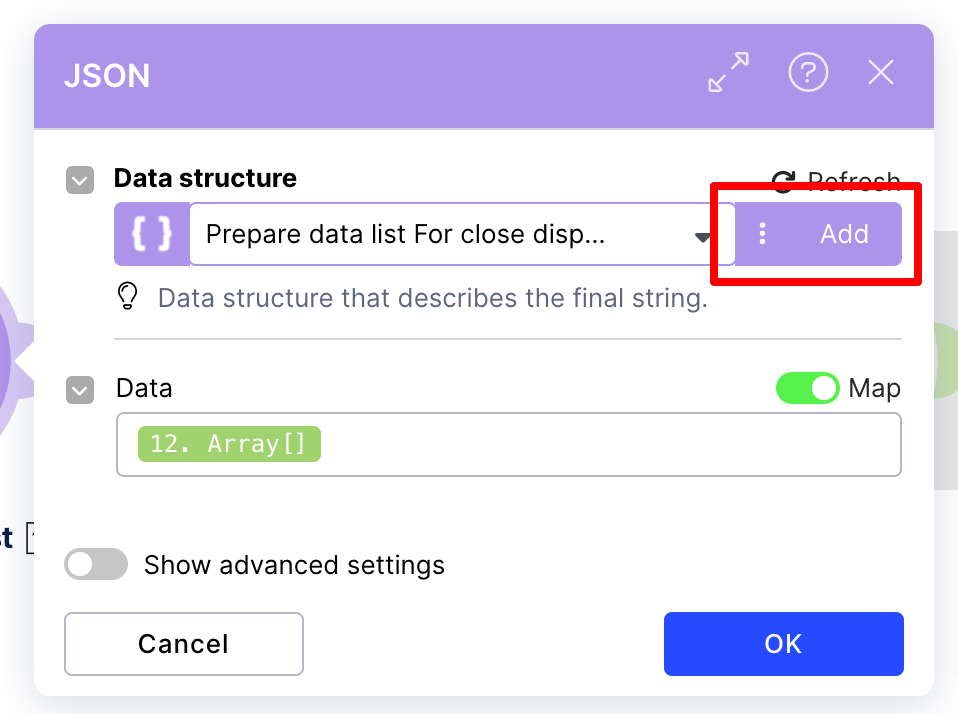
Click the Add button.
Enter the name (Prepare data list For close dispute) in the udts.name field.

Click the Add item button.

Enter the name from the table below in the Name field and select the corresponding Type.
Note
Add all items in the specification one by one.
Name
Type
Data
Array(Select collection)
Name
Type
Dispute_Id
text
Transaction_Id
text
Click the Save button.
Click the OK button.
Step 5: JSON (7):
Click on JSON (7).
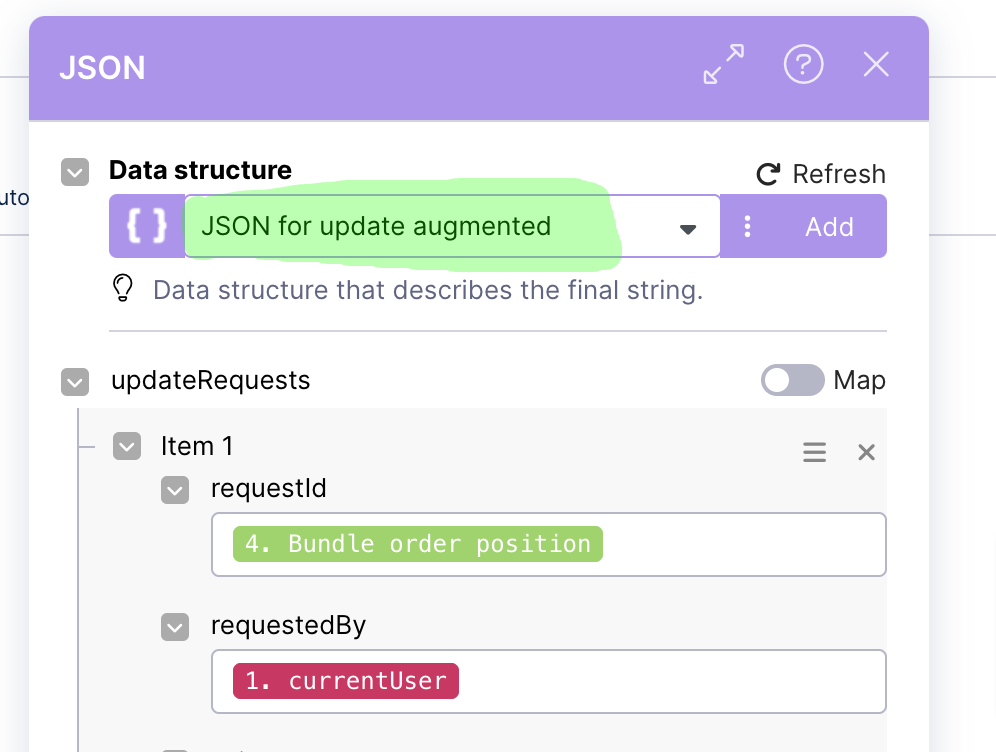
Select “JSON for update augmented” in the Data structure field.
Click the OK button.
Step 6: JSON for activity (16):
Click on JSON for activity (16).
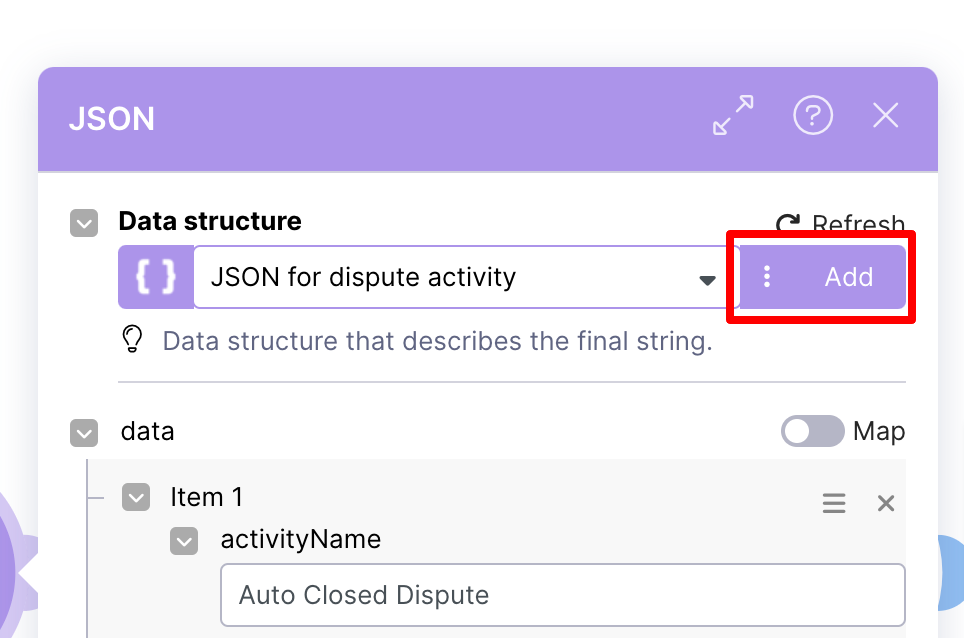
Click the Add button.
Enter the name (JSON for dispute activity) in the udts.name field.

Click the Add item button.

Enter the name from the table below in the Name field and select the corresponding Type.
Note
Add all items in the specification one by one.
Name
Type
Data
Array(Select collection)
Name
Type
activityName
text
sorting
number
Click the Save button.
Click the OK button.
Step 7: Prepare HTTP body for dispute activity (17):
Click on Prepare HTTP body for dispute activity (17).
Click the Add button.
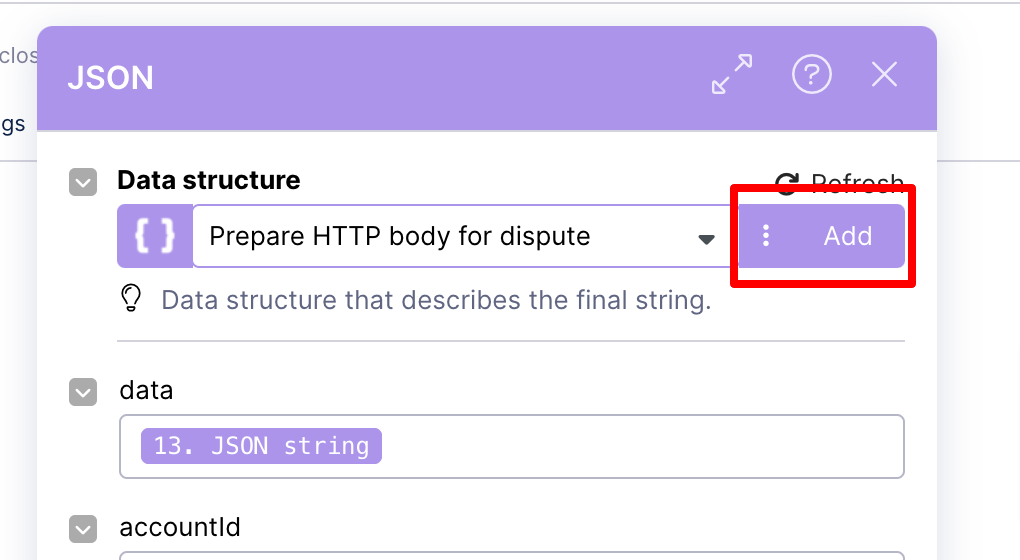
Enter the name (Prepare HTTP body for dispute) in the udts.name field.
Click the Generate button.
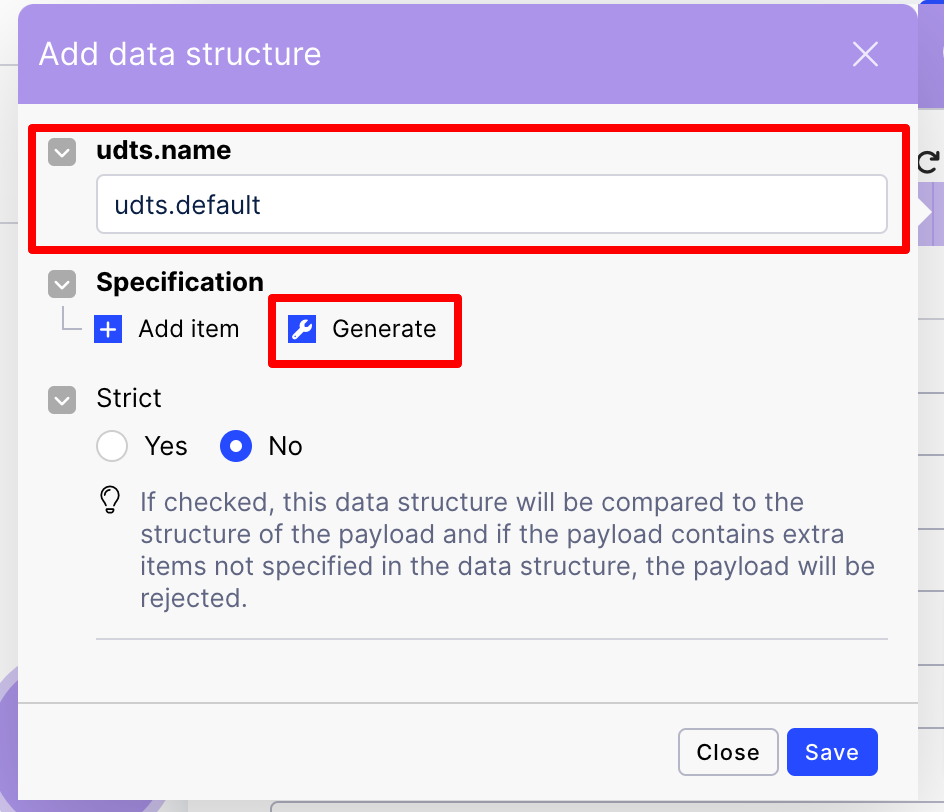
Enter the Json statement below in the datastores.generator.sample_data field.
Note
Select “number type” for currentTimeStamp.
{
"data":"",
"accountId":"",
"owner":"",
"resolver":"",
"currentUser":"",
"currentTimeStamp":0,
"note":"",
"activityType":""
}
Click the Common.generator button.
Click the Save button.
Click the OK button.
Step 8: Save action flow.
Create Dispute:
Step 1: Add Webhooks (1):
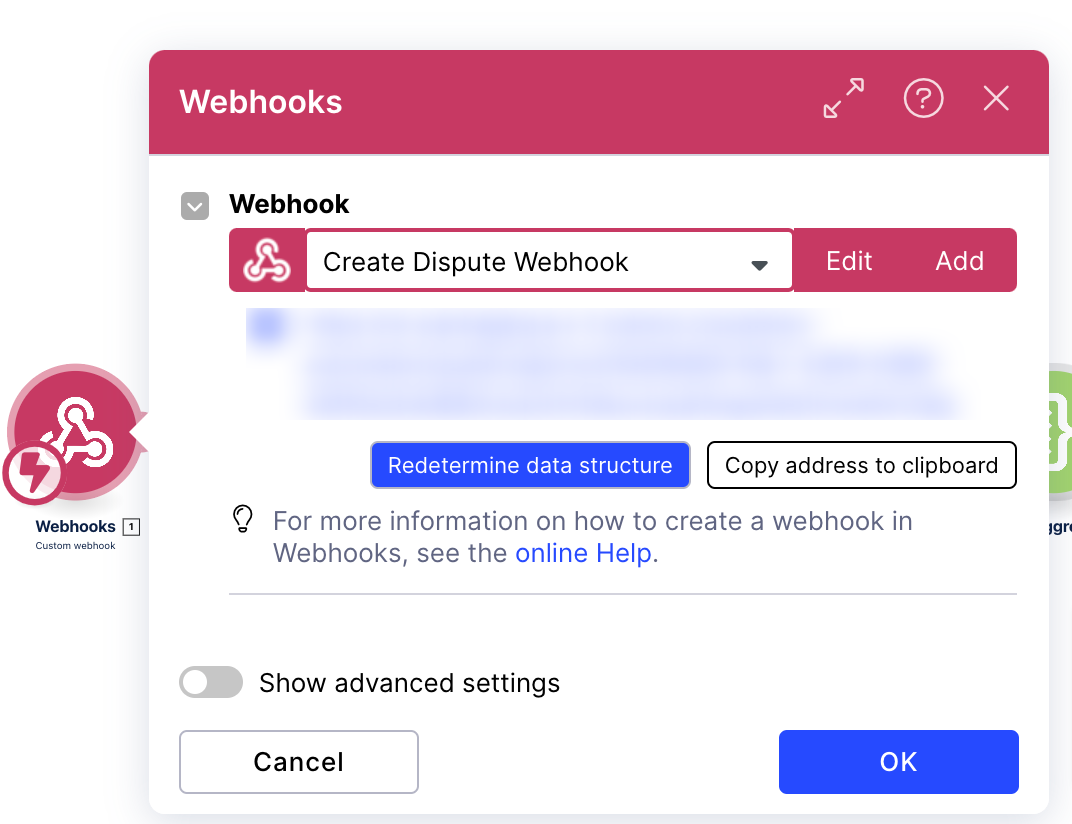
Step 2: Set Variable (27):
Click on the Set Variable (27).
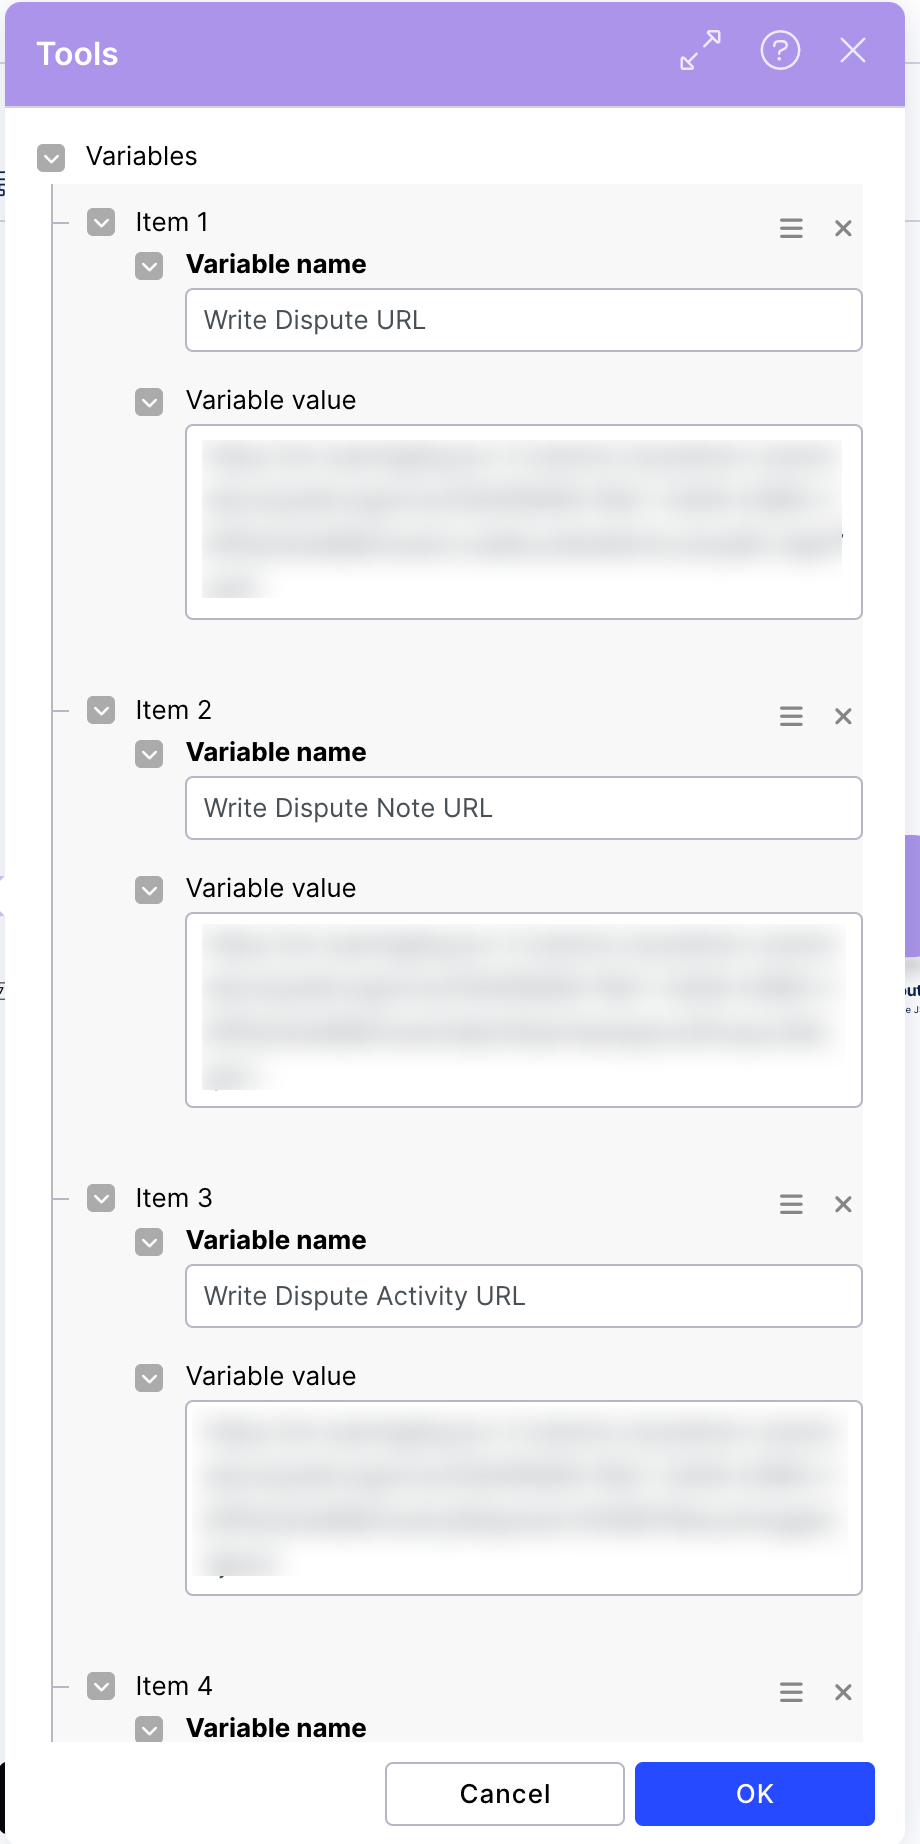
Enter the Write Transaction Dispute URL in the item 1 field.
Enter the Write Dispute Note URL in the item 2 field.
Enter the Write Dispute Activity URL in the item 3 field.
Enter the update account augmented URL in the item 4 field.
Enter the write account activity URL in the item 5 field.
Enter the update invoice augmented URL in the item 6 field.
Enter the write invoice activity URL in the item 7 field.
Enter the AF key in the item 8 field.

Enter the KM key in the item 9 field.
Enter the team domain Name in the item 10 field.
Enter the env in the item 11 field.
Enter the app key in the item 12 field.
Click the OK button.
Step 3: Prepare dispute insert list (25):
Click on Prepare dispute insert list (25).
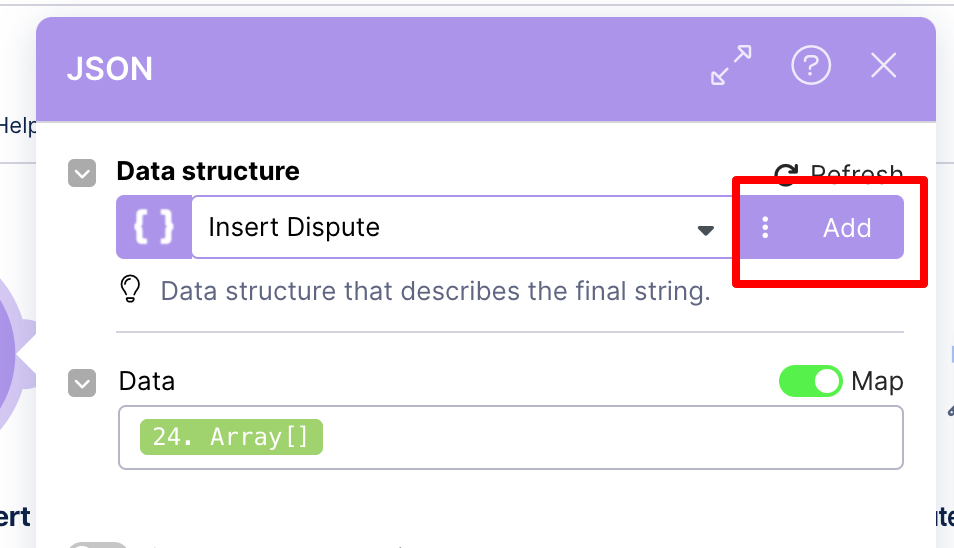
Click the Add button
Enter the name (Insert Dispute) in the udts.name field.

Click the Add item button.

Enter the name from the table below in the Name field and select the corresponding Type.
Note
Add all items in the specification one by one.
Name
Type
Data
Array(Select collection)
Name
Type
DISPUTE_NUMBER
text
TRANSACTION_ID
text
AMOUNT
number
TYPE
text
REASON_CODE
text
INVOICE_NO
text
Click the Save button.
Click the OK button.
Step 4: JSON for activity (30):
Click on the JOSN for activity (30).
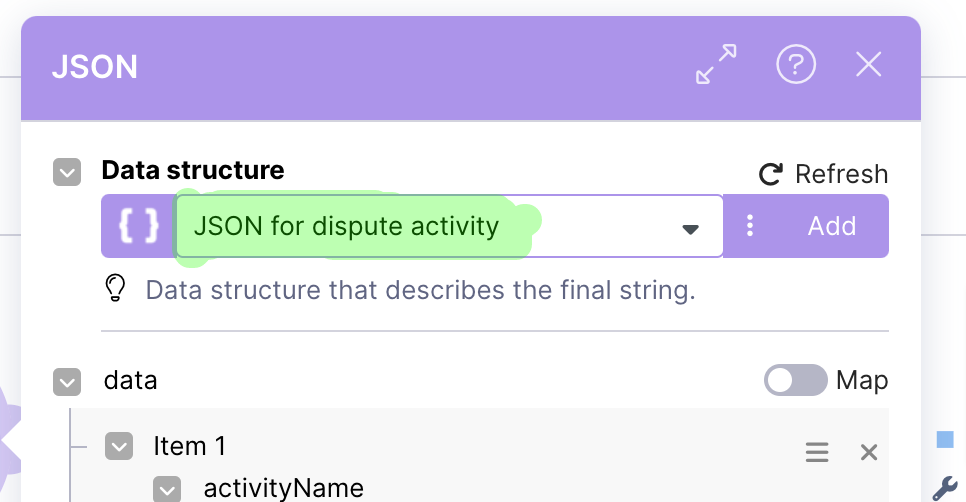
Select “Json for dispute activity” in the Data structure field.
Click the OK button.
Step 5: Prepare HTTP body for Created dispute (26):
Click on Prepare HTTP body for Created dispute (26).
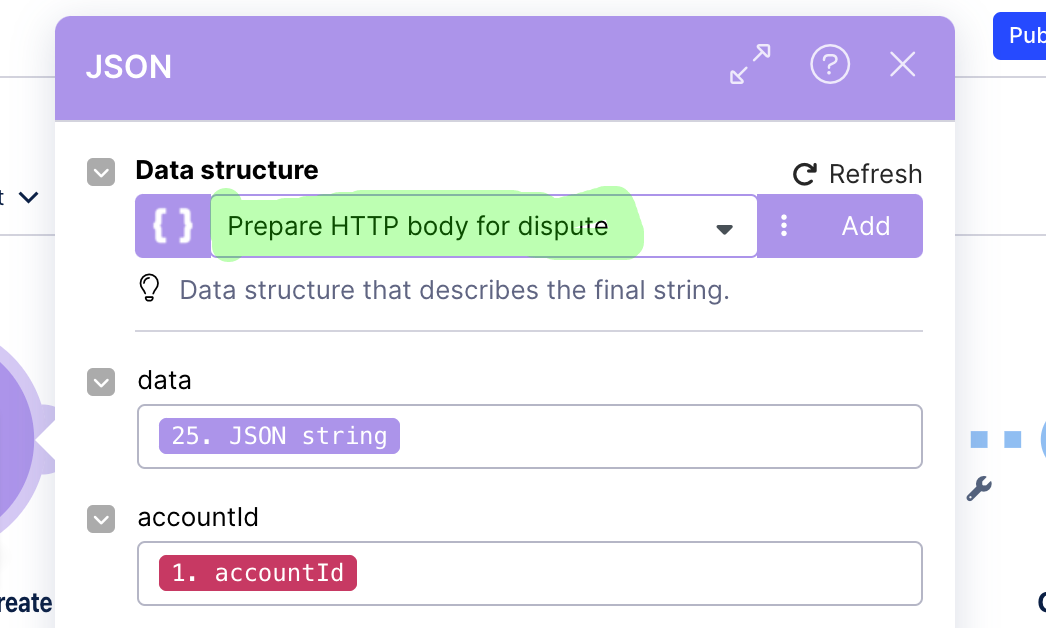
Select “Prepare HTTP body for dispute” in the Data structure field.
Click the OK button.
Step 5: Create task for resolver (32):
Click on Create task for resolver (32).
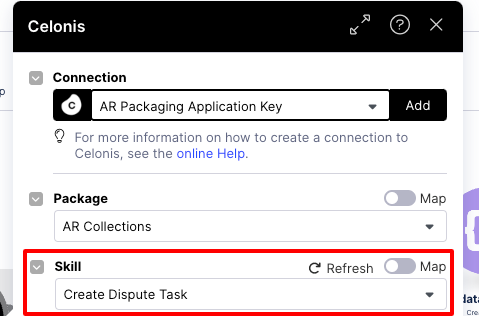
Select the connection.
Select a package.
Select “Create Dispute Task” in the Skill field.
Click the OK button.
Step 6: Prepare Data List for invoice (36):
Click on Prepare Data List for invoice (36).
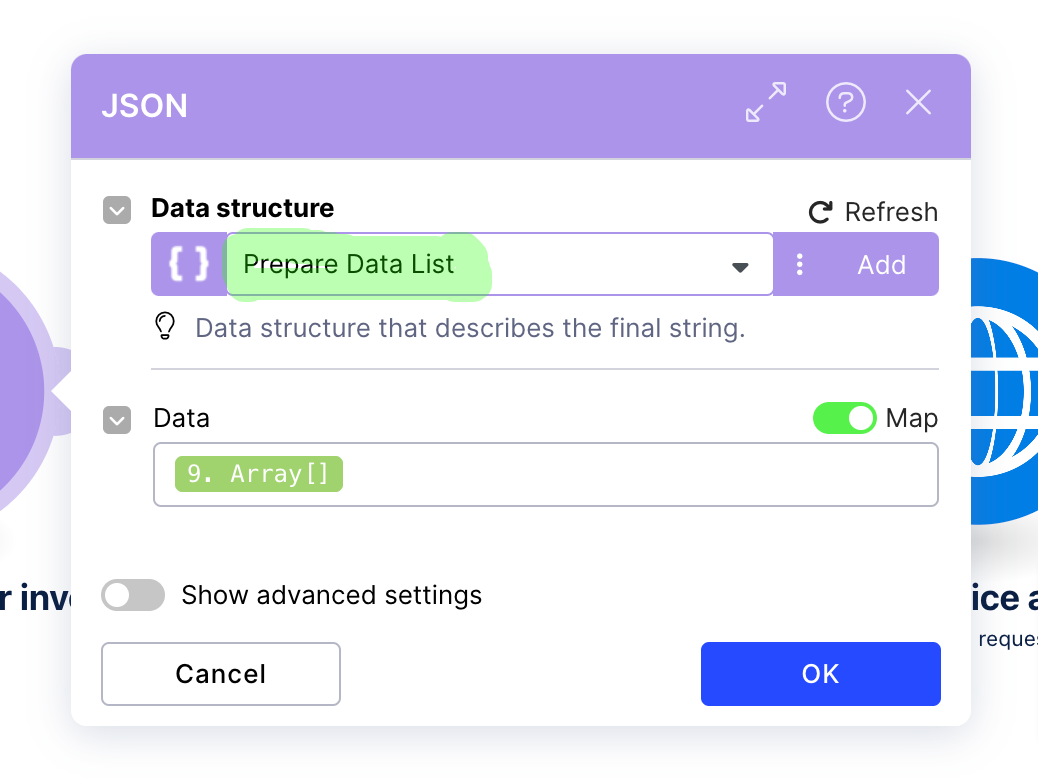
Select “Prepare Data List” in the Data structure field.
Click the OK button.
Step 7: Prepare HTTP body for invoice (37):
Click on Prepare HTTP body for invoice (37).
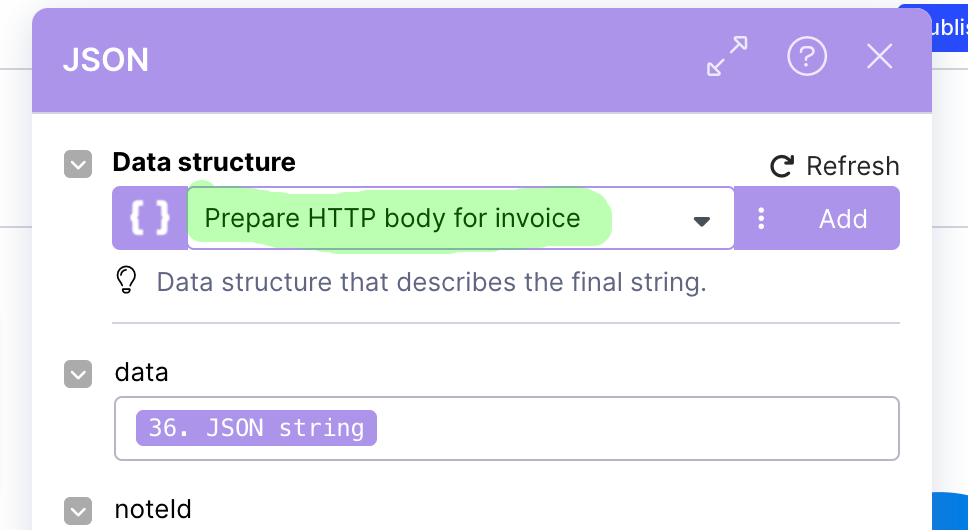
Select “Prepare HTTP body for invoice” in the Data structure field.
Click the OK button.
Step 8: JSON for update augmented (42):
Click on JSON for update augmented (42).
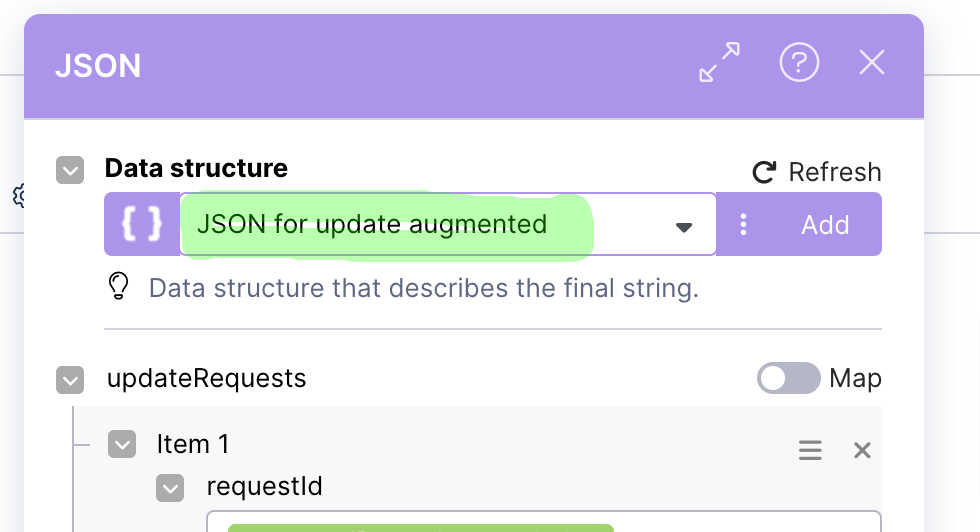
Select “JSON for update augmented” in the Data structure field.
Click the OK button.
Step 9: Prepare data list for account (46):
Click on Prepare data list for account (46).
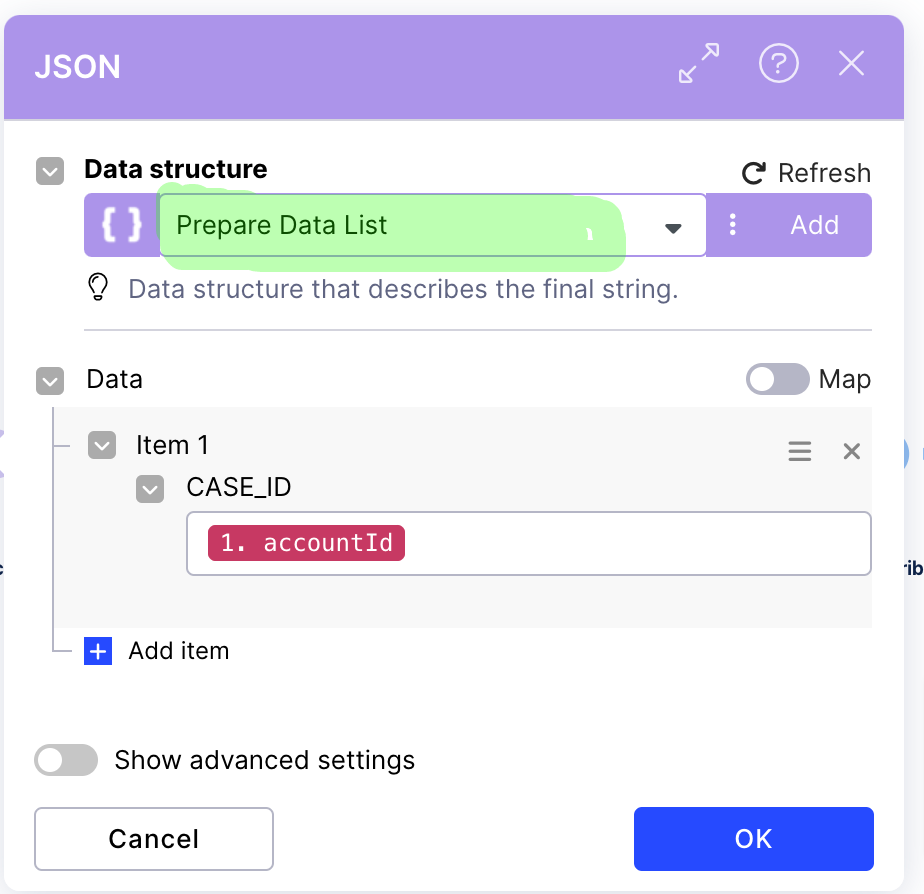
Select “Prepare Data List” in the Data structure field.
Click the OK button.
Step 10: Prepare HTTP body for account (47):
Click on Prepare HTTP body for account (47).
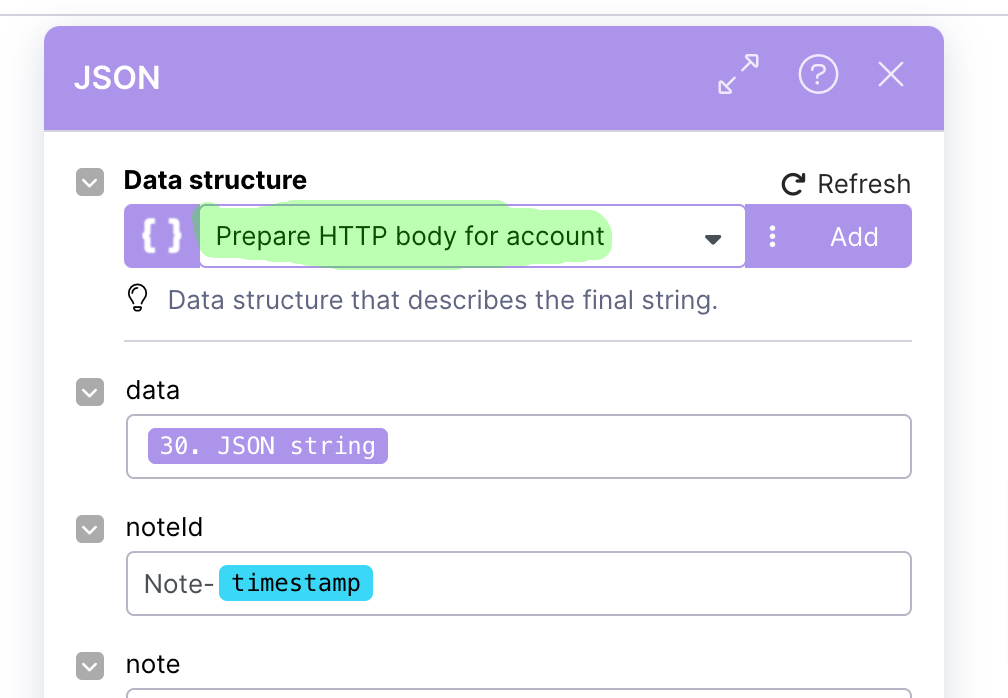
Select “Prepare HTTP body for account” in the Data structure field.
Click the OK button.
Step 11: Celonis (35):
Click on Celonis (35)
Select the connection.
Select a package and skill.
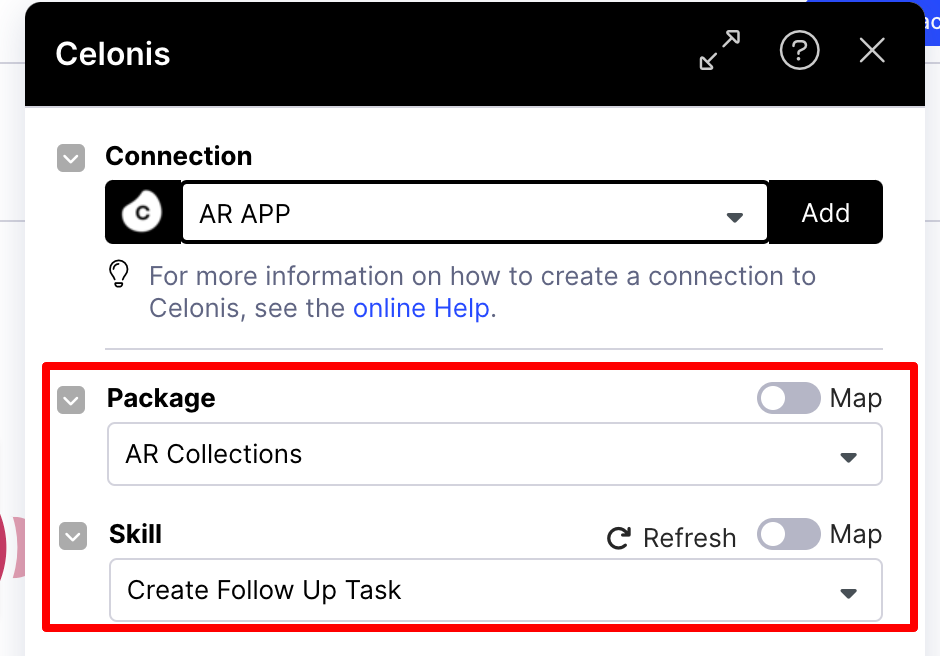
Click the OK button.
Step 12: Email (16):
Click on Email (16).
Click the Add button.
Set the Connection type.
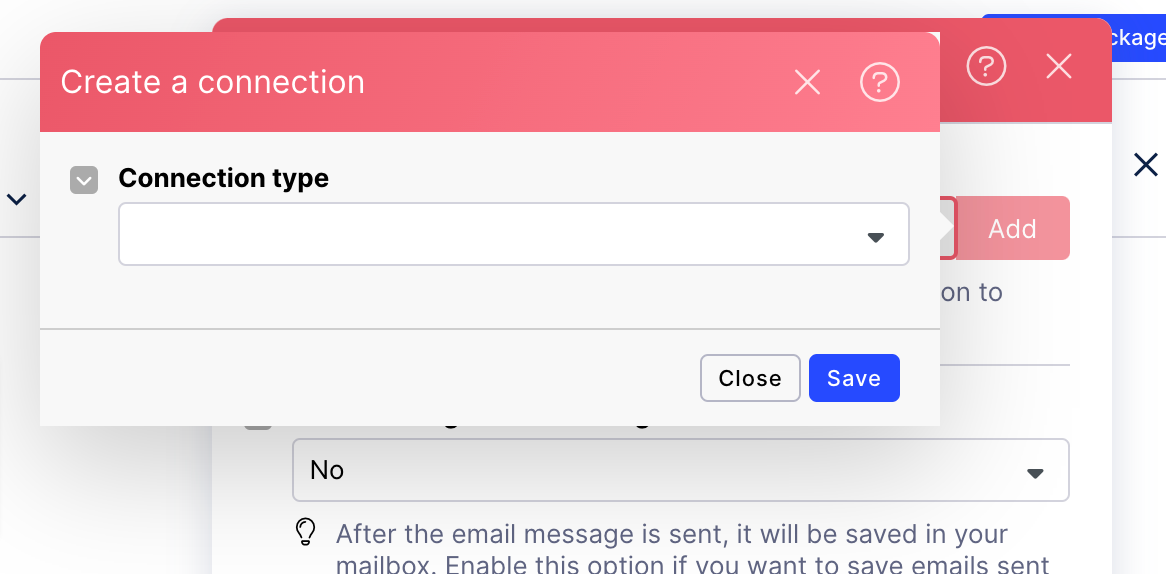
Click the Save button.
Click the OK button.
Step 13: Save the action flow.
Update Dispute From Task
Step 1: Add Webhooks (117):
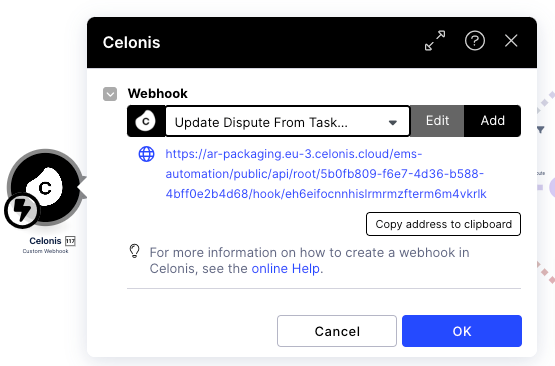
Step 2: Tools (65):
Click on Tools (65).
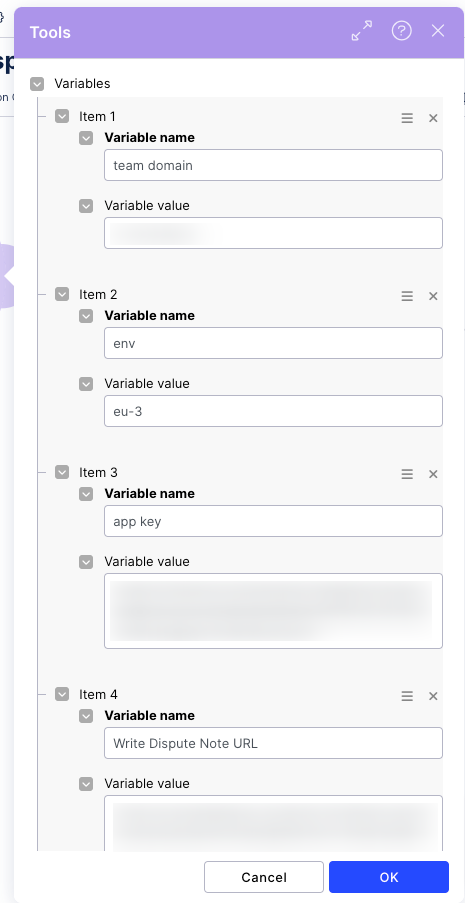
Enter the team domain in the item 1 field.
Enter the env in the item 2 field.
Enter the app key in the item 3 field.
Enter the Write Dispute Note URL in the item 4 field.
Enter the Write Dispute Activity URL in the item 5 field.
Enter the AF key in the item 6 field.

Enter the KM key in the item 7 field.
Click the OK button.
Step 3: Create data list (70):
Click on Create data list (70).
Select “Insert Dispute” in the Data structure field.
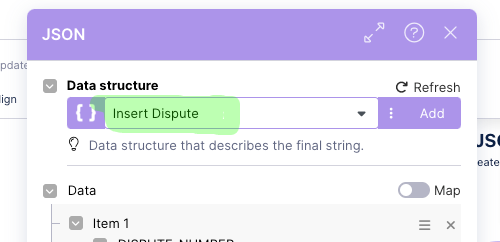
Click the OK button.
Step 4: JSON (64):
Click on JSON (64).

Select “JSON for update augmented” in the Data structure field.
Click the OK button.
Step 5: JSON for activity (72):
Click on JSON for activity (72):

Select “JSON for dispute activity” in the Data structure field.
Click the OK button.
Step 6: Prepare HTTP body (71):
Click on Prepare HTTP body (71).
Select “Prepare HTTP body for dispute” in the Data structure field.
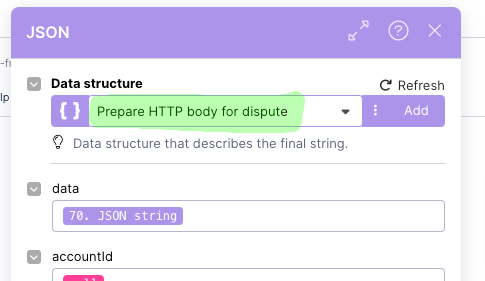
Click the OK button.
Step 7: JSON (93):
Click on JSON (93).

Select “JSON for update augmented” in the Data structure field.
Click the OK button.
Step 8: JSON for activity (99):
Click on JSON for activity (99).

Select “JSON for dispute activity” in the Data structure field.
Click the OK button.
Step 9: Prepare HTTP body (100):
Click on Prepare HTTP body (100).
Select “Prepare HTTP body for dispute” in the Data structure field.

Click the OK button.
Step 10: Save the action flow.
Update Dispute:
Step 1: Add Webhooks (1):
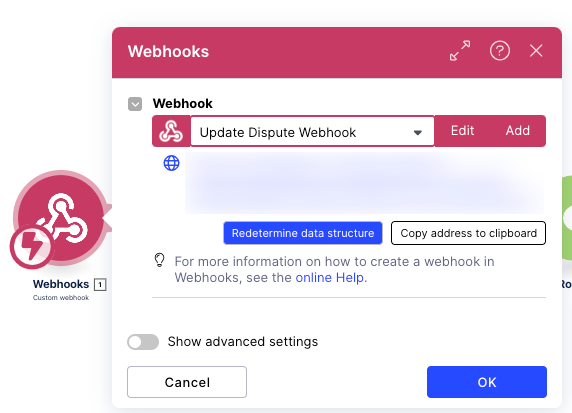
Step 2: Tools (65):
Click on Tools (65).

Enter the team domain in the item 1 field.
Enter the env in the item 2 field.
Enter the app key in the item 3 field.
Enter the Write Dispute Note URL in the item 4 field.
Enter the Write Dispute Activity URL in the item 5 field.
Enter the AF key in the item 6 field.

Enter the KM key in the item 7 field.
Click the OK button.
Step 3: Create data list (70):
Click on Create data list (70).
Select “Insert Dispute” in the Data structure field.

Click the OK button.
Step 4: JSON (64)/(75)/(84)/(93)/(102):
Click on JSON (64).

Select “JSON for update augmented” in the Data structure field.
Click the OK button.
Step 5: JSON for activity (72)/(81)/(90)/(99)/(108):
Click on JSON for activity (72).

Select “JSON for dispute activity” in the Data structure field.
Click the OK button.
Step 6: Prepare HTTP body (71)/(82)/(91)/(100)/(109):
Click on Prepare HTTP body (71).
Select “Prepare HTTP body for dispute” in the Data structure field.

Click the OK button.
Step 7: Get Old task (114)/(111):
Click on Get Old task (114).
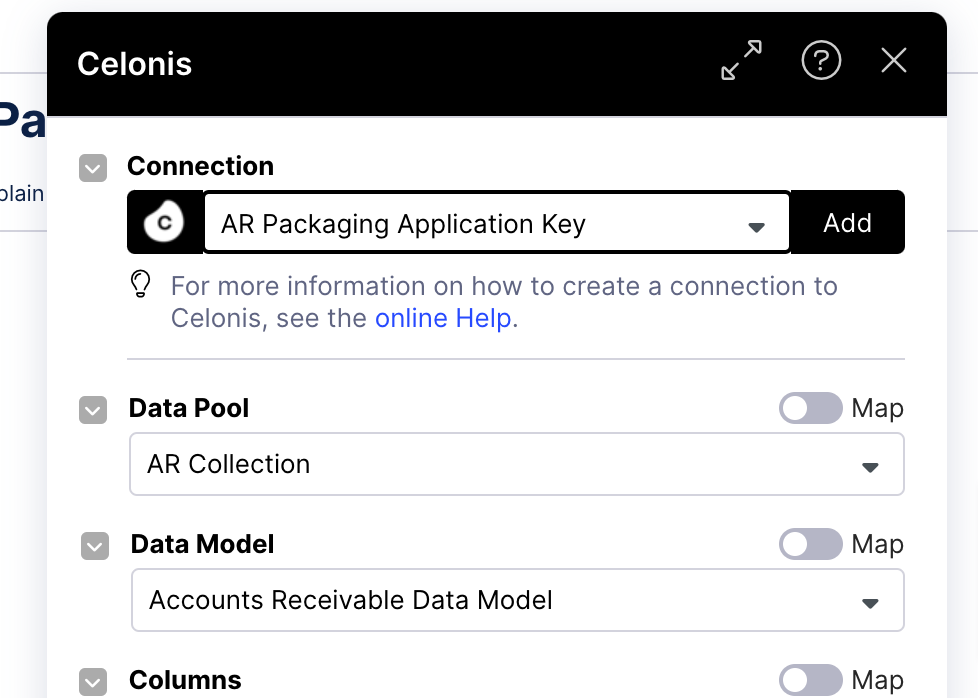
Select the connection.
Select a Data pool.
Select a Data model.
Click the OK button.
Step 8: Closed Old task (115)/(112):
Click on Closed Old task (115).

Select the Connection.
Select a Data pool.
Click the OK button.
Step 9: Create task for new resolver (113):
Click on Create task for new resolver (113).
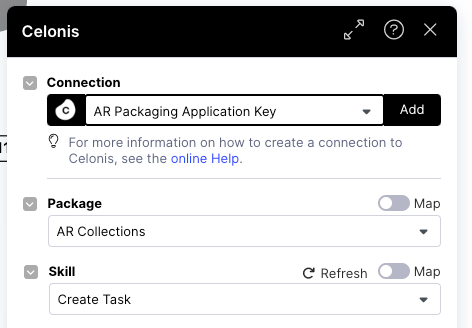
Select the Connection.
Select a Package.
Select “Create Task” in the Skill field.
Click the OK button.
Step 10: Save the action flow.