Attribute filters
You use attribute filters to refine and focus your View by narrowing down the data to only the most relevant events, cases, or attributes. Applying attribute filters lets you zoom in on specific parts of your data. For example, you can filter by:
Country (e.g., only show cases from Germany).
Customer segment (e.g., only 'Enterprise' customers).
Time range (e.g., only Q1 2025).
Vendor or Product (e.g., only products over €10,000).
By filtering out unnecessary data, your View only loads and computes what’s needed. This results in faster queries, especially for large data sets.
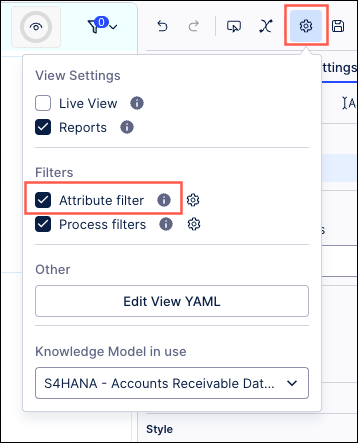
When creating and editing a Studio View, enable attribute filters by clicking Settings and selecting Attribute filter:
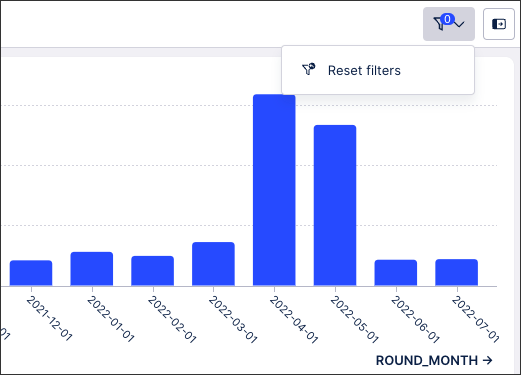
When an attribute filter is enabled, the user can click Filters > Attribute filter and select from the available Knowledge Model to apply a filter.
For example, filtering on an activity case key:

When attribute filters aren't enabled (or are disabled), the app user can still apply filters (such as component filters as shown in the example), however the attribute filter option is not available:
 |
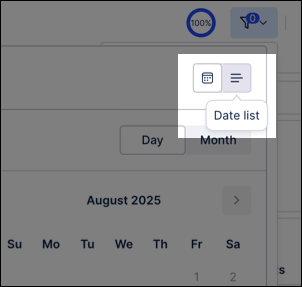
When a single date or a date range is selected in an attribute filter, users can also switch between a calendar view or select from a date list using the toggle:
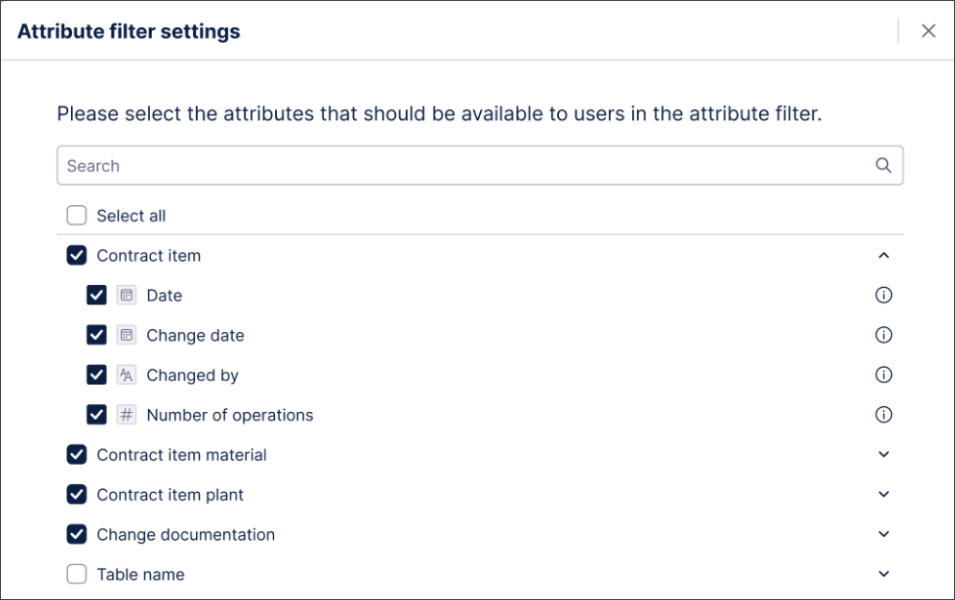
Once an attribute filter is enabled, analysts can access the Attribute filter settings from Filters > Attribute filter > Settings.
Selecting and de-selecting attributes lets analysts configure which tables and columns users see in the attribute filter.
All tables and columns are selected by default.
 |
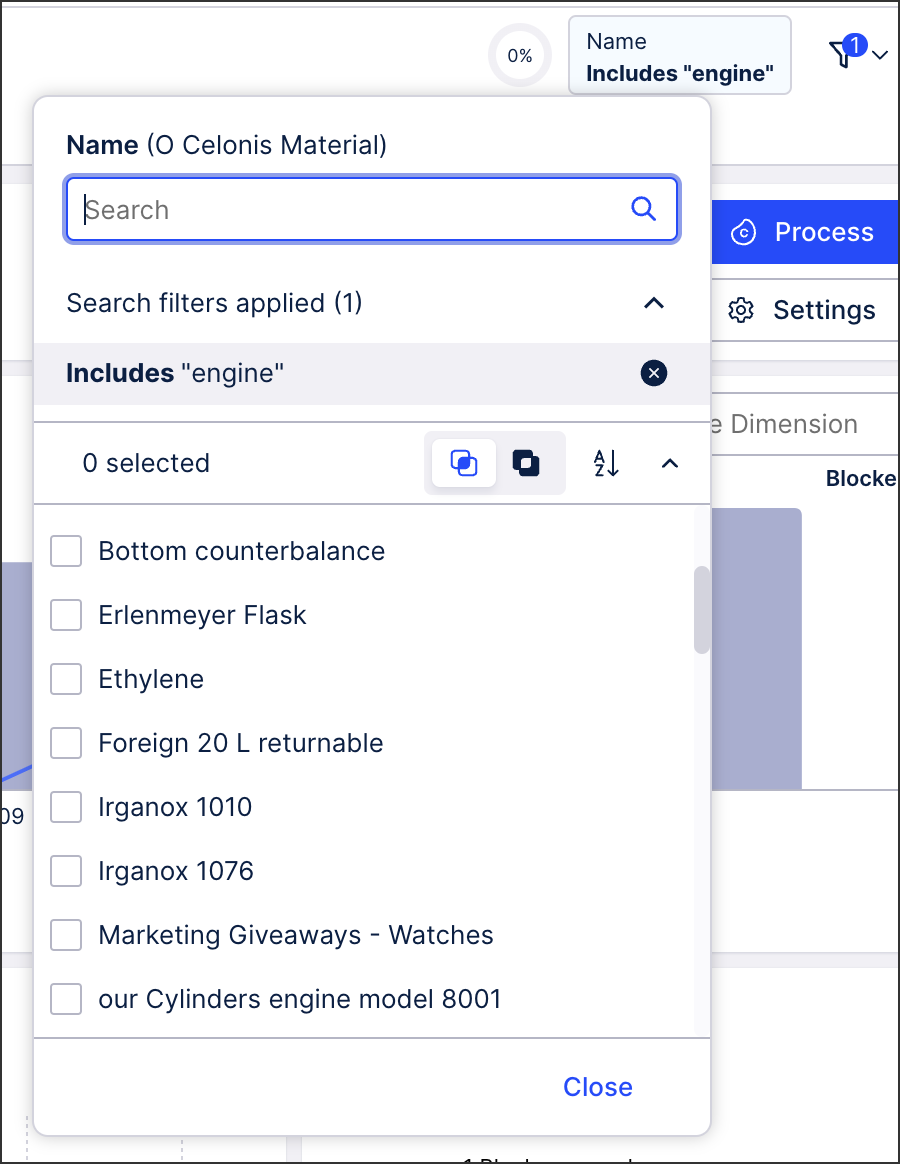
Users can also configure more advanced filters for their View by using the Search feature. This lets users apply filters based on terms to include or exclude, as well as adding AND/OR conditions that are independent of the events listed. Users can also perform wildcard searches using special characters.
In this example, the search feature is used to filter the view to show where engine as listed as a material type:
 |
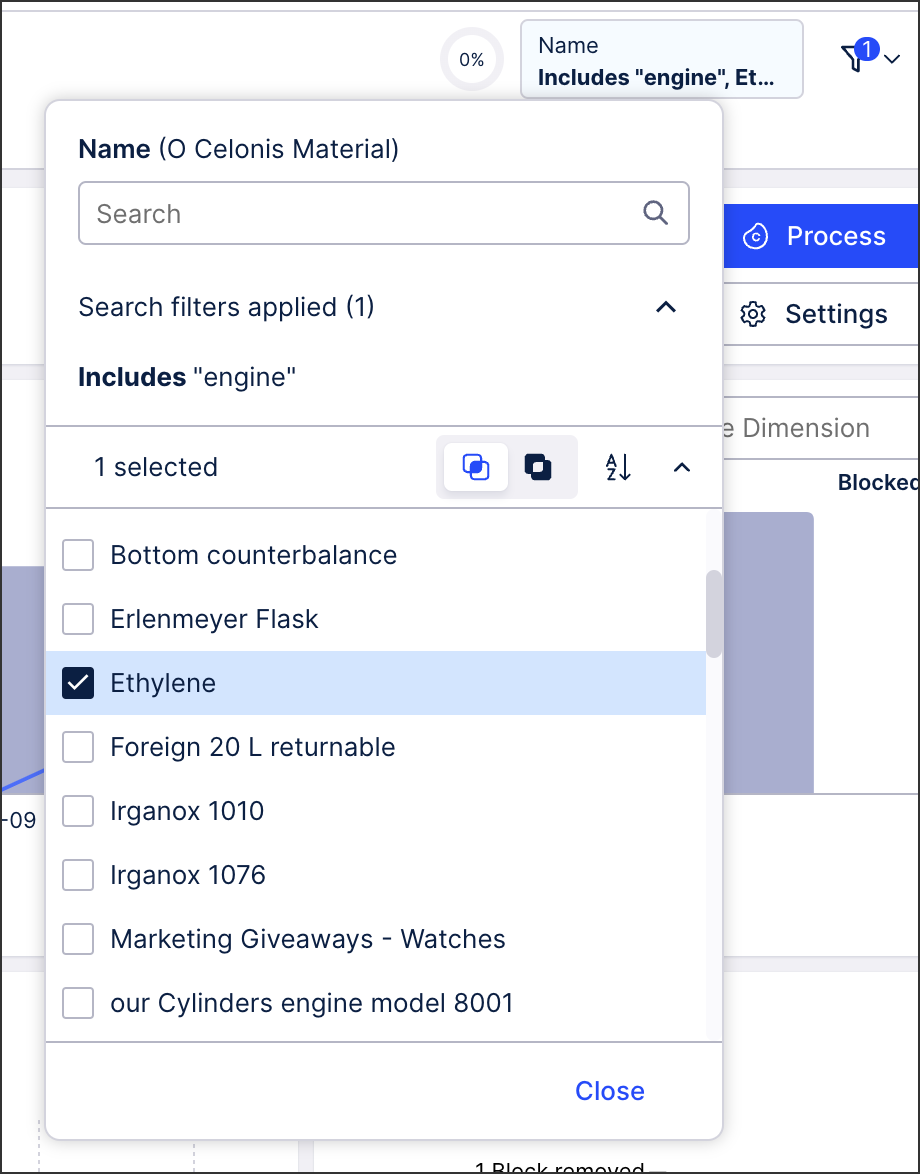
Search filters can also be combined with selecting from the event list, creating an OR filter.
In this example, the filter will return data where either engine or the selected ethylene material type is used:
 |
You can also search using the following special (wildcard) characters:
_matches exactly one character.%matches zero or more characters.
For example, for these items Delivery Truck, Express Air and Standard Air, entering:
Express Ai_
returns Express Air only.
Entering:
%Air
returns both Express Air and Standard Air.
Important
If you're searching for a specific value, you must either enter that value exactly or use the special (wildcard) characters in your search. If your search term includes one of the special characters, you must use \ to escape it. For example, to find TEAM_123_ABC, you could enter:
TEAM\_\123\_\ABC(exact value); or%123(values containing123); orTEAM\_\123%(values containingTEAM_123).