Task Mining permissions
The following permission types are available in Task Mining:
User and team role: Overarching and apply across the Celonis Platform.
For more information, see User and team role permissions.
Service: Applies to all Task Mining projects.
Assigned to admin users automatically.
Admin users can assign to analyst users.
Project: Assigned for specific Task Mining projects.
Assigned to admin users automatically.
Admin users can assign to analyst users.
Important
Some Task Mining permissions can be assigned at both service and project level. Where this occurs, service permissions take precedence over project permissions. Analyst users who have been assigned service and/or project permissions may also need to be assigned some additional permissions outside Task Mining for some specific Task Mining permission types.
Before you begin, ensure you have completed the following steps or meet the requirements listed below:
You must have the Admin role to assign permissions to other users in Task Mining.
Go to the Task Mining Project Overview.
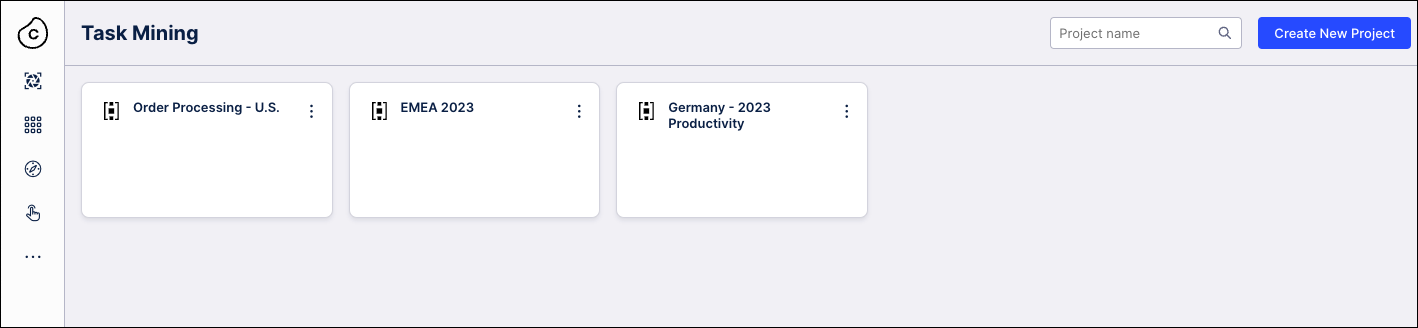
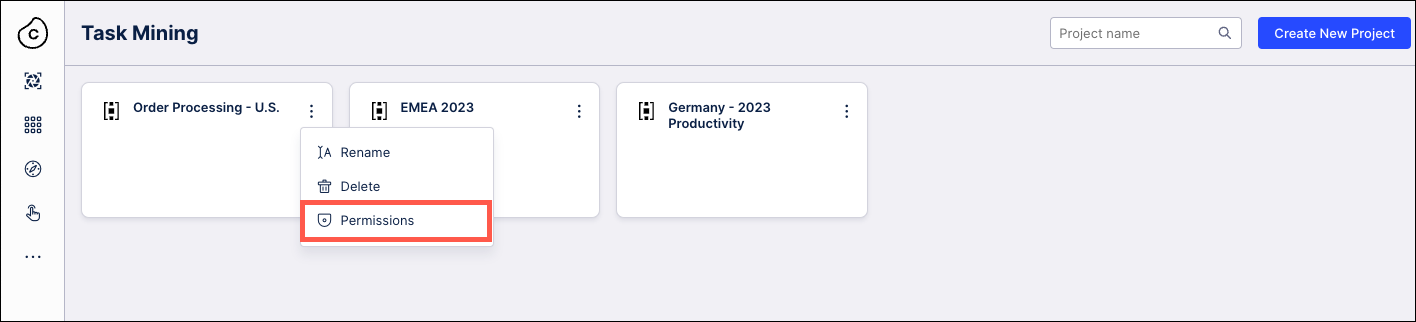
Click the three dots menu of the Task Mining project you want to grant permissions for and then select Permissions.
On the Permissions screen, use the check boxes to select the level of edit permissions you want to grant to the Analyst user and then click Save.
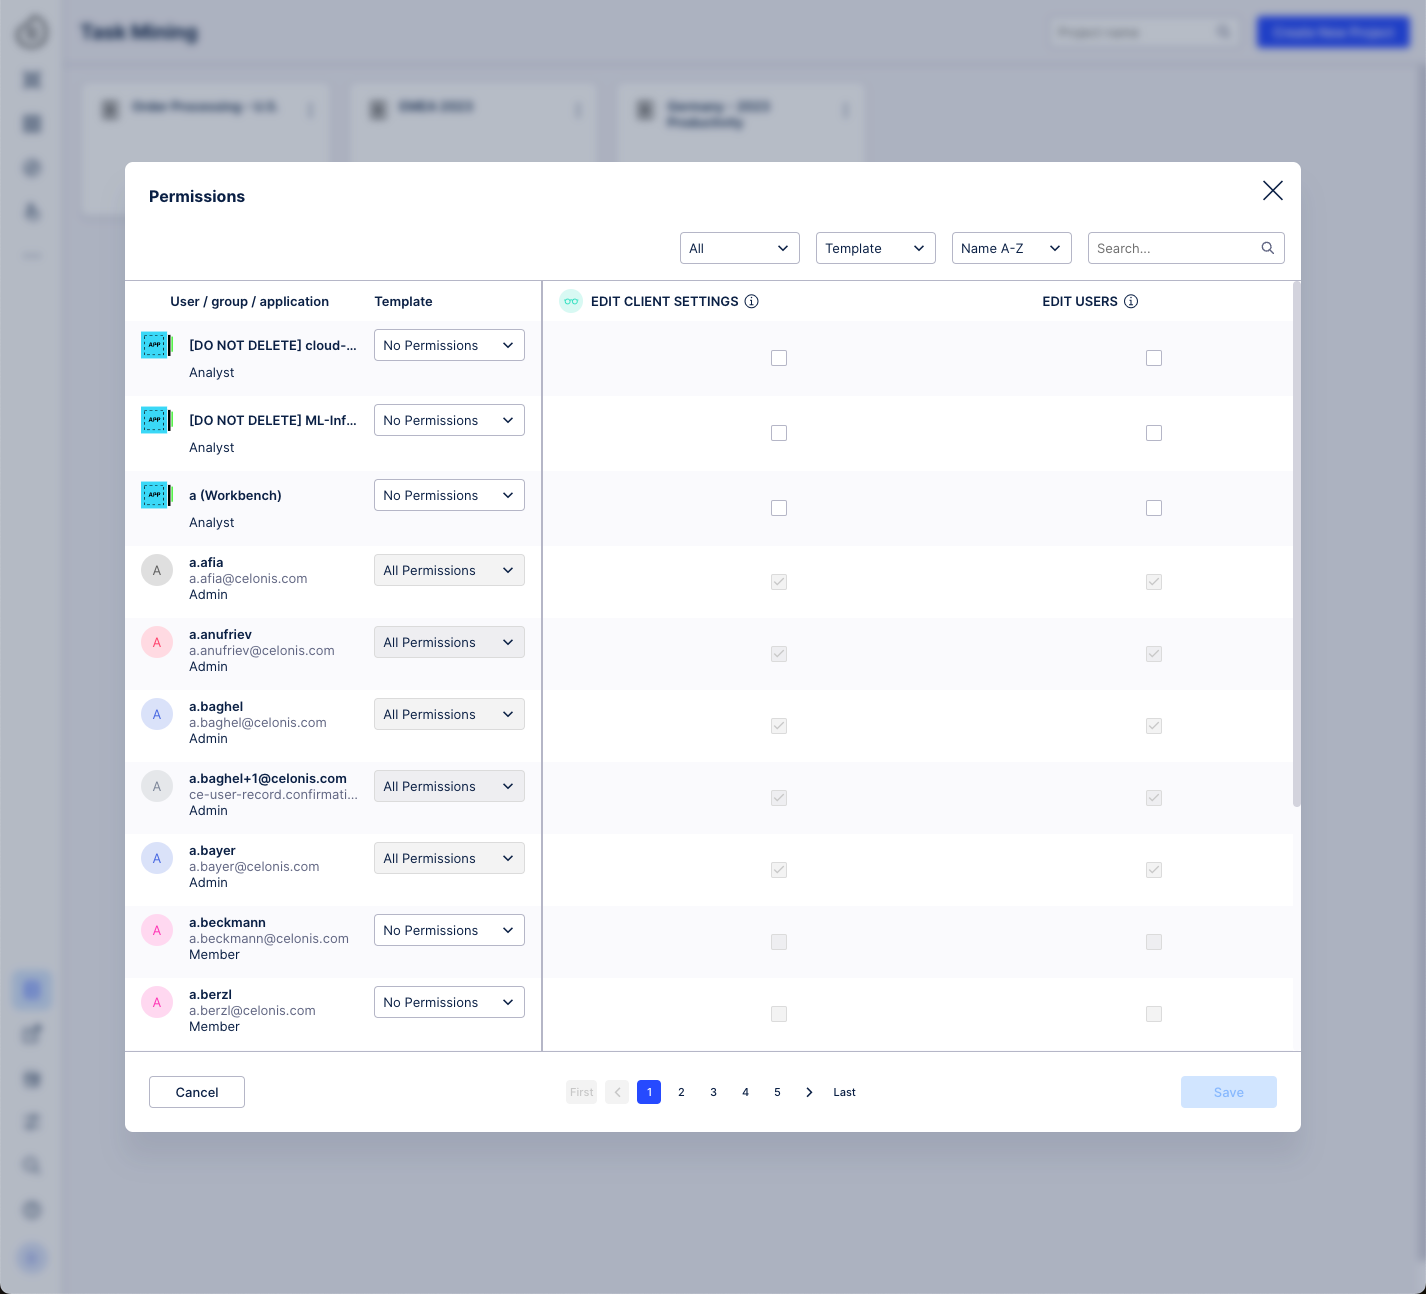
Use the check boxes to also grant the analyst user project-level EDIT DATA CONFIGURATION and EDIT PROJECT CONNECTION permissions. For further information about these permissions and additional permissions outside Task Mining they will also require, see Task Mining service and project permissions.
You can also grant Analyst users permission to access the related analyses in the Task Mining project inside business views and to edit inside Studio.
Go to Admin & Settings > Service permissions.
Click Task Mining
Use the check boxes to also grant the analyst user service-level EDIT DATA CONFIGURATION, EDIT PROJECT CONNECTION and CREATE PROJECT permissions. For further information about these permissions and additional permissions outside Celonis Platform: Task Mining they will also require, see [→ service and project permissions].
You can also grant the Analyst users permission to access the related analyses of the Task Mining project inside business views and to edit inside Studio.
When you capture screenshots using the Task Mining features, the files are stored in a storage bucket in the Celonis Storage Manager. This means anyone who wants to view these screenshots must be granted permissions for that storage bucket and the File Storage Manager service.
To grant an analyst user permissions to see screenshots in Studio Views:
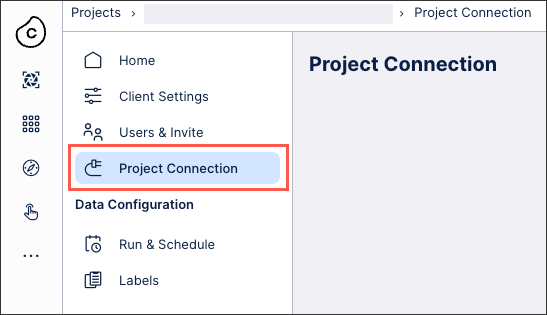
From the Task Mining project the screenshots are captured in, click Project Connection.
Click Go to Storage Manager.
You can also directly reach the Storage Manager for your tenant using the following URL format:
https://{{domainURL}}/storage-manager/ui/storage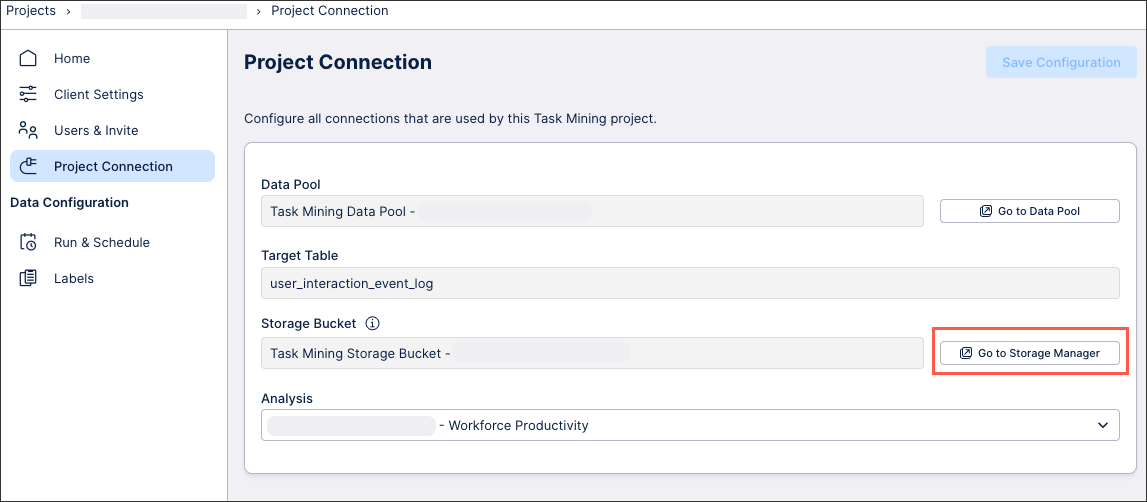
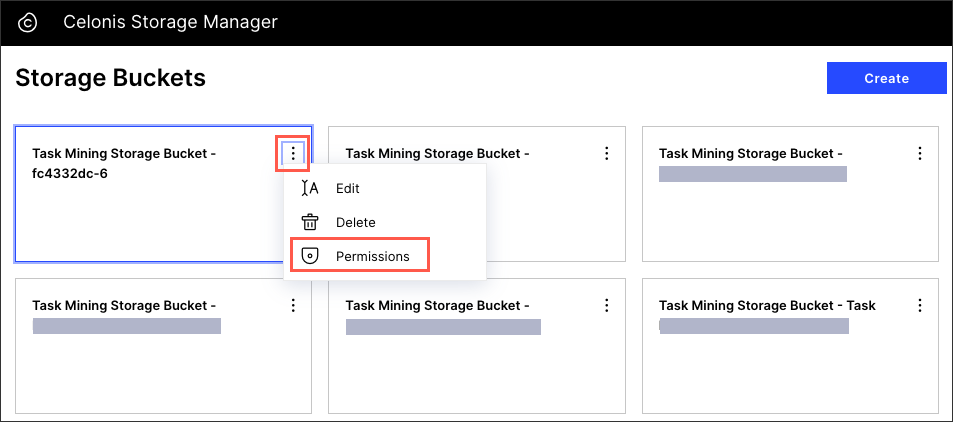
Locate the Storage Bucket you are using then click the three dots menu and select Permissions.
Add the relevant permissions for the user(s).
GET and LIST: The user can view screenshots.
GET, LIST, and DELETE: The user can view and delete screenshots.
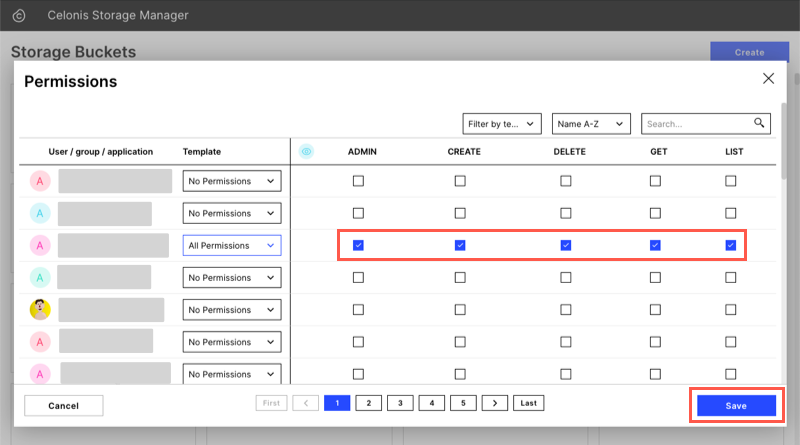
Click Save.
Task Mining permission | Description | Service permission | Project permission |
|---|---|---|---|
EDIT CLIENT SETTINGS | Allows user to view and edit which applications and data are captured. | Yes | Yes |
EDIT USERS | Allows user to invite, manage and verify users of the Task Mining Client software. | Yes | Yes |
EDIT DATA CONFIGURATION | Allows user to edit how the Task Mining data is processed as well as labels and task definitions. | Yes | Yes |
EDIT PROJECT CONNECTION | Allows user to edit the connections used by a Task Mining project. | Yes Analyst user must also also be assigned:
| Yes Analyst user must also also be assigned:
|
CREATE PROJECT | Allows user to create Task Mining projects. | Analyst user also requires:
Important Analyst users creating custom projects also require the Studio Space permission CREATE PACKAGE. | No |