Creating and publishing Analysis in Studio
Analysis - Maintenance only
Effective August 1st 2025, Analysis features can no longer be purchased as part of a Celonis Platform license. Celonis continues to maintain Analysis (by fixing bugs and ensuring that performance remains strong) but no further feature development will take place.
You can migrate your existing Analysis assets to our enhanced Studio Views, giving you access to our intuitive View creation capabilities. To learn how to migrate your existing Analysis to Studio Views, head to: Migrating Analysis to Views.
And for an overview of our enhanced Studio features, see: Studio feature availability matrix.
You can either create an Analysis when you're creating a Studio package or add an Analysis to your existing Studio package, depending on your use case. This requires you to have a basic understanding of how Studio content is structured. For more information, see: Workflow and content structure.
Creating an Analysis with package creation
You can create an Analysis asset when you're creating a Studio package. This creates a draft package with an empty Analysis asset.
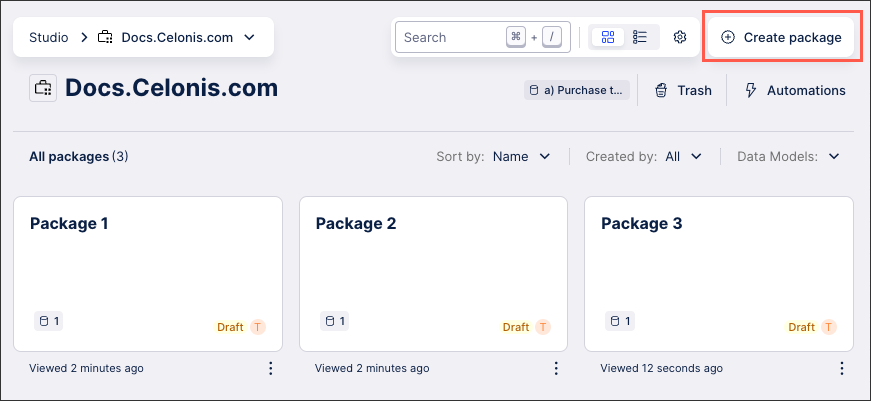
To create a Studio package from your Studio space:
Click Create Package.
Configure your package using the following fields:
Package name: Internal reference for this package.
Description: Optional added information, allowing other team members to read more information about this package.
Initial content: Select Analysis.
Data Model: Select the Data Model to use for this package.
Package key: Edit or copy the package key if you need to give other applications access to this package.
Language: Select which language this package should use as its default language.
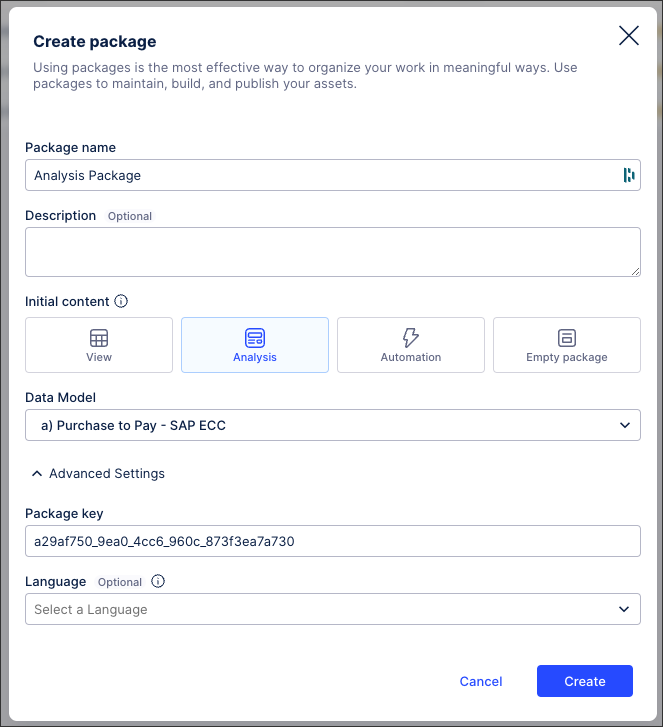
Click Create.
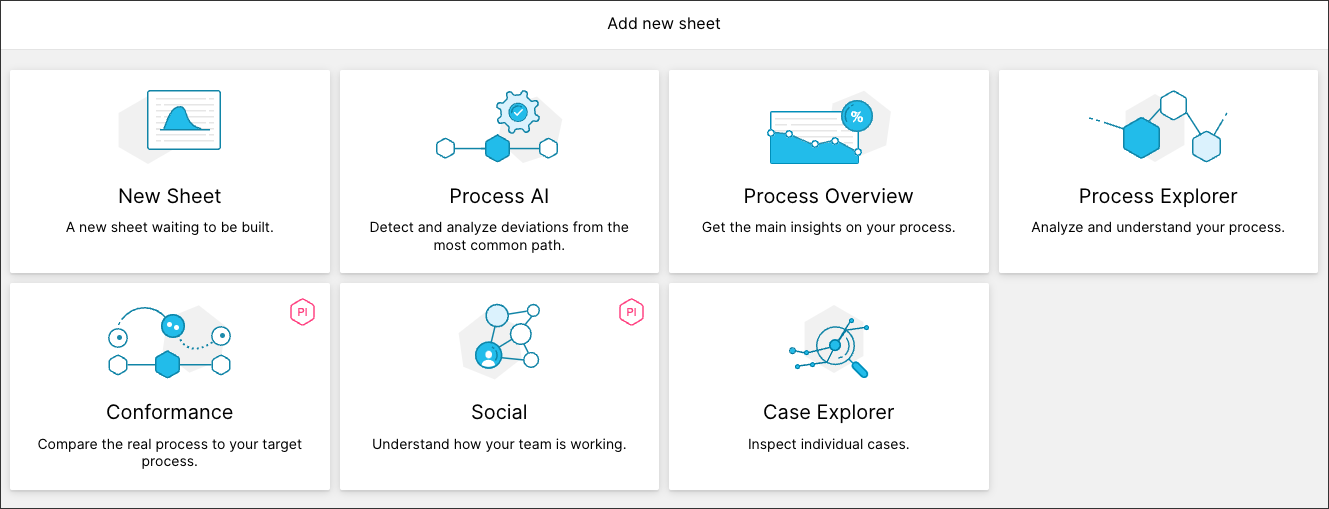
The package is created and an Analysis asset is available.
You can now build and configure your Analysis using Analysis components:
Adding an Analysis to an existing package
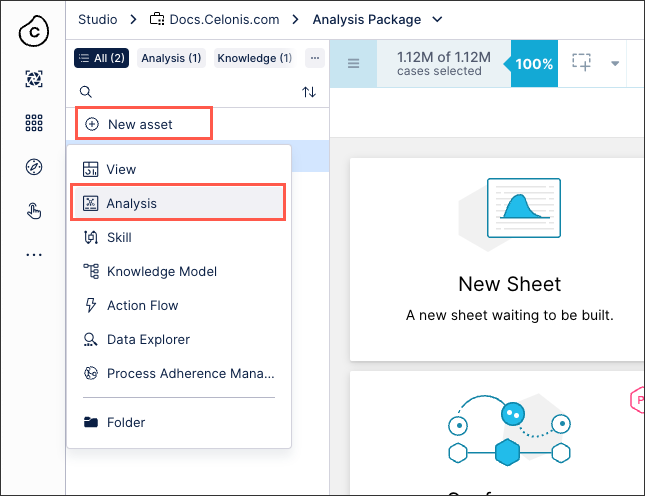
You can add an Analysis to an existing Studio package:
From the Studio package, click New asset - Analysis:
Configure your Analysis using the following fields:
Name: An internal reference for this asset.
Key: Automatically generated based on your Analysis name, but can be edited if required.
Data model variable: Select or create a Data Model variable to use in this asset.
Knowledge Model: Select a Knowledge Model to use in this asset.
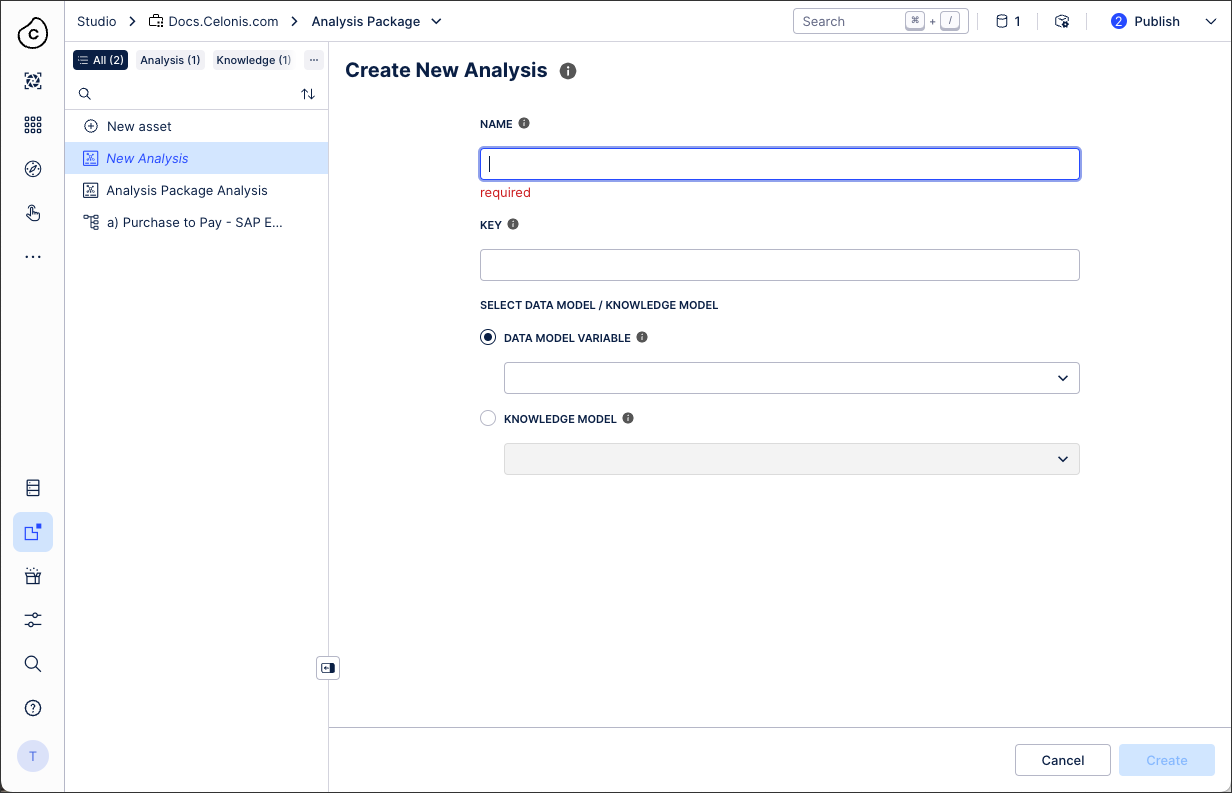
Click Create.
You can now build and configure your Analysis using Analysis components: