Migrating from Celonis 4 to Studio
You can migrate your content from Celonis 4 to Studio using CTP files.
For a video walk through of this process:
Ensure you have the required user permissions:
Celonis Platform: Creating Packages in Studio, Using Data Models.
Celonis 4: A user account with the Global Content Administrator role.
Ensure your Celonis 4 version is 4.6 or above.
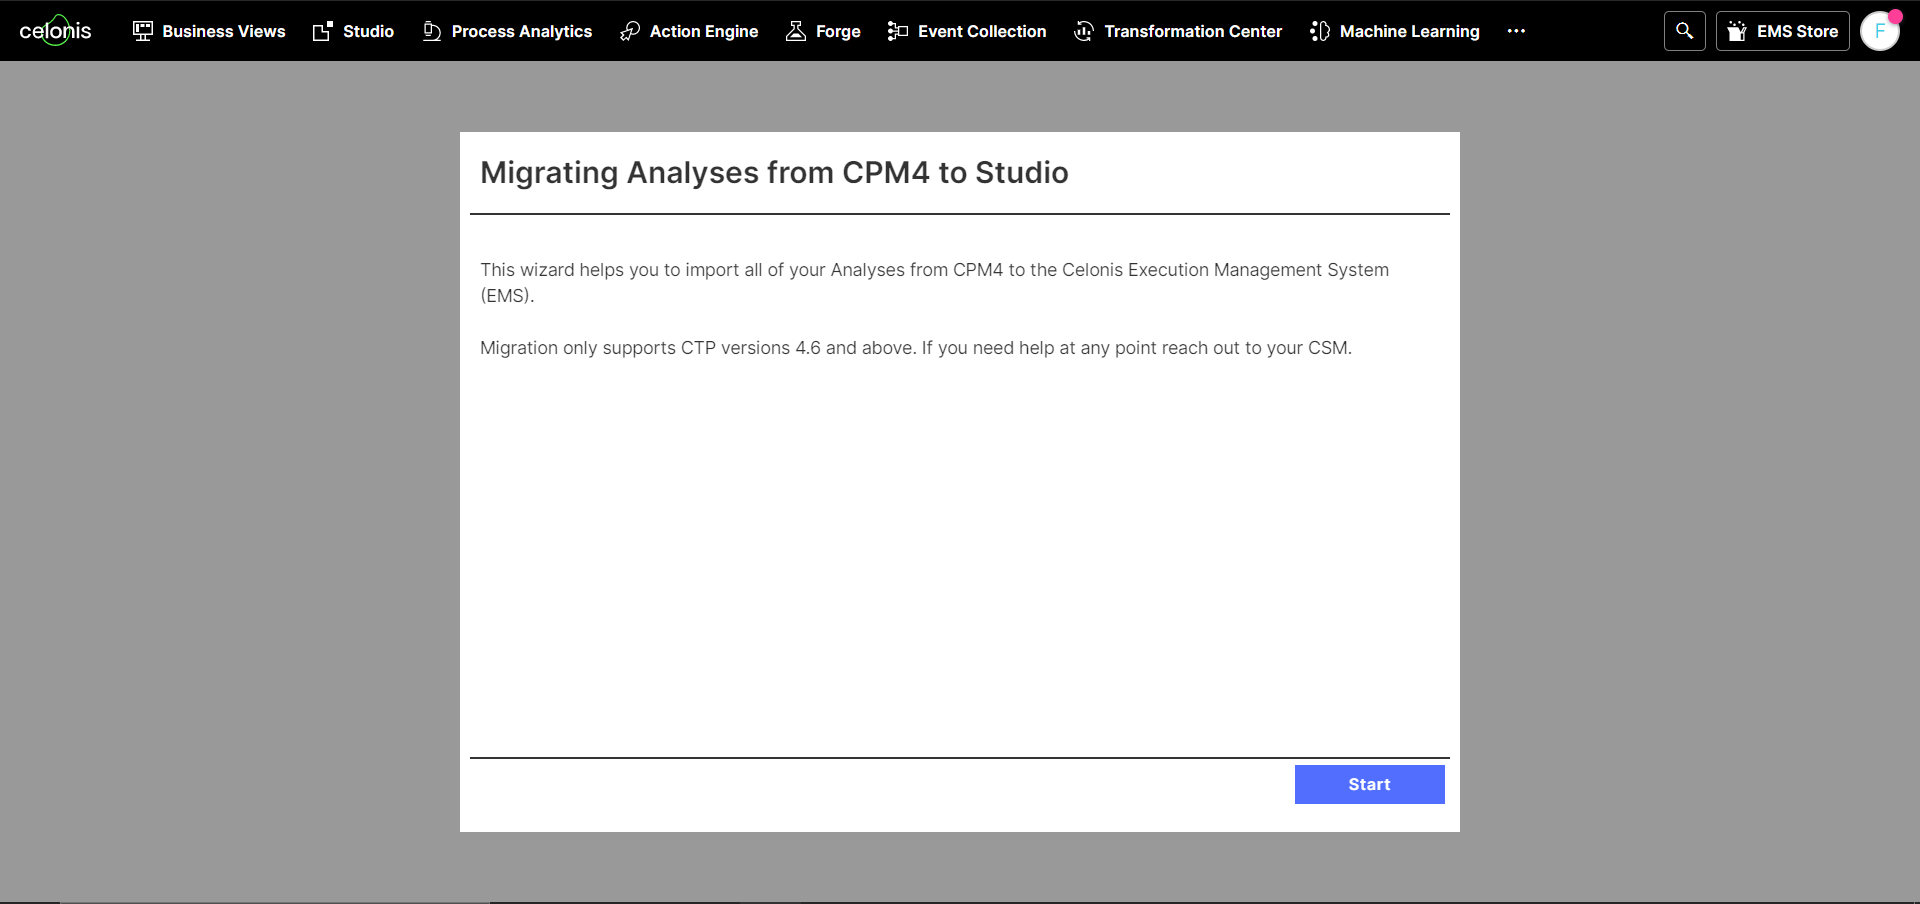
Disclaimer
This migration only supports CTP files created on Celonis 4 version 4.6 and above. If you need help at any point, please contact your CSM.
Potential Errors
Please note that the supported file size for image uploads in Studio is 10 MB per image. Images exceeding the size limit will result in migration errors.
To create a Celonis 4 Transport you need the Global Content Administrator role. With access to this role, you can create a transport with these steps:
From your Celonis 4 instance, navigate to the Transport screen and click Create a transport.
Add all Analyses (and relevant Data Models) that you'd like to group into one Studio package.
When creating the Transport file, make sure to select the Include data model checkbox when adding the Analyses. The Data Model metadata is used for creating the Data Model Variable name in the Studio. If you do not check this option, a variable with a default name ("data model default") will be created in the Studio. The Data Model variable is used to assign the Data Model to the Analyses.
The Data Model itself will not be migrated with this tool.
Remember the Transport password.
Click Done.
The shared bookmarks will be included in the Transport and will be owned by the Celonis Platform user running the command for migration. Personal bookmarks will not be migrated, as users can not be mapped between Celonis 4 and the Celonis Platform. If you want to include personal bookmarks, you must first share them.
After creating the Transport file, you can now upload this to the Celonis Platform:
Log in to the Celonis Platform and navigate to the following URL (make sure that you replace the team domain with your own):
https://TeamDomain.celonis.cloud/process-analytics/ui/migrationClick Start.
Upload the CTP file that you extracted earlier from your on-premise instance.
Enter the password of your CTP file and click OK.
Wait until your CTP file is uploaded.
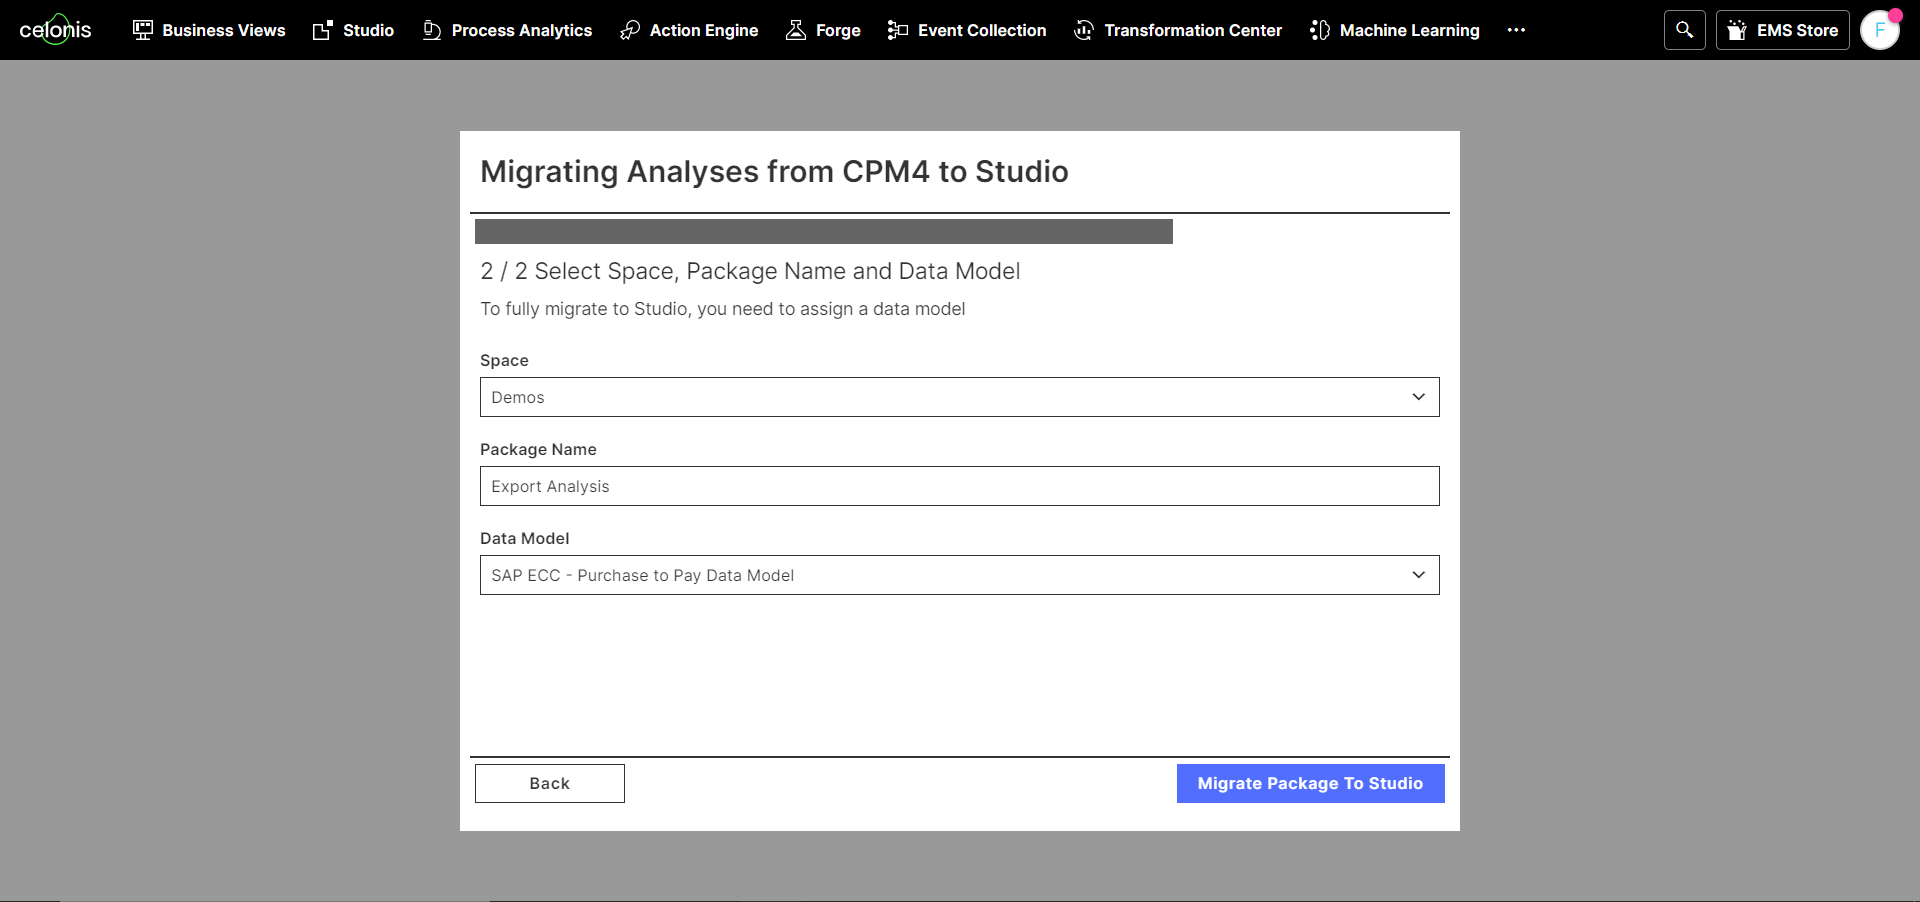
Validate the overview of your CTP file (i.e. the Analyses that are included) and click Next.
Select a Studio Space.
Give your Studio package a name (this name will be the name of your package in Studio).
Click Migrate Package to Studio.
The migration will now run and a success message is displayed. Click Migrate Package to Studio.
*ERR: "Duplicate key used in a variable"Duplicate key used in a variable:el-test-partner-67"errorCode\":\"root-settings.variables.duplicate-key*
If you receive this or a similar error message, we recommend exporting the CTP file without Data Model variables and then attempting the migration again.