Extracting Workday reports
In addition to using the Workday extractor builder template, you can also ingest data from custom Workday reports in JSON format. This process involves creating and configuring a custom extractor in the Celonis Platform.
To learn more about creating custom extractors, see: Cloud based data sources.
For an overview of supported Workday API endpoints, see: Workday
Create a custom report in Workday
Before creating your custom extractor, you need to create or have access to a custom report in Workday. This report must be saved in a JSON format and include the following filters:
Transaction_Entry_Before
Transaction_Entry_After
An example of how the Workday report URL would be structured:
https://InstanceID.myworkday.com/ccx/service/customreport2/InstanceID/UserID/ReportName&Filters&format=json
Create and configure a custom extractor in the Celonis Platform
With access to the custom report in Workday, you can then create a custom extractor from your data pool:
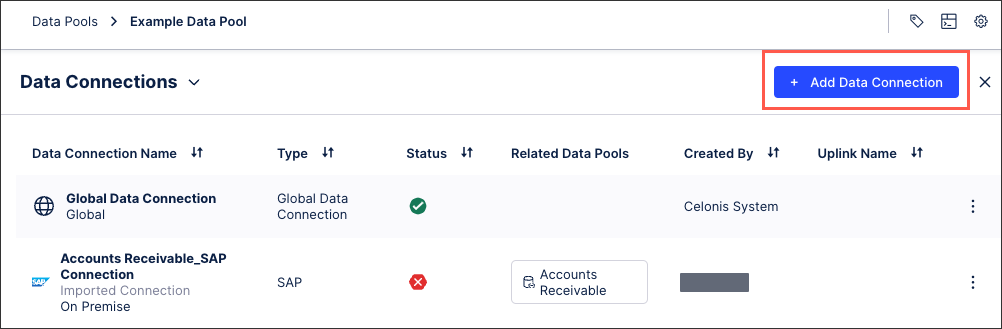
Click Data Connections.
Click Add Data Connection and select Connect to Data Source.
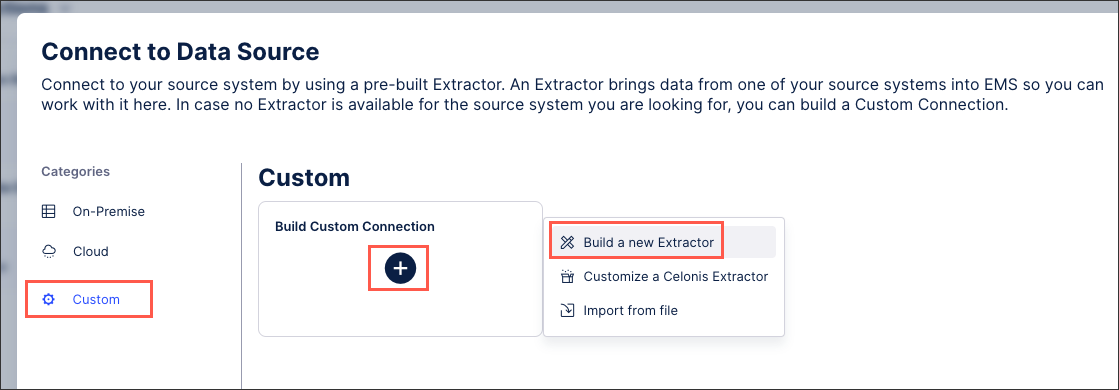
Click Custom - Build Custom Connection - Build a new Extractor.
Configure the following connection details and then click Save and Continue:
Name: An internal reference for this connection.
Description: An optional description.
Connection parameters: No additional parameters needed.
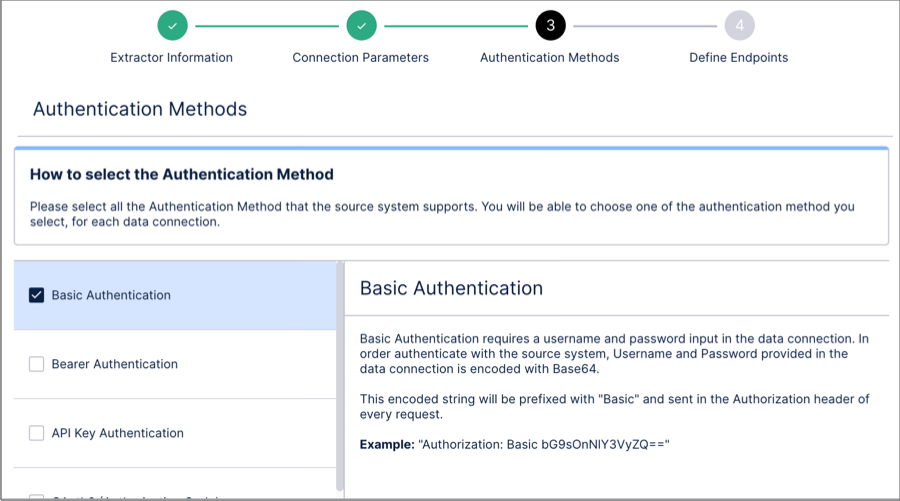
Authentication method: Select Basic Authentication.
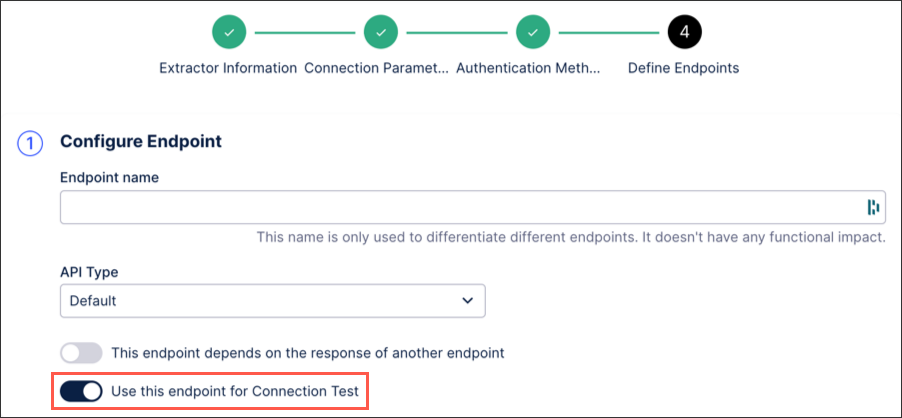
Create a first endpoint which is used for the connection test with the following configurations:
Configure Endpoint: make sure to toggle the "Use this endpoint for Connection Test" option.
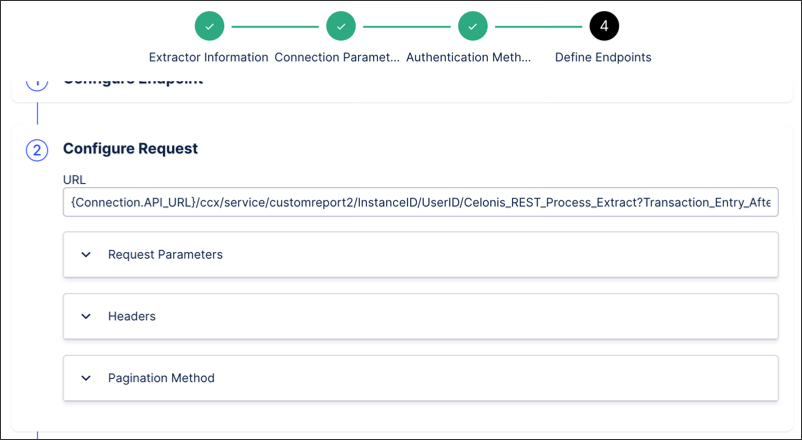
Configure Request: add the {Connection.API_URL} parameter followed by the custom report URL.
For this endpoint, which is purely used for the connection setup, make sure that the Transaction_Entry_Before and Transaction_Entry_After parameters are only covering a one-day difference (as shown in the example). The original report URL can easily be adjusted accordingly. The reason for doing that is that the response can be quite large depending on the time frame and lead to timeouts.
{Connection.API_URL}/ccx/service/customreport2/InstanceID/UserID/Celonis_REST_Process_Extract?Transaction_Entry_After=2021-01-01-00:00&Transaction_Entry_Before=2021-01-02-00:00&Business_Process_Name%21WID=d5ddd2195a6c4f60b63077c26ae2950b!50862dc434f241c3978c87423a859d04!48b49c6d25a74247b7b9d0d6f6593d72! 56cd8fae34ad49ee94acae3d3873ea64!1afb78c169254c73a18e7f5f8d246a22&format=jsonConfigure Response: Define the target table name and add a response sample from the report.
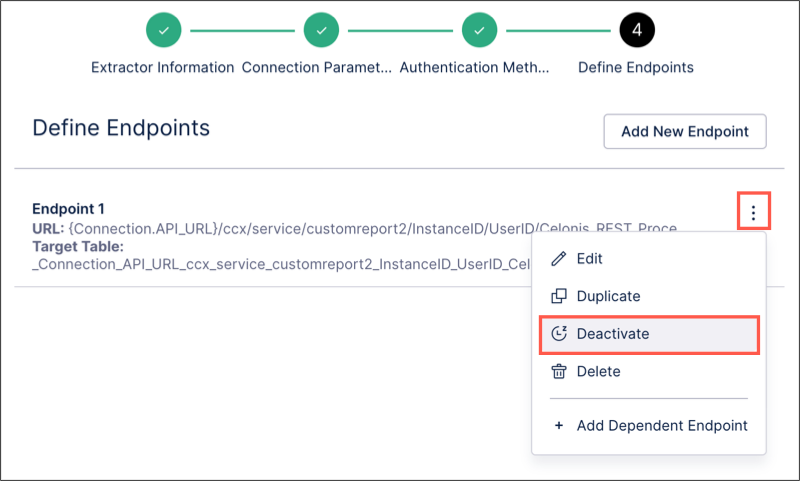
Deactivate this endpoint.
Create a second endpoint that is used for the actual data extraction:
Configure Endpoint: make sure to untoggle the "Use this endpoint for Connection Test" option.
Configure Request: add the {Connection.API_URL} parameter followed by the custom report URL. For this endpoint make sure to remove the Transaction_Entry_Before and Transaction_Entry_After parameters from the URL, these will be added automatically.
{Connection.API_URL}/ccx/service/customreport2/InstanceID/UserID/Celonis_REST_Process_Extract?Business_Process_Name%21WID=d5ddd2195a6c4f60b63077c26ae2950b!50862dc434f241c3978c87423a859d04!48b49c6d25a74247b 7b9d0d6f6593d72!56cd8fae34ad49ee94acae3d3873ea64!1afb78c169254c73a18e7f5f8d246a22&format=jsonRequest parameter: Add a request parameter.
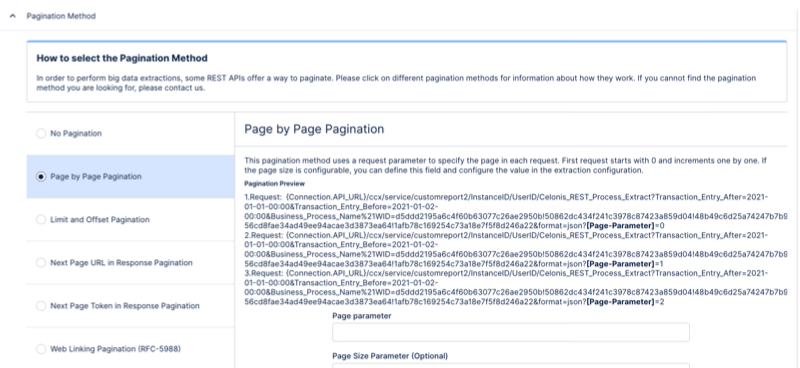
Pagination method: Define the pagination method.
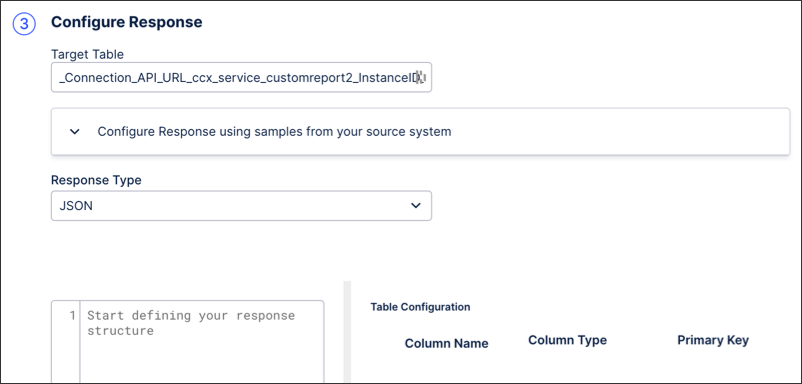
Configure Response: Define the target table name and add a response sample from the report.
Click Finish.
Create a data job targeting that data connection and set up the additional filter in the extraction configuration as follows, where the DATE can be either a specific hard coded date or a parameter as in every other extraction.
For more information, see: Extracting and transforming data.