Configuring the Send Mail action flow
The Send Mail action flow sends automated emails to subscribers with the execution status of the Data Importer script. Follow these steps to configure it and get the URL for the webhook:
In the Celonis navigation menu, select Studio.
In the Studio overview, find the app suite package in the space where you installed it, and click its tile.
In the package navigation, select the Send Mail action flow.
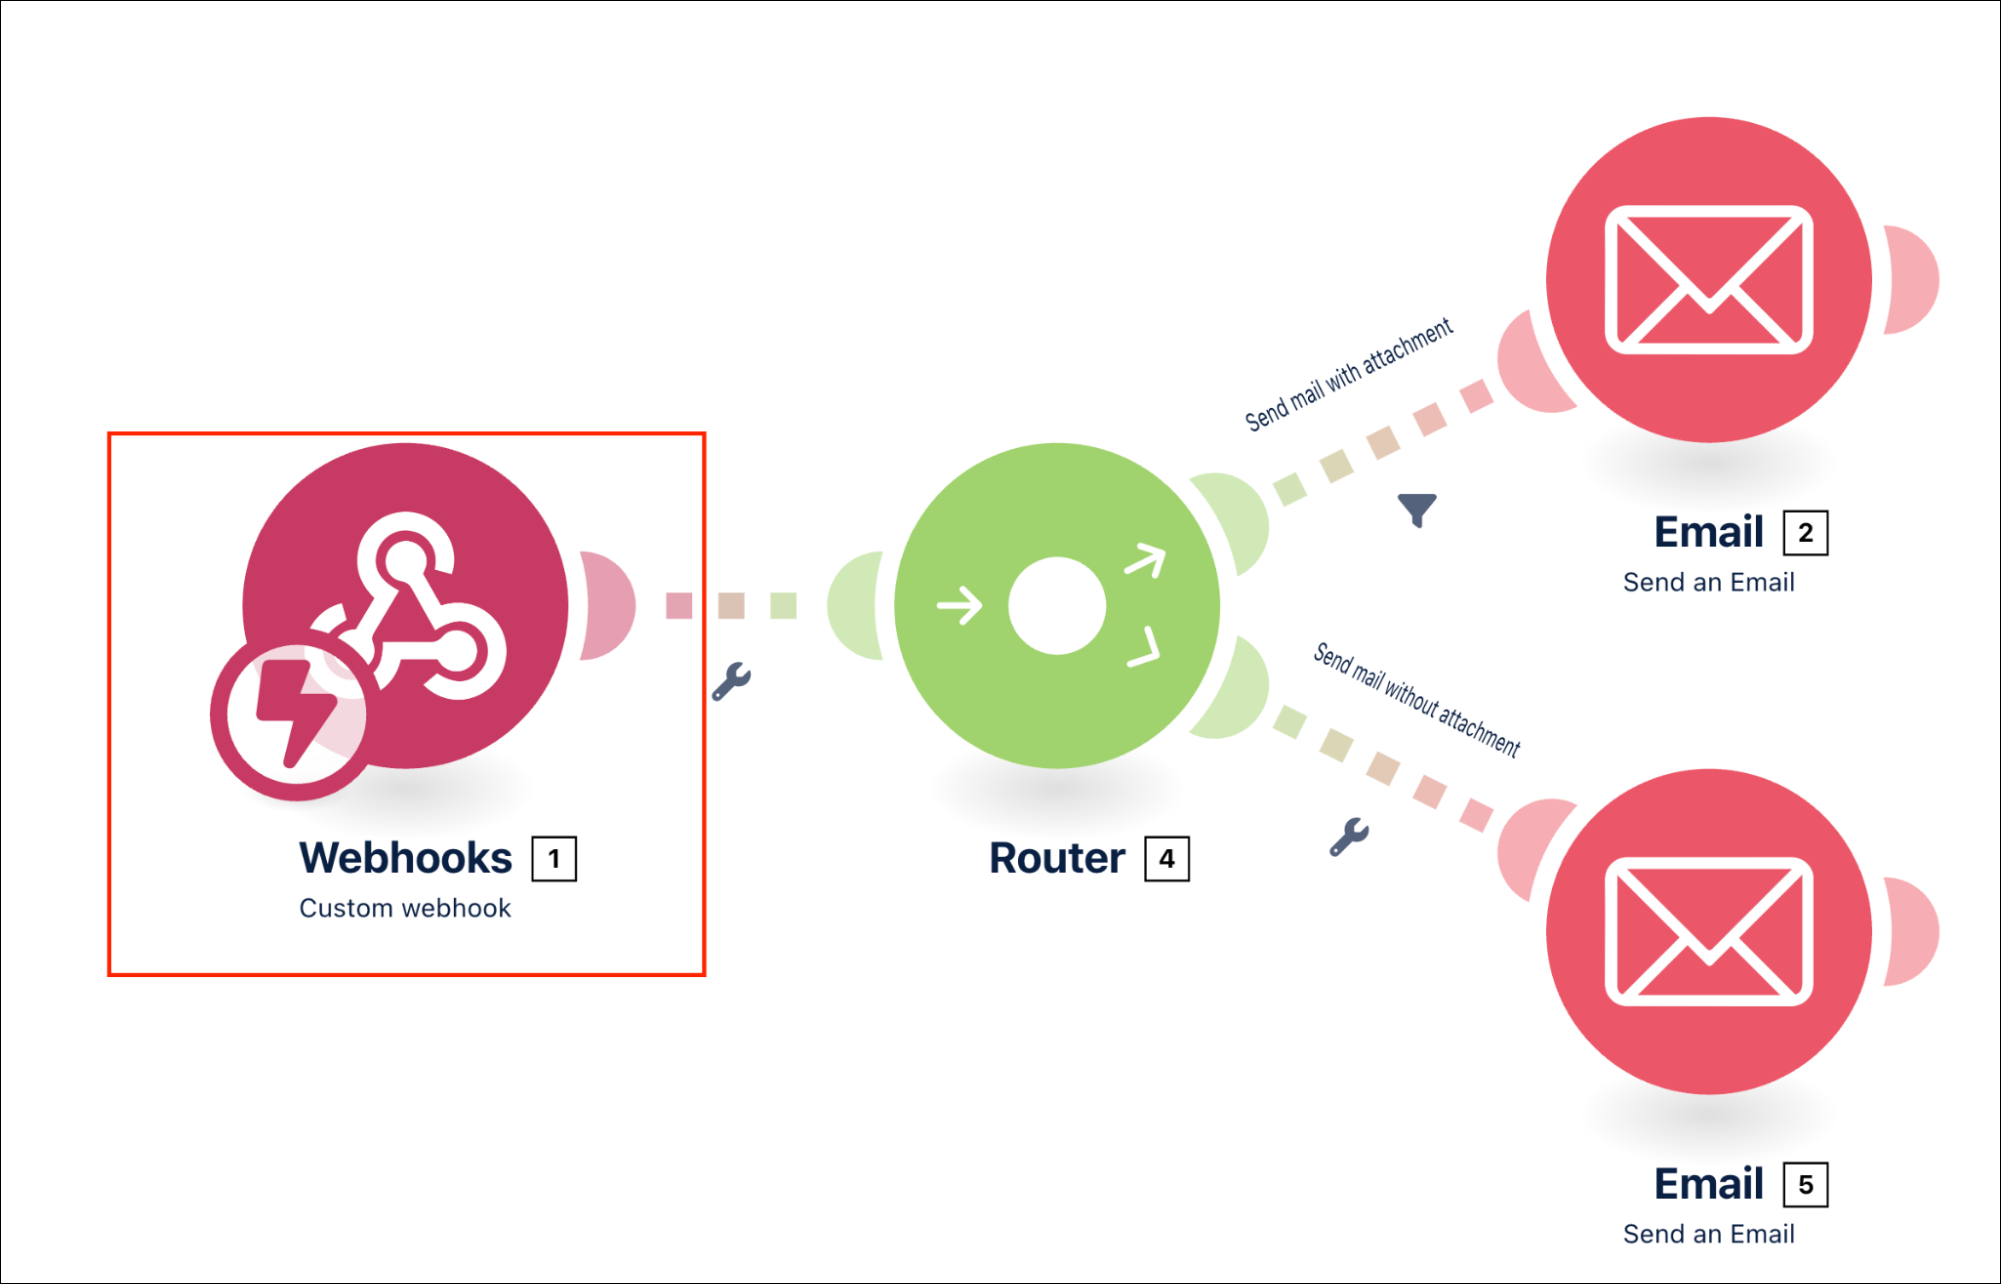
Click Edit to enter edit mode, then select the first module Webhooks.
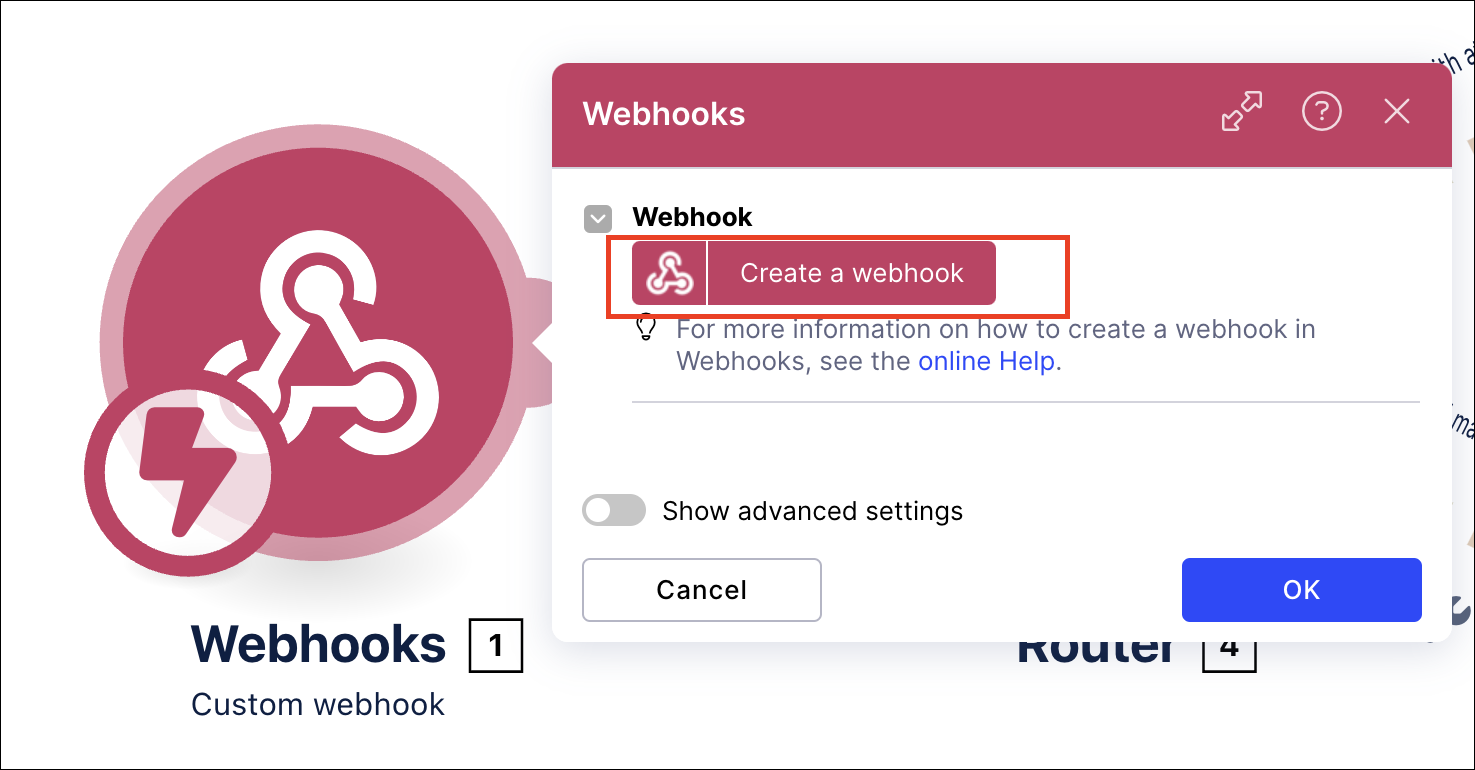
Click Create a webhook.
Enter a name for the webhook and click Save.
The webhook URL is displayed. Click Copy address to clipboard.
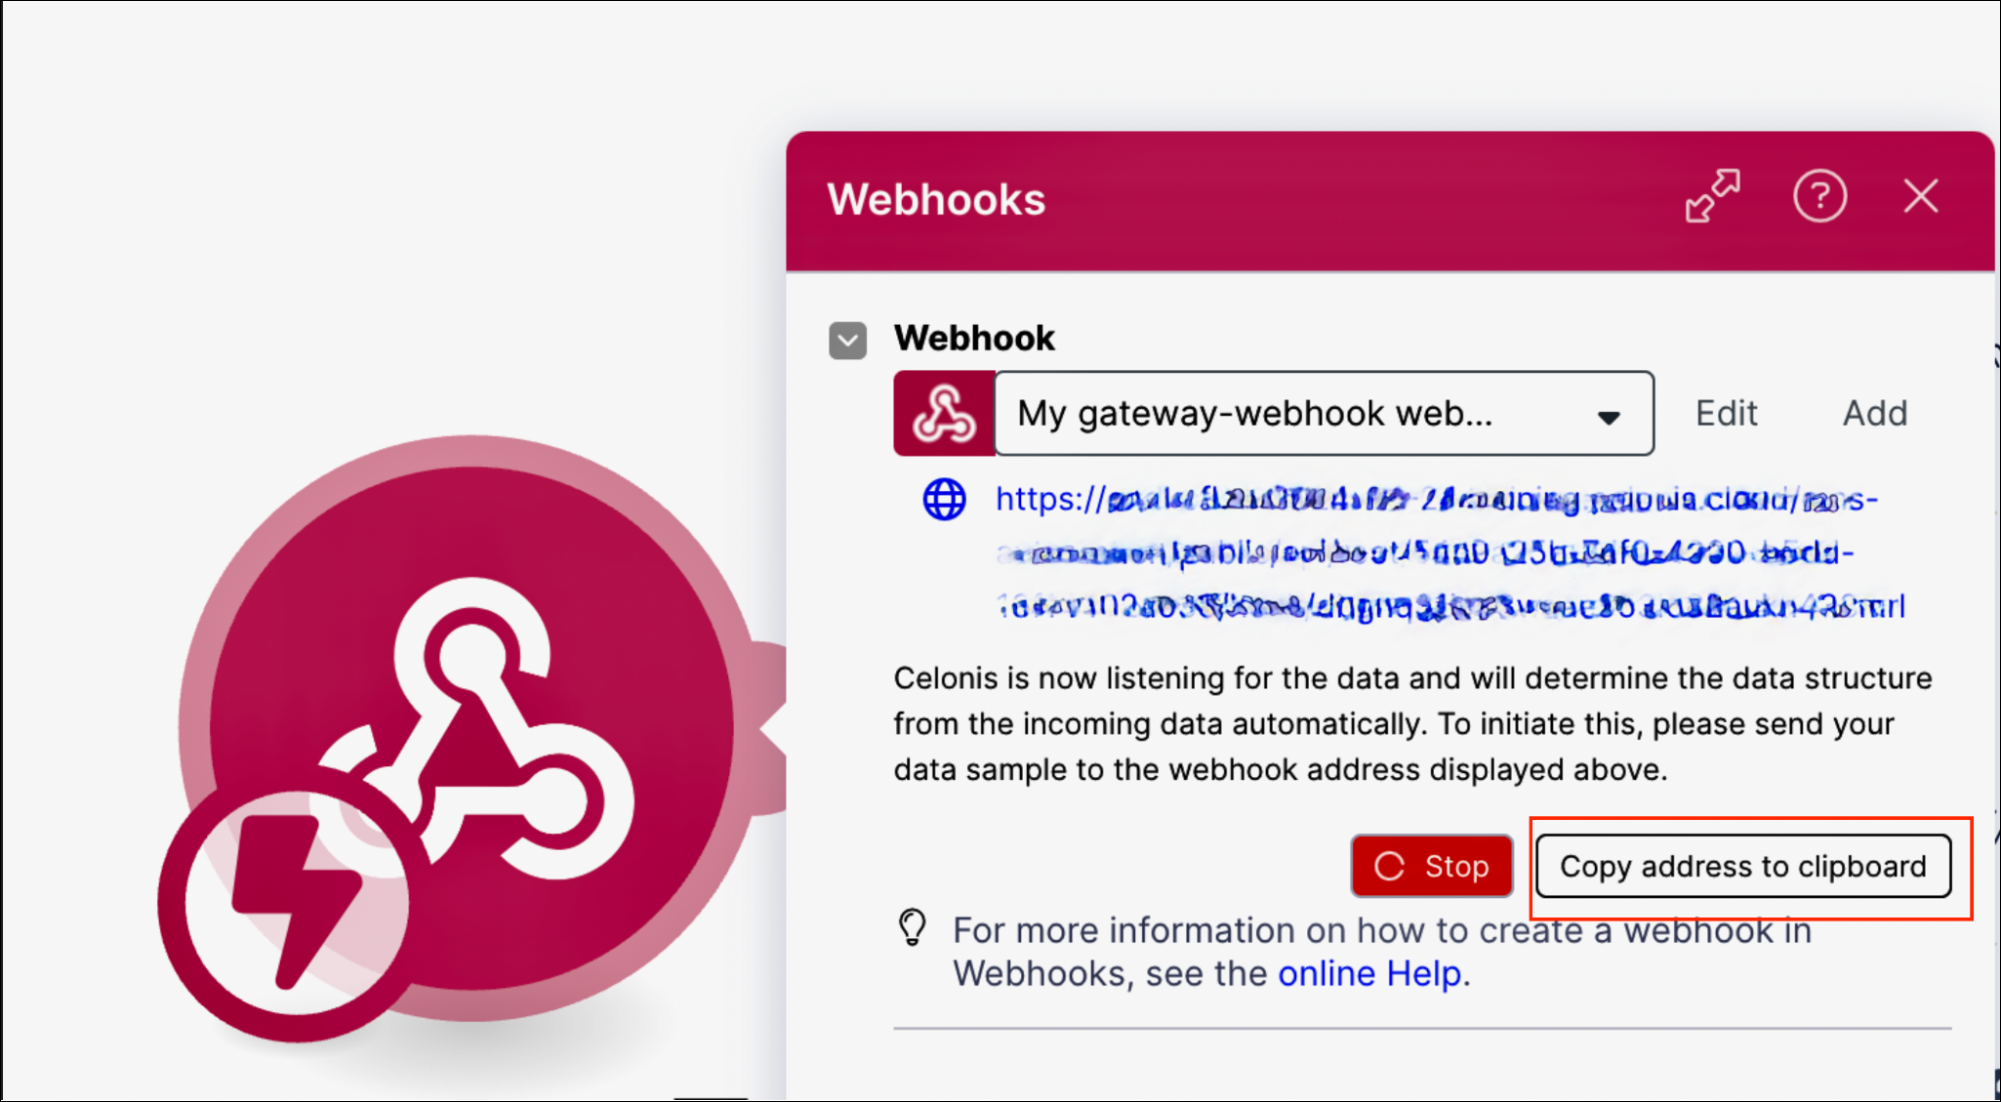
Go to your Machine Learning Workbench application and paste the webhook URL as the value of the MAIL_TRIGGER_WEBHOOK_URL variable.
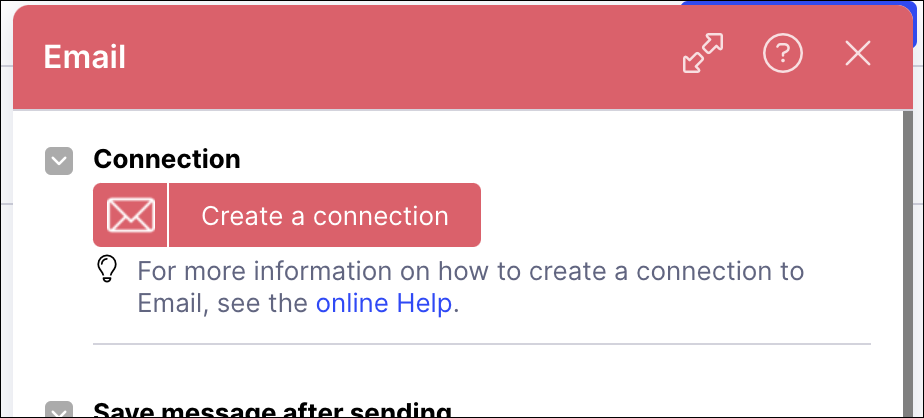
Back in Studio, select one of the Email modules.
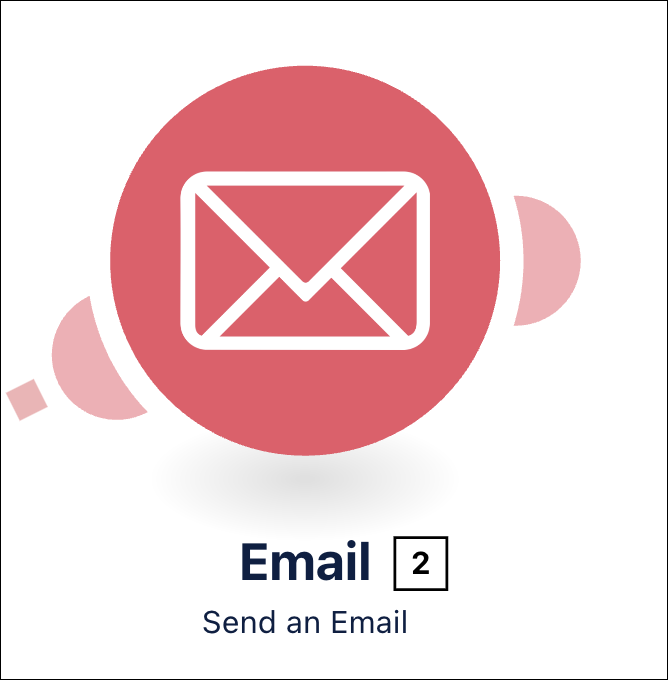
Click Create a connection.
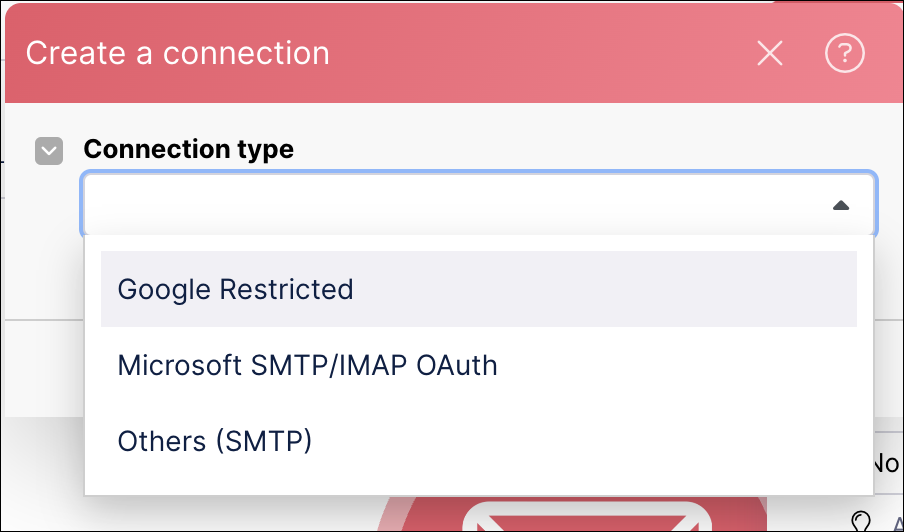
Select a connection type from the dropdown.
Proceed with the authorization. Once authorization is successful, close the authorization window, then click OK.
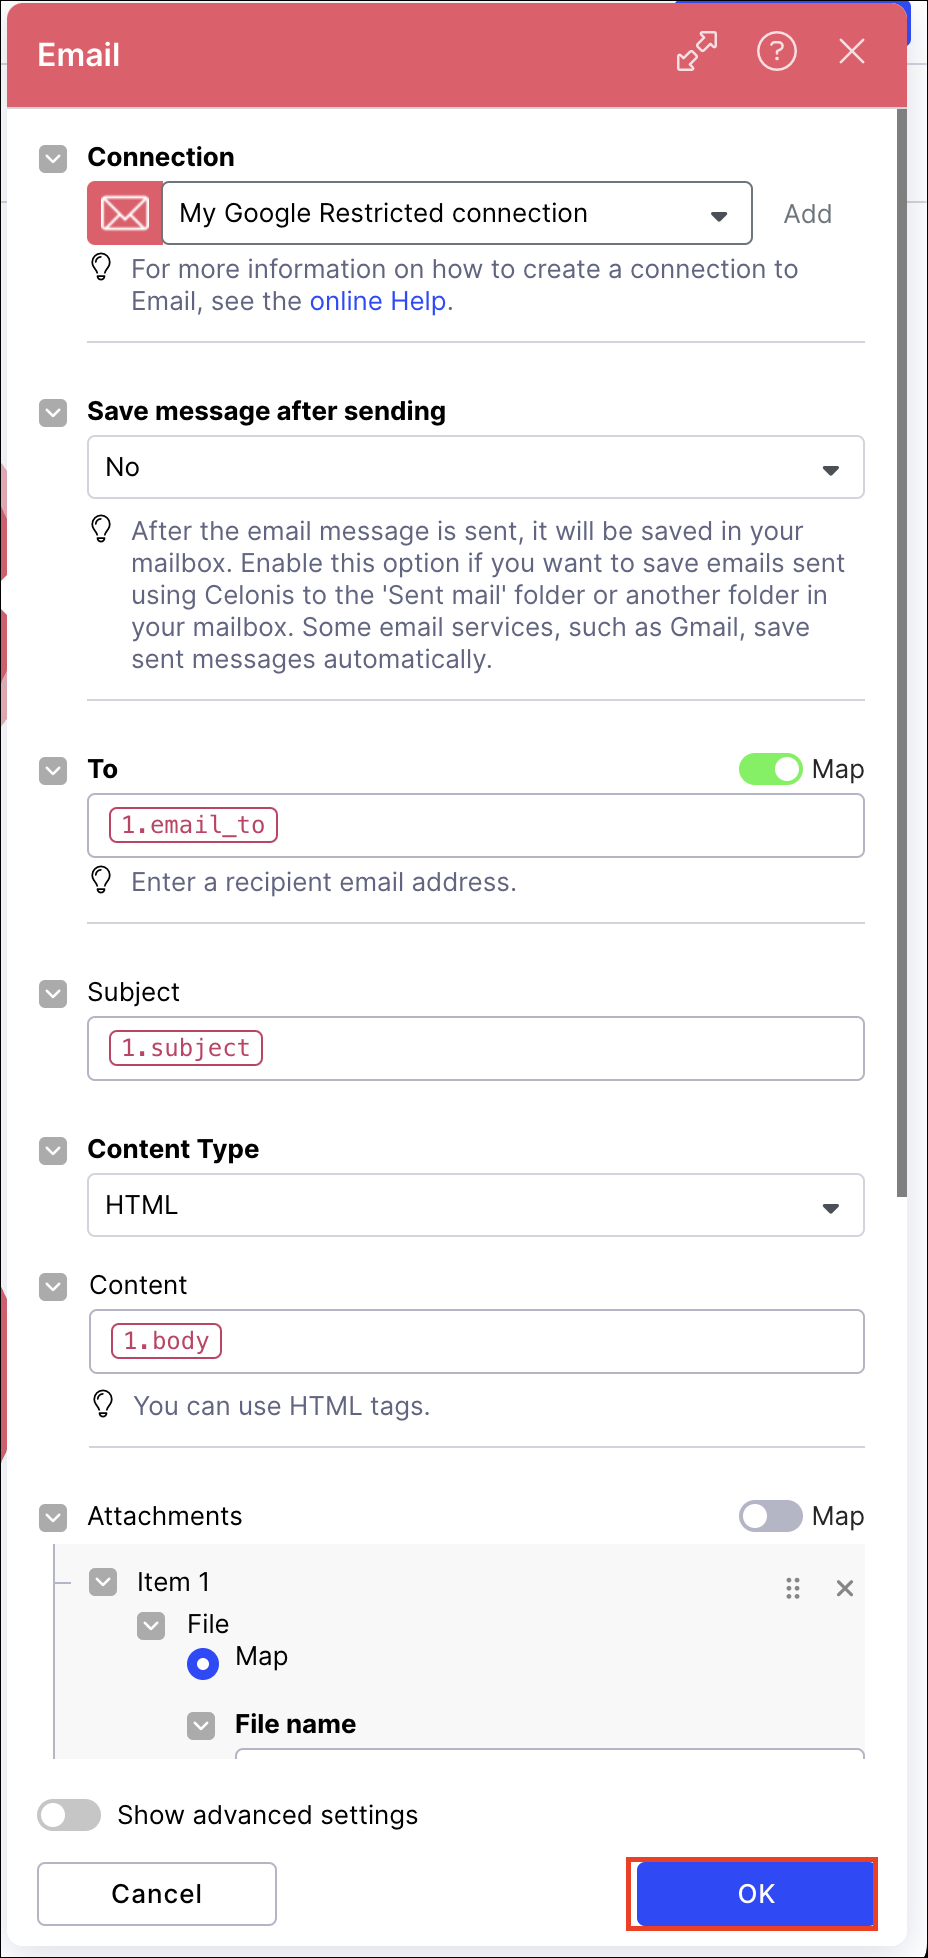
Repeat the connection and authorization steps for the remaining email module.
Save the action flow.