Settings
The following sections describe additional settings you can use to customize your Process Designer editor experience.
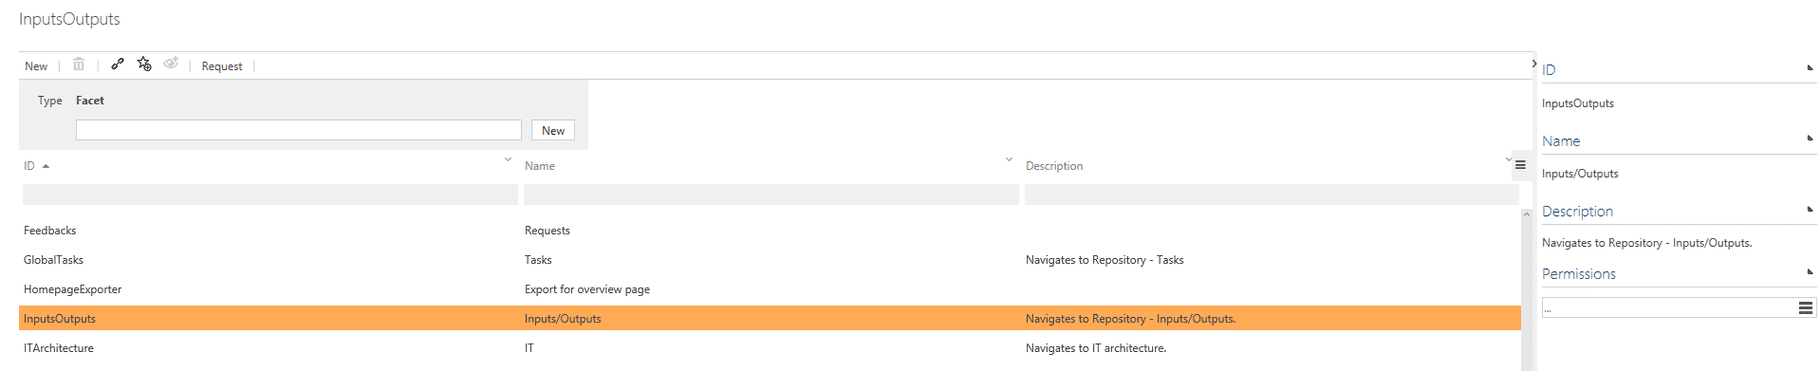
In Celonis Process Management, all Navigations and Sub Navigations are called facets.They are used to display processes, organization, repository objects, etc.
It is possible to set permissions so that only specific user groups can add or edit a facet.
Global and local variants are set up via the tile Variants on the administration page.

Additionally, the administrator can define tags via the tile Tags to be used together with variants.
Only users with administration rights can create tags. Tags can be used in the user fly out menu to filter processes and repository items in list views (e.g., start page). Existing tags be connected to processes and repository objects.
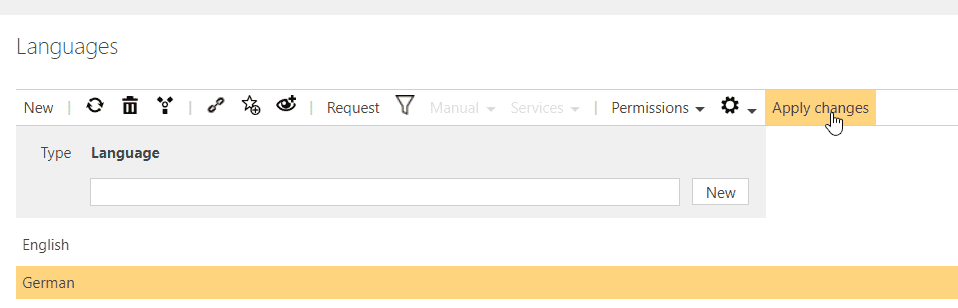
In Celonis Process Management, several LCID languages are support. Mostly, English (1033) and German (1031) are used. The entire user interface (UI) is localized and the process data culture is activated for the selected languages. Releasing a process/repository item is only allowed if mandatory attributes are set for corresponding cultures and in case of importing process data only configured cultures will be imported. English (1033) is the default language. Other languages can be added as well. It is also possible to remove a language here, except the default language.
Note
If the Celonis Process Management installation administrator has activated the translation feature via the Web.config, language-dependent attributes are NOT automatically translated online. Use the Translate button in the Detail Content. The source language corresponds to the user’s language settings.
After adding a new language it’s required to click on Apply changes in the toolbar.
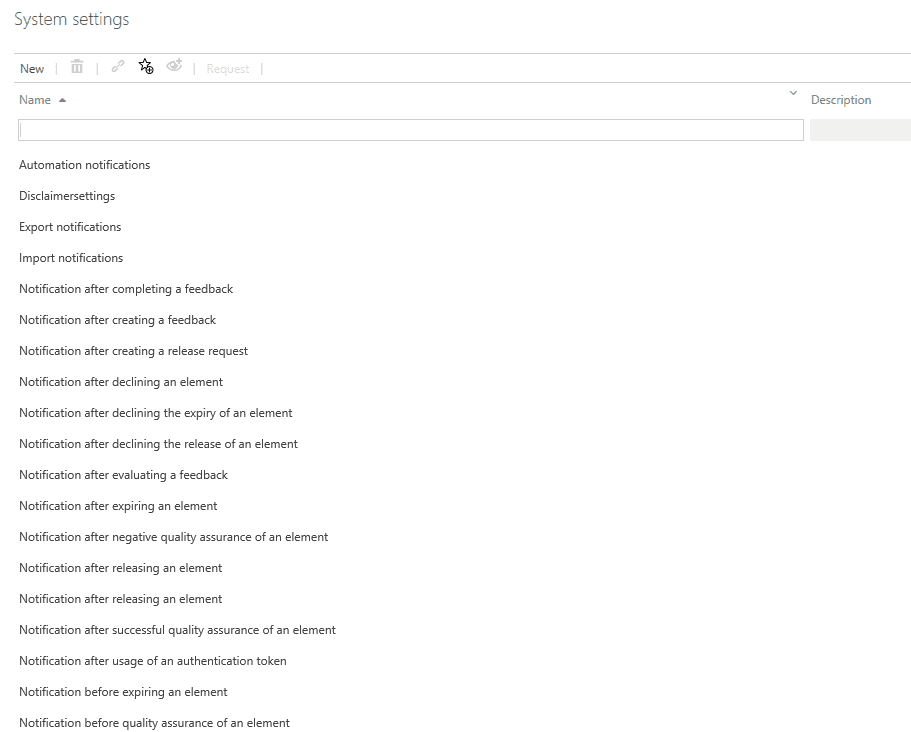
The following is a short description of the Celonis Process Management system settings.
Disclaimer settings
The disclaimer is disabled in Celonis Process Management default settings. Activate the Disclaimer checkbox activated to enable the disclaimer in the header bar and press F5 to refresh the browser window. To add a disclaimer text, use the disclaimer input box.
Notifications
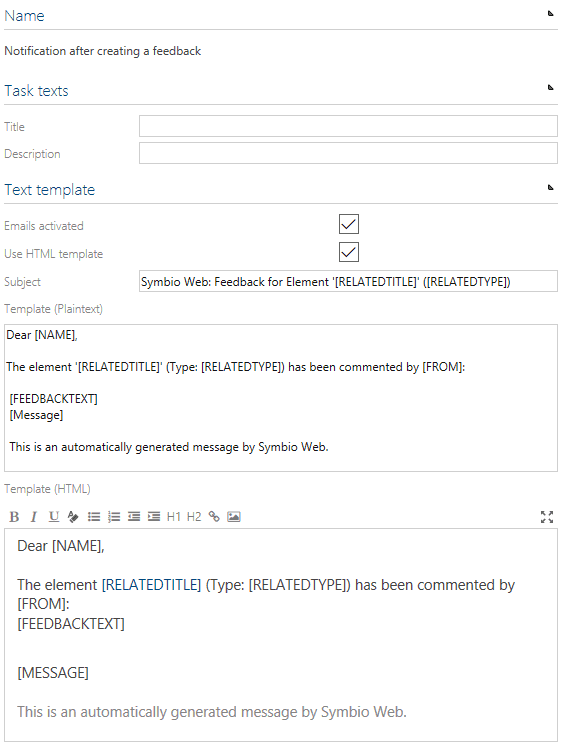
Feature to enable the following notifications. Customized mail template text can be configured.
Please note:
Text can be added or removed.
Elements in square brackets [ ] should not be changed. Copying of these blocks is not supported.
Example for notification - notification after creating a feedback:
Notification | Content | Email to |
|---|---|---|
Notification after completing a request | Based on the maintenance of the process participants, this notification is sent to the responsible users. | Requester Quality Manager Responsible |
Notification after creating a request | If the user sends a request (feedback, question, comment, etc.) to a process, each participant receives the notification. The request runs through the same workflow as the process. | User group Requestinfo |
Notification after declining the approval of an element | If an approver rejects the approval of a releasable element, the author and potentially existing remaining approvers are informed. | Author Other Approvers |
Notification after declining the expiry of an element | If an involved person rejects the expiry request of a released element (processes and objects) the author and all other participants, who received an according task, are informed. | Author Approver Quality Manager Responsible |
Notification after declining the release of an element | If the responsible person rejects the release of a releasable element, the author will be informed. | Author |
Notification after evaluating a request | As soon as the person responsible for the process has processed the request (feedback, question, comment, etc.), the user (requester) receives a concrete answer. | Requester |
Notification after expiring an element | As soon as an element has expired, all parties involved are informed.All contents that have the status "expired" are no longer visible to the Viewers and cannot be used by authors. | Author Approver Quality Manager Responsible |
Notification after negative quality assurance of an element | If a quality manager rejects the quality assurance task for an element, the author and potentially existing remaining quality managers are informed. | Author Other Quality Manager |
Notification after releasing an element | As soon as an element is released by the responsible person, the author receives the notification. | Author |
Notification after successful approval of an element | As soon as an element is approved by the approver(s), the author and potentially existing remaining approvers are informed. | Author Other Approver |
Notification after successful quality assurance of an element | As soon as an element is assured in quality, the author and potentially existing remaining quality managers are informed. | Author Other Quality Manager |
Notification after usage of an authentication token | In the User Management section of the admin area, an authentication token can be generated. | User group Admininfo |
Notification before approval of an element | If an element is set to “Ready for Approval”, all maintained approvers will receive a task to review the element and accept or decline the approval. | Approver |
Notification before expiring an element | If an expiry request for an element is triggered, all relevant participants (QM, Approvers, Responsible) will receive a task to review the element and accept or decline the expiry. | Author Responsible |
Notification before performing a review | If an element is set to “In Review”, all maintained reviewers receive a task to review the element and accept or decline the review. | Reviewer |
Notification before quality assurance of an element | Notification to the Author as soon as the release workflow changes over to Quality Manager. | Author |
Notification before releasing an element | If an element is set to “Ready for Release”, the responsible person will receive a task to review the element and accept or decline the release. | Responsible |
Notification on approval of requests | Notification before release of the request by the person responsible. As soon as the request has been confirmed by the Approver, the Requester receives a notification that the Approver checks this request. | Requester |
Notification on changes of related elements | Notification if the status of related elements of a process is changed (e.g., from version 1.0 to version 2.0). | Author Responsible |
Notification on validations of requests | Notification before release of the request by the Responsible. As soon as the request starts (without Quality Manager) or the request has already been confirmed by Quality Manager, the Requester receives a notification that the Quality Manager checks this request. | Requester |
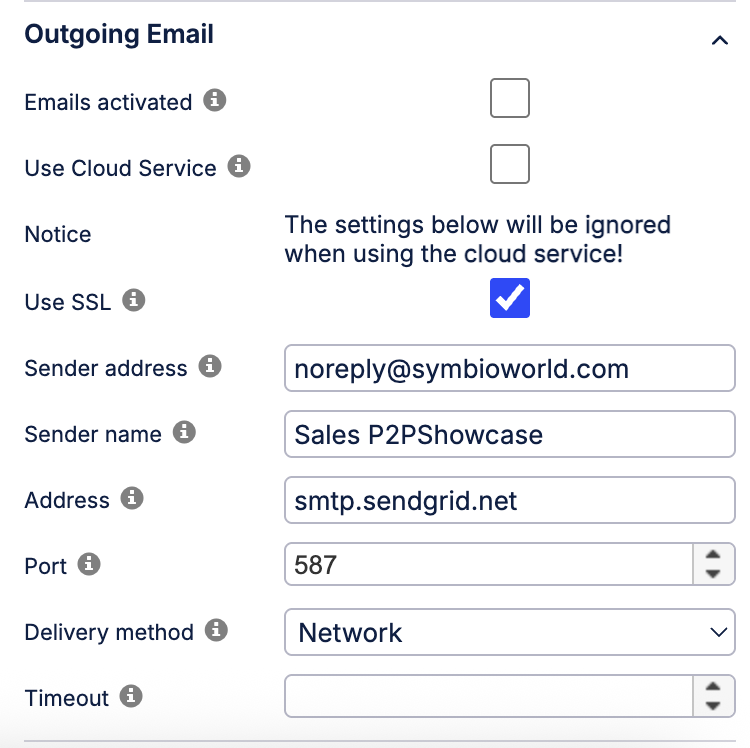
Outgoing email settings
Note
This setting is only applicable if you're not using Action Center.
Outgoing email settings need to be configured to make use of email task/request notifications. Mandatory fields are highlighted. Nevertheless, the username and password for a mail server account should be used in the Authentication section instead of using an anonymous authentication mode. Example:
Privacy settings
The privacy settings can be disabled if company guidelines require it because of work council or other reasons.

Region settings
The region settings are not set in Celonis Process Management default settings so the web server´s regional setting (region and time zone) are used. If regional settings are set, then time stamps in the user interface will reflect these, e.g. in attributes of processes or release tasks. The user can still overwrite these settings by setting user-dependent regional settings in the user’s profile in Celonis Process Management users management.
Theme settings
The default Celonis Process Management theme can be customized by changing the colors of the header and navigation bars. It is also possible to replace the Celonis Process Management logo with your own logo. To activate new theme settings, click the Compile button and then press F5 to refresh the browser window to make the changes visible. To reset the theme back to the Celonis Process Management theme, click the Reset button. We recommend embedding the corporate identity only in the productive database in order to make a clear difference to the testing system.
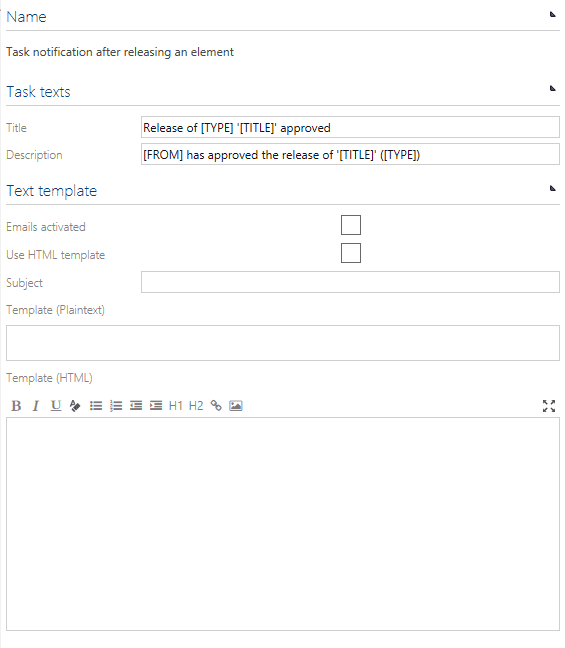
Task notifications
Enable the following notifications about tasks. These notifications are enabled within Celonis Process Management and the email setting has no effect here.
Task notification after completing a feedback
Task notification after creating a feedback
Task notification after declining the expiry of an element
Task notification after declining the release of an element
Task notification after evaluating a feedback
Task notification after expiring an element
Task notification after negative quality assurance of an element
Task notification after releasing an element
Task notification after successful quality assurance of an element
Task notification after usage of an authentication token
Task notification before expiring an element
Task notification before quality assurance of an element
Task notification before releasing an element
Task notification on approval of feedbacks
Task notification on validation of feedbacks
Task notification after releasing an element: