Configuring an activity history log
The Activity History component serves as a centralized audit trail for your process data, providing a chronological record of all manual and automated interventions. By capturing events such as augmented attribute updates, user comments, and task transitions, this component ensures full transparency into how a specific record—such as an invoice or purchase order—has evolved over its lifecycle.
Integrating the Activity History into your Studio Views allows process stakeholders to:
Strengthen governance: Maintain a verifiable "System of Record" for internal and external audits.
Enhance collaboration: View a consolidated timeline of comments and task updates to understand the context behind process changes.
Increase visibility: Monitor background system actions alongside human interactions to identify bottlenecks or process deviations in real-time.
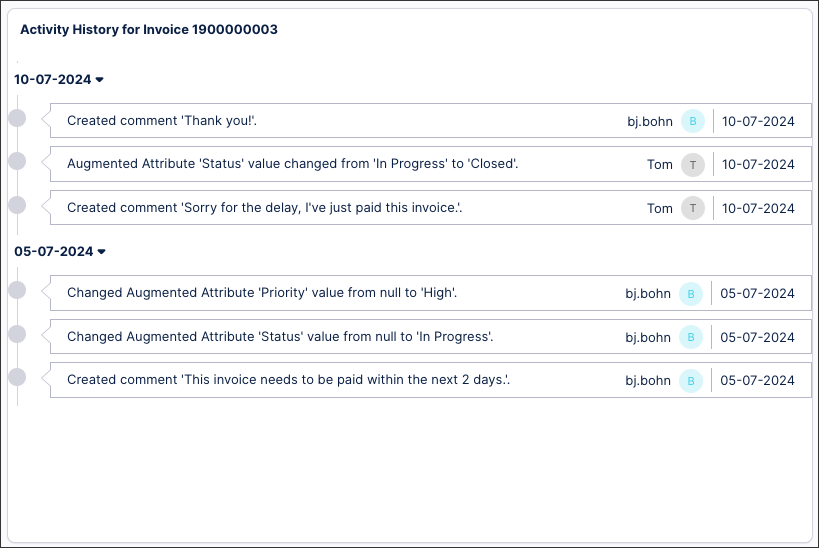
In this example, an activity history log has been configured to show updates to an invoice (#1900000003).
 |
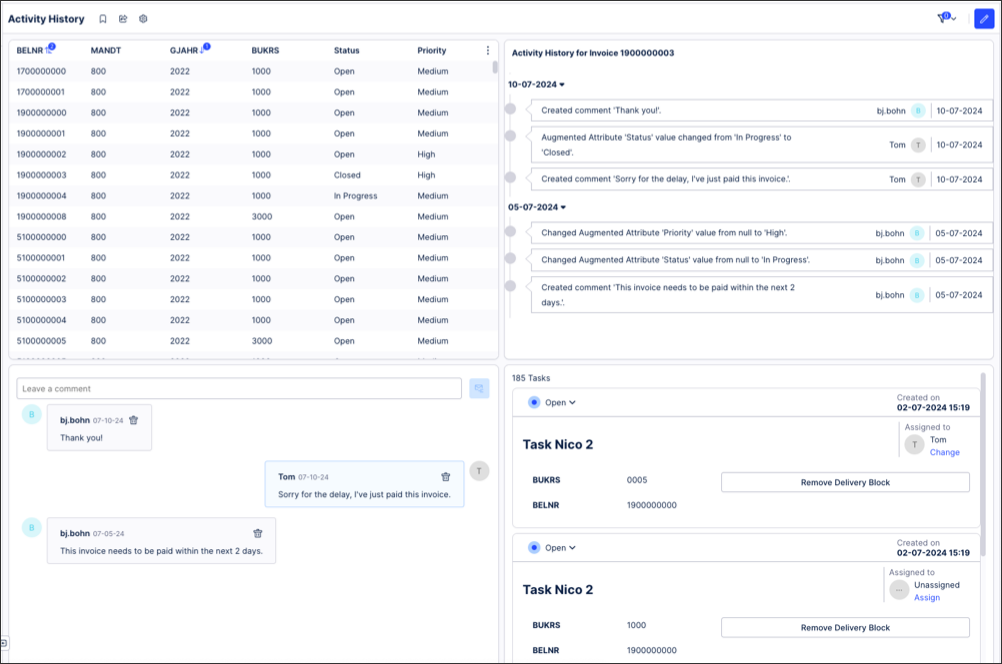
This activity history component could then be combined with other components, such as the related table, comments, and tasks:
 |
The Activity history component displays the following events:
Activity logs from the assigned Data Model
Augmented attribute updates. See: Augmented attributes.
Comments. See: Comments.
Comment created
Comment deleted
Tasks
Task creation
Task action taken
Task assignee change
Task status change
Task deletion
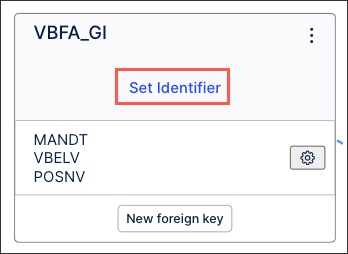
As events are recorded against rows in a Data Model table, you must set identifiers for these tables. Identifiers allow you to identify unique records in each table, enabling you to merge the deltas to the existing and loaded Data Model.
For Data Models created from process connectors, you may find that the identifier has already been set as part of the guided configuration. You can edit or update identifiers using the same steps provided in the link below.
To learn how to set identifiers for your Data Model tables, see: Setting identifiers
 |
After setting identifiers for tables in your Data Model, you can now configure the activity history component within a Studio View.
Note
When creating a new app in Studio, you may have no activities recorded against the table in the Data Model. As a result, the activity history component may appear blank before you publish the app for productive use.
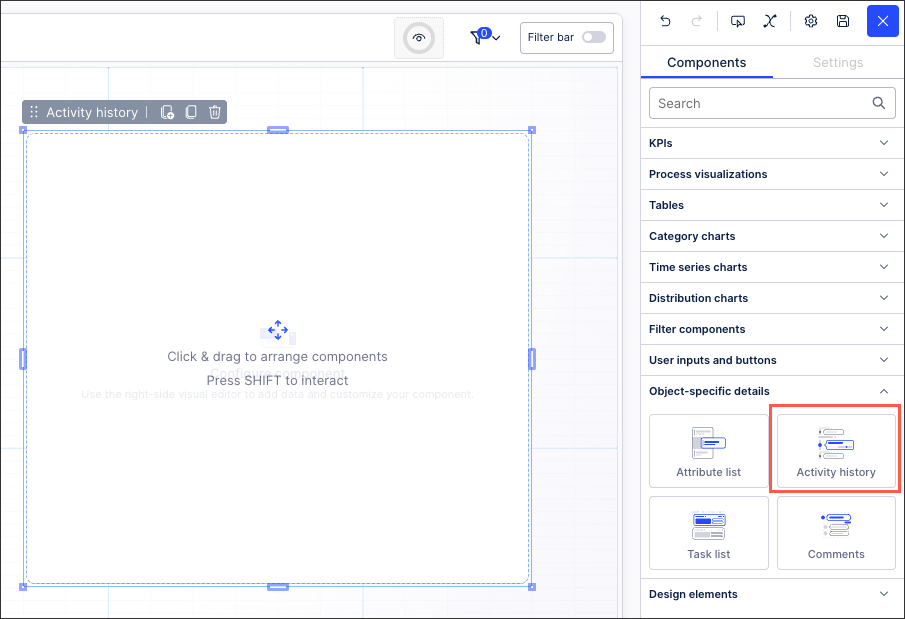
In View Edit Mode, drag and drop the Activity history component (one of the Object-specific details components) to your View.
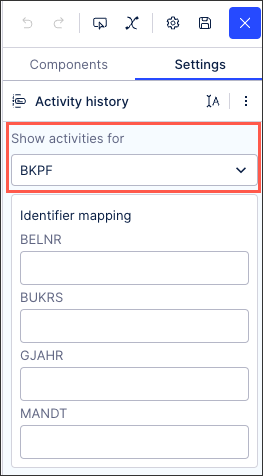
Open the component settings menu and select the Data Model table you want to display the activity history for.
In this example, we are using the BKPF table:
Select the identifier mapping for each row in the table.
In this example, that includes BELNR, BUKRS, GJAHR, and MANDT:
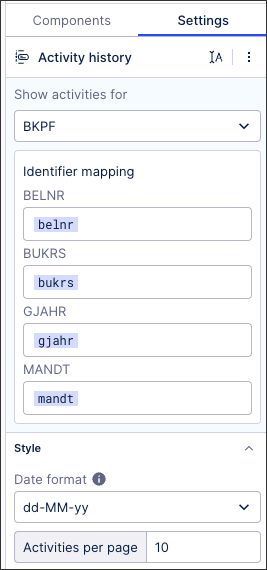
Optional: Configure your data format and the number of activities to display per page.
Date format: This defaults to the date format used for your Celonis Platform team.
Activities per page: This is set to 5 by default.
Click Interactive Mode and test that your activity history component is working as expected.
