Customize the Data Pool
By default only those columns are included in the data model which are used in the out of box analysis provided by Task Mining. In case a more in depth analysis is needed or you plan to add custom data, you can add the excluded columns from the user_interaction_event_log_history table or add custom data from your source system.
Note
Celonis does not support modifications to the Task Mining data pool which is automatically created by the Workforce Productivity project. This section explains how to extend the data model by creating a second data pool.
Create a new data pool and select Create from Scratch.
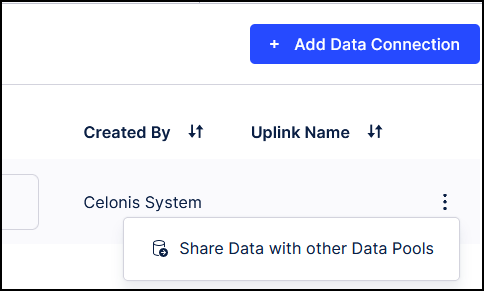
Go back to the data pools and select the Task Mining Data Pool that was created by the Task Mining project. Go to Data Connections, click the three dots next to Global Data Connection and then select Share Data with other Data Pools.
Note
If Global Data Connection is not visible, create a Data Job and an empty Transformation. Global Data Connection will then appear in Data Connections.
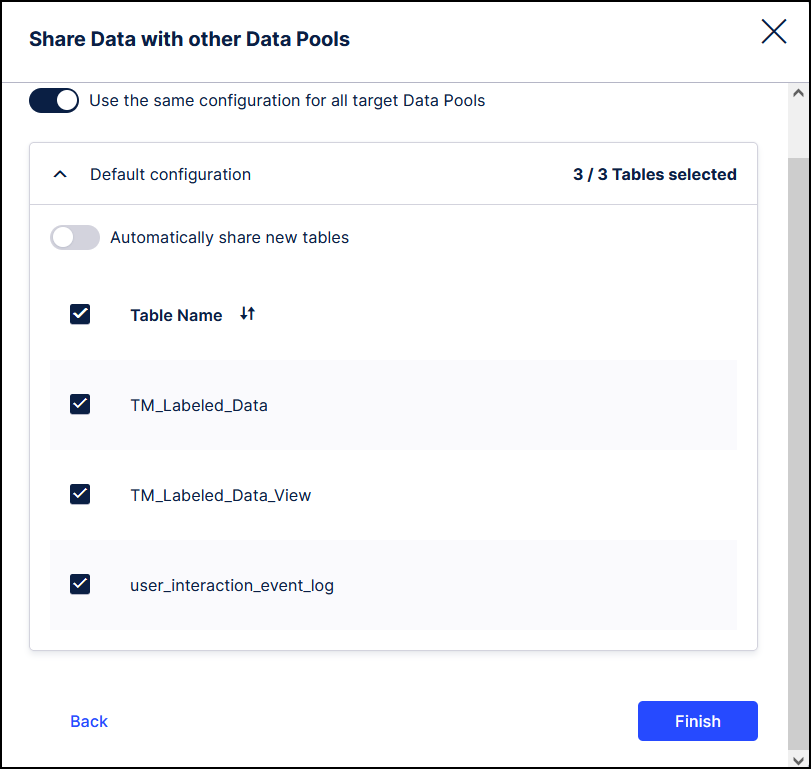
Choose the newly-created data pool from the list and then select all three items to synchronize.
Return to the newly-created data pool. Click Connect to Data Source and then select Import Data from another Data Pool. Click the data connection that you shared in the previous step and then click Synchronize.
Click Create Data Job. Enter a name and then choose Global Data Connection.
Adding a transformation
Add a transformation that creates a view with the "Comment" and "ActiveElementName" columns from the raw data (user_interaction_event_log_history) table. You will need to adjust the schema name between the <%= %> symbols.
Note
You can check the schema name by clicking the Schema Explorer on the left and selecting the imported connection from the dropdown. Expand one of the tables and click on one of the columns. This adds the selected column to the transformation statement along with the schema and table name. You can then copy the schema name from there.
-- change the column(s) which are needed accordingly. always select the "Id" column as we need that to join the new view to the target table
-- make sure to change the schema name
CREATE VIEW extra_columns AS
SELECT
     Id
     ,Comment
     ,"ActiveElementName"
FROM
<%=DATASOURCE:TASK_MINING_DATA_POOL_-_SCALABLEWFP_GLOBAL%>."user_interaction_event_log_history";
-- the next query recreates the target table as a view by joining the extra_columns view and the target table
-- adjust the columns and the schema accordingly
CREATE VIEW TM_Labeled_Data_View AS
SELECT
tm_labeled_data_view.*
,"extra_columns"."Comment"
,"extra_columns"."ActiveElementName"
FROM
<%=DATASOURCE:TASK_MINING_DATA_POOL_-_SCALABLEWFP_GLOBAL%>."TM_Labeled_Data_View" tm_labeled_data_view
LEFT JOIN "extra_columns" ON 1=1
AND tm_labeled_data_view.Id = "extra_columns".Id
;
Save the transformation and then execute it.
Create a data model and name it. Choose the newly created TM_Labeled_Data_View from the list and then click the view to set it as the activity table:
For Case ID choose the CASEID column.
For Activity name choose the SCREEN column.
For Timestamp choose the TIMESTAMPUTC column.
Select Finish.
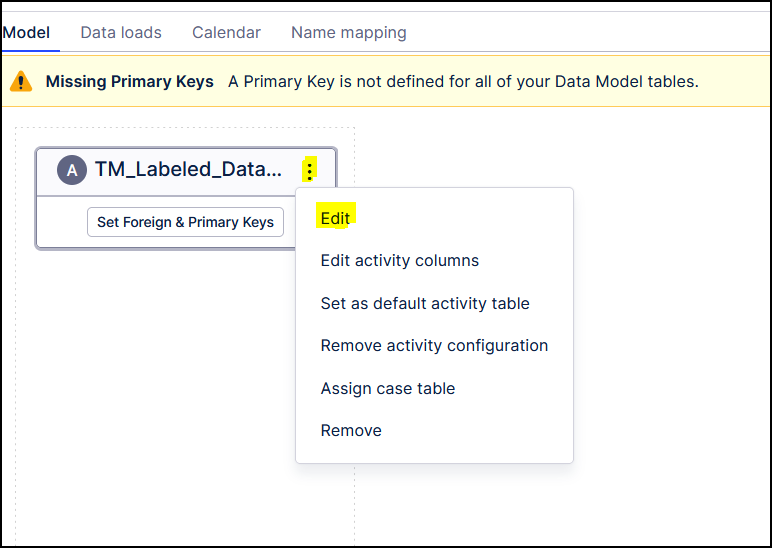
Once the data model has been created, click the three dots next to TM_Labeled_Data_View and select Edit.
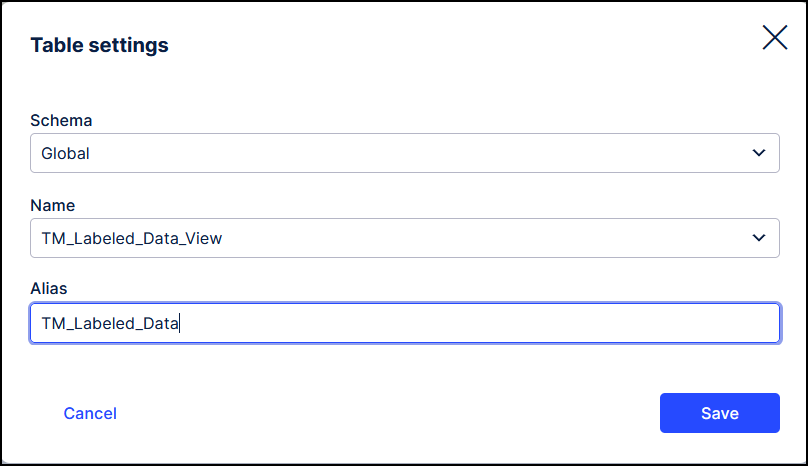
Enter "TM_Labeled_Data" in the Alias field and click Save.
Load the data model.
Go to Studio and expand the package that was created by the Task Mining project. Expand assets and then click on the Knowledge Model. In the upper right corner click on the down arrow next to the data model and choose "Create Data Model Variable". Select the newly created data model from the list.
The custom columns are now available to use in the View.
Note
You can also add custom tables to this data model. Optionally create a schedule to execute this transformation periodically to keep the studio view up to date.