Configuring OIDC single sign-on
View our security recommendations
Your team security and user provisioning settings may vary depending on your team size. Before setting up your team, we therefore recommend that you choose a coupling approach and relevant settings.
For more information, view our Celonis Platform security recommendations and best practice: Security recommendations
OpenID Connect (OIDC) SSO is a modern authentication standard that lets your Celonis Platform user log in once and access multiple applications without signing in again. It builds on OAuth 2.0 and adds an identity layer so applications can verify who the user is, not just get permission to access data.
Using OIDC for your Celonis Platform environment provides the following benefits:
Improved user experience: Users log in once and gain seamless access to multiple applications, reducing password fatigue and improving productivity.
Stronger security with centralized authentication: Authentication is handled by a trusted Identity Provider, enabling consistent enforcement of security policies like MFA, password rules, and session controls across all connected apps.
Modern, standards-based integration: OpenID Connect builds on OAuth 2.0 and is widely supported by major identity platforms such as Auth0, Okta, and Microsoft Entra ID, making it easier to integrate with web, mobile, and API-based systems.
To configure your OIDC SSO, you need the following from your identity provider:
ClientID
Client secret
Provider Discovery URL
You also need the following authorized redirect URL:
https://[customerdomain].[realm].celonis.cloud/api/auth-handler/oidc/callback
To configure your OIDC SSO:
Click Admin & Settings - Single Sign-On.
Click OIDC - Configure.
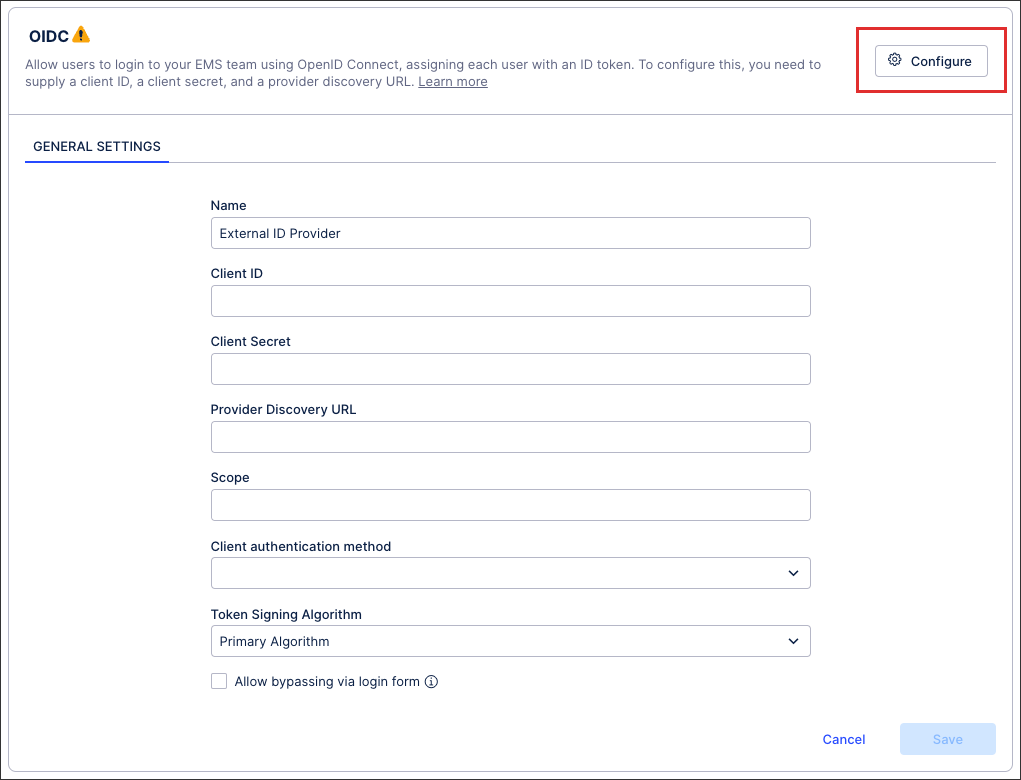
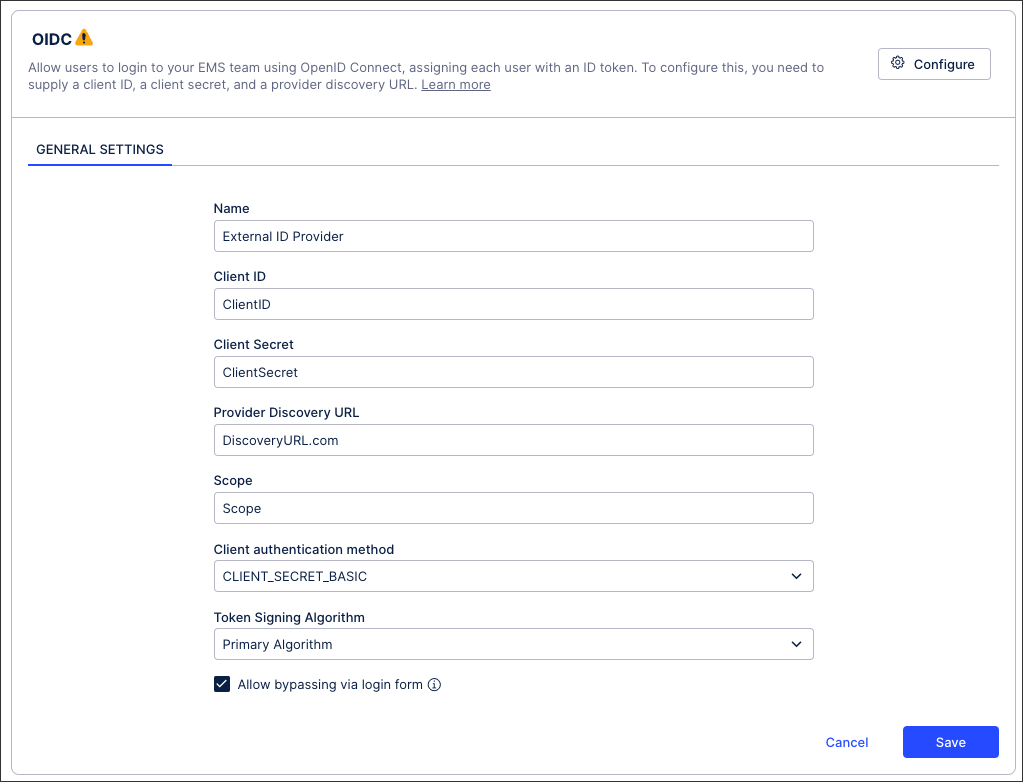
Enter the required information, including ClientID, Client Secret, Provider Discovery URL, and Scope value.
When inputting your scope value, we recommend using openID email and openid email profile .
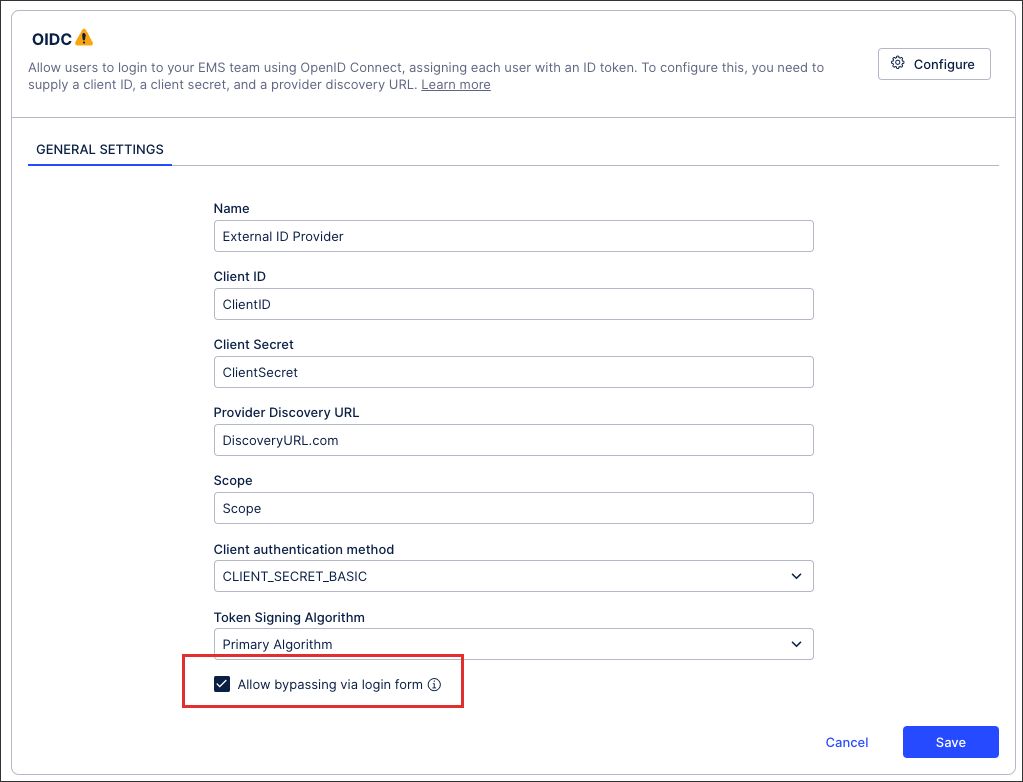
Optional: You can also allow bypassing via login form.
Click Save.
When prompted, either click Activate or choose to activate your configuration later.
If activating your OIDC configuration later, return to the Single Sign-On screen and click Activate:

Your OIDC SSO is now active, with all active users at that point being automatically logged out of your and need to re-authenticate to regain access.
Allow bypassing via login form
Enabling this option allows users who are outside of your IdP to still access your team with their email address and password. This feature is beneficial when working on implementation projects or when adding the user to your IdP is time consuming.
 |