Replacing User IDs
You can use PQL to display the user name and / or email of Celonis Platform users, replacing the user IDs that are stored in augmented tables for components such as tasks, comments, and augmented attributes. By replacing the user ID, your app users can then see information such as the name of the task creator, who an assignee is, and which user made the latest updates to augmented attributes.
To replace the user IDs with user name and / or email address, you need to pull the desired data into a Data Pool. The data can then be added to a table in a Data Model, with the newly created table used to reference the required table using a LOOKUP operator.
An example of the LOOKUP operator in use:

To replace the user IDs, complete the following sub-tasks in order:
The first task is to create an application key and assign it data permissions. This application key will be used to configure your data connection in a later task, granting the data connection permission to extract information from your Celonis Platform team.
Click Admin & Settings - Applications.
Click Add New Application and select Application Key.
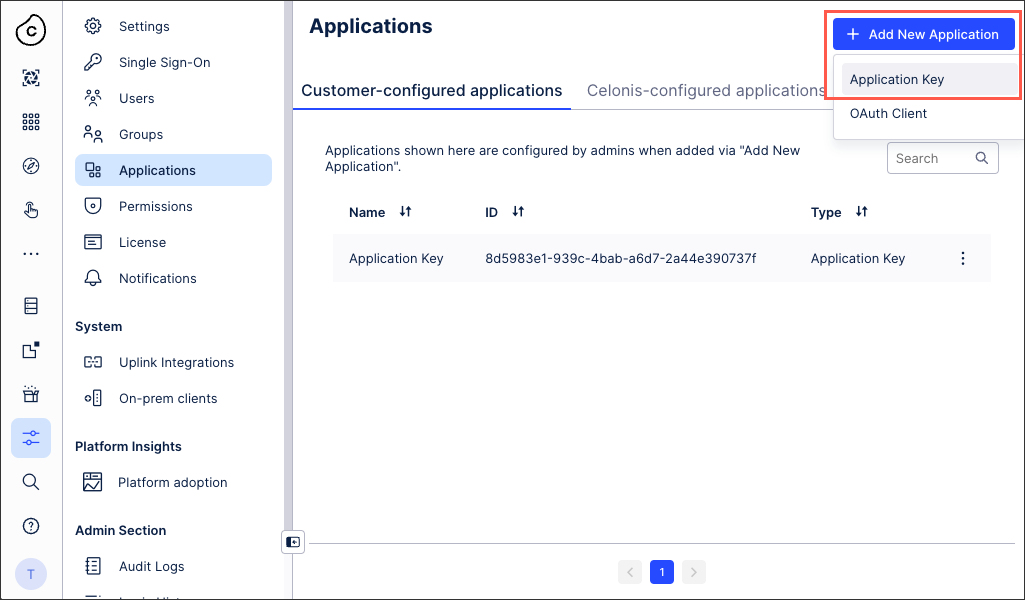
Add an application key name (an internal reference) and click Save.
Copy the application key displayed for further usage. It will not be visible later for security reasons, so you will need to create another application key if you misplace the key itself.
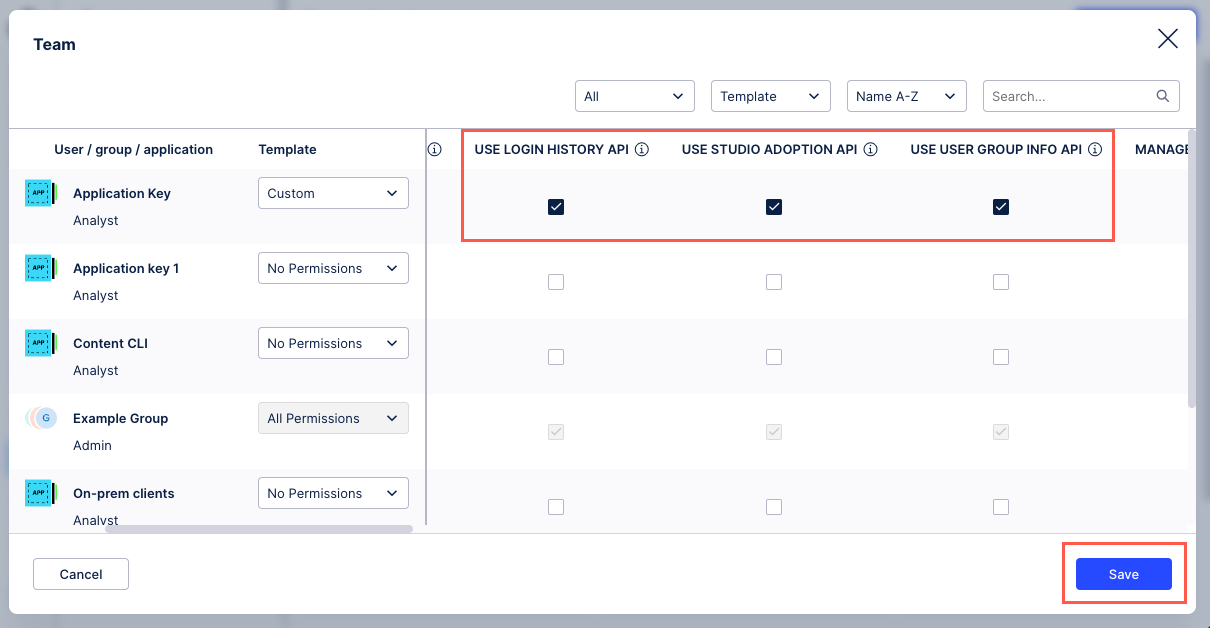
Click Permissions and edit Team permissions.
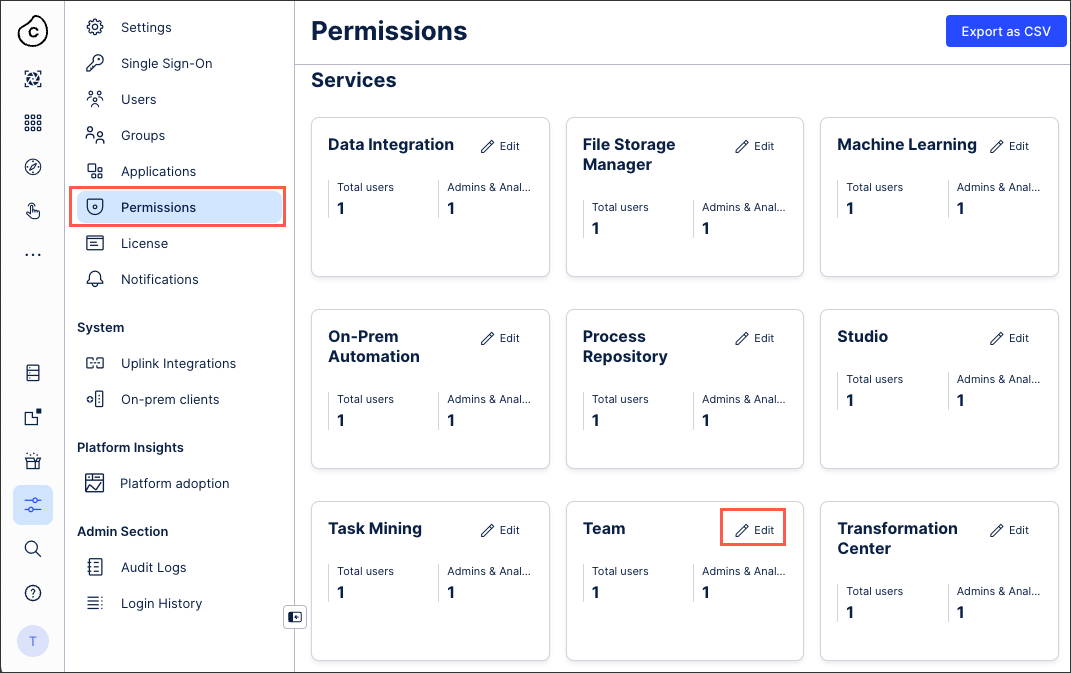
Assign the following permissions to the newly created application key.
Use Login History API
Use Studio Adoption API
Use User Group Info API
Click Save.
You now need to create a data connection within a Data Pool, enabling you to read information from your own Celonis Platform team. This requires the application key you created in the previous sub-task.
To create a data connection:
Click Data - Data Integration and open the Data Pool you want to use.
From the Data Pool diagram, click Data Connections - Add New Data Connection.
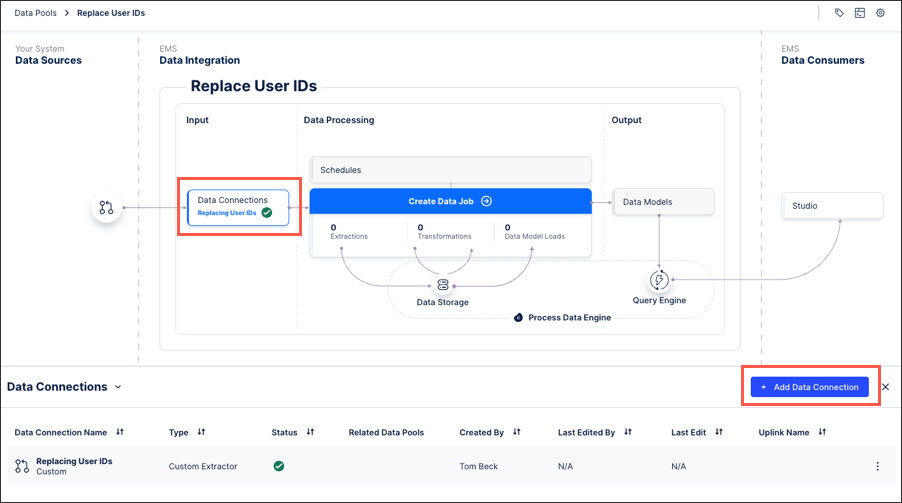
Select Add Data Source and then search for and open Celonis Platform adoption.
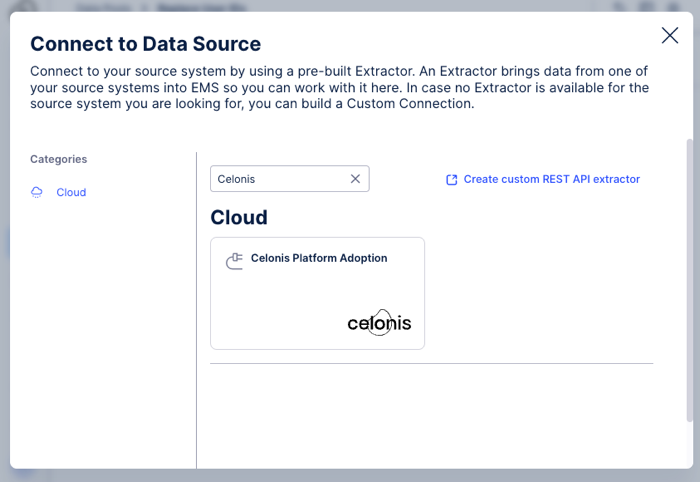
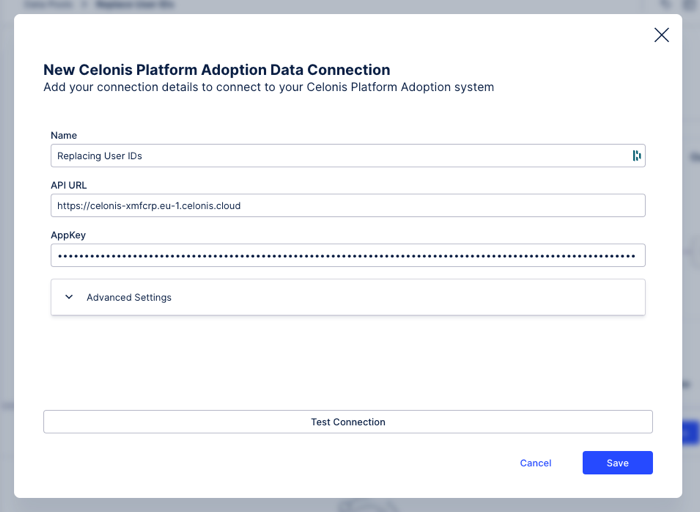
Configure the data connection using the following fields:
Name: An internal reference only.
API URL: Use the following format, replacing the team and cluster information from your team URL.
https://<celonisteam>.<cluster>.celonis.cloud
AppKey: Paste the application key created in the earlier steps.
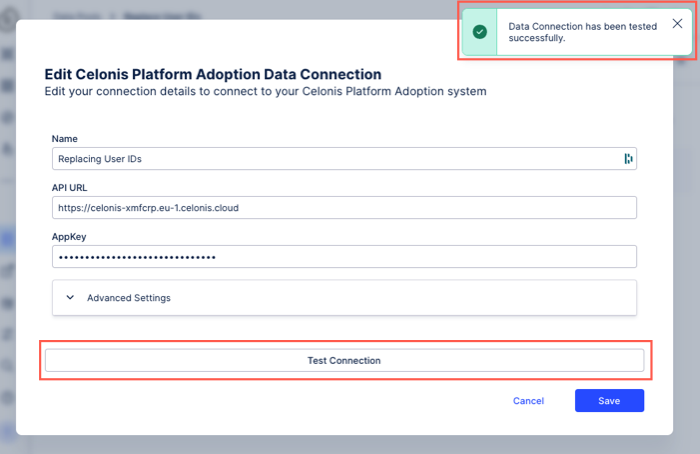
Click Test Connection and once a confirmation message appears, click Save.
You now need to create a data job with both extraction and transformation tasks. By doing this, you're extracting data from your own Celonis Platform team and then transforming that data into readable information for yourself.
To create a data job with extraction and transformation tasks:
3a. Creating data jobs with an extraction task
From your Data Pool diagram, click Data Jobs.
Add a data job name (an internal reference only), select the data connection created in the previous task, and then click Save.
Click Add Extraction.
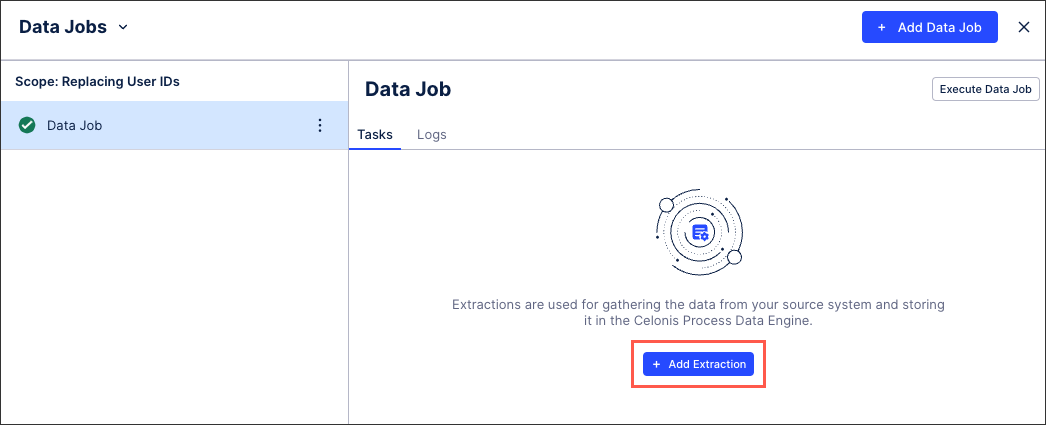
Add an extraction task name (an internal reference only), select Visual Editor, and click Save.
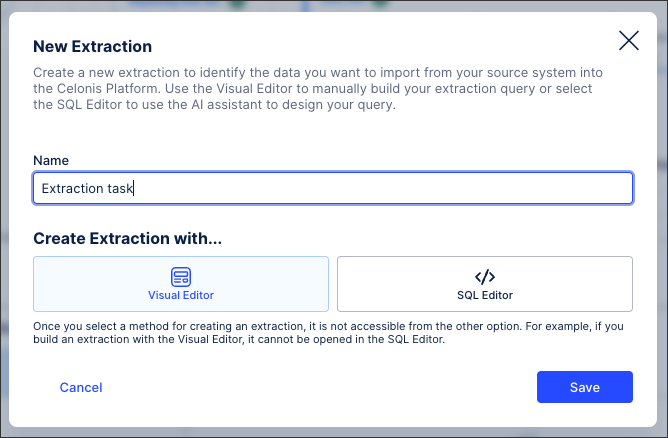
Click Add Extraction.
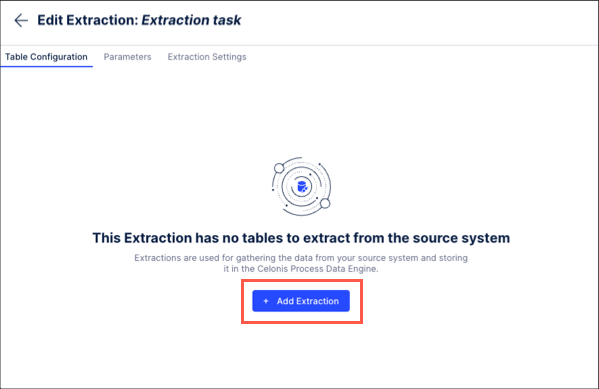
Select 'celonis_members' and click Save.
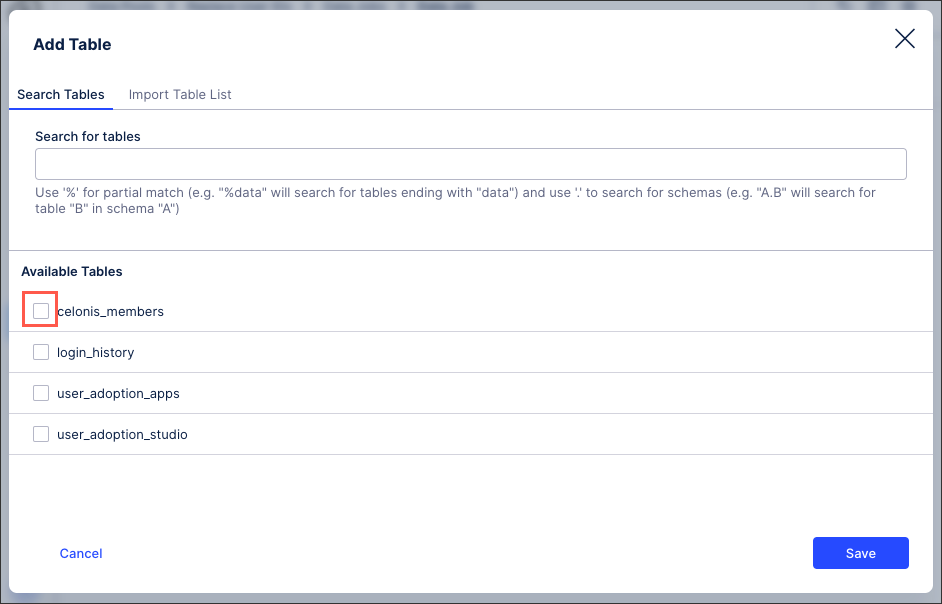
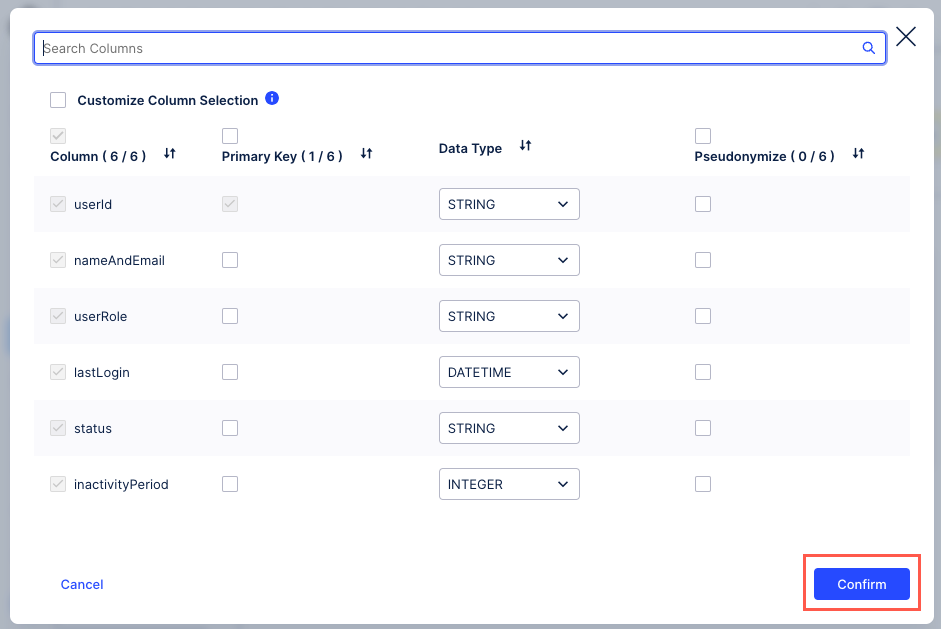
Click Configure.
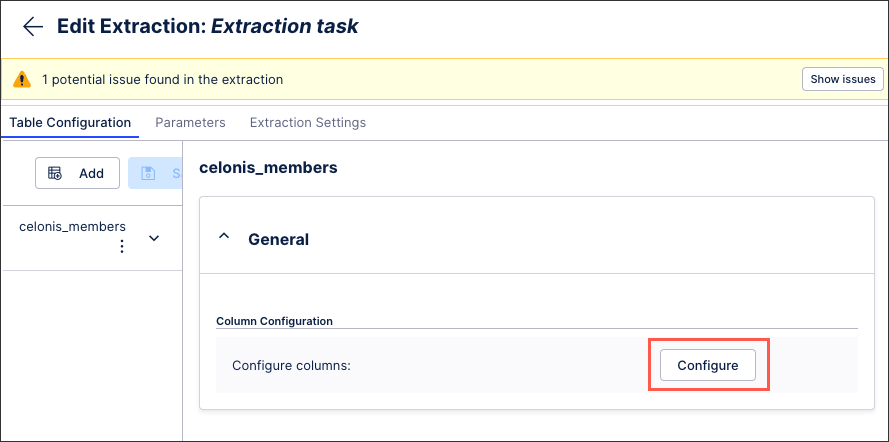
Review the existing configuration, selecting additional data fields you'd like to use in your Views. Click Confirm to save the configuration.
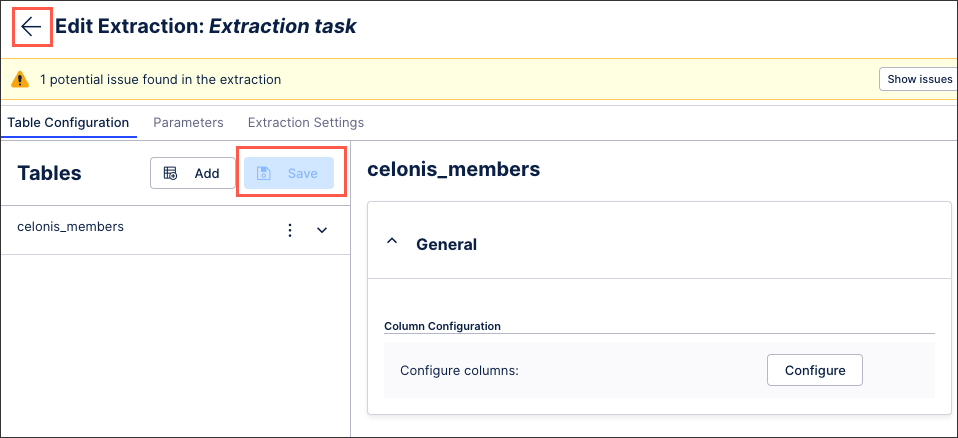
Click Save and then return to your data job overview.
3b. Creating and executing transformation task
You now need to create the transformation task:
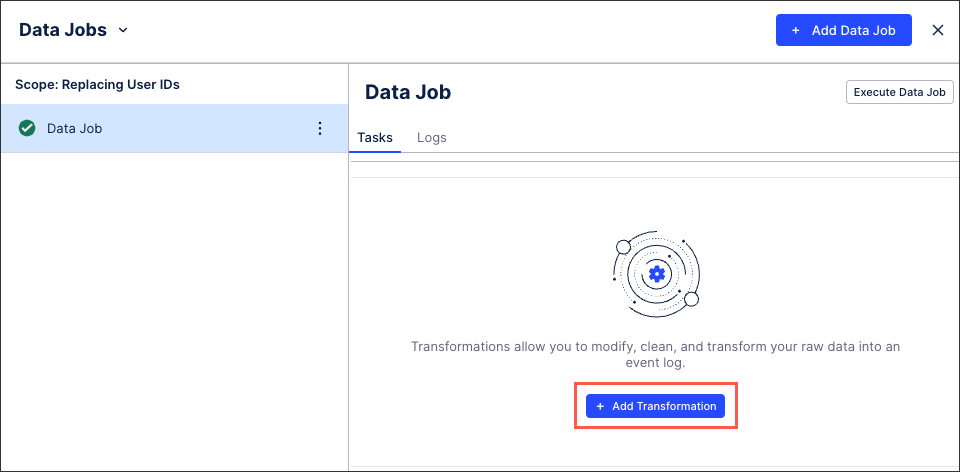
Click Add Transformation.
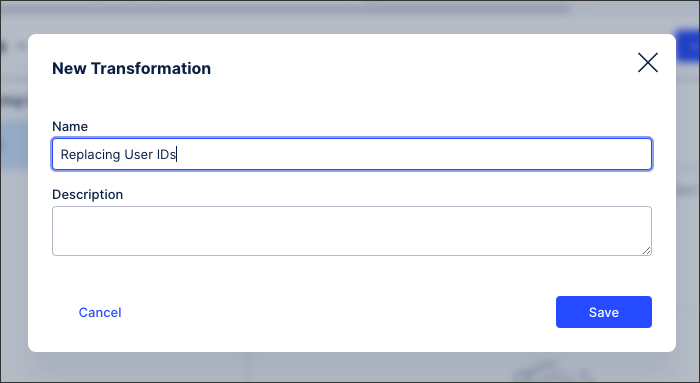
Add a transformation task name and click Save.
Enter and execute the following queries in order (you may need to click Save to access the Execute button)
Select members query:
select * from celonis_members
Separate name and email addresses query:
DROP VIEW IF EXISTS "USER_LIST";
CREATE VIEW "USER_LIST" AS
SELECT
userID AS ID,
REGEXP_REPLACE(nameAndEmail, '.*\((.*)\)', '\1') AS EMAIL,
TRIM(SPLIT_PART("nameAndEmail",'(',1)) as NAME,
MU._CELONIS_CHANGE_DATE as _CELONIS_CHANGE_DATE,
MU.epoch as epoch
FROM "celonis_members" AS MU
ORDER BY ID, EMAIL;
Select from user list query:
SELECT * from USER_LIST

After creating the data job with extraction and transformation tasks, you can now manually execute (or run) the data job:
From the data job screen, click Execute Data Job.
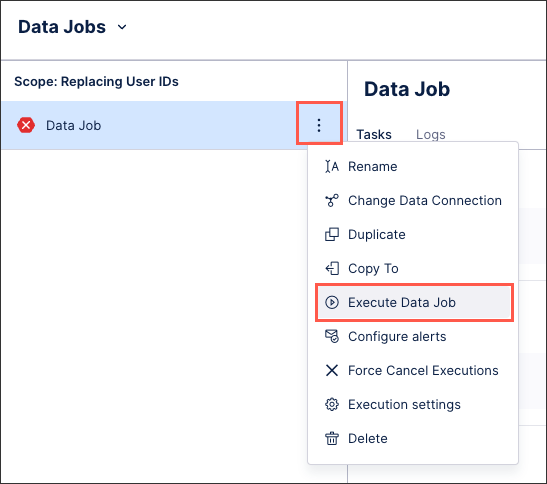
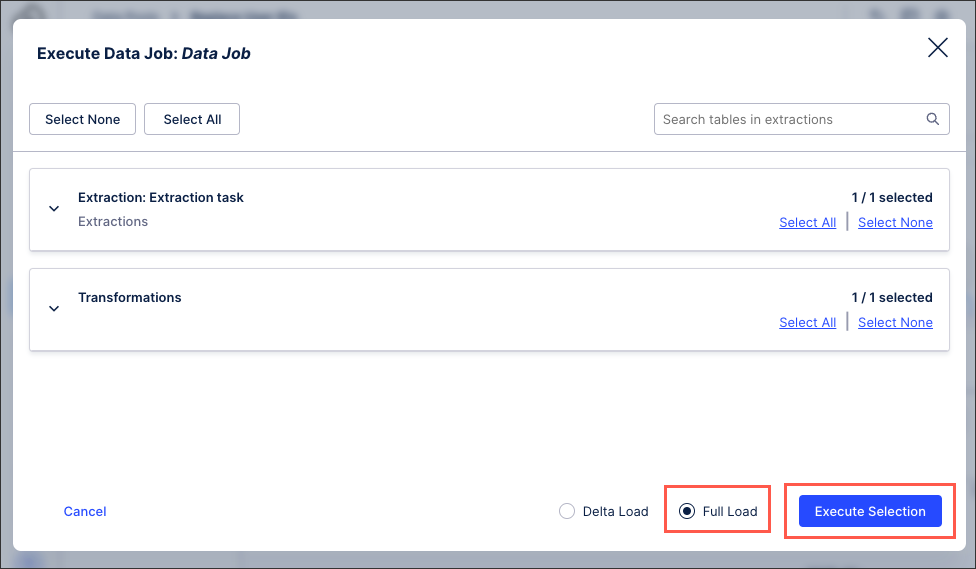
Select Full Load and then click Execute Selection.
The data job will now run, with the status displayed.

Schedules are used to automatically execute data jobs on a predefined basis, allowing you to control the day, time of day, and repetition of your executions. You may want to schedule your newly defined data job, ensuring that the user information is frequently updated.
When scheduling your data jobs, you have two options:
Frequency based scheduling: This allows you to manually define when your data jobs are executed based on day, time of day, and repetition of the execution. See: Creating frequency based scheduling of data jobs.
Trigger based scheduling: Using trigger based scheduling of your data jobs, the successful execution of one schedule of data jobs automatically triggers another schedule to run. See: Configuring trigger based scheduling of data jobs.
Now that a data job is defined with the required extraction and transformation, the next step is to load the table obtained into the Data model.
Select the User_list table.
Click Finish.
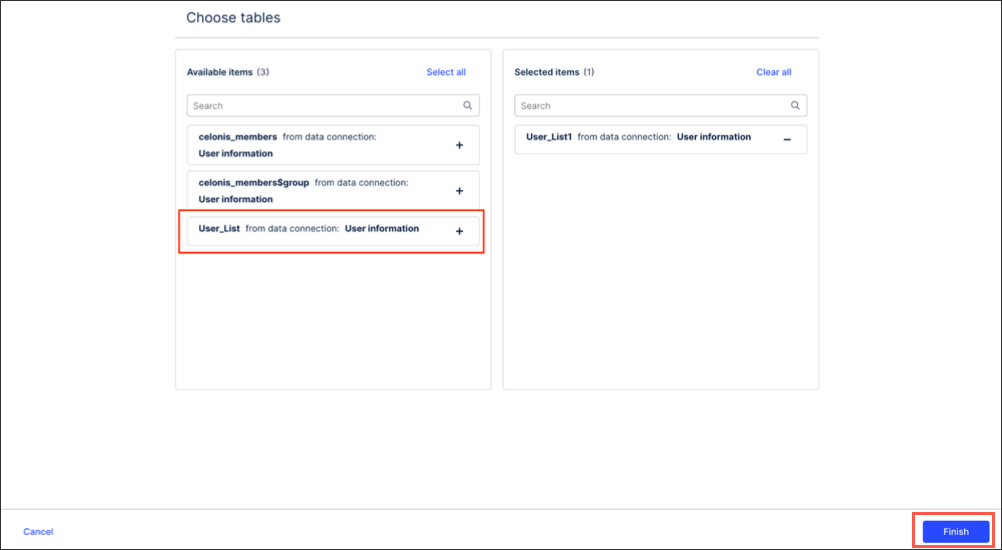
Depending on the location of user IDs, you can replace them with user names and emails in the following way:
Replacing user IDs in dedicated columns
When a task, augmented attribute, or comment is created or updated in a Knowledge Model, a new augmented attribute table is automatically created. You can link this newly created table to the existing augmented attribute table using the LOOKUP operator. This will allow you to replace user IDs from the table, with usernames and email addresses.
The replacement applies to cases where a columns contains only a user ID, for instance, authorId column for comments, changedBy column for augmented attributes, or assigneeId column for tasks.
In the following example, T1 is the augmented table, and T2 is an additional unrelated table added to the data model:
LOOKUP(
    "T1",
    "T2"."nameAndEmail",
    ("T1"."ASSIGNEE_ID", "T2"."USERID")
)
And an example of this:

For more information about the LOOKUP operator, see: LOOKUP.
Replacing user IDs in comments
You can replace IDs of users who are mentioned in a comment component with their usernames and email addresses. The following solution allows you to replace the ID only of the first user mentioned in a given comment.
Create a Knowledge Model extraction variable with the following default PQL value:
STRING_SPLIT ( STRING_SPLIT("TABLE_COMMENTS"."MESSAGE", '[', 1), ']', 0 )Create a table component. See Tables.
To your newly created table, add the following column:
REPLACE("TABLE_COMMENTS"."MESSAGE", '[' || ${extraction_variable} || ']', LOOKUP( "TABLE_COMMENTS", "USER_LIST"."NAME", (${var_from_step_2}, "USER_LIST"."ID")))The
{extraction_variable}is the one you created in step 1.