Creating and managing spaces
Spaces are overarching structural containers for your content within Studio, allowing you to organize and group your work as needed. You can create and manage multiple spaces within Studio, with each space having a unique ID and set of permissions to control who can access it.
Common use cases for spaces include having separate spaces for each department, per project, and for individual team members.
Below is an example of region-based spaces (with fictional space IDs for illustration):
 |
To understand where spaces sit within the content structure of the Studio, see Workflow and content structure.
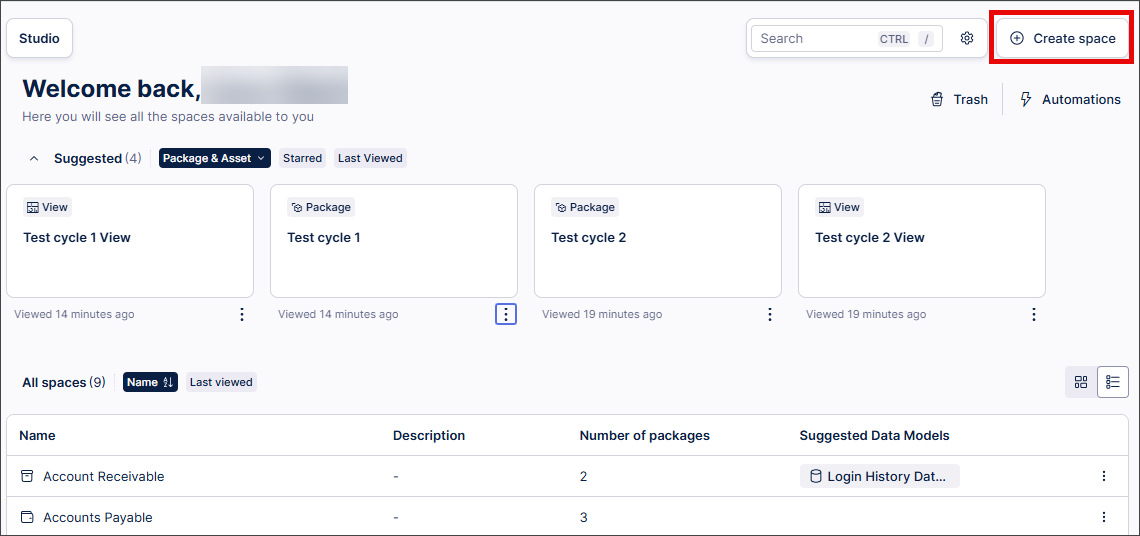
To create a new space from the new Studio overview screen:
Click Create space:
Enter your space details, including a name, icon, description and suggested data models.
Neither the name nor the icon must be unique here, with spaces being identified using an automatically-generated space key (see below).
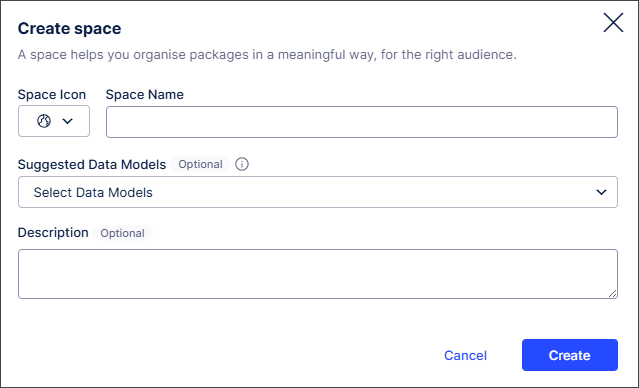
Click Create.
The space is created and displayed.
Once created, you can manage a space and space permissions by clicking Settings > Permissions:
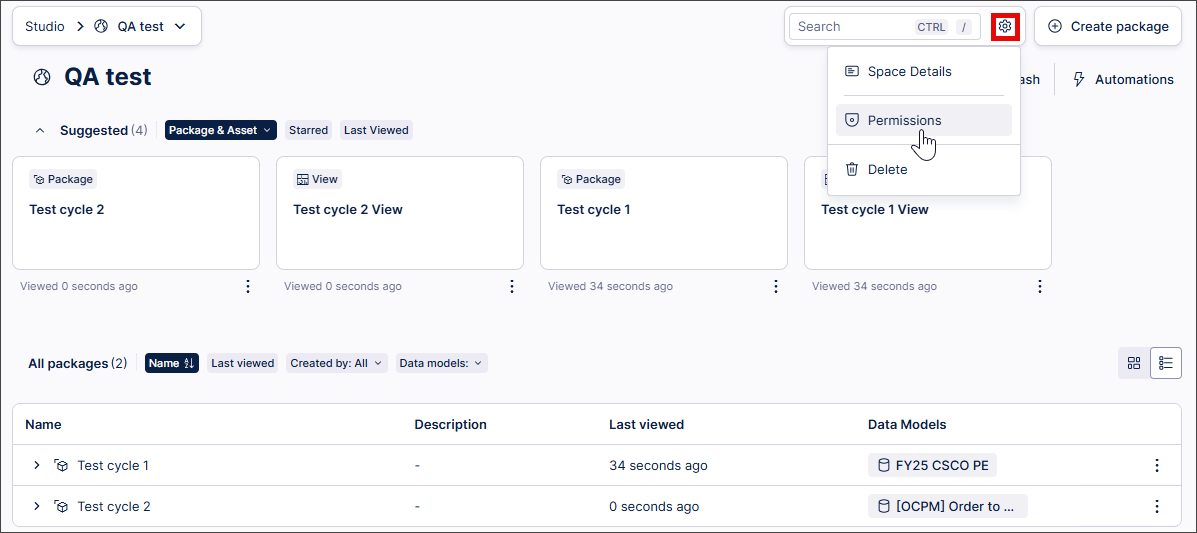
Depending on your Studio space access, you then have the following space management options here:
Space details and space key: This includes the space icon, name, description, and the suggested data models. You'll also find the space key here. This key is a unique identifier for the space and can be used to assign permissions to other assets and features within your . Keys are automatically generated and can’t be manually edited or regenerated.
Delete a space: All packages in this space are moved to the trash, where they can be restored within 180 days. All related tasks and augmented attributes are permanently deleted, however.
You can manage the items in your trash by clicking the Trash icon:
Manage space permissions: This allows you to control who or what can view and use this space and its content. For more information, see Available space permissions.
You can assign the following permissions to a space:
Create package: The user can see the name of the space they have been granted and can create a new package within it. They can't see existing packages. The user can delete and grant permission to packages they have created unless permissions are removed.
Edit space: The user can see the name of the space they have been granted access to and can edit the space name.
Edit all packages: The user can create new or edit all packages and assets within the space they have been granted access to. The user can't delete any assets in the package.
Delete space: In Studio, the user can delete the granted space and everything in it, but can't see the content. They can see the content in Apps.
Delete all packages: The user can only see the space they have been granted access to and can't do anything. This permission must be combined with Edit all Packages to work.
Manage permissions: The user can manage permissions of the space they are granted. They can see all content in Apps.