Send Excel File via Mail
While CSV files are standard for data transfer, business stakeholders often require the formatting and multi-sheet capabilities of .xlsx files. Because the Microsoft 365 Excel API does not support direct file creation via endpoint, this Action Flow provides a robust workaround.
This template automates the process of:
Populating a pre-configured Excel worksheet with Celonis data.
Converting the data into a formatted table.
Distributing the file via email.
Resetting the worksheet automatically for the next execution.
The following blueprint demonstrates a high-integrity automation path that balances data accuracy with presentation.
Table Initialization: Dynamically generates a Microsoft 365 Excel table with custom headers to match your Celonis data structure.
Data Integration: Executes a PQL query to extract real-time process data and maps it directly into the Excel rows.
Hybrid Delivery: Dual-format communication that sends the data as both an interactive HTML table (for quick mobile viewing) and an attached Excel file (for deep-dive analysis).
Error-Resistant Cleanup: Includes a dedicated "Reset" route to ensure previous run data is cleared, preventing data duplication or overlap.
 |
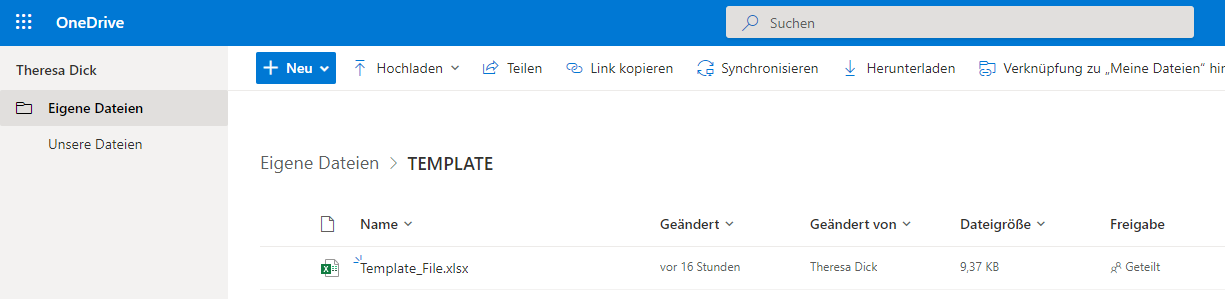
Create a Folder in your OneDrive and add a new Excel Workbook with a Worksheet. You will need the names of the OneDrive Folder, the Excel File and the Worksheet within the Action Flow. The automation is more secure and robust if only one file is in this specific folder.
 |
Microsoft Excel Connection
It is very important that you use the same connection to Microsoft 365 Excel that was used to create the original Workbook in order to make sure that you have access to that file.
How to set up the Connection - Microsoft 365 Excel - Connection
In this case:
Folder → TEMPLATE
File → Template_File
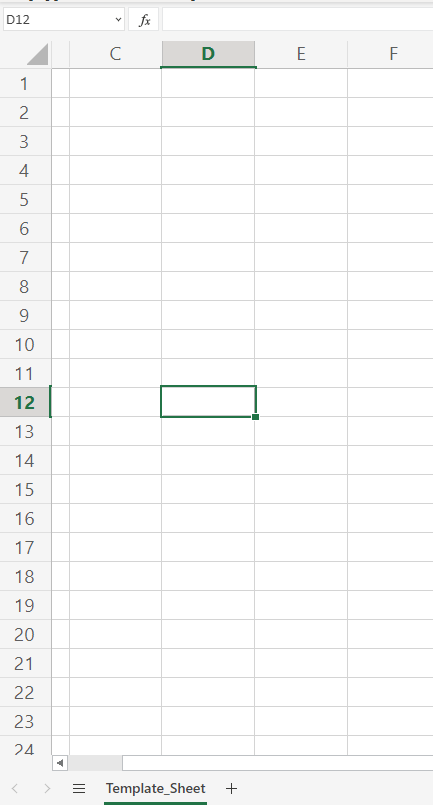
Worksheet → Template_Sheet (empty in the beginning)
 |
Below you will find the step-by-step guide for configuring each module of the above Action Flow.
CHANGES REQUIRED
 |
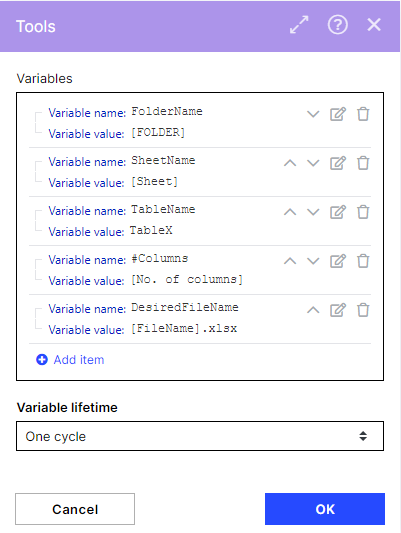
Configuration:
Action Flows Module: Tools
Action: Set multiple Variables
FolderName: The Name of the Folder where your preconfigured sheet lays
Sheet Name: The Name you gave the Sheet
TableName: A distinct name for the table within the Sheet (does not need to be changed)
# Columns: The amount of columns the table will have
DesiredFileName: The filename which should be displayed in the mail (+.xlsx)
.xlsx
Do not forget to add the suffix .xlsx otherwise the Excel file won't be displayed as an excel file.
The name of the file itself in the Excel Workbook is not required as a variable.
 |
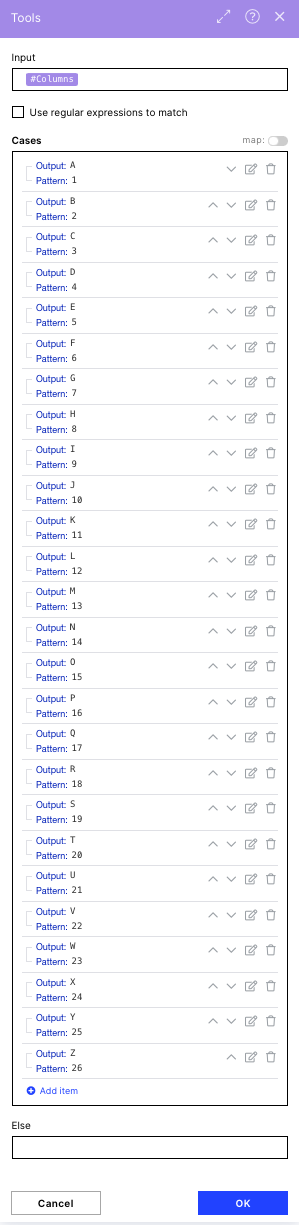
CHANGES OPTIONAL
This is a pre-configured module that maps the number of columns you want to have to the right cell in the excel sheet. If you need to have more than 26 columns (NOT ROWS) you need to adjust the module and add a mapping for your amount of columns.
 |
Configuration:
Action Flows Module: Tools
Action: Switch
 |
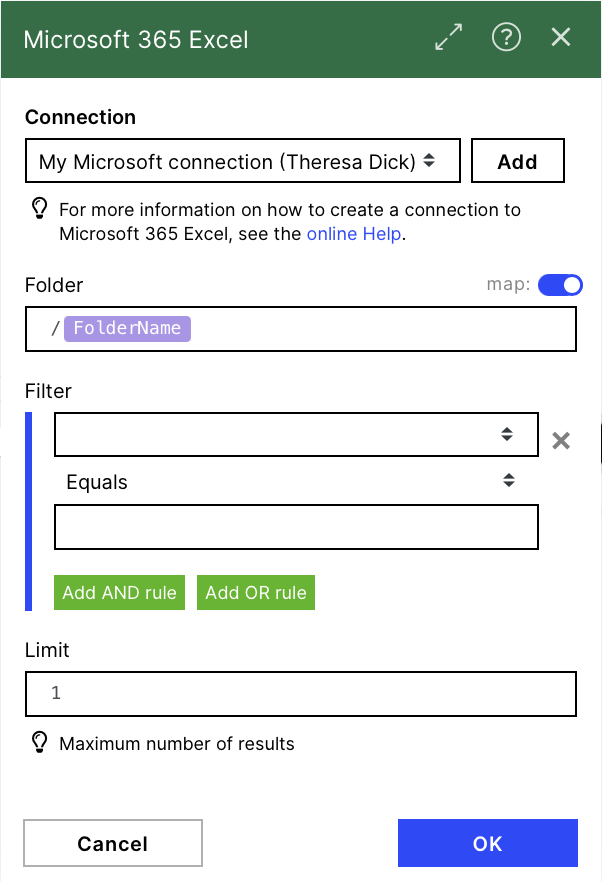
CHANGES REQUIRED
In this module we look for the preconfigured Excel file in the defined folder
 |
Configuration:
Action Flows Module: Microsoft 365 Excel
Action: Search Workbooks
Connection: Set Up Connection that has to be selected in each of the subsequent modules
Folder: {{FolderName}}
Limit: 1 (we just want to use this worksheet we preconfigured)
 |
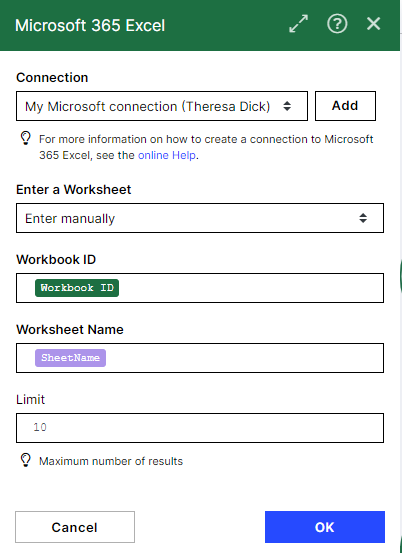
CHANGES OPTIONAL
In this module, we search for old tables within our Worksheet.
 |
Configuration:
Action Flows Module: Microsoft 365 Excel
Action: List Tables
Workbook ID: {{id}}
Worksheet Name: {{SheetName}}
Limit: 10
 |
CHANGES OPTIONAL
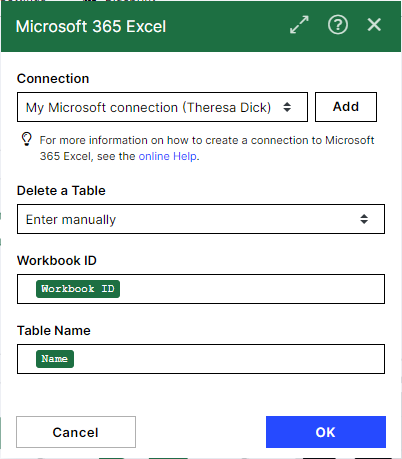
In this module, we delete old Tables to start with a clean Worksheet when adding new content.
 |
Configuration:
Action Flows Module: Microsoft 365 Excel
Action: Delete a Table
Workbook ID: {{id}}
Table Name: {{Name}} from previous module
Limit: 10
 |
CHANGES OPTIONAL
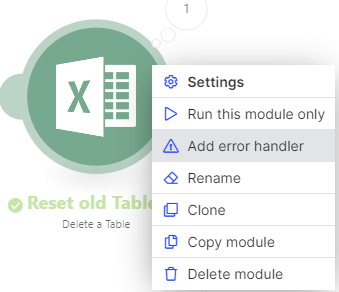
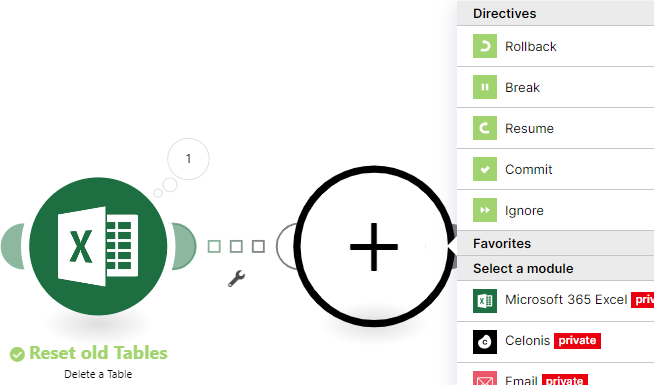
This module makes sure that possible errors of the previous deletion are caught and Route B is started, e.g. if there is nothing to delete in the first run.
 |
Configuration:
Action Flows Module: Flow Control
Action: Resume
Please make sure to add this element as an error handler by right-clicking on the previous module and selecting the "Resume" directive.
 |
 |
CHANGES REQUIRED
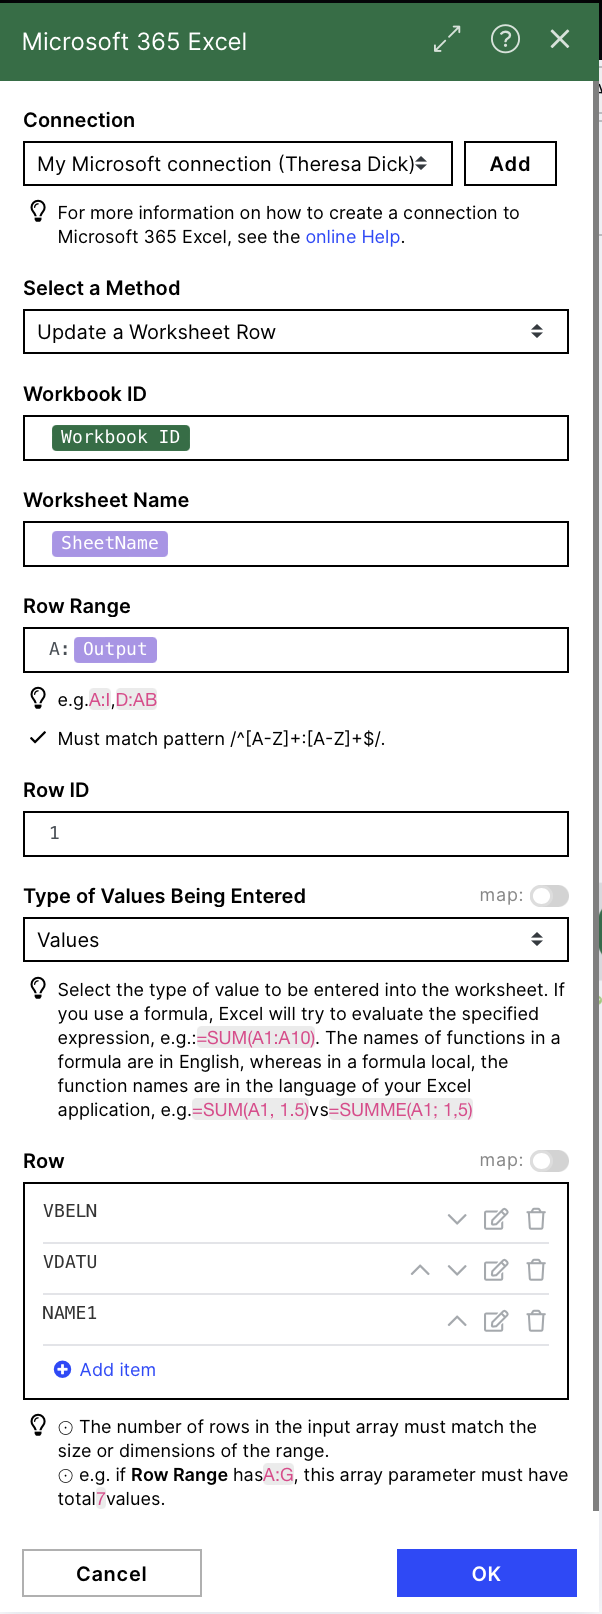
In this module we are defining the table headers by adding a row with the headers as values in the worksheet. The file has to match with the values that will be exported in the Celonis - Query Data module.
 |
Configuration:
Action Flows Module: Microsoft 365 Excel
Action: Add/ Update a Worksheet Row (Advanced)
Workbook ID: {{id}}
Worksheet Name: {{SheetName}}
Row Range: A:{{output}} (The output was set in the switch module to make sure we have the right amount of cells for our columns)
Row ID: 1
Type of Values Being Entered: Values
(required) Row: please add here the header names of the Columns (e.g. VBELN, VDATU...)
 |
CHANGES OPTIONAL
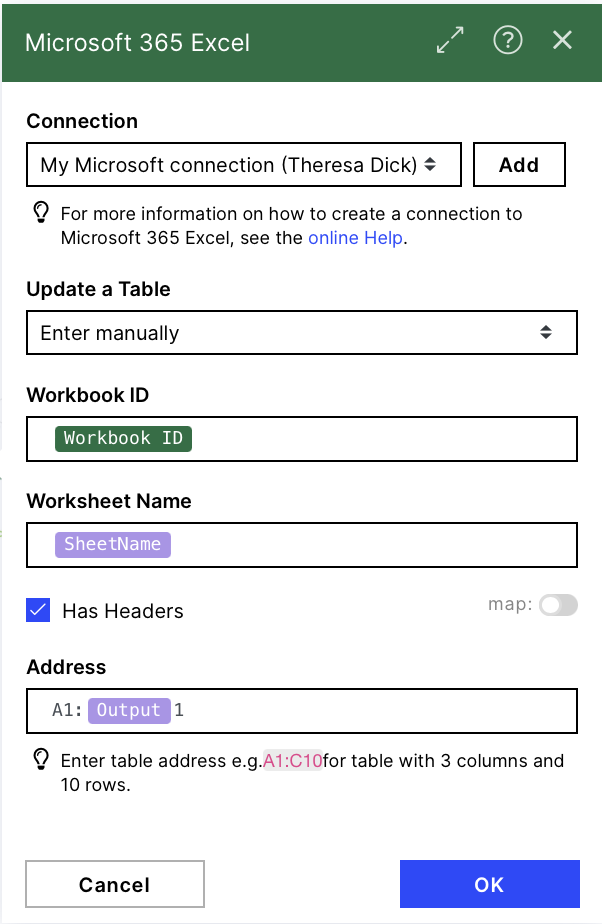
In this module we are creating a new Table using the previously defined Rows as Headers for the new Table.
 |
Configuration:
Action Flows Module: Microsoft 365 Excel
Action: Add a Table
Update a Table: Enter manually
Workbook ID: {{id}}
Worksheet Name: {{SheetName}}
Has Headers: Check the box to include the predefined headers
Address: A1:{{output}}1
 |
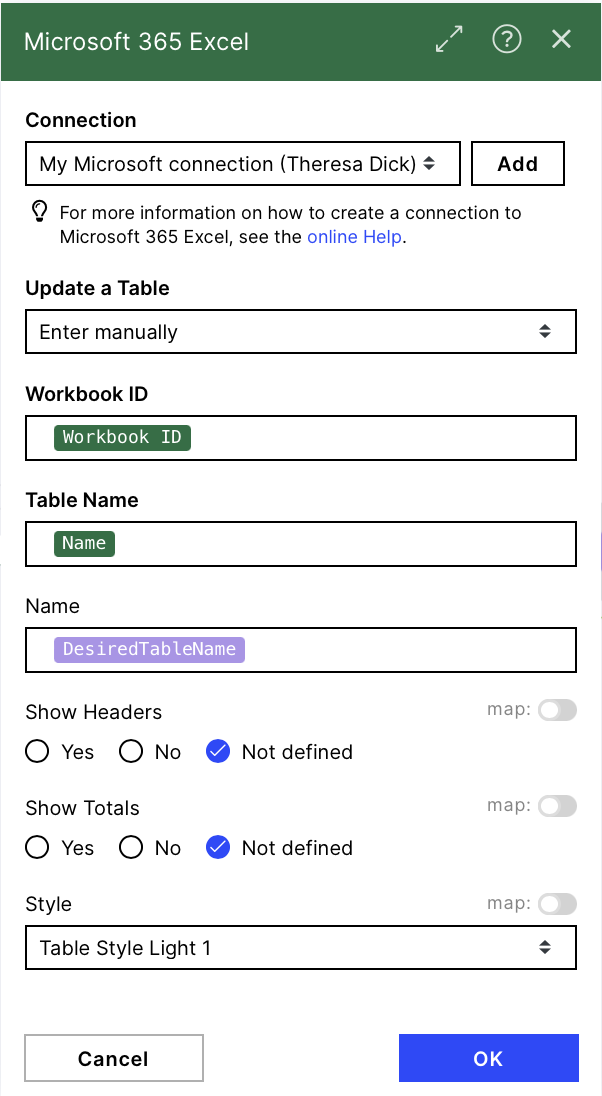
CHANGES OPTIONAL
We define the Styling of the Table here and make sure the table is created properly to be accessible in the following modules.
 |
Configuration:
Action Flows Module: Microsoft 365 Excel
Action: Update a Table
Update a Table: Enter manually
Workbook ID: {{id}}
Table Name: {{name}}
Name: {{DesiredTableName}}
Style: Table Style Light 1
 |
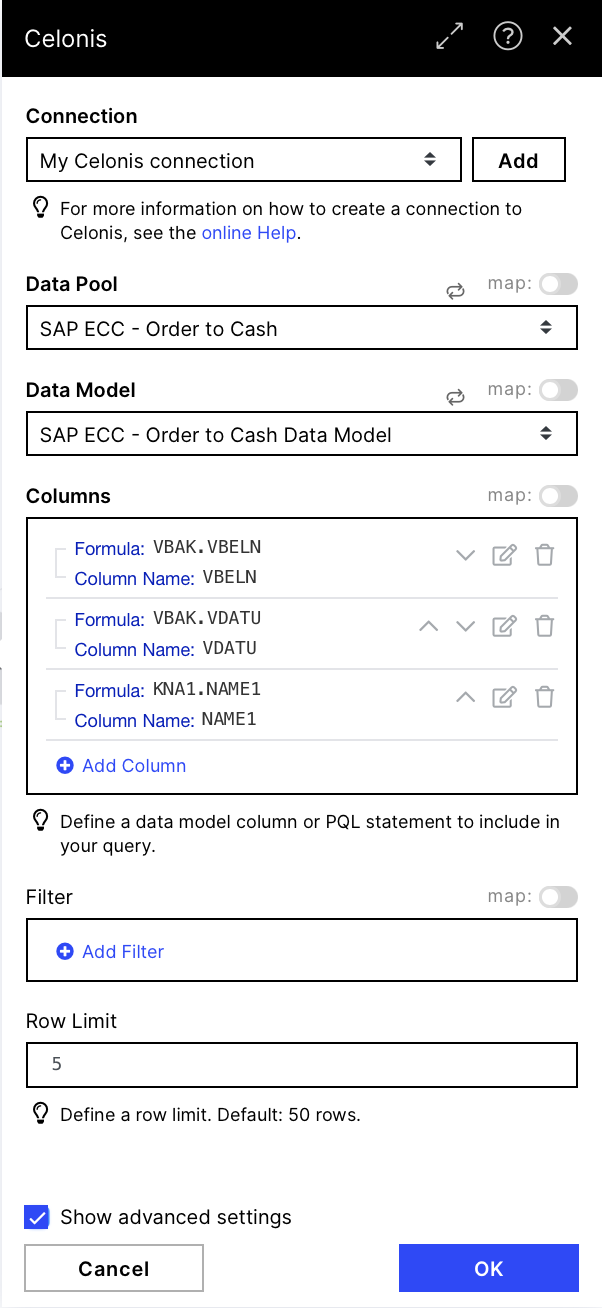
CHANGES REQUIRED
Request the Data you want to fill in the Table
 |
Configuration:
Action Flows Module: Celonis
Action: Query Data
Data Pool: choose the Data Pool of your choice
Data Model: choose the Data Model of your choice
Columns: Query the columns you need - make sure it is the same amount as defined before
Row Limit: adjust the row limit to your needs, it will be the maximum of rows you have in your excel table
 |
Warning
Disconnect 7(B) - Get Input Data for Table from 8(B) - Fill the Table, run the entire action flow up to that point. After running it once, reconnect the two flow parts and configure the subsequent modules.
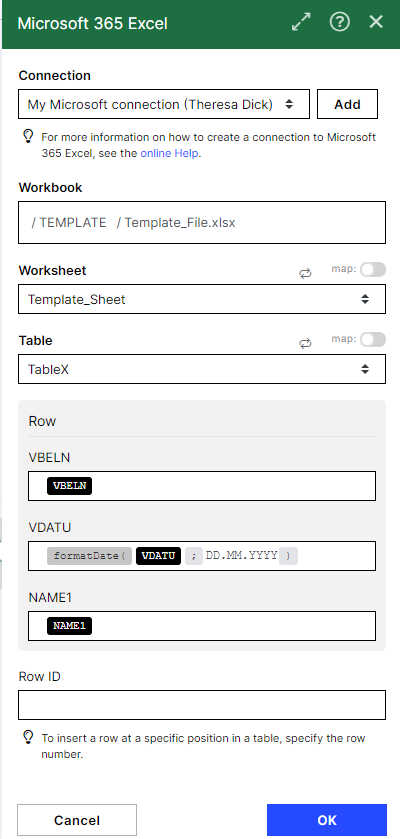
CHANGES REQUIRED
This will be the most complicated part of the Template as you have to set up this module and can't touch it afterward or the flow will break, so make sure to set it up right. In case you accidentally open it again you need to do the step described in the previous section colored in red and the steps of this module again.
 |
Configuration:
Action Flows Module: Microsoft 365 Excel
Action: Add a Table Row
Workbook: Open the right Workbook (the preconfigured Excel file) by selecting from the suggestions by the module
Worksheet: Fill in the right Worksheet
Table: choose the table which was created by the run once of the Action Flow
If you have problems finding the table click on the reload of worksheet and table (the arrows next to the map toggle)
Row: Fill in the columns with the data you queried in the module before.
Row ID: <empty>
 |
CHANGES OPTIONAL
We need the Sleep module to make sure the rows are added properly before we download the File.
 |
Configuration:
Action Flows Module: Tools
Action: Sleep
Delay: 5
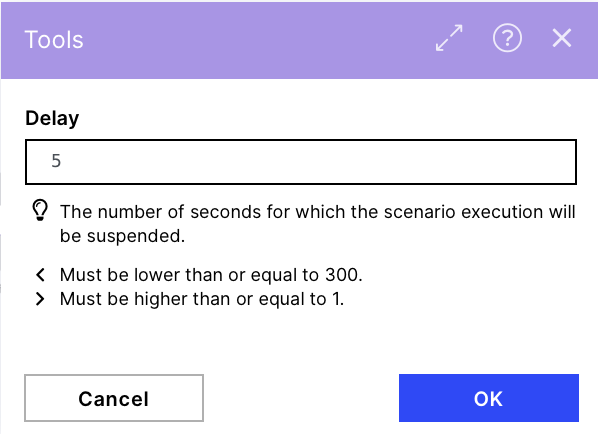 |
API Synchronization
Please do not delete this module as it makes sure that the Microsoft Excel API can synchronize the table and does not skip a value. We will update this issue as soon as Microsoft has provided a solution.
CHANGES OPTIONAL
We need this module to combine all bundles of query data into one bundle through aggregation.
 |
Configuration:
Action Flows Module: Tools
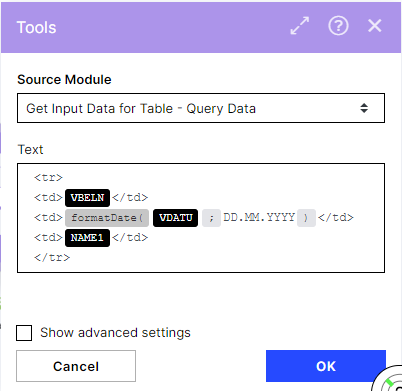
Action: Text Aggregator
Source Module: Query Data
Text:
<tr>
<td>{{VBELN}}</td>
<td>{{formatDate(VDATU; "DD.MM.YYYY")}}</td>
<td>{{NAME1}}</td>
</tr>
Note
Although the output is not required, please make sure to keep this aggregation module as we have to combine all Query Data bundles into one bundle to only send one email per recipient.
 |
CHANGES OPTIONAL
In this step we download the created table to be able to send it via email.
 |
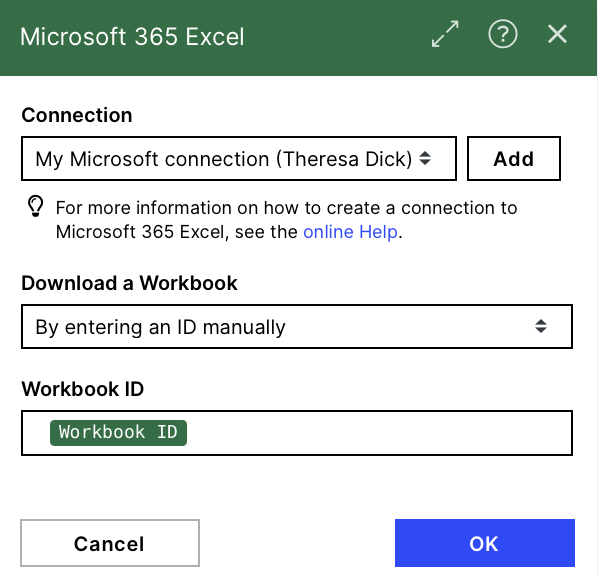
Configuration:
Action Flows Module: Microsoft 365 Excel
Action: Download a Workbook
Download a Workbook: By entering an ID manually
Workbook ID: {{id}}
 |
CHANGES OPTIONAL
We create a complete variable that contains the possible HTML table for the email. This step is entirely optional when you want to show the table also as HTML in the email.
 |
Configuration:
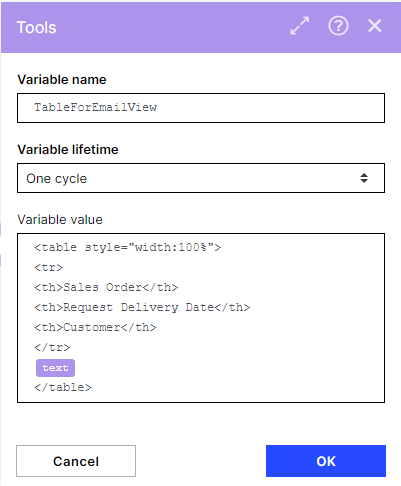
Action Flows Module: Tools
Action: Set Variable
Variable name: <TableNameofYourChoice>
Variable value:
<table style="width:100%">
<tr>
<th>Sales Order</th>
<th>Request Delivery Date</th>
<th>Customer</th>
</tr>
{{text}}
</table>
 |
Note
This module is entirely optional, but you could send the table both in the email and as a file for further use.
CHANGES REQUIRED
We will send an email attaching the Excel file.
 |
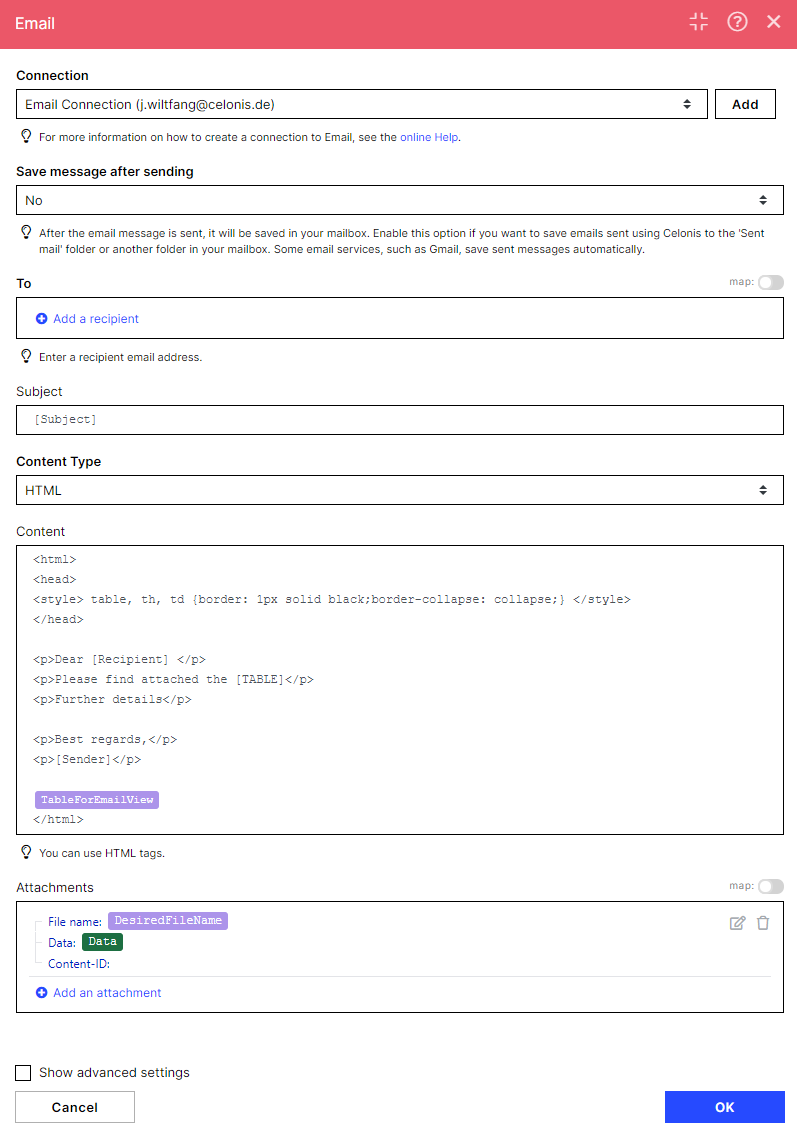
Configuration:
Action Flows Module: Email
Action: Send an Email
To: choose recipients of your choice
Subject: choose a Subject of your choice
Content Type: HTML
Content:
<html>
<head>
<style> table, th, td {border: 1px solid black;border-collapse: collapse;} </style>
</head>
<p>Dear [Recipient] </p>
<p>Please find attached the [TABLE]</p>
<p>Further details</p>
<p>Best regards,</p>
<p>[Sender]</p>
{{TableForEmailView}}
</html>
Attachments: (see below)
Data: {{data}}
File name: {{DesiredTableName}}.xlsx
 |
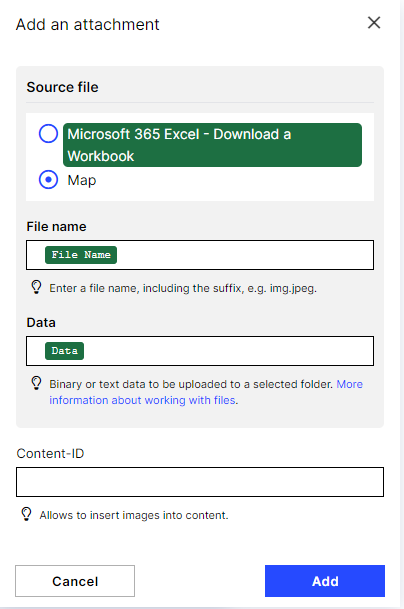
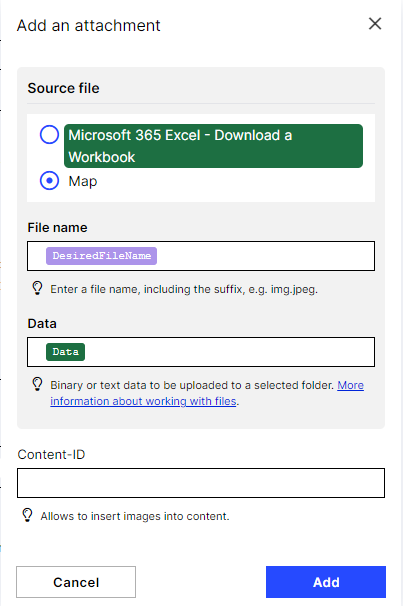
Map Attachment Data
In order to have the attachment shown correctly in your email, every time you make changes to the email content, you have to repeat the steps on the right:
Add an Attachment
Select Source File - "Excel - Download a Workbook"
Select Source File - "Map" (prefills with the output variables from Excel download)
Set File Name to your {{DesiredFileName}}.
"Add"
"OK" in Email
 |
 |
 |
Note
Please test the Action Flow before using it. Send Emails to your own account and check for right values.
If Step 8(B) fails, please disconnect Celonis - Query Data and Excel - Fill the Table, let the Action Flow run once and reset the values in 8(B) according to the warning in this documentation.
If the email only has one line filled, please repeat Step 13(B) and reattach the excel workbook.