Creating and managing groups
Instead of manually configuring settings for every individual, groups allow you to assign a set of permissions to multiple users simultaneously. This ensures consistency across your team and significantly reduces administrative overhead.
By creating and managing groups of users, you get the following benefits:
Bulk permissions: Define a Team Role once and apply it to everyone in the group.
Flexible provisioning: You can add users manually, via Open Sign up, or automatically through an identity provider (SAML JIT).
License management: Assigning roles to groups helps define how users count toward your license limits.
Centralized control: From a single group page, you can:
Rename the group.
Add or remove members.
Export permission reports as a .csv file.
Delete the group entirely.
You can add users to groups in these ways:
Manually via the Admin & Settings area.
Using the Open Sign up feature.
Automatically when syncing with an identity provider that provides groups.
In the first two scenarios, you need to create groups and assign them a role. In the third scenario (SAML JIT), the groups are created by the identity provider. By assigning a role to your groups, you define how the group’s users will count towards your license and how permissions will be pre-filtered. For more about provisioning groups, see: Account management.
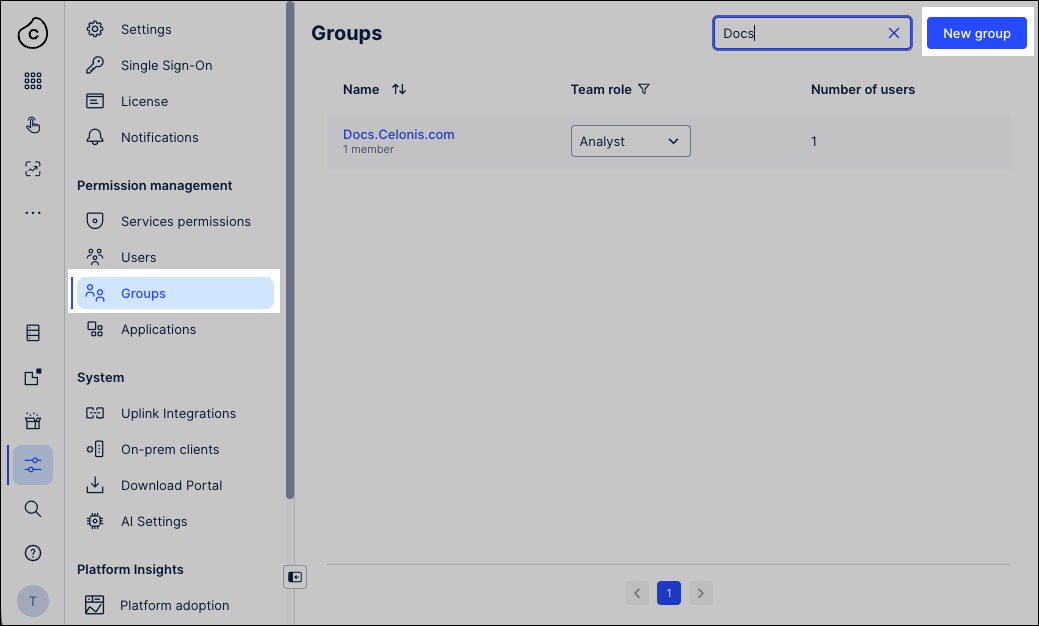
To manually create a group and assign it a role:
Click Admin & Settings - Groups.
Click New group and add a group name.
Optional: Add existing users to the group.
Click Save.
The group is created.
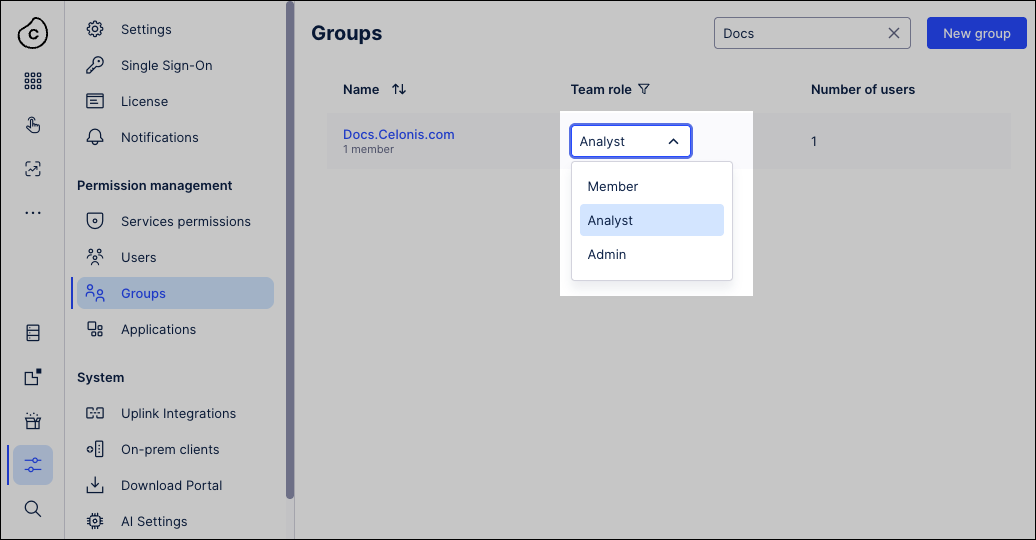
Using the team role drop down, select the permissions that users in this group hold.
Once created, a group can be managed by clicking the name and opening it's individual page:
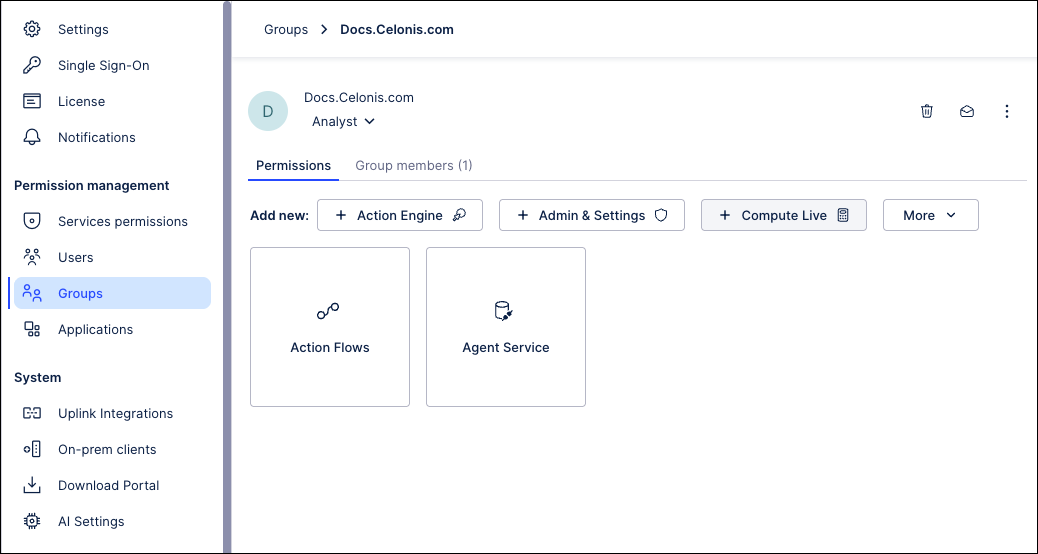
You have the following group management options:
Rename the group.
Add and remove users from group.
View the group’s permissions.
Export the group’s permissions (as a .csv file).
Delete the group.