Creating a Machine Learning Workbench application for the Sailfin Accounts Receivable app suite
In Celonis, you need to set up a Machine Learning Workbench application to contain one or two Python scripts. Before you start, you’ll need to request the zip file with the Python scripts, and check that you have a free slot for the Machine Learning Workbench application, as explained in Prerequisites for the Sailfin Accounts Receivable app suite.
The scripts are:
Data Importer: This script extracts data from tables in the Celonis data pool and upserts it into the Salesforce platform. You’ll need it for both case-centric and object-centric data models. For case-centric data models, you’ll need to set up an Action Flow to run the script, by following the steps in Configuring the Run Celonis SRM Data Importer action flow.
Customer Priority Score: This script prioritizes customer accounts from 0 (lowest) to 100 (highest) based on various parameters. You’ll only need it if you’re using a case-centric data model.
When you request the zip file with the Python scripts from your Celonis point of contact, the product team will send you instructions to set up the Machine Learning Workbench application. You’ll need to supply these values for the parameters:
DATAPOOL_ID: The ID of the data pool containing the data model that you’re using with the app suite. The ID is at the end of the URL that you see when accessing the data pool, right after the
pools/directory. It looks like this example:96c381bd-14ab-4530-aa85-48fc7f0b0a83DATAMODEL_ID: The ID of the data model that you’re using with the app suite. The ID is at the end of the URL that you see when accessing the data pool, right after the
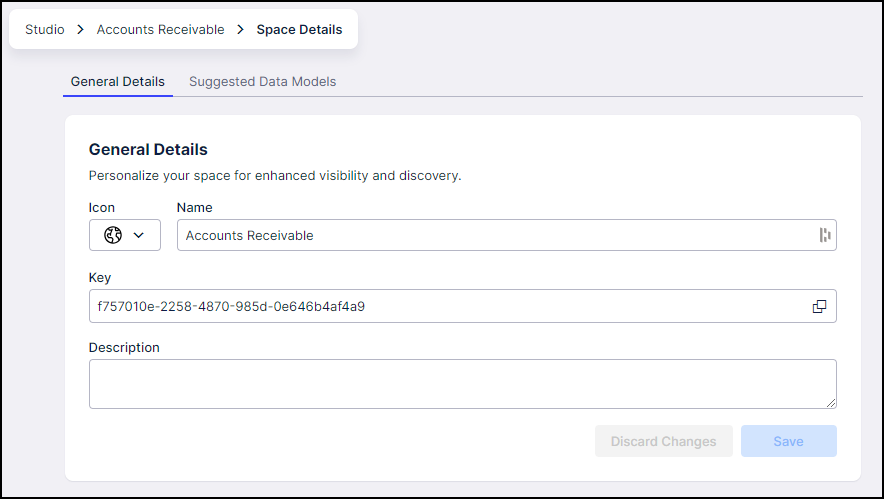
process-data-models/directory.SPACE_KEY: The key for the Studio space where you installed the Sailfin Accounts Receivable app in your Celonis team. To get the key, go to the Studio space and click Space Settings (the gear icon). Select the Space Details option and copy the key.
PACKAGE_KEY: The key for the Sailfin Accounts Receivable app package. To get the key, go to the app package and click Package Settings (the box icon). Select the General Details option and copy the key.

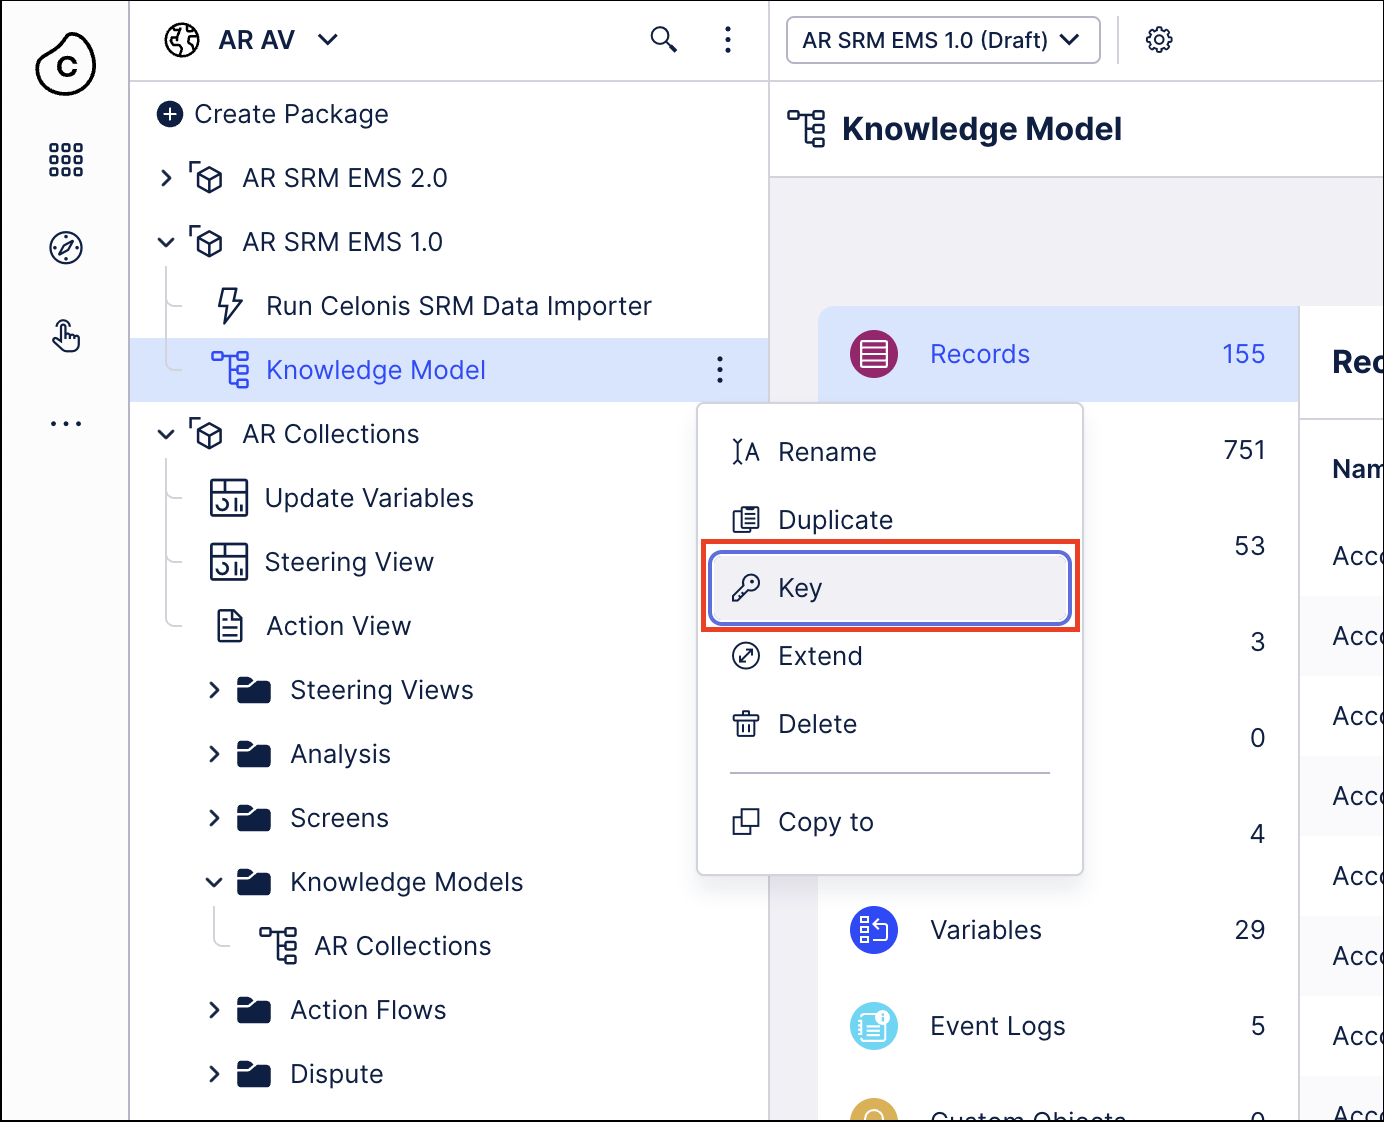
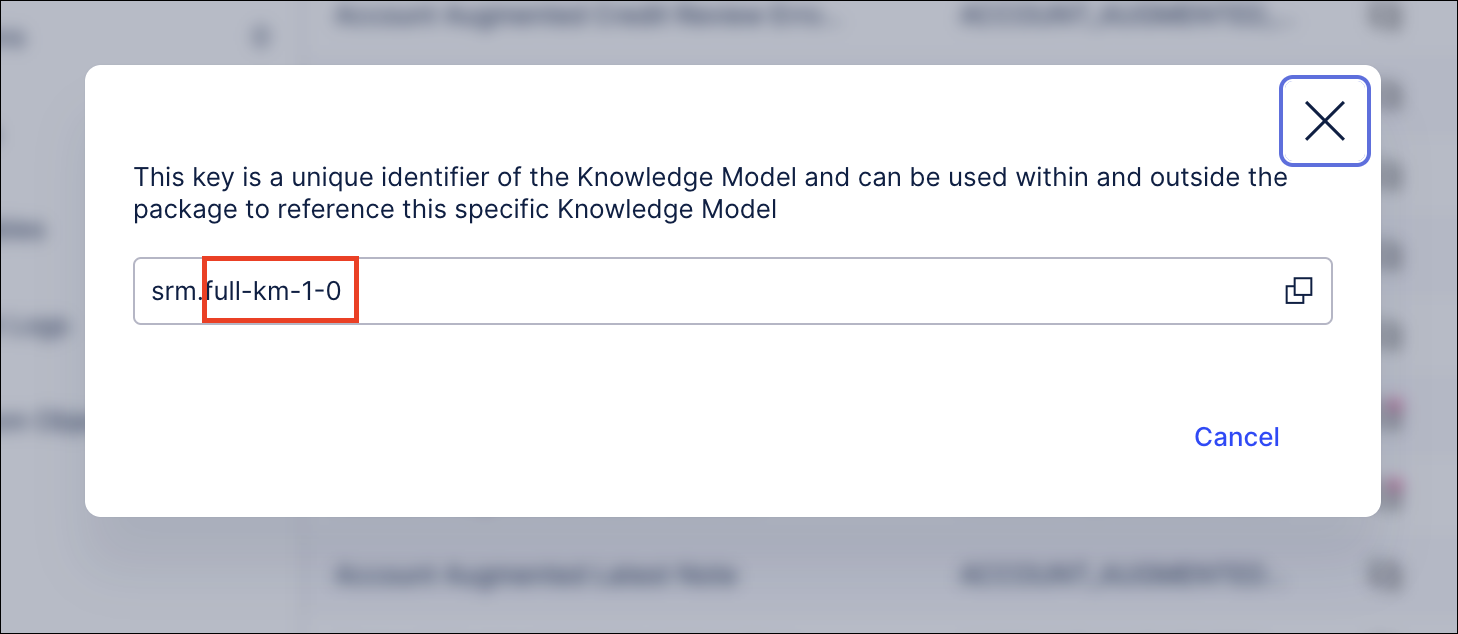
KNOWLEDGE_MODEL_KEY: The key for the Knowledge Model in the Sailfin Accounts Receivable app package. Go to the Knowledge Models folder in the package, expand it, and click the context menu (the three dots) by the name of the Knowledge Model. Select Key and copy the key. Leave off the root part of the key (before the dot).
TEAM_NAME: Any name you want to give to your team, for example “Default”, “AR-Packaging”.
SF_USERNAME: The user name for the Salesforce user ID that you’re using to log in to your Sailfin app environment.
SF_PWD: The password for the Salesforce user ID that you’re using to log in to your Sailfin app environment.
SF_SECURITY_TOKEN: You can leave this field blank if your Salesforce organization has allowlisted all IP ranges for the System Admin profile. If your organization hasn't allowlisted all IP ranges, generate a security token from your Sailfin app environment and update it in this field. Here’s the instructions: Reset Your Security Token
SF_VERSION: The Salesforce version for your Sailfin app environment.
env: Use “PROD” for a production environment, or “TEST” or “SANDBOX” if that’s more appropriate.
MAIL_TRIGGER_WEBHOOK_URL: A URL that you get by configuring the Send Mail action flow following the instructions in Configuring the Send Mail Action Flow.
Configuring the Run Celonis SRM Data Importer action flow (case-centric data models only)
The Run Celonis SRM Data Importer action flow runs the Data Importer script to extract data from tables in the Celonis data pool and upsert it into the Salesforce platform. You only need this action flow if you’re using a case-centric data model with the Sailfin Accounts Receivable app suite. Here’s how to configure it:
In your Celonis team, create an application key. You’ll need administrator permissions to do this. The application key needs User permissions on the Studio space where you’ve installed the Sailfin Accounts Receivable app suite package, and User permissions on the package itself. Here's how to create the application key:
Select Admin & Settings from the Celonis navigation menu.
Select Applications from the navigation panel.
In the tab Customer-configured applications, click Add New Application, then select Application Key from the dropdown list,
Give the new application key a name, then click Save,
Click Copy to clipboard to copy the application key. Paste it into a password vault or another safe location, then close the popup.
In the Celonis navigation bar, select Studio.
In the Studio overview, find the app suite package in the space where you installed it, and click its tile.
In the package navigation, select the Run Celonis SRM Data Importer action flow.
Click Edit to enter edit mode, then select the first module Watch Trigger.
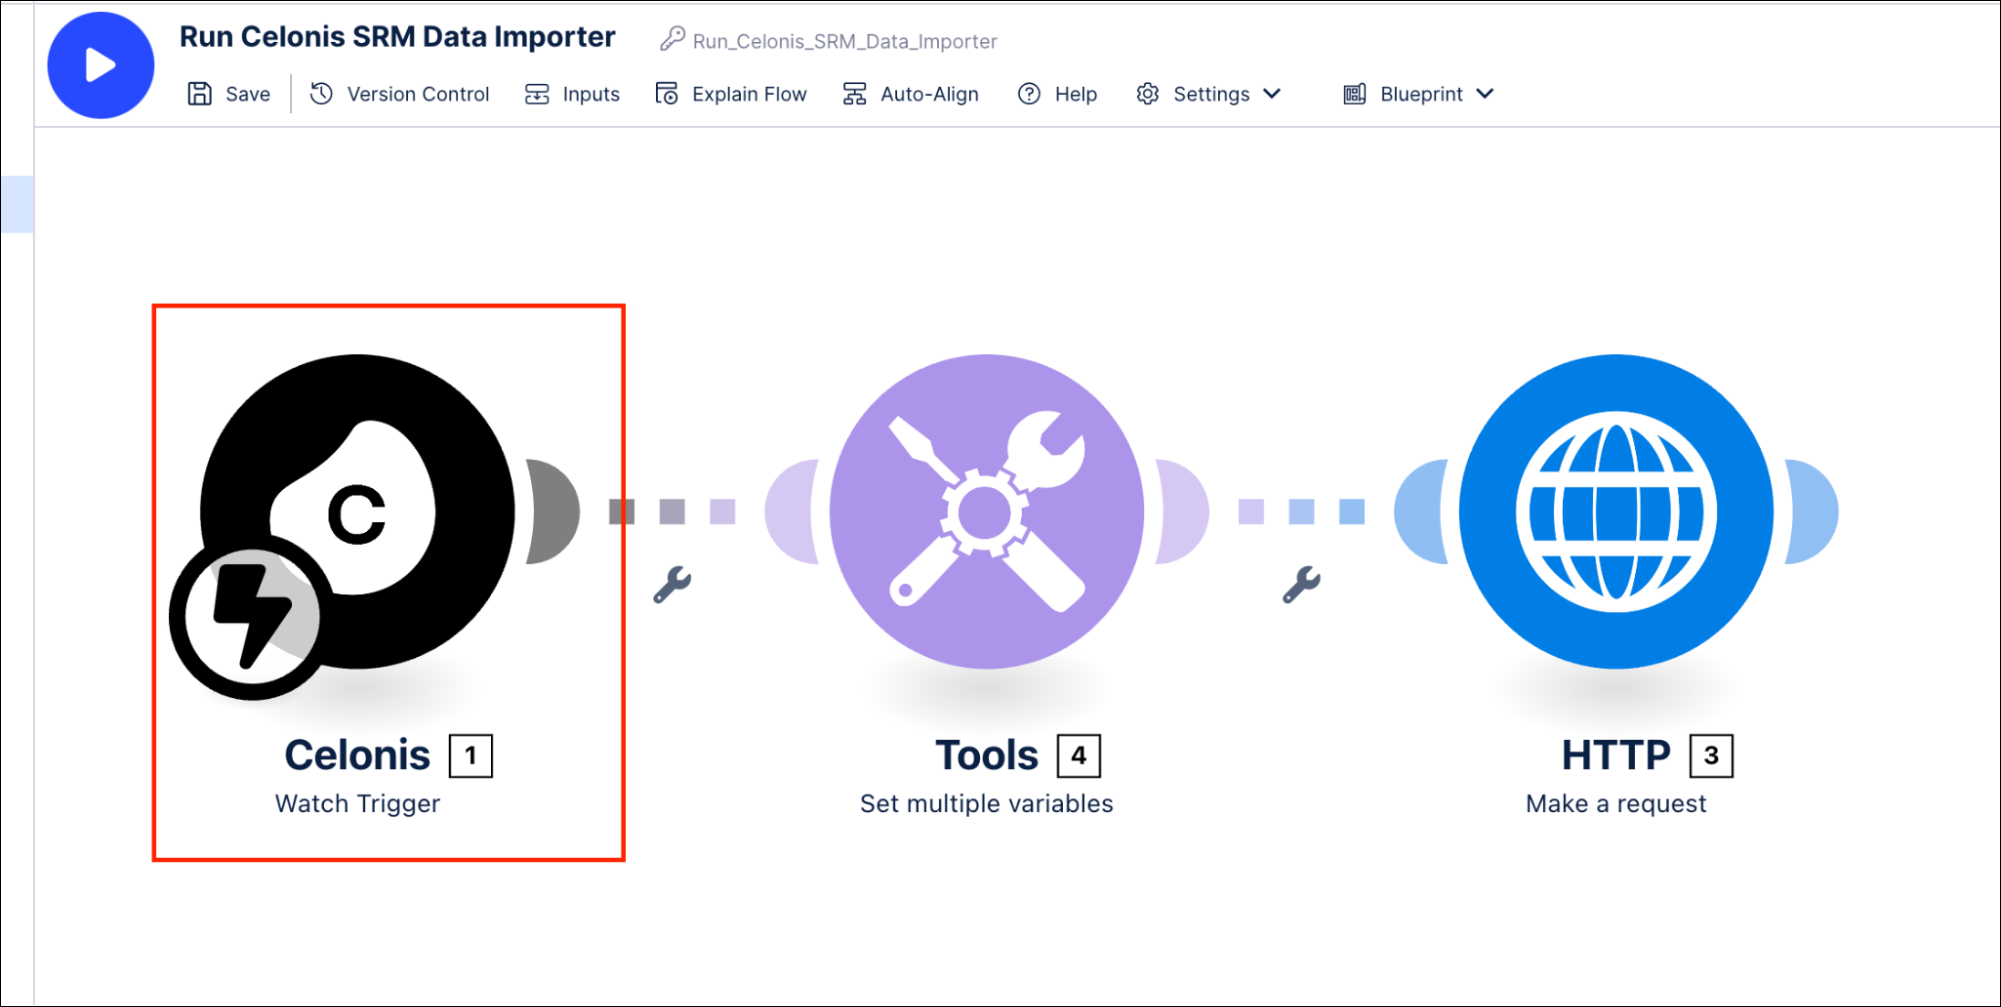
Click Add to add a new webhook.
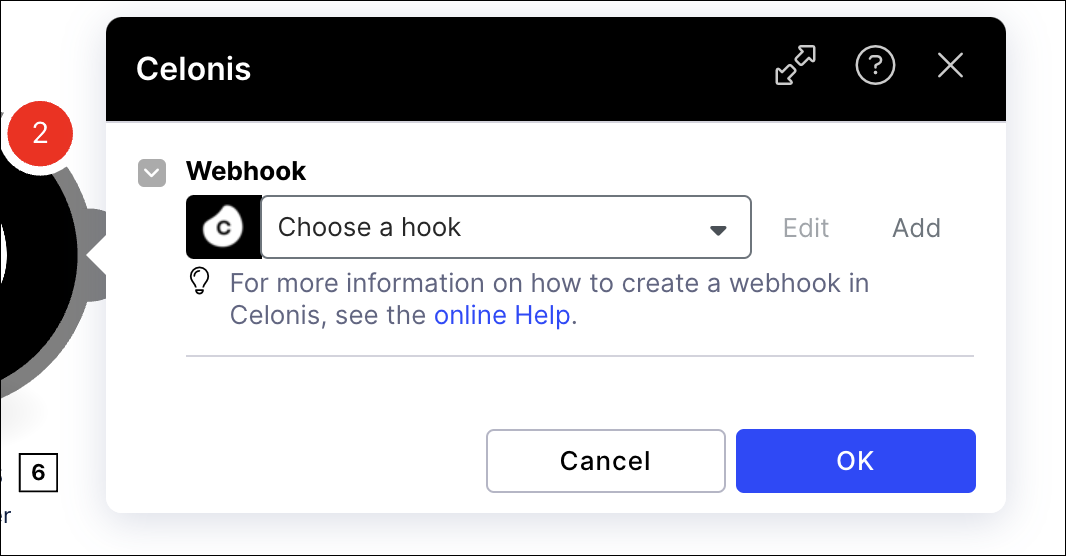
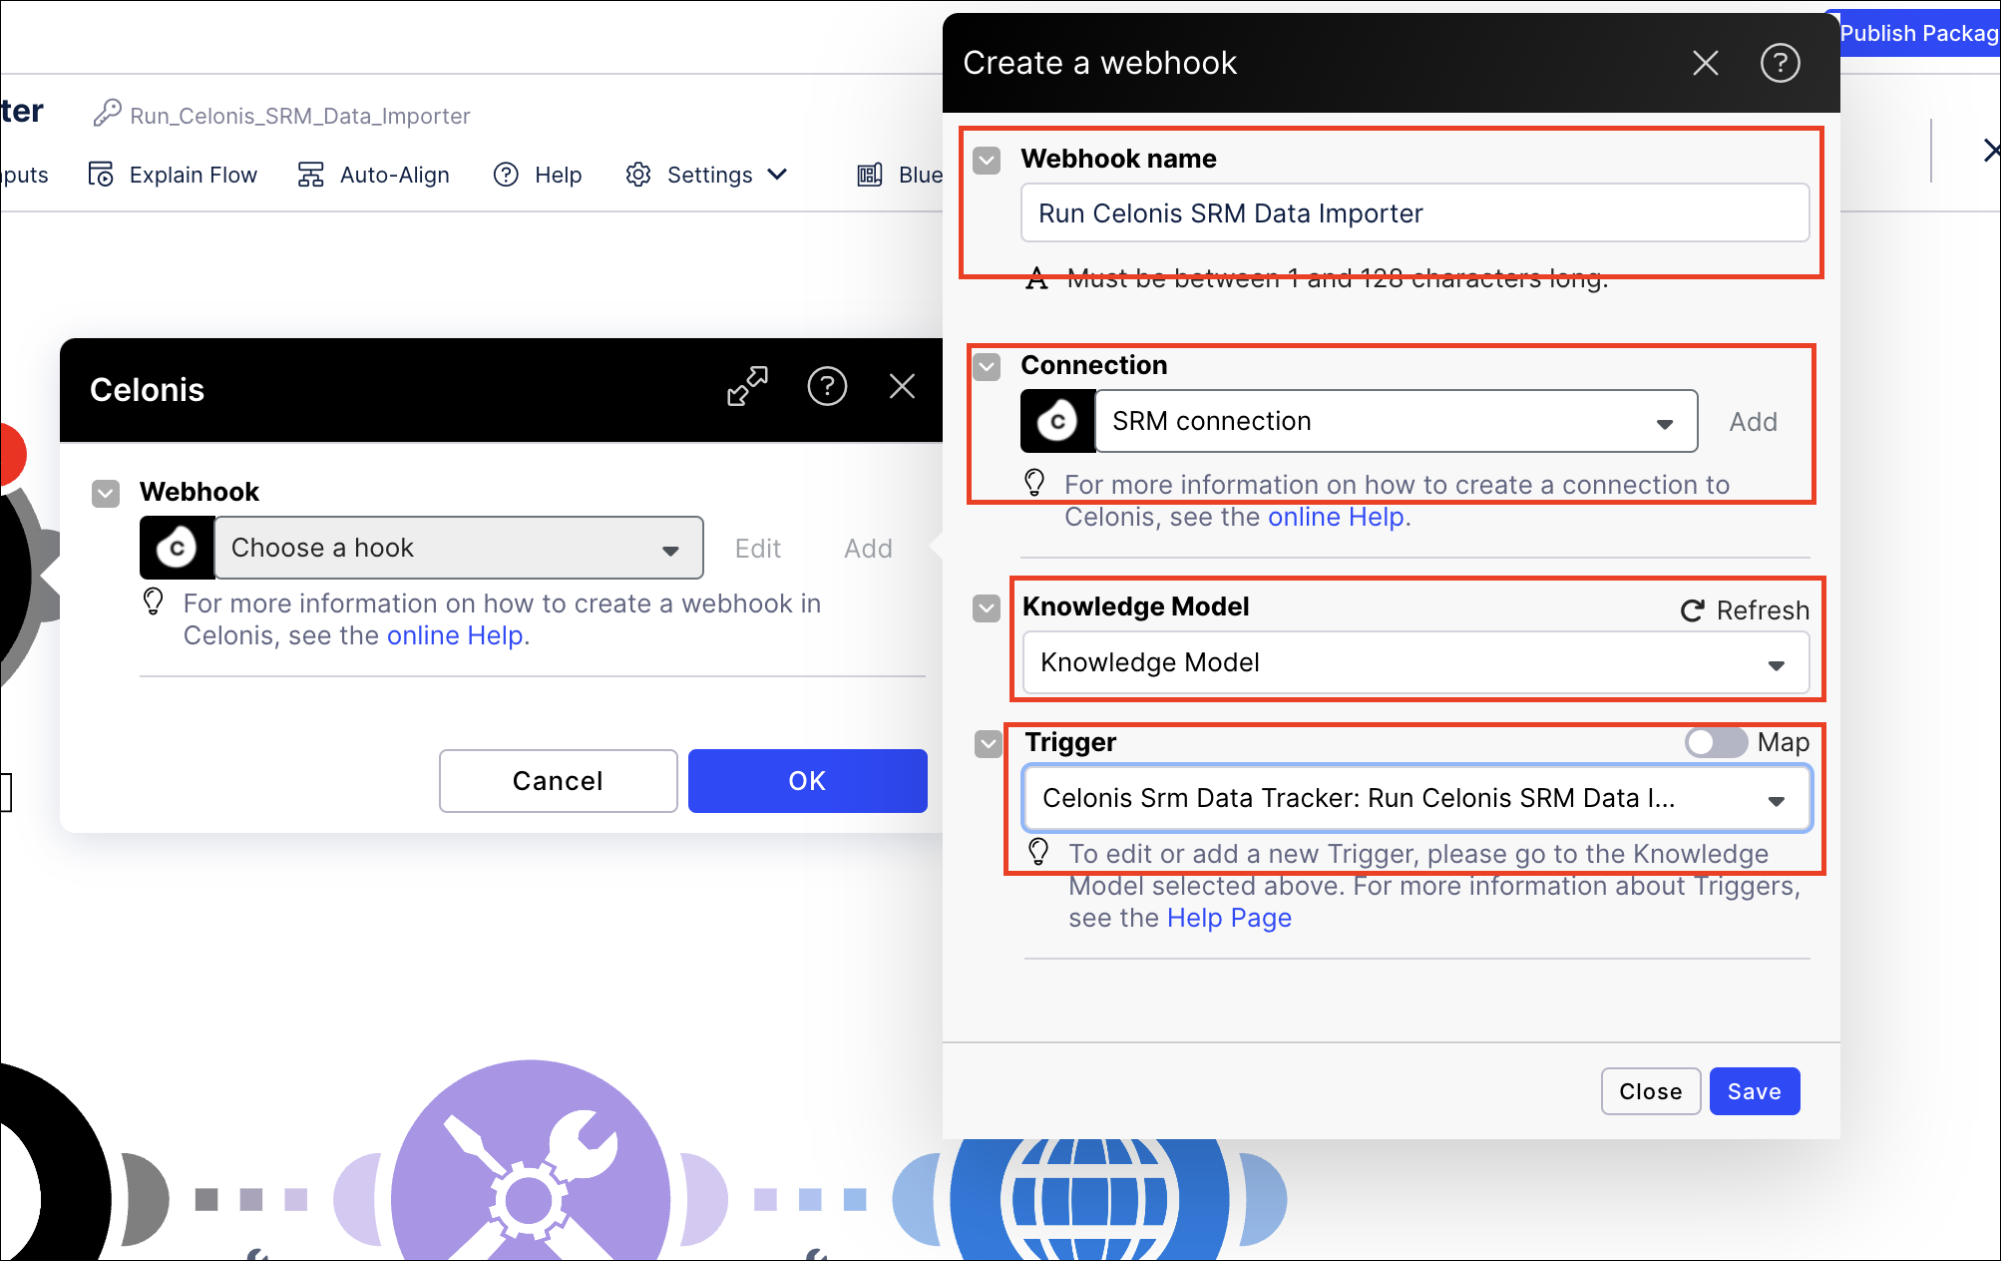
Complete this information for the webhook:
Webhook name: use “Run Celonis SRM Data Importer”.
Connection: select “SRM connection”.
Knowledge Model: select the Knowledge Model from the Sailfin Accounts Receivable app package.
Trigger: select “Celonis SRM Data Tracker: Run Celonis SRM Data Importer”.
Click Save to save the webhook.
Click Add to create the connection to the Sailfin app environment. We recommend selecting “Celonis Application Key” as the connection type. “Celonis User” runs all modules as the specified user.
For the “Celonis Application Key” connection type, enter the application key that you created earlier, and click Save.
For the “Celonis User” connection type, enter the connection name and click Save.
Click OK to complete the connection.

Select the second module Set Multiple Variables.
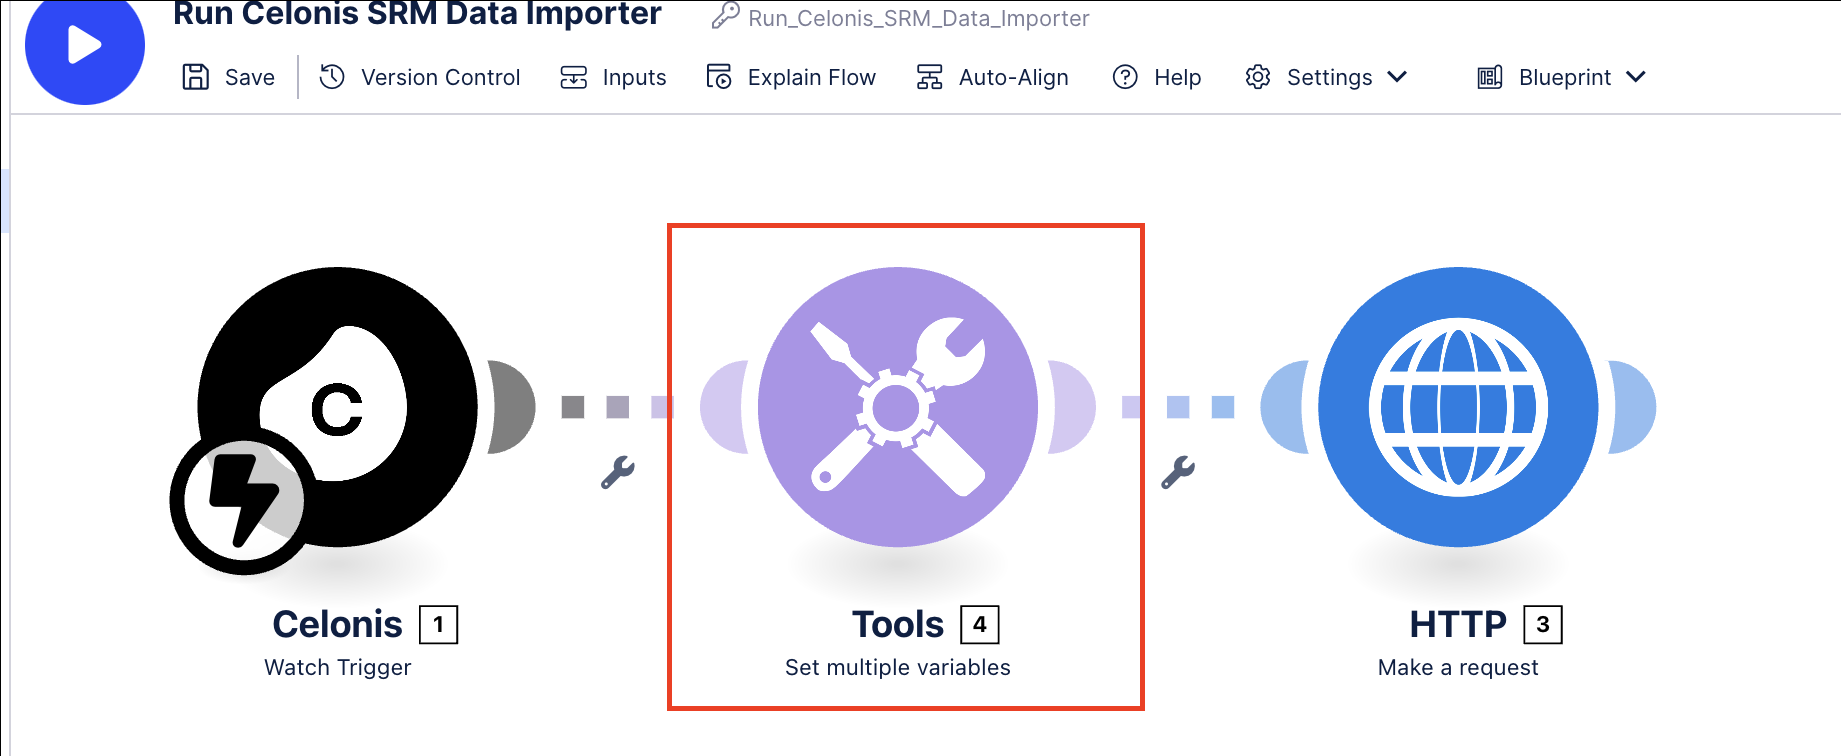
Fill in these variable values:
teamURL: The URL for your Celonis team.
appKey: The application key that you created earlier.
executionFileName: The path to the notebook “data_importer.ipynb”, which is the Data Importer script.
notebookId: The notebook ID from the URL of the Data Importer script, “data_importer.ipynb”. Open the notebook with the script and copy the path. The ID is in the position shown in the URL:
<teamURL>/ml/workbench/<notebook-ID>/lab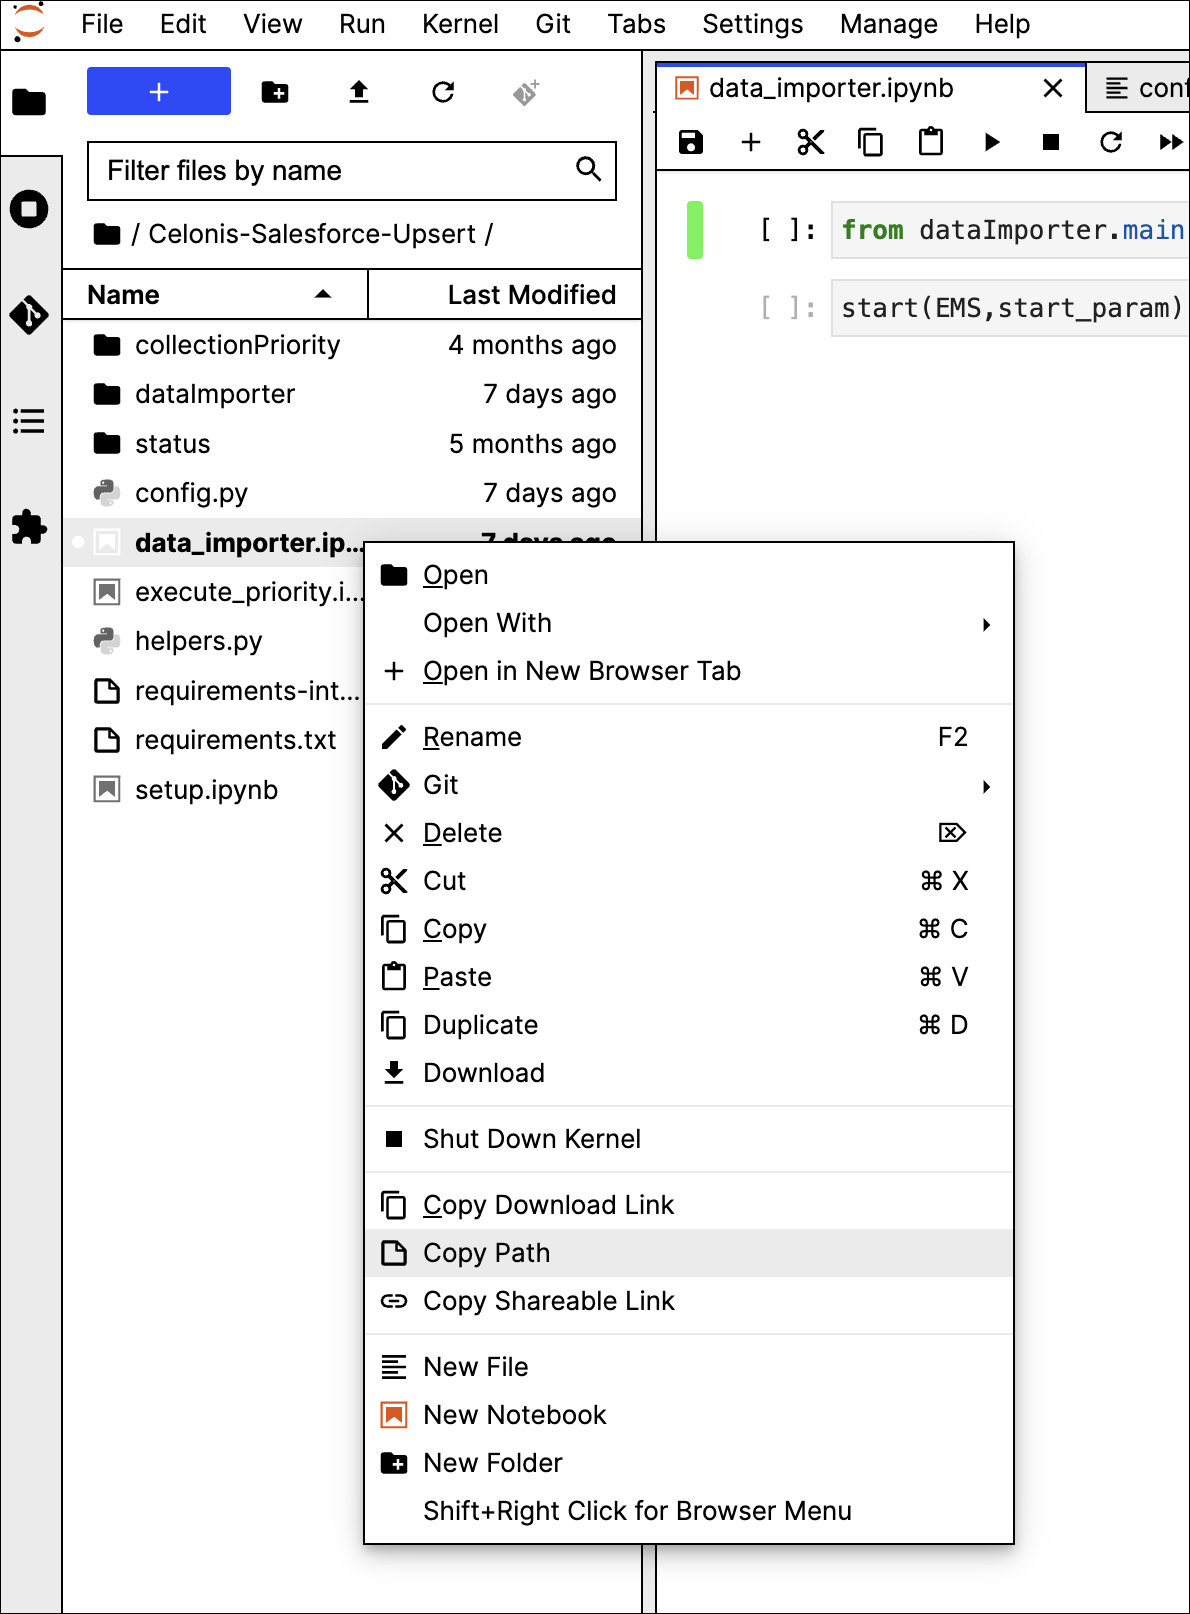
EMS: use the value “1.0” for a case-centric data model.
Save the action flow.
Configuring the Send Mail action flow
The Send Mail action flow sends automated emails to subscribers with the execution status of the Data Importer script. Follow these steps to configure it and get the URL for the webhook:
In the Celonis navigation menu, select Studio.
In the Studio overview, find the app suite package in the space where you installed it, and click its tile.
In the package navigation, select the Send Mail action flow.
Click Edit to enter edit mode, then select the first module Webhooks.
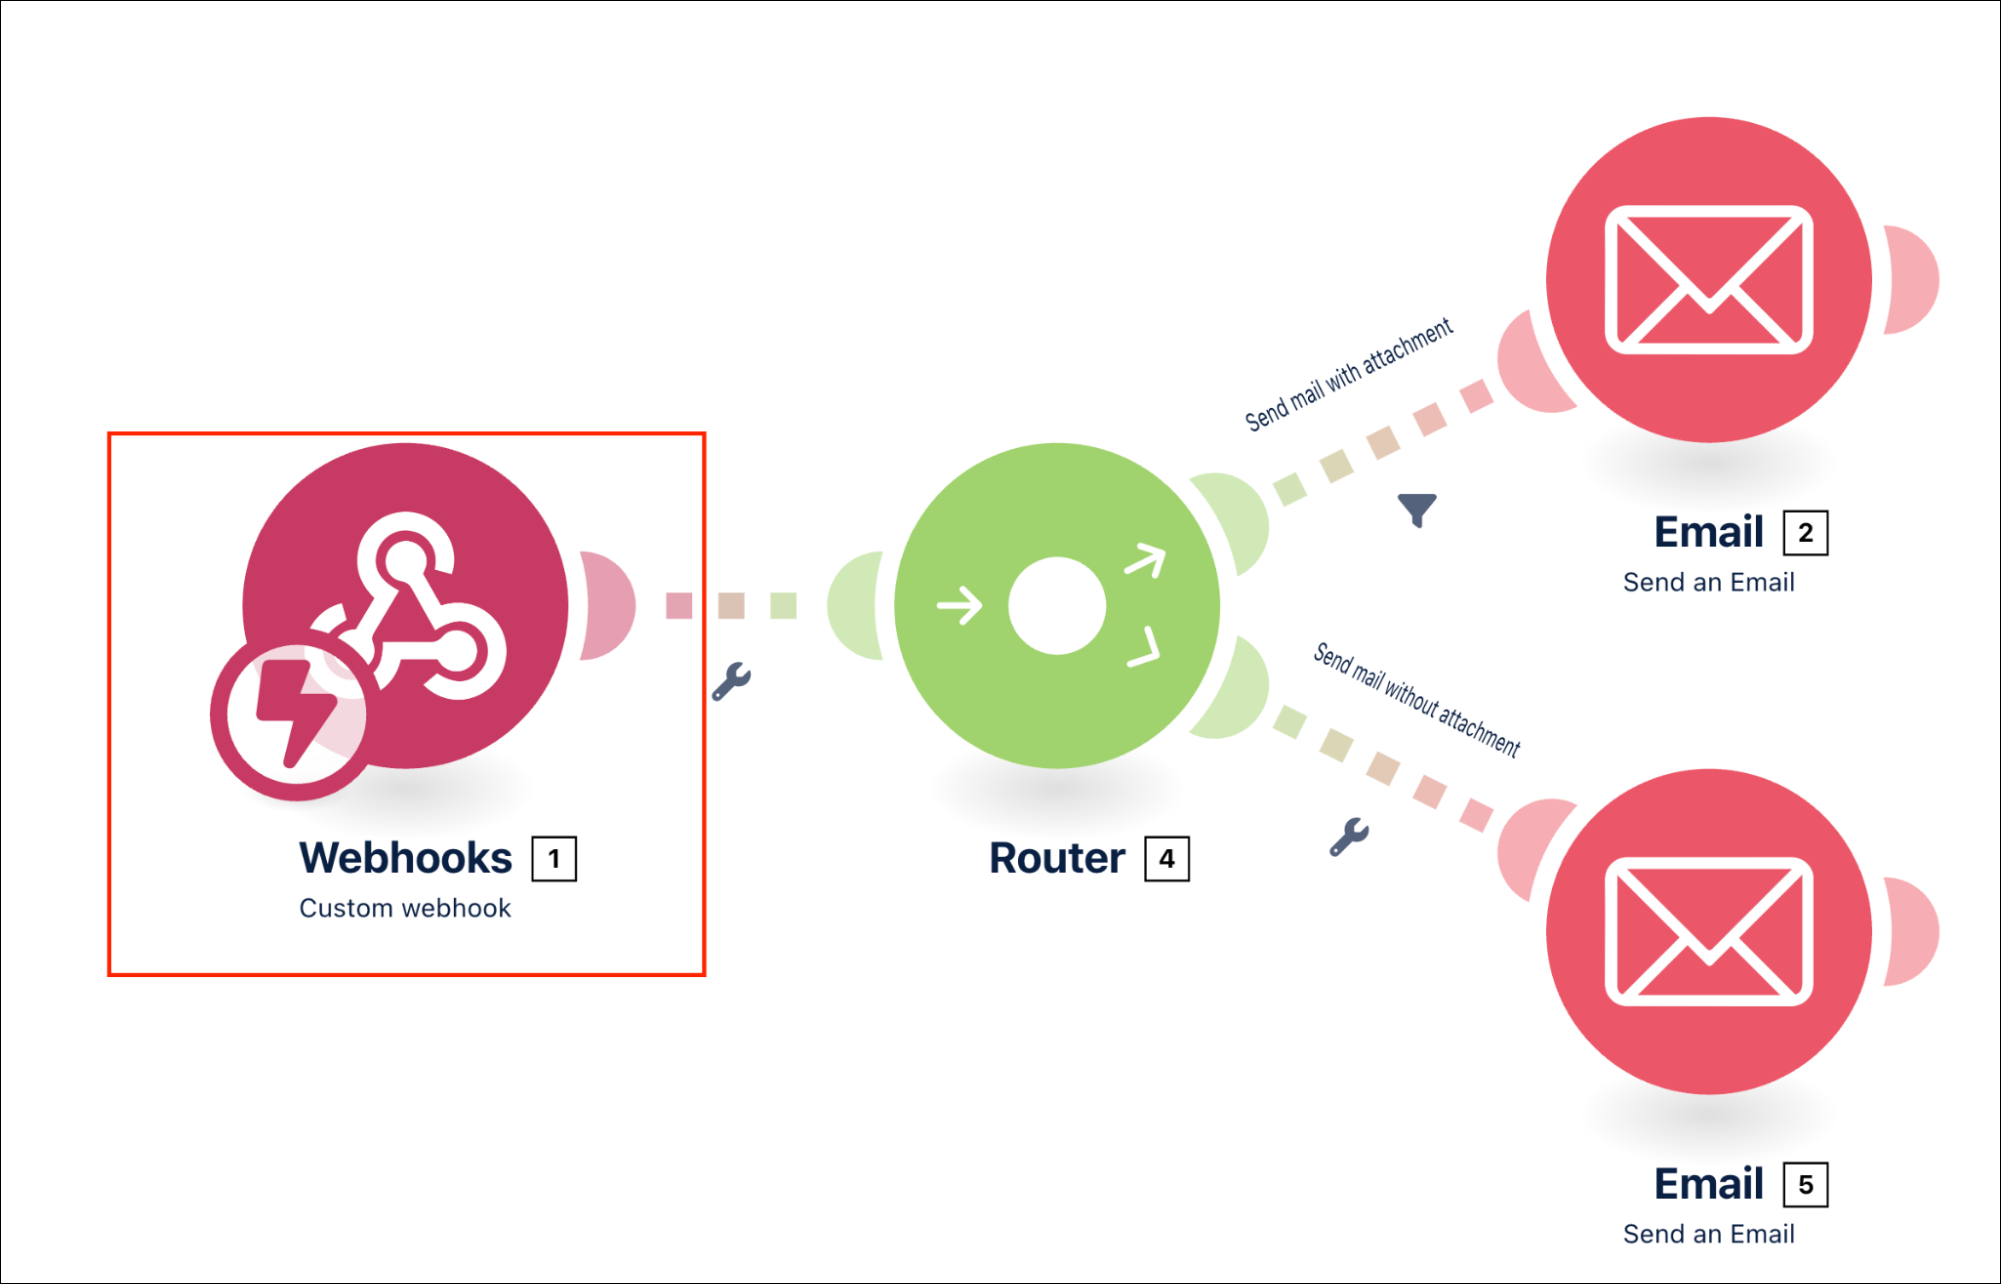
Click Create a webhook.
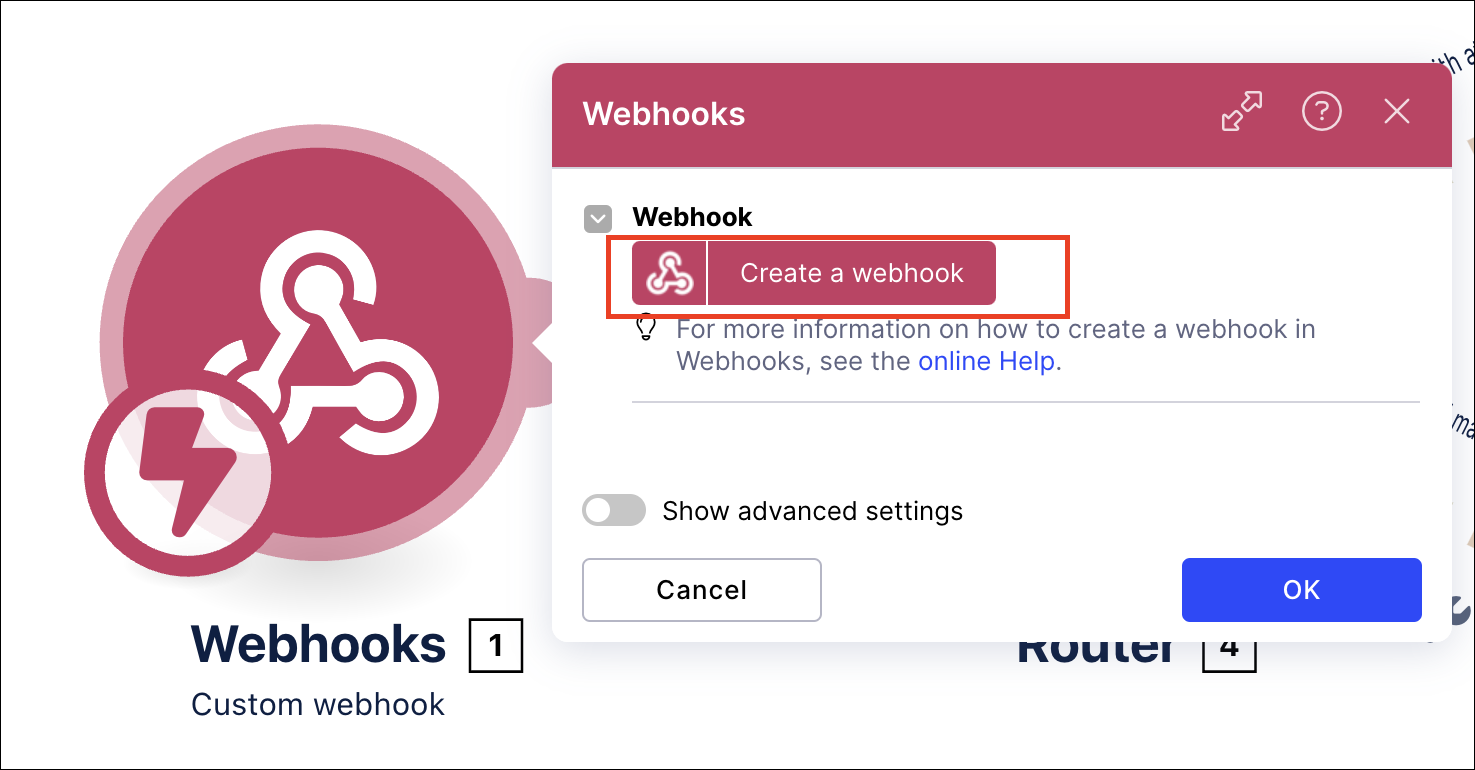
Enter a name for the webhook and click Save.
The webhook URL is displayed. Click Copy address to clipboard.
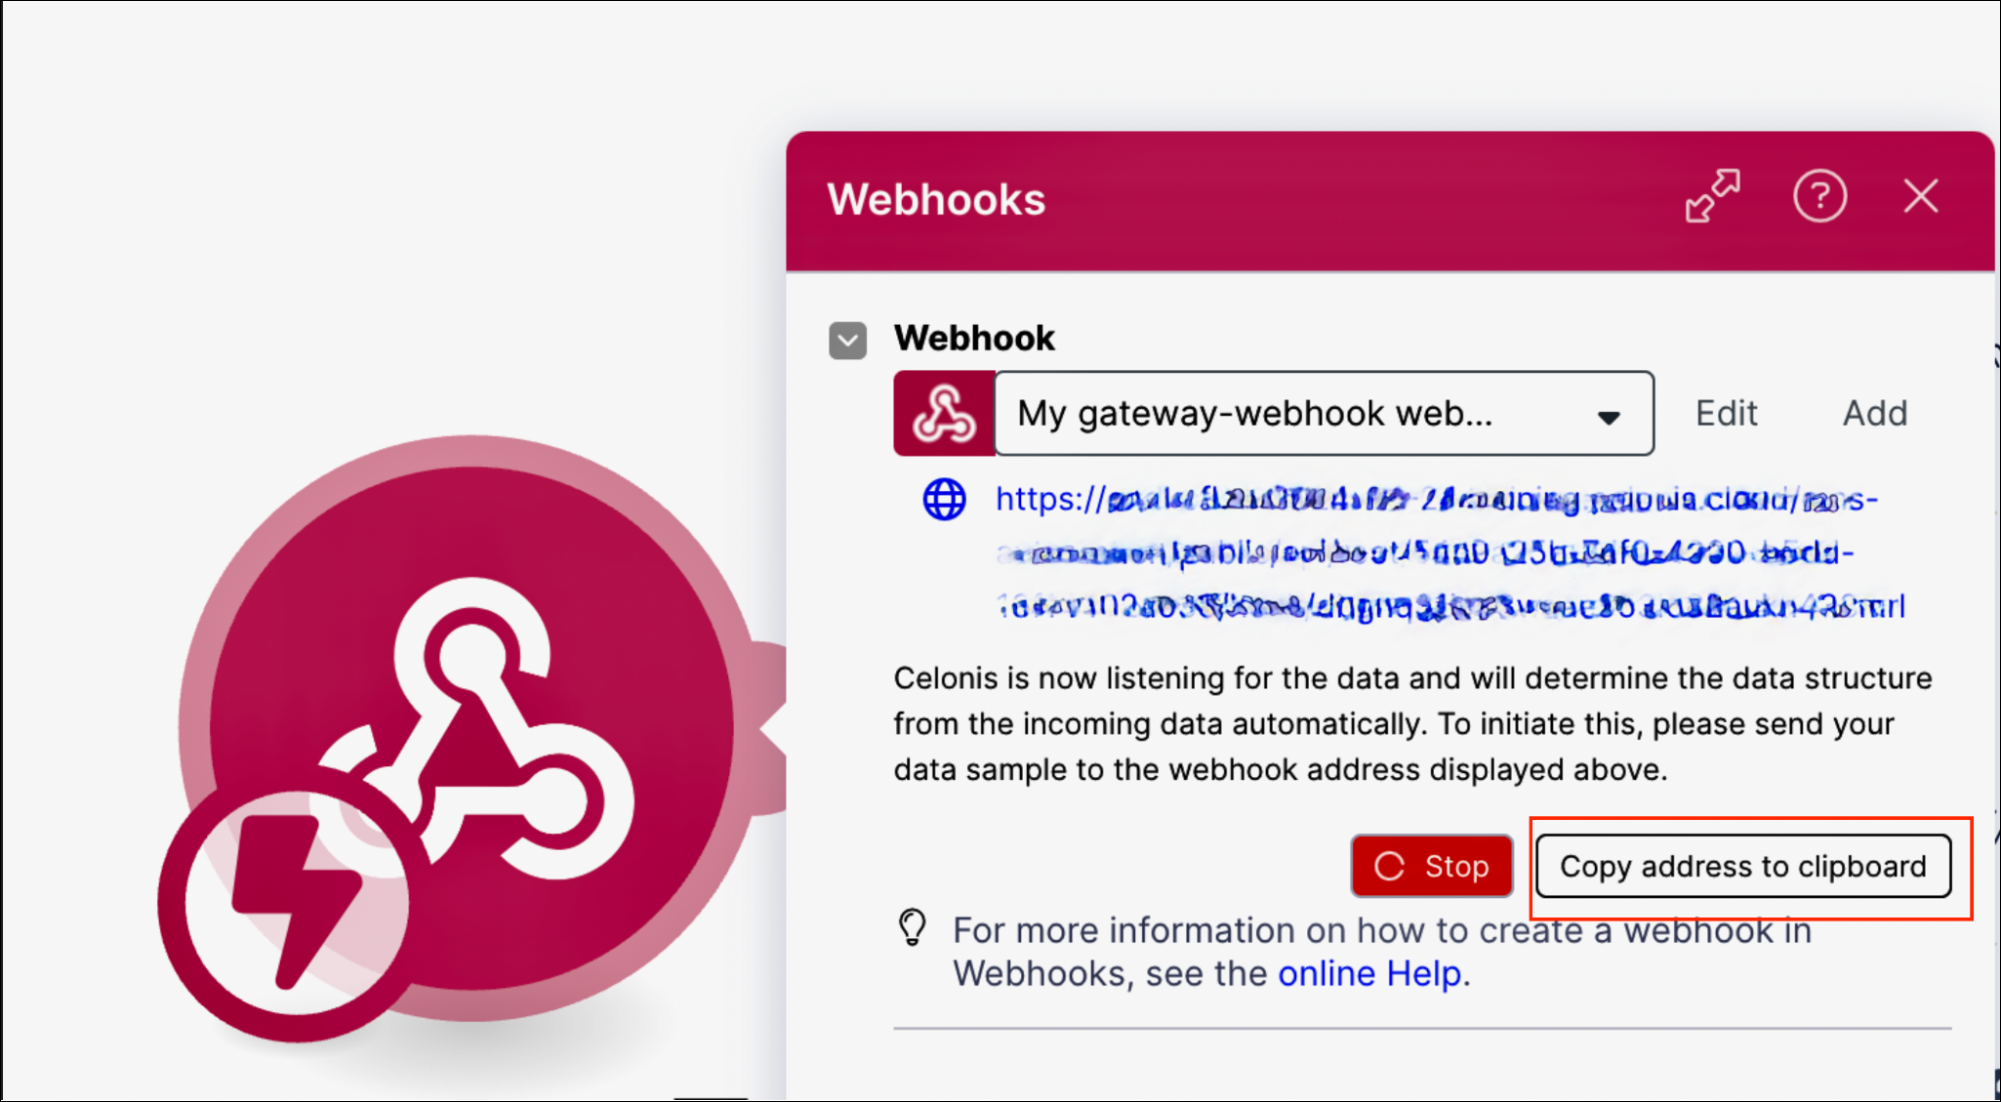
Go to your Machine Learning Workbench application and paste the webhook URL as the value of the MAIL_TRIGGER_WEBHOOK_URL variable.
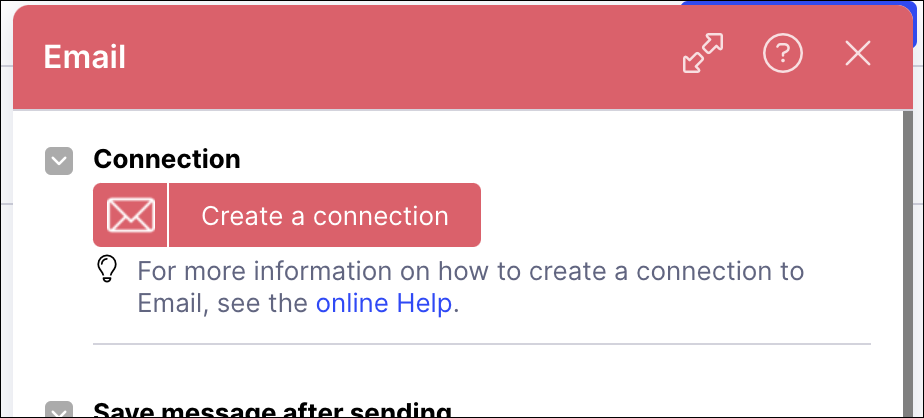
Back in Studio, select one of the Email modules.
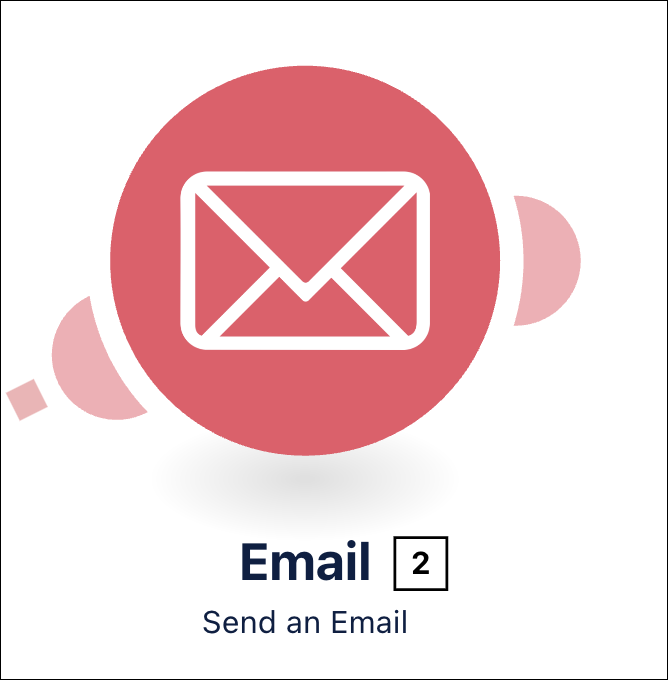
Click Create a connection.
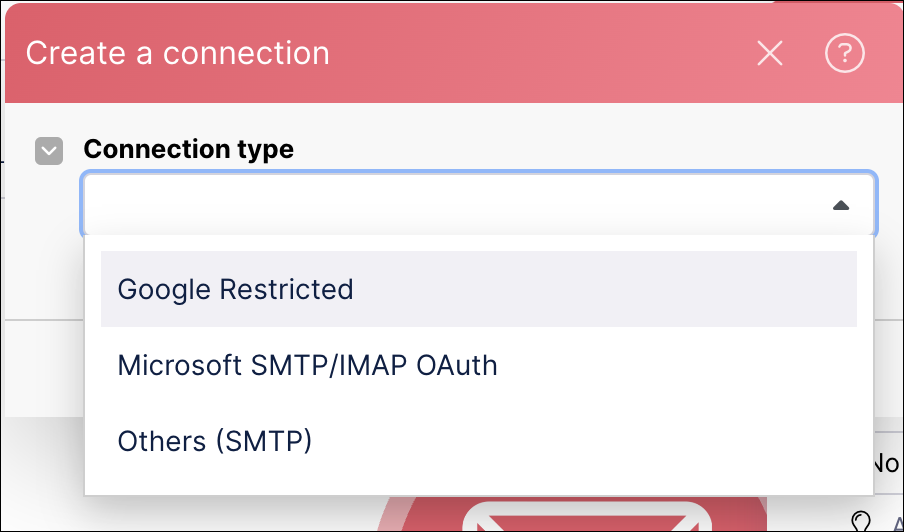
Select a connection type from the dropdown.
Proceed with the authorization. Once authorization is successful, close the authorization window, then click OK.
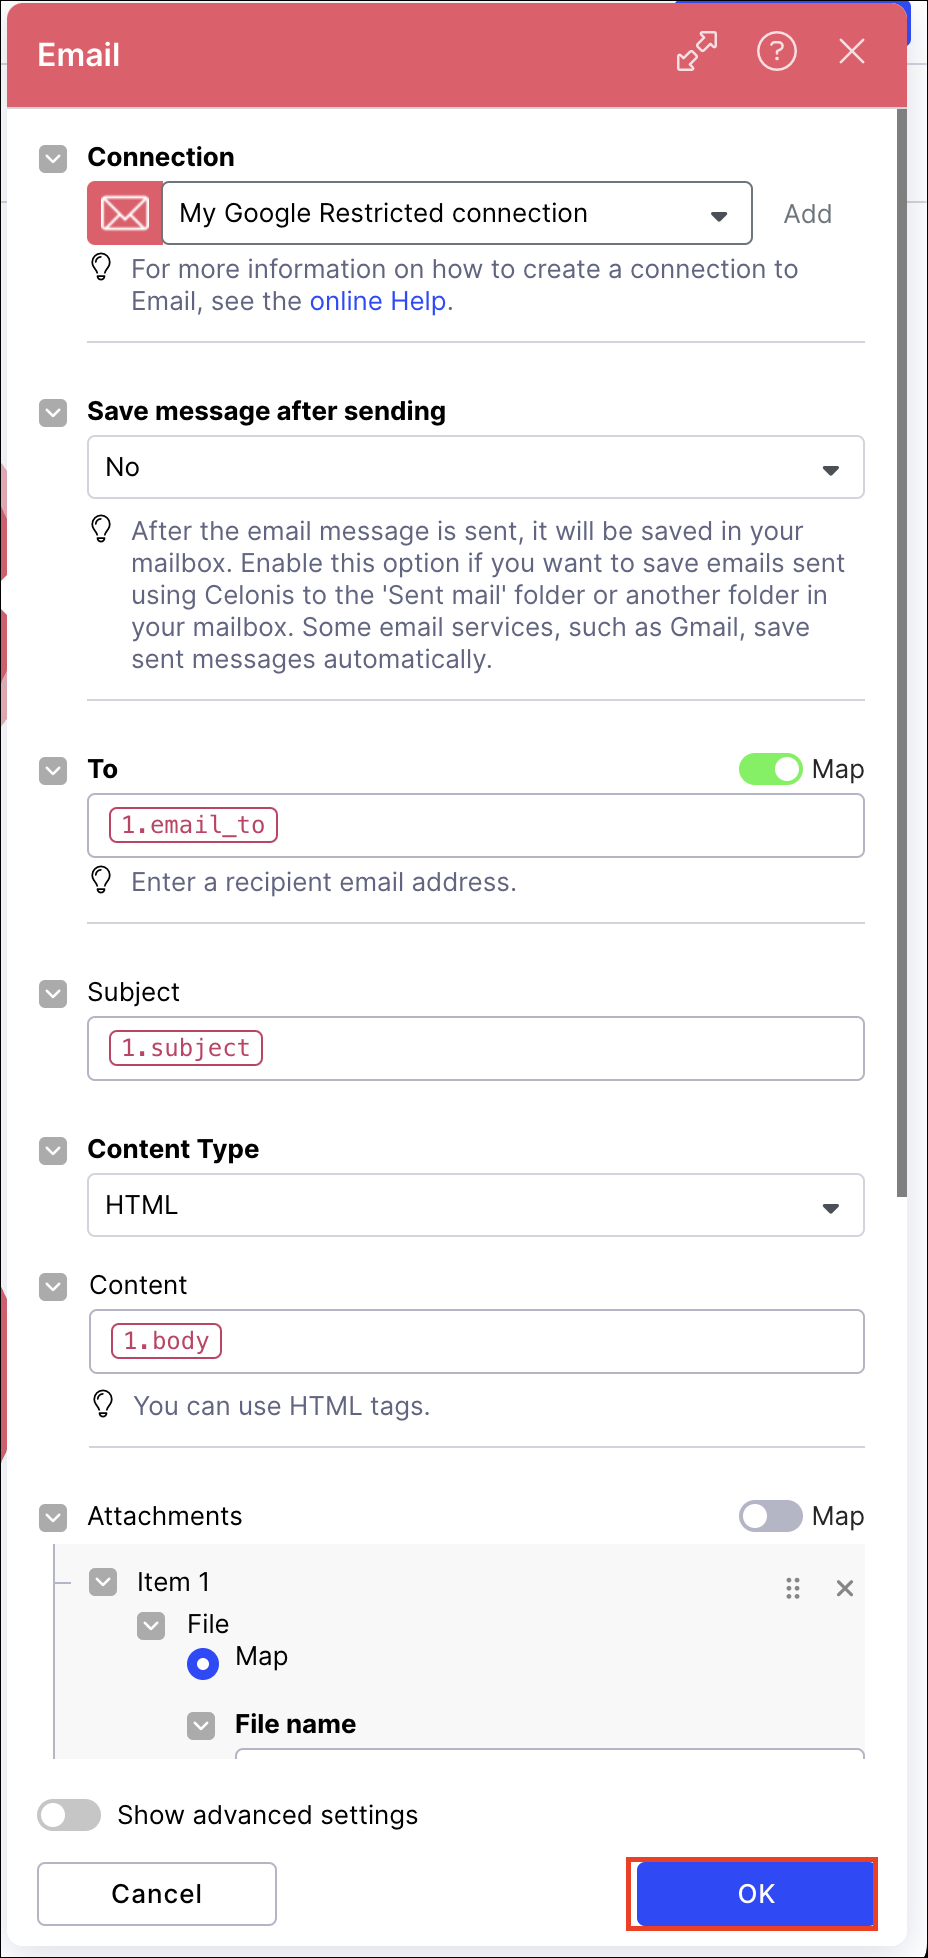
Repeat the connection and authorization steps for the remaining email module.
Save the action flow.