Notify about Manual Delivery Blocks once
Automate manual delivery block notifications to ensure each Sales Order is flagged only once. This solution writes notification data back to your event collection, creating a reliable tracking mechanism that prevents redundant alerts and streamlines team communication.
The image below illustrates a complete Action Flow designed to automate delivery block management. This flow follows a five-step logic to ensure data integrity and communication efficiency:
Identify Blocked Orders: Queries the Data Model for Sales Orders that have had a manual Delivery Block applied.
Deduplicate Data: Filters the results to ensure only distinct Sales Order values are processed, preventing redundant processing.
Notify Stakeholders: Automatically generates and sends an email to the relevant employee listing the identified blocked orders.
Update Tracking Log: Writes the processed Sales Order IDs into a dedicated tracking table and pushes this data back to Celonis Data Integration.
Prevent Redundant Alerts: Applies a "check-back" filter against the tracking table so that orders already notified in previous runs are excluded from future alerts.
 |
Below you will find the step-by-step guide for configuring each module of the above Action Flow.
1. Get all manually blocked Sales Orders
In the Query Data module we'll query data from a data model and filter out the sales orders which got a manual delivery block. At a later point in the template we'll add a additional column based on a table we'll create in the template which helps us to track which sales order blocks we've already seen.
 |
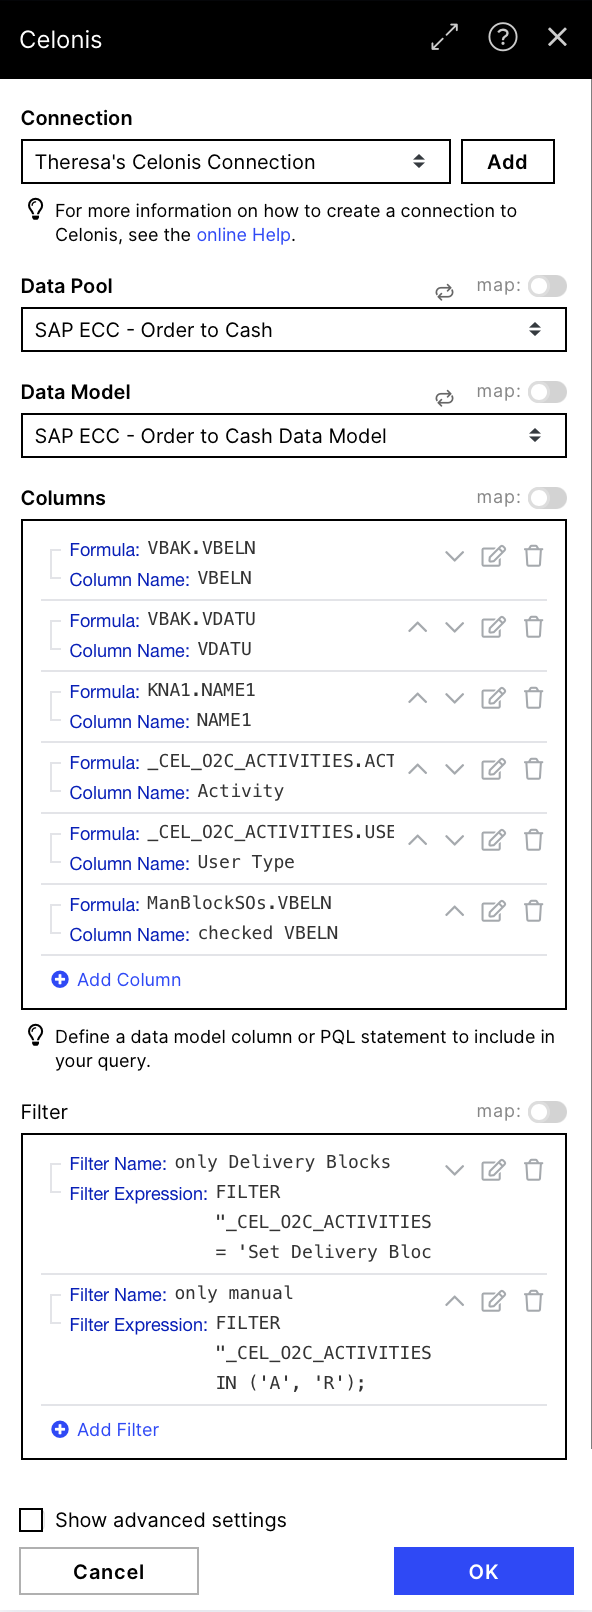
Configuration:
Action Flows Module: Celonis
Action: Query Data
Connection: Set up a User- or AppKey Connection
Data Pool: Choose your O2C Data Pool
Data Model: Choose your O2C Data model
Columns:
required:
VBAK.VBELN
_CEL_O2C_ACTIVITIES.ACTIVITY_EN
_CEL_O2C_ACTIVITIES.USER_TYPE
LATER: [defined Table Name].VBELN
Note
As we first have to push the table once (run our flow once and adjust minor stuff in the event collection) and add it to our data model, the required column labeled with 'LATER' has to be added at a later point in the template.
optional:
VBAK.VDATU
KNA1.NAME
Filter: we Filter on all delivery blocks first and in a second filter on all manual ones (Manually (A) & Mass-Transactions (R))
 |
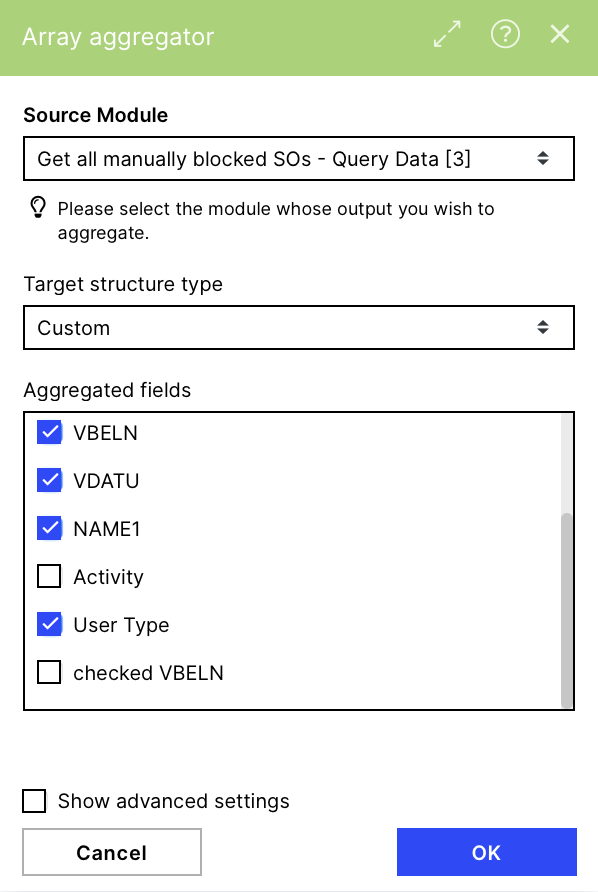
This module aggregates the columns we want to use later in an array to be able to make the array distinct in a next step.
 |
Configuration:
Action Flows Module: Flow Control
Action: Array Aggregator
Source Module: Query Data
Target structure type: Custom
Aggregated fields: everything you want to use in the following modules
required:
VBAK.VBELN
optional:
User Type
VDATU
NAME
 |
The iterator takes the array produced in the previous module and filters it to have only distinct values left. In addition we get the original form back we had directly after the Query Data module (column-format).
 |
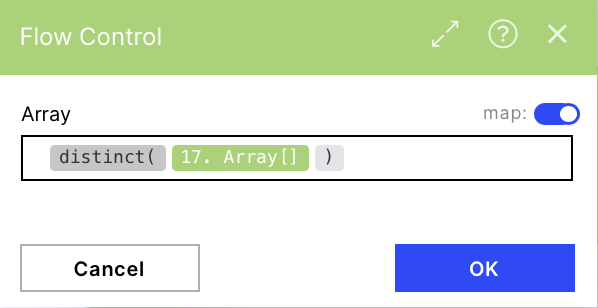
Configuration:
Action Flows Module: Flow Control
Action: Iterator
toggle the map button in the top left corner
Array: choose the 'distinct' function and add the Array which is the outcome of the previous module as the input.
The output will be the all of the columns chosen in the previous module but distinct (no same rows → each sales order at max once)
 |
At this point we split our actions and start one for the action we want to do with the data we got, in our example send a mail to an employee stating which Sales Orders got a manual delivery block since the last execution. The second route is used to write back a table in our event collection where we save which sales order with a manual delivery block we already used in our notification to make sure to not include it twice in our e-mail notification.
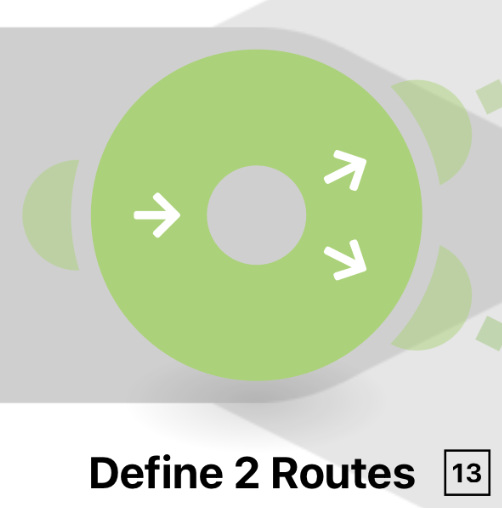 |
Configuration:
Action Flows Module: Flow Control
Action: Router
Route 1(A): action with the data e.g. send a notification mail
 |
Route 2(B): write back to event collection for making sure to include a sales order just once in the notification
 |
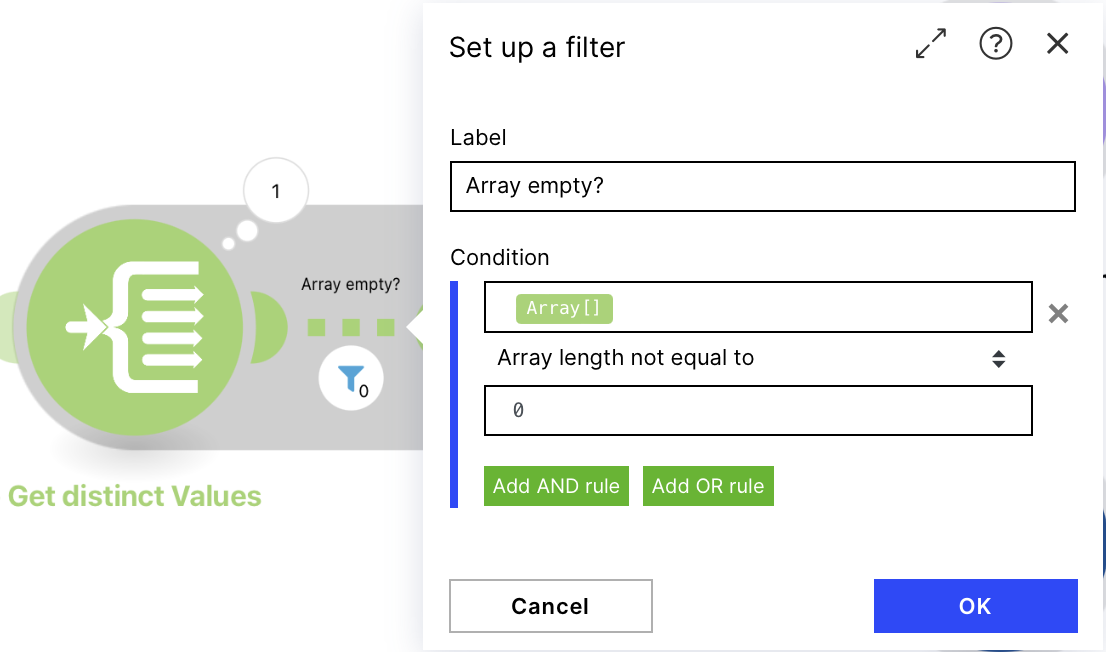
We can stop the Flow when the array is empty (as we then have nothing to send in the email and thus nothing to write back to our table). We do this by adding a filter on the length of the array. If the array is empty the flow will directly stop. As soon as at least one Sales Order is in the array the Action Flow will continue normally.
 |
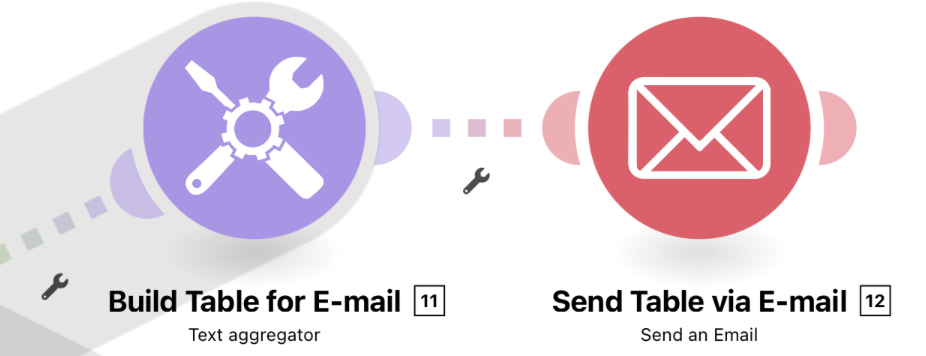
Configuration:
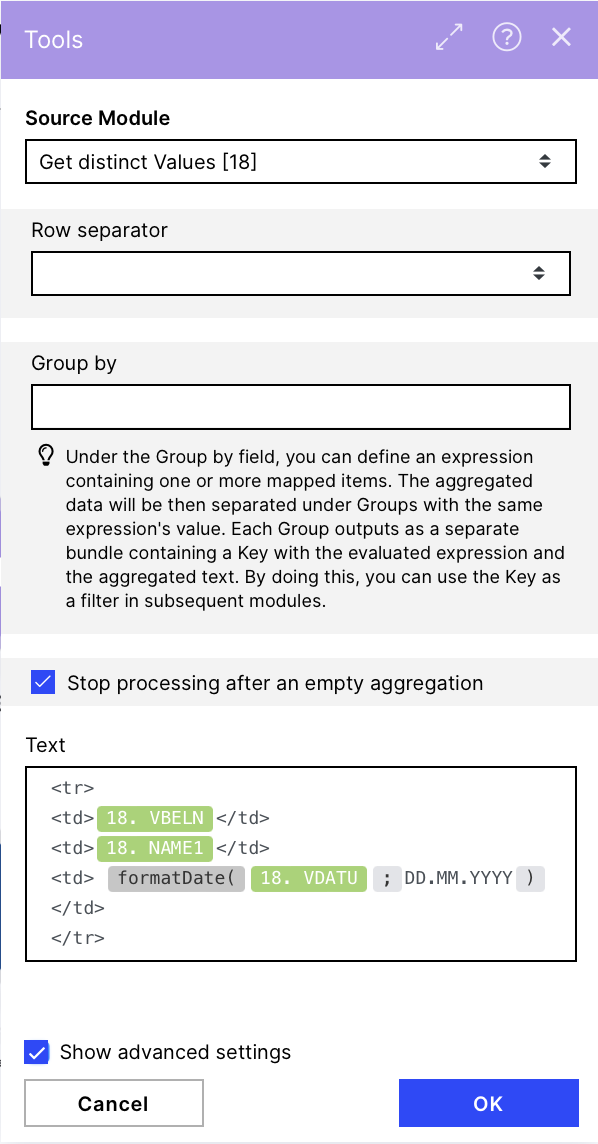
Action Flows Module: Tools
Action: Text Aggregator
to build up a html table you have to define a structure with table rows (<tr>) and table cells (<td>) which will later be included in a table structure to get the right format. Here you have the chance to format dates as we show it with the Delivery Dates.
Add for each column you want to have in your resulting table the structure <td> data of the column </td>
Text:
<tr>
<td>{{18.VBELN}}</td>
<td>{{18.NAME1}}</td>
<td> {{formatDate(18.VDATU; "DD.MM.YYYY")}}</td>
</tr>
Enable 'Show advanced Settings' and choose 'Stop processing after an empty aggregation' to make sure no empty mails are sent.
 |
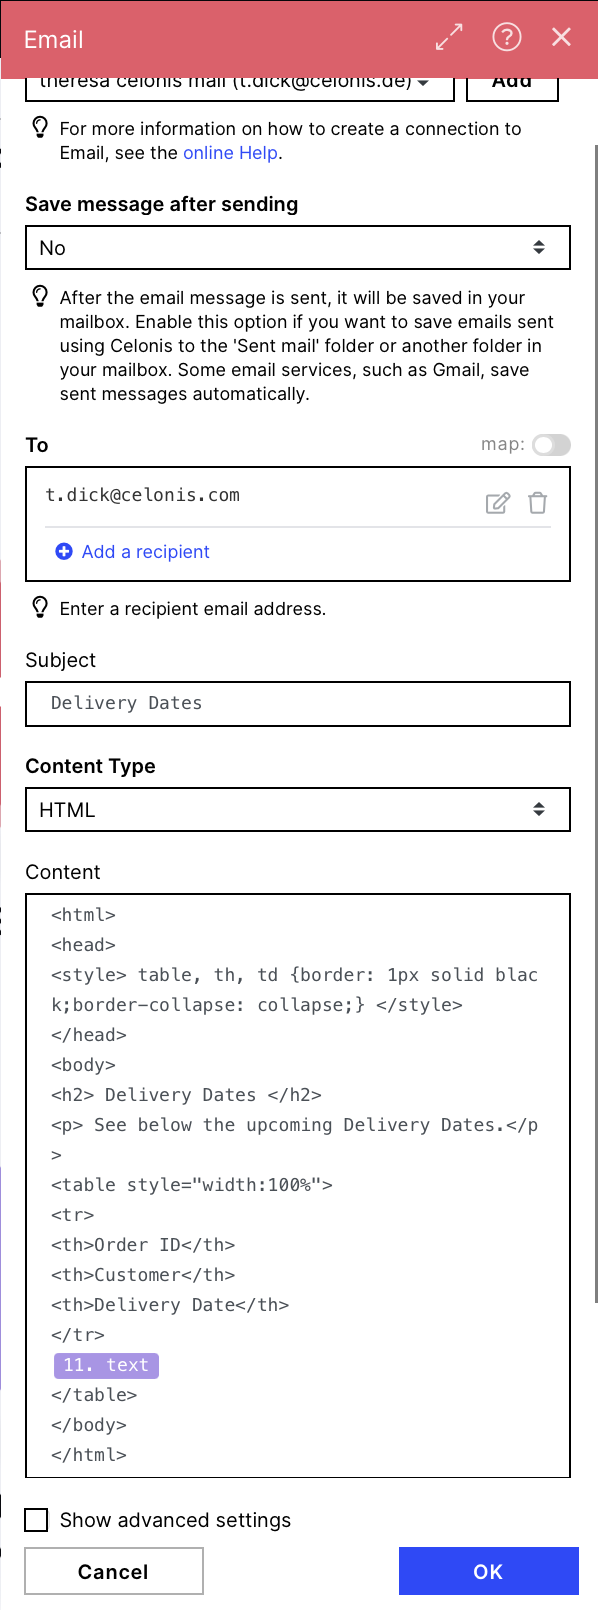
7.(A) SendTable via E-mail
 |
Configuration:
Action Flows Module: Email
Action: Send an Email
To: You can choose a recipient of your choice
Subject: Define the subject of the mail
Content Type: HTML
Content:
html code:
<html>
<head>
<style> table, th, td {border: 1px solid black;border-collapse: collapse;} </style>
</head>
<body>
<h2> Delivery Dates </h2>
<p> See below the upcoming Delivery Dates.</p>
<table style="width:100%">
<tr>
<th>Order ID</th>
<th>Customer</th>
<th>Delivery Date</th>
</tr>
{{2.text}}
</table>
</body>
</html>
HTML Tables
Find more information on how to send HTML tables in a mail and how to adapt the HTML code to your needs in this template.
 |
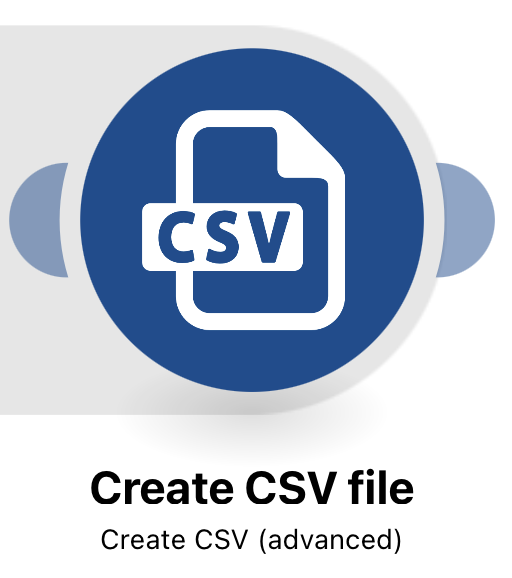 |
Configuration:
Action Flows Module: CSV
Action: Create CSV (advanced)
We do this by setting up our data structure in the CSV. We use the Generator and paste our JSON format in, this is especially relevant when having more complex data structures:
{
        "VBELN": "",
        "BlockType": ""
}
If you have more / other Columns you can adjust the JSON quite easy, the generic format is:
{
        "Column 1 Name": "",
        "Column 2 Name": "",
                "Column 3 Name": "",
                "Last Column Name": ""
}
Fill the new fields with the respective data from the Iterator module and adjust it if needed.
OPTIONAL: In our example we do not only save the Sales Order Number but also the type of Manual Delivery Block. In case of an A in the original table we save 'Manually' and in case of no A (we filtered before so if it's not an A it is an R) in the original Table we save 'Mass-Transaction'
 |
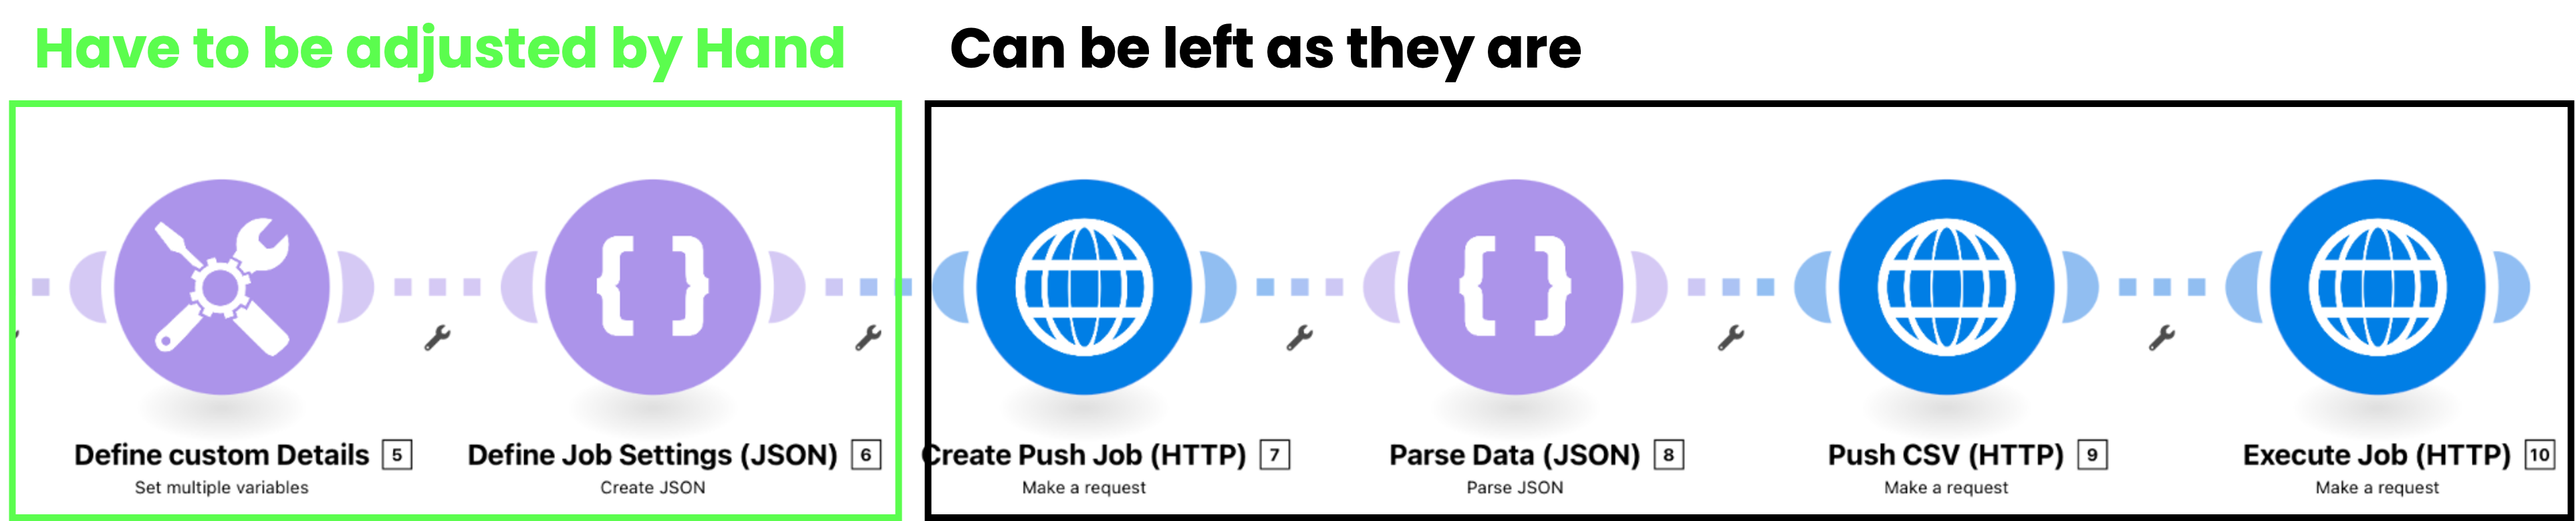
Module 6(B) - 11(B)
How to set up module 7(B) - define custom details until module 12(B) - execute push job can be found in this templatepoint3 - 8.
Define custom details and the following module HAVE TO BE ADJUSTED BY HAND, the others can be left as they are.
 |
After setting up the second route properly (you followed the instructions from the other template) run your flow once and check the Status Codes of the HTTP modules in the output (200 something codes are good, 400/500 codes indicate an error). As soon as the codes are 200 codes you can inspect your Results in the Data Integration
1. Navigate to Data Integration
 |
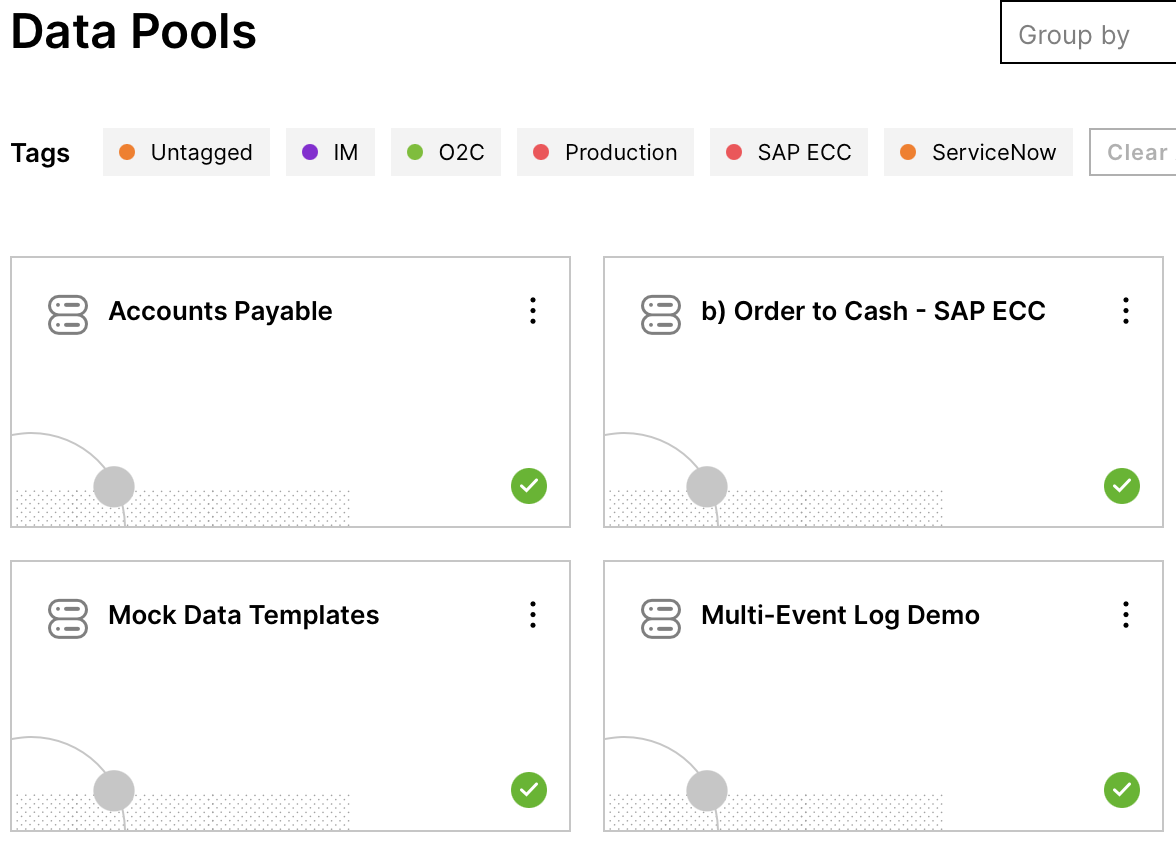
2. Choose the Data Pool you sent Data to (he one from which you got the ID before)
 |
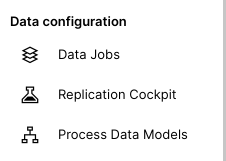
3. Click on Data Jobs in the side bar on the right
 |
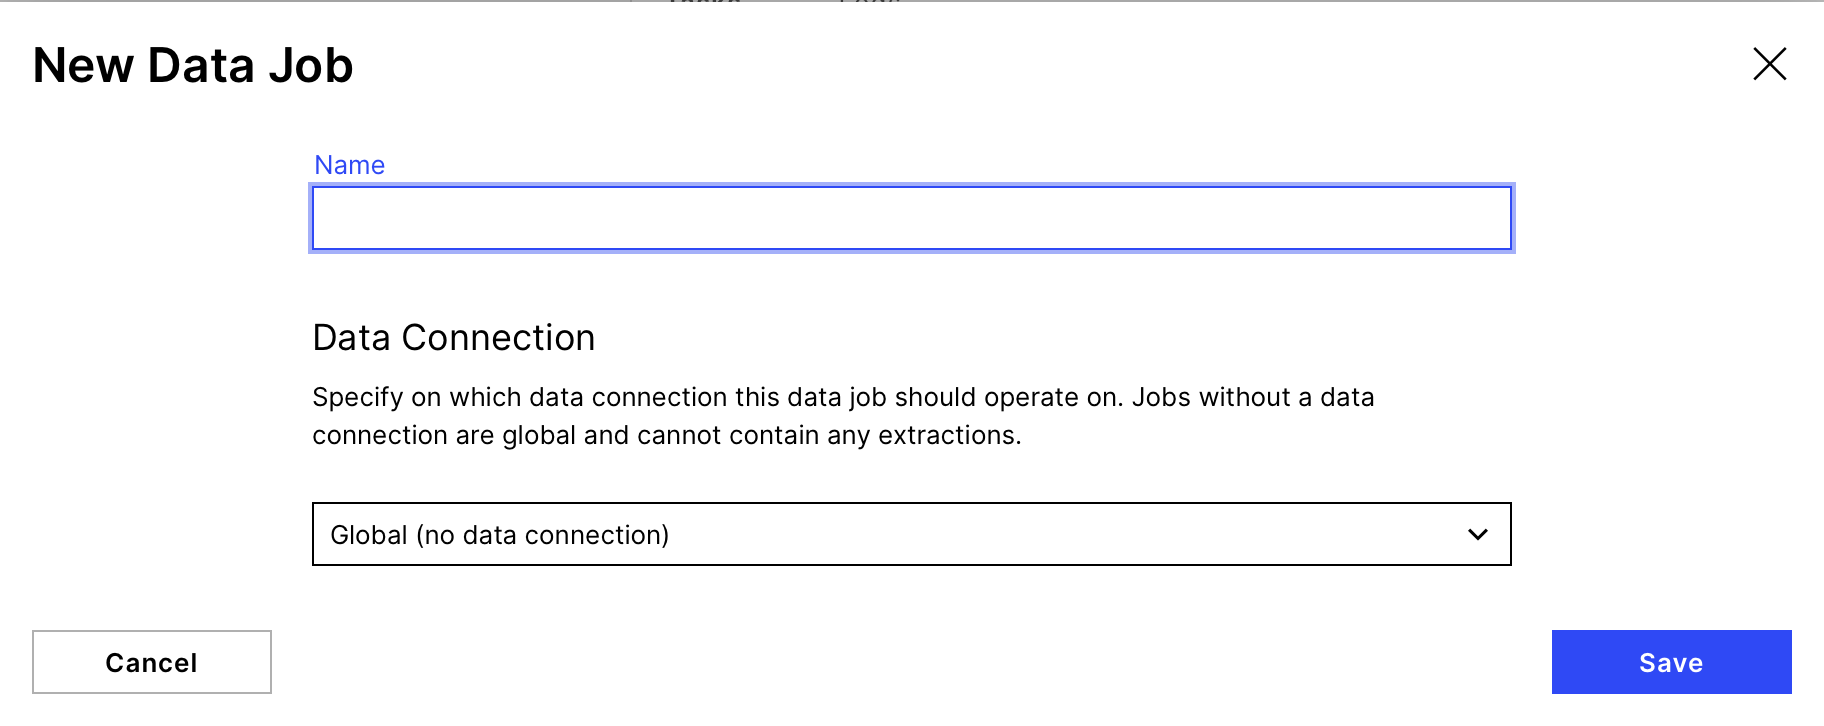
4. Create a New Data Job
 |
5. Make sure to choose "Global (no data connection)" as Data Connection
 |
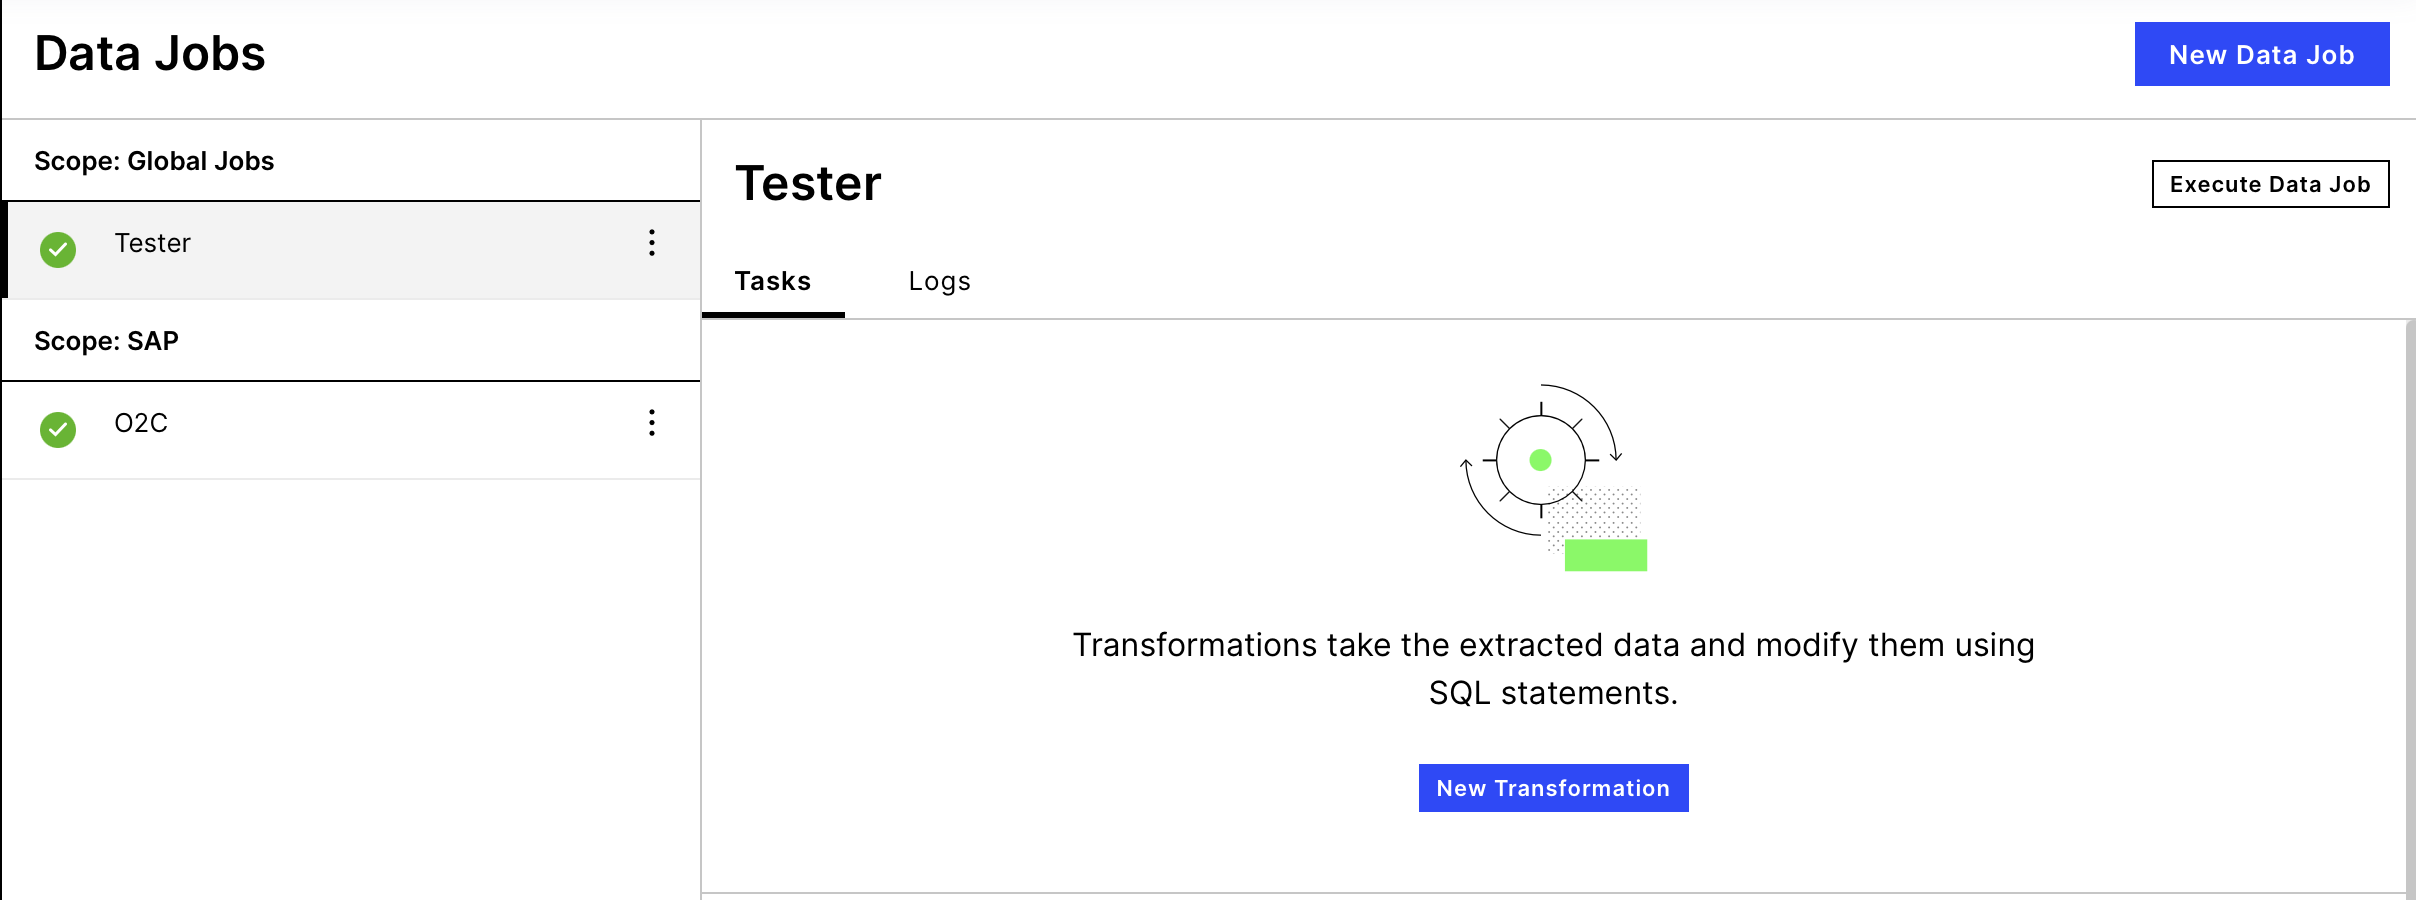
6. Add a new Transformation within the new Data Job
 |
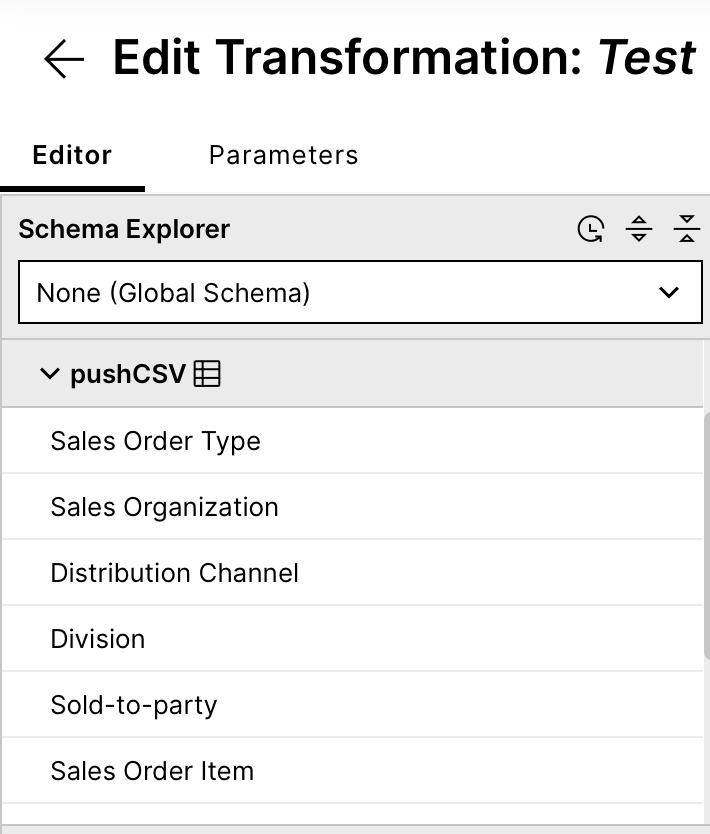
7. After choosing a name you should be able to see the sent table with the specified name in the Schema Explorer on the right. When unfolding the table you should be able to see the columns.
 |
Note
When there is only one column with all headings inside, the column separator in module 3 (Define Job Settings) might have been chosen wrong.
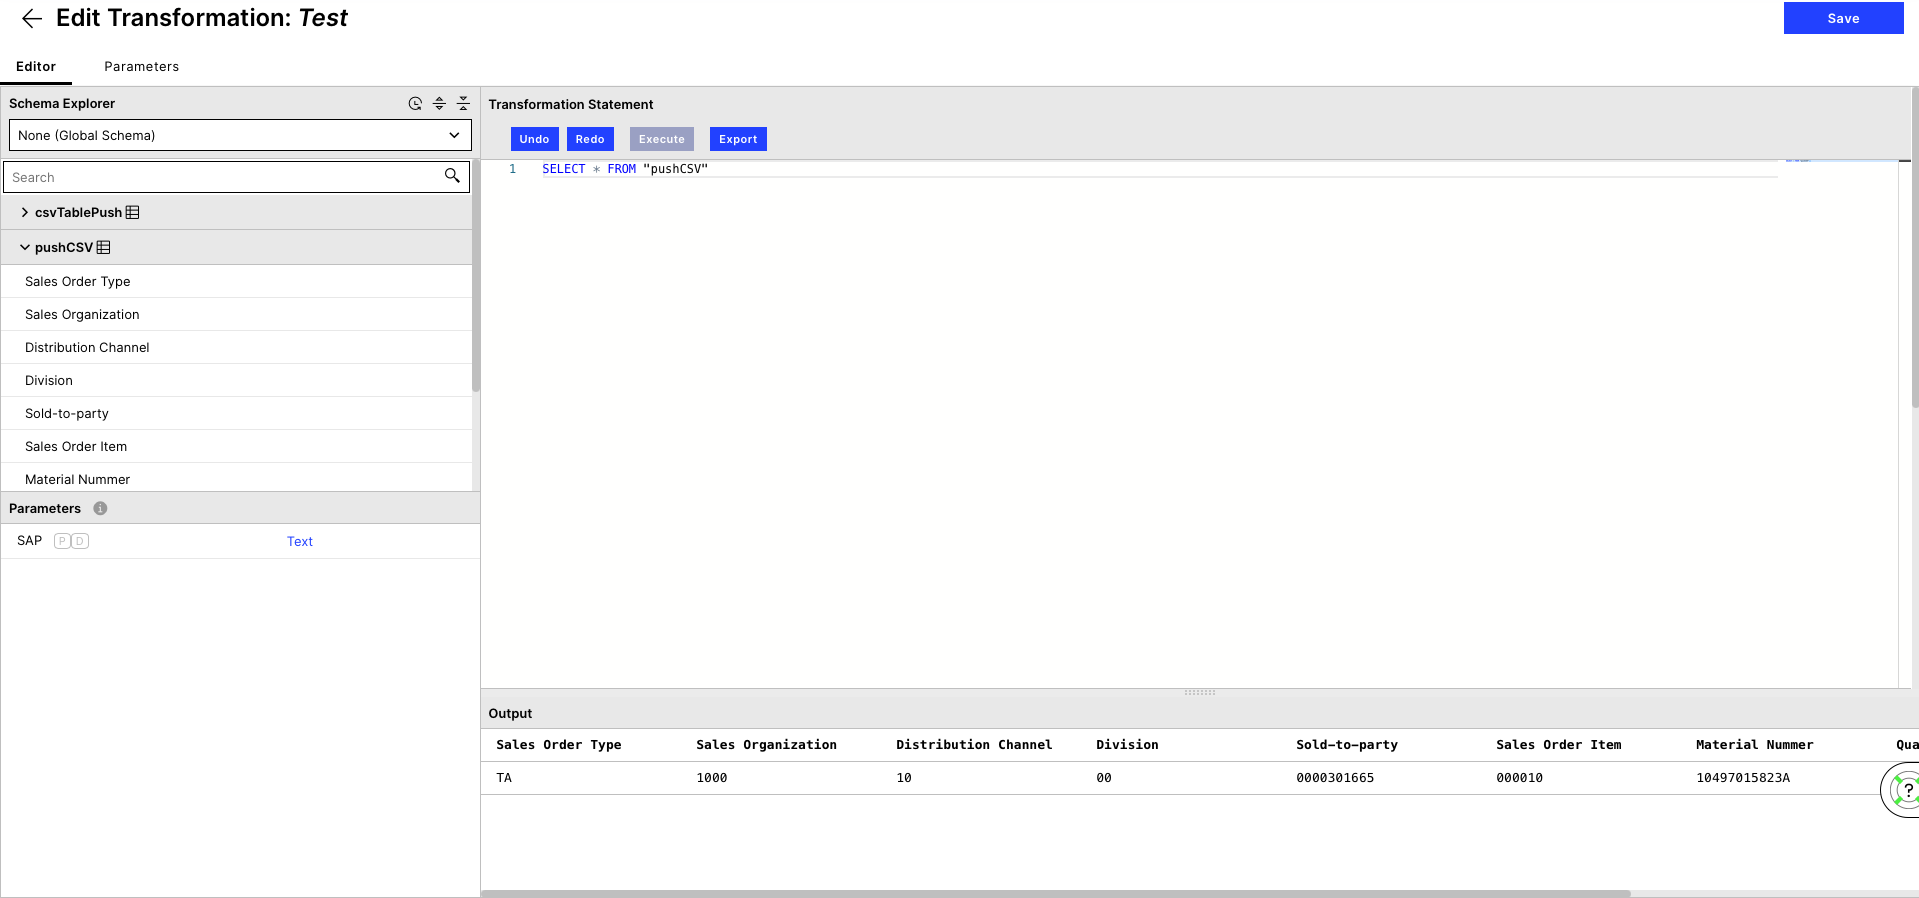
8. To have a look at the data type in SELECT*FROM ["name of your table"] (in our case that's "pushCSV"), mark it and click execute. You should now be able to see the table with your data at the bottom
 |
1. Go to Data Integration to your Data model and click on Add Tables
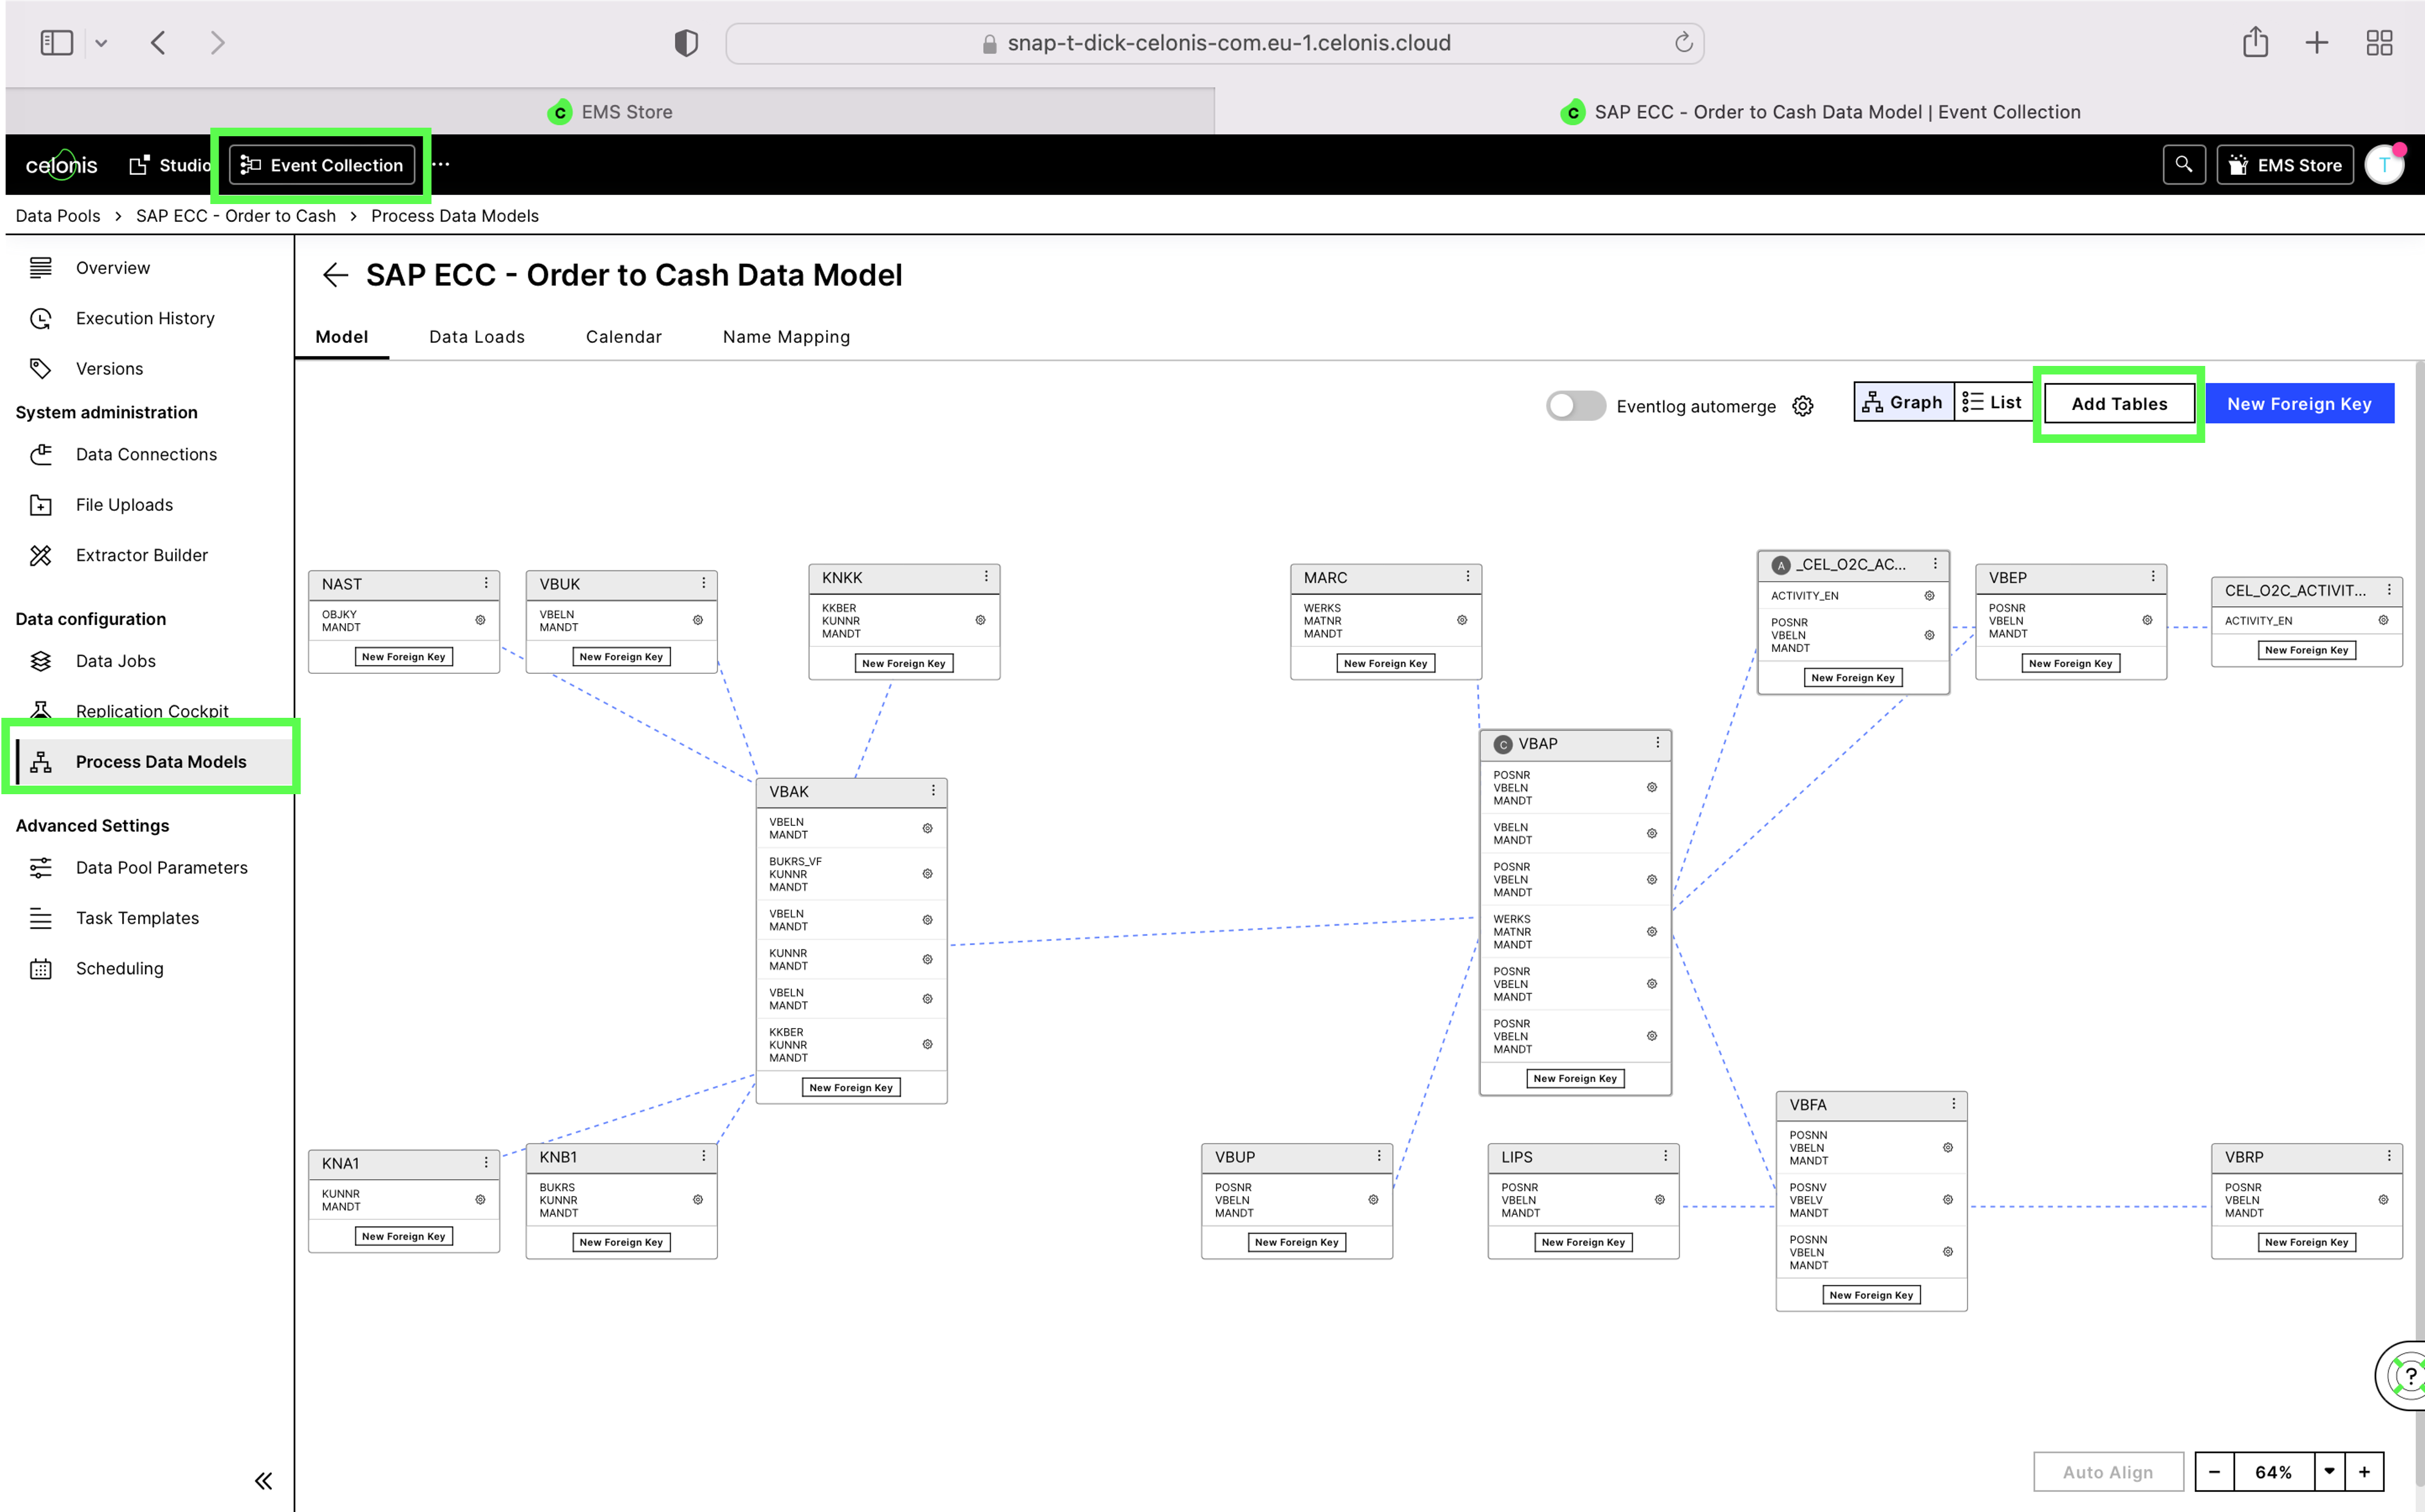 |
2. Choose the Table with the name previoulsy defined and click Finish
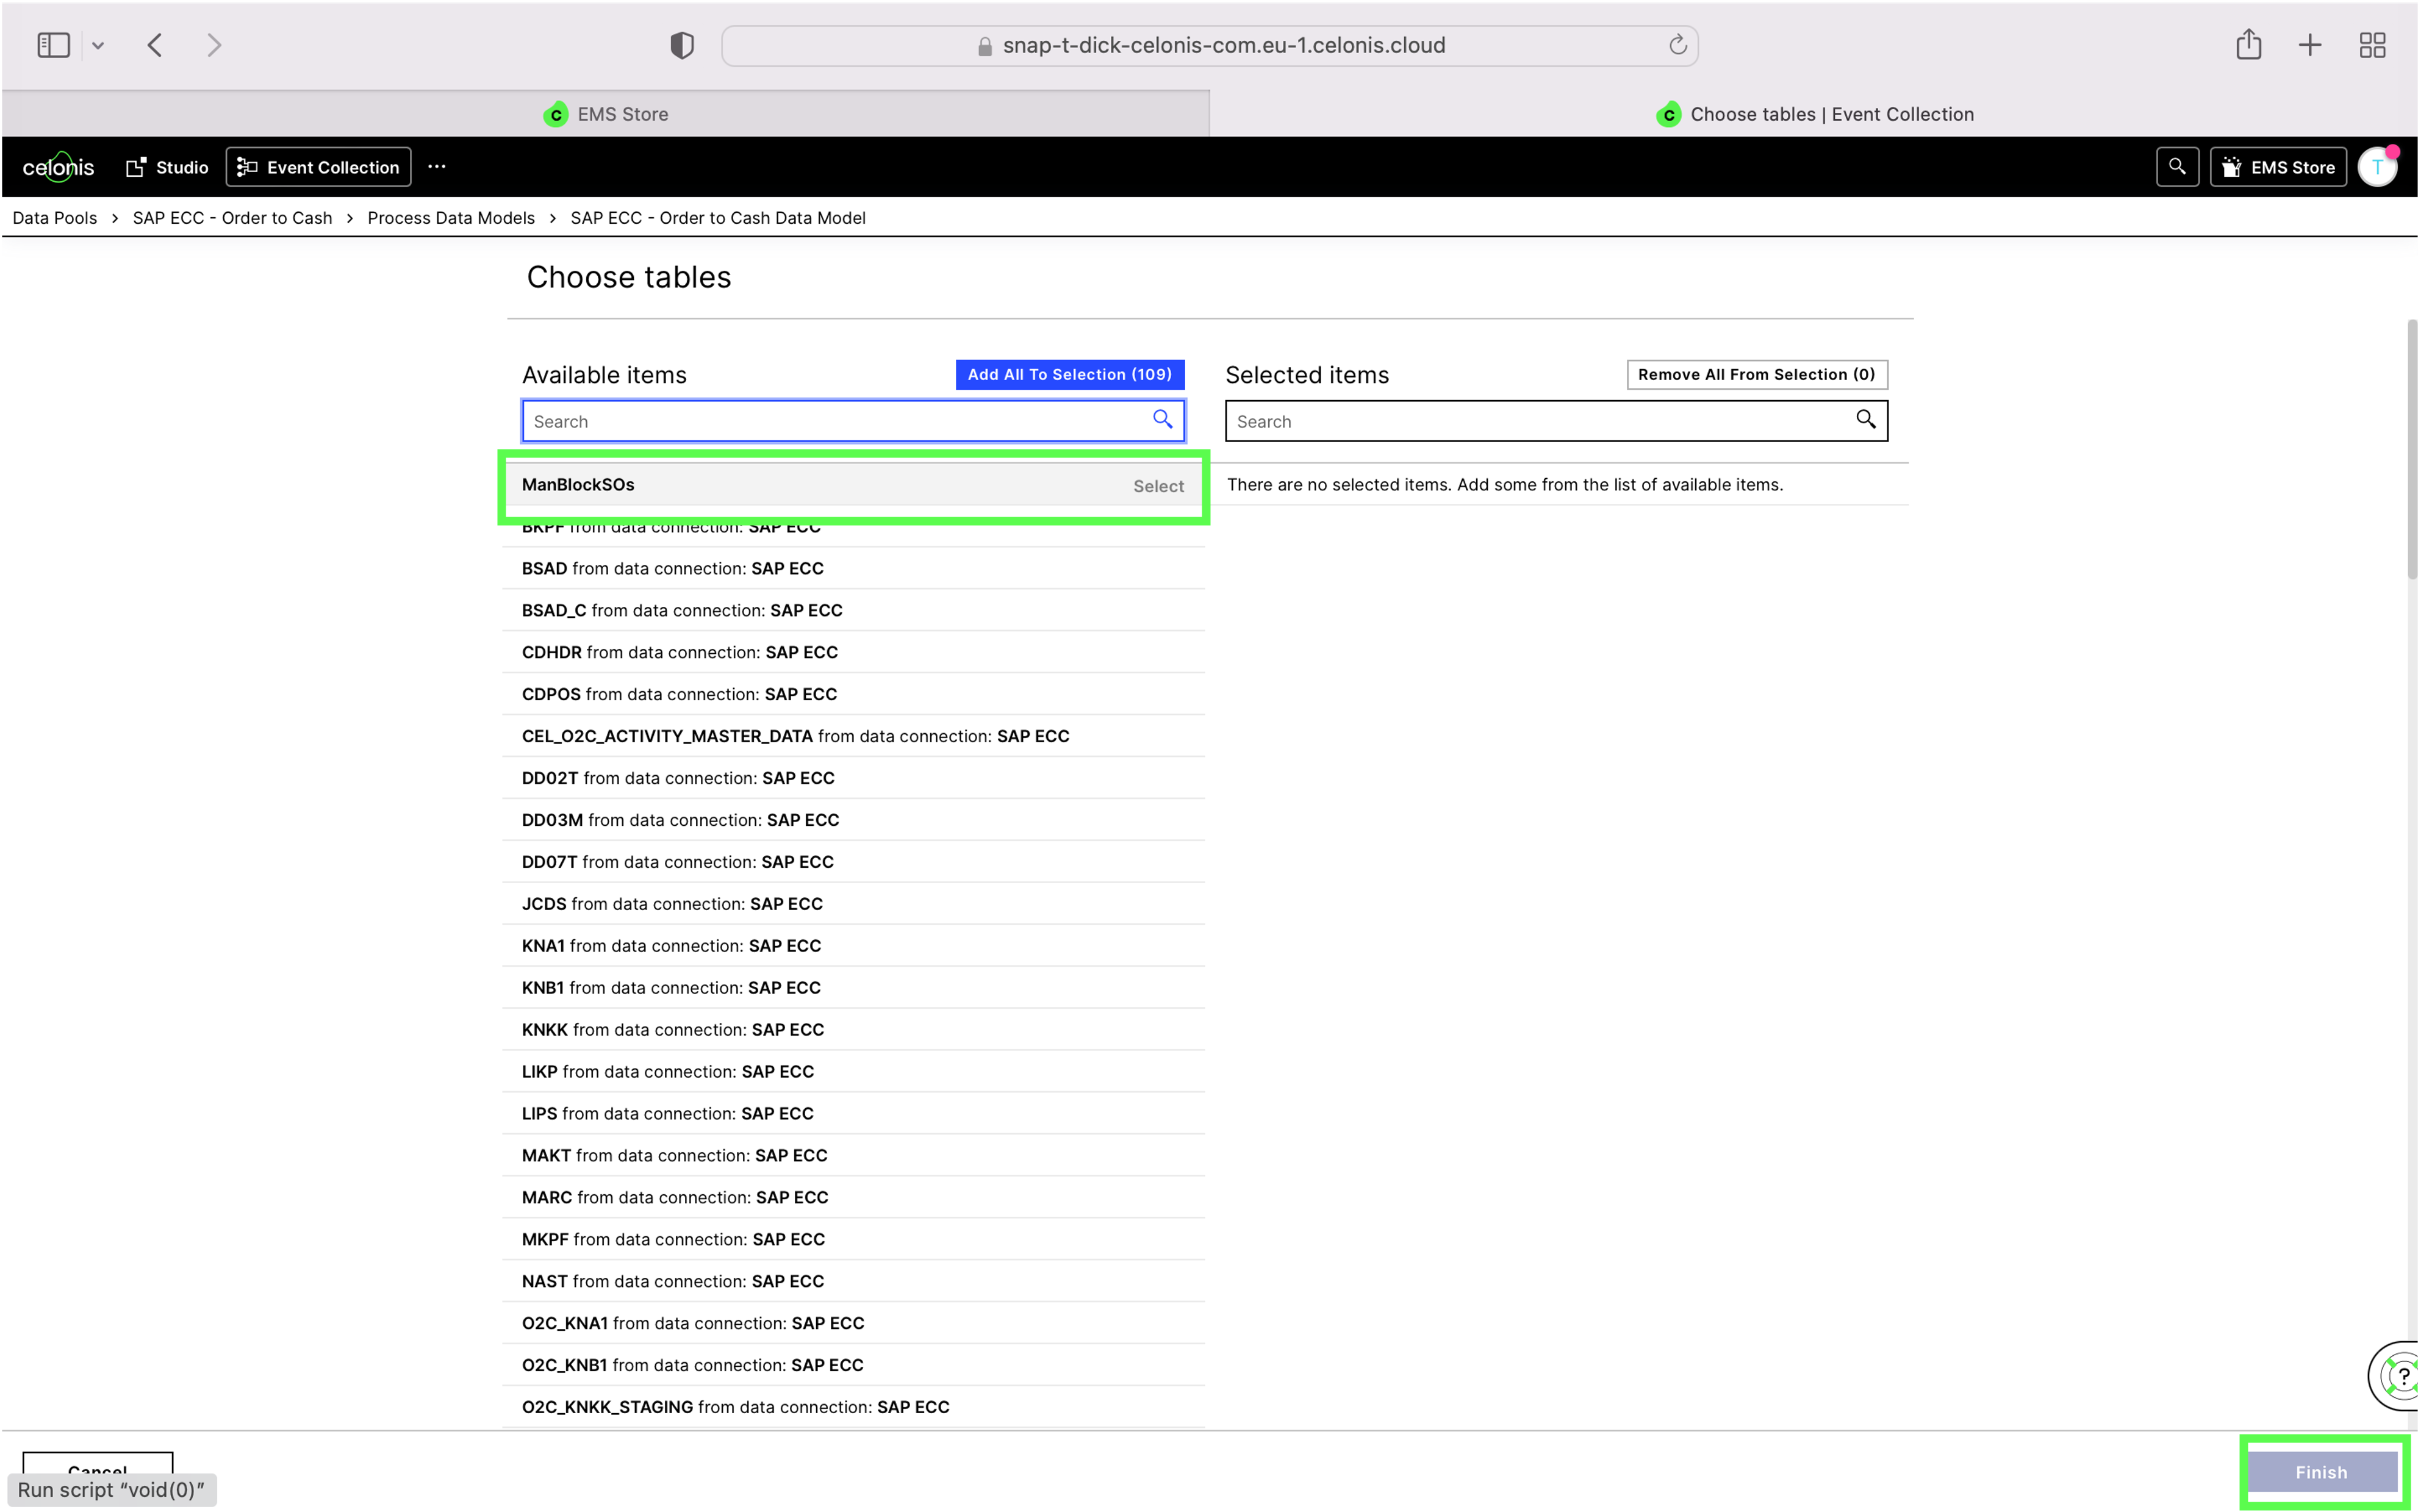 |
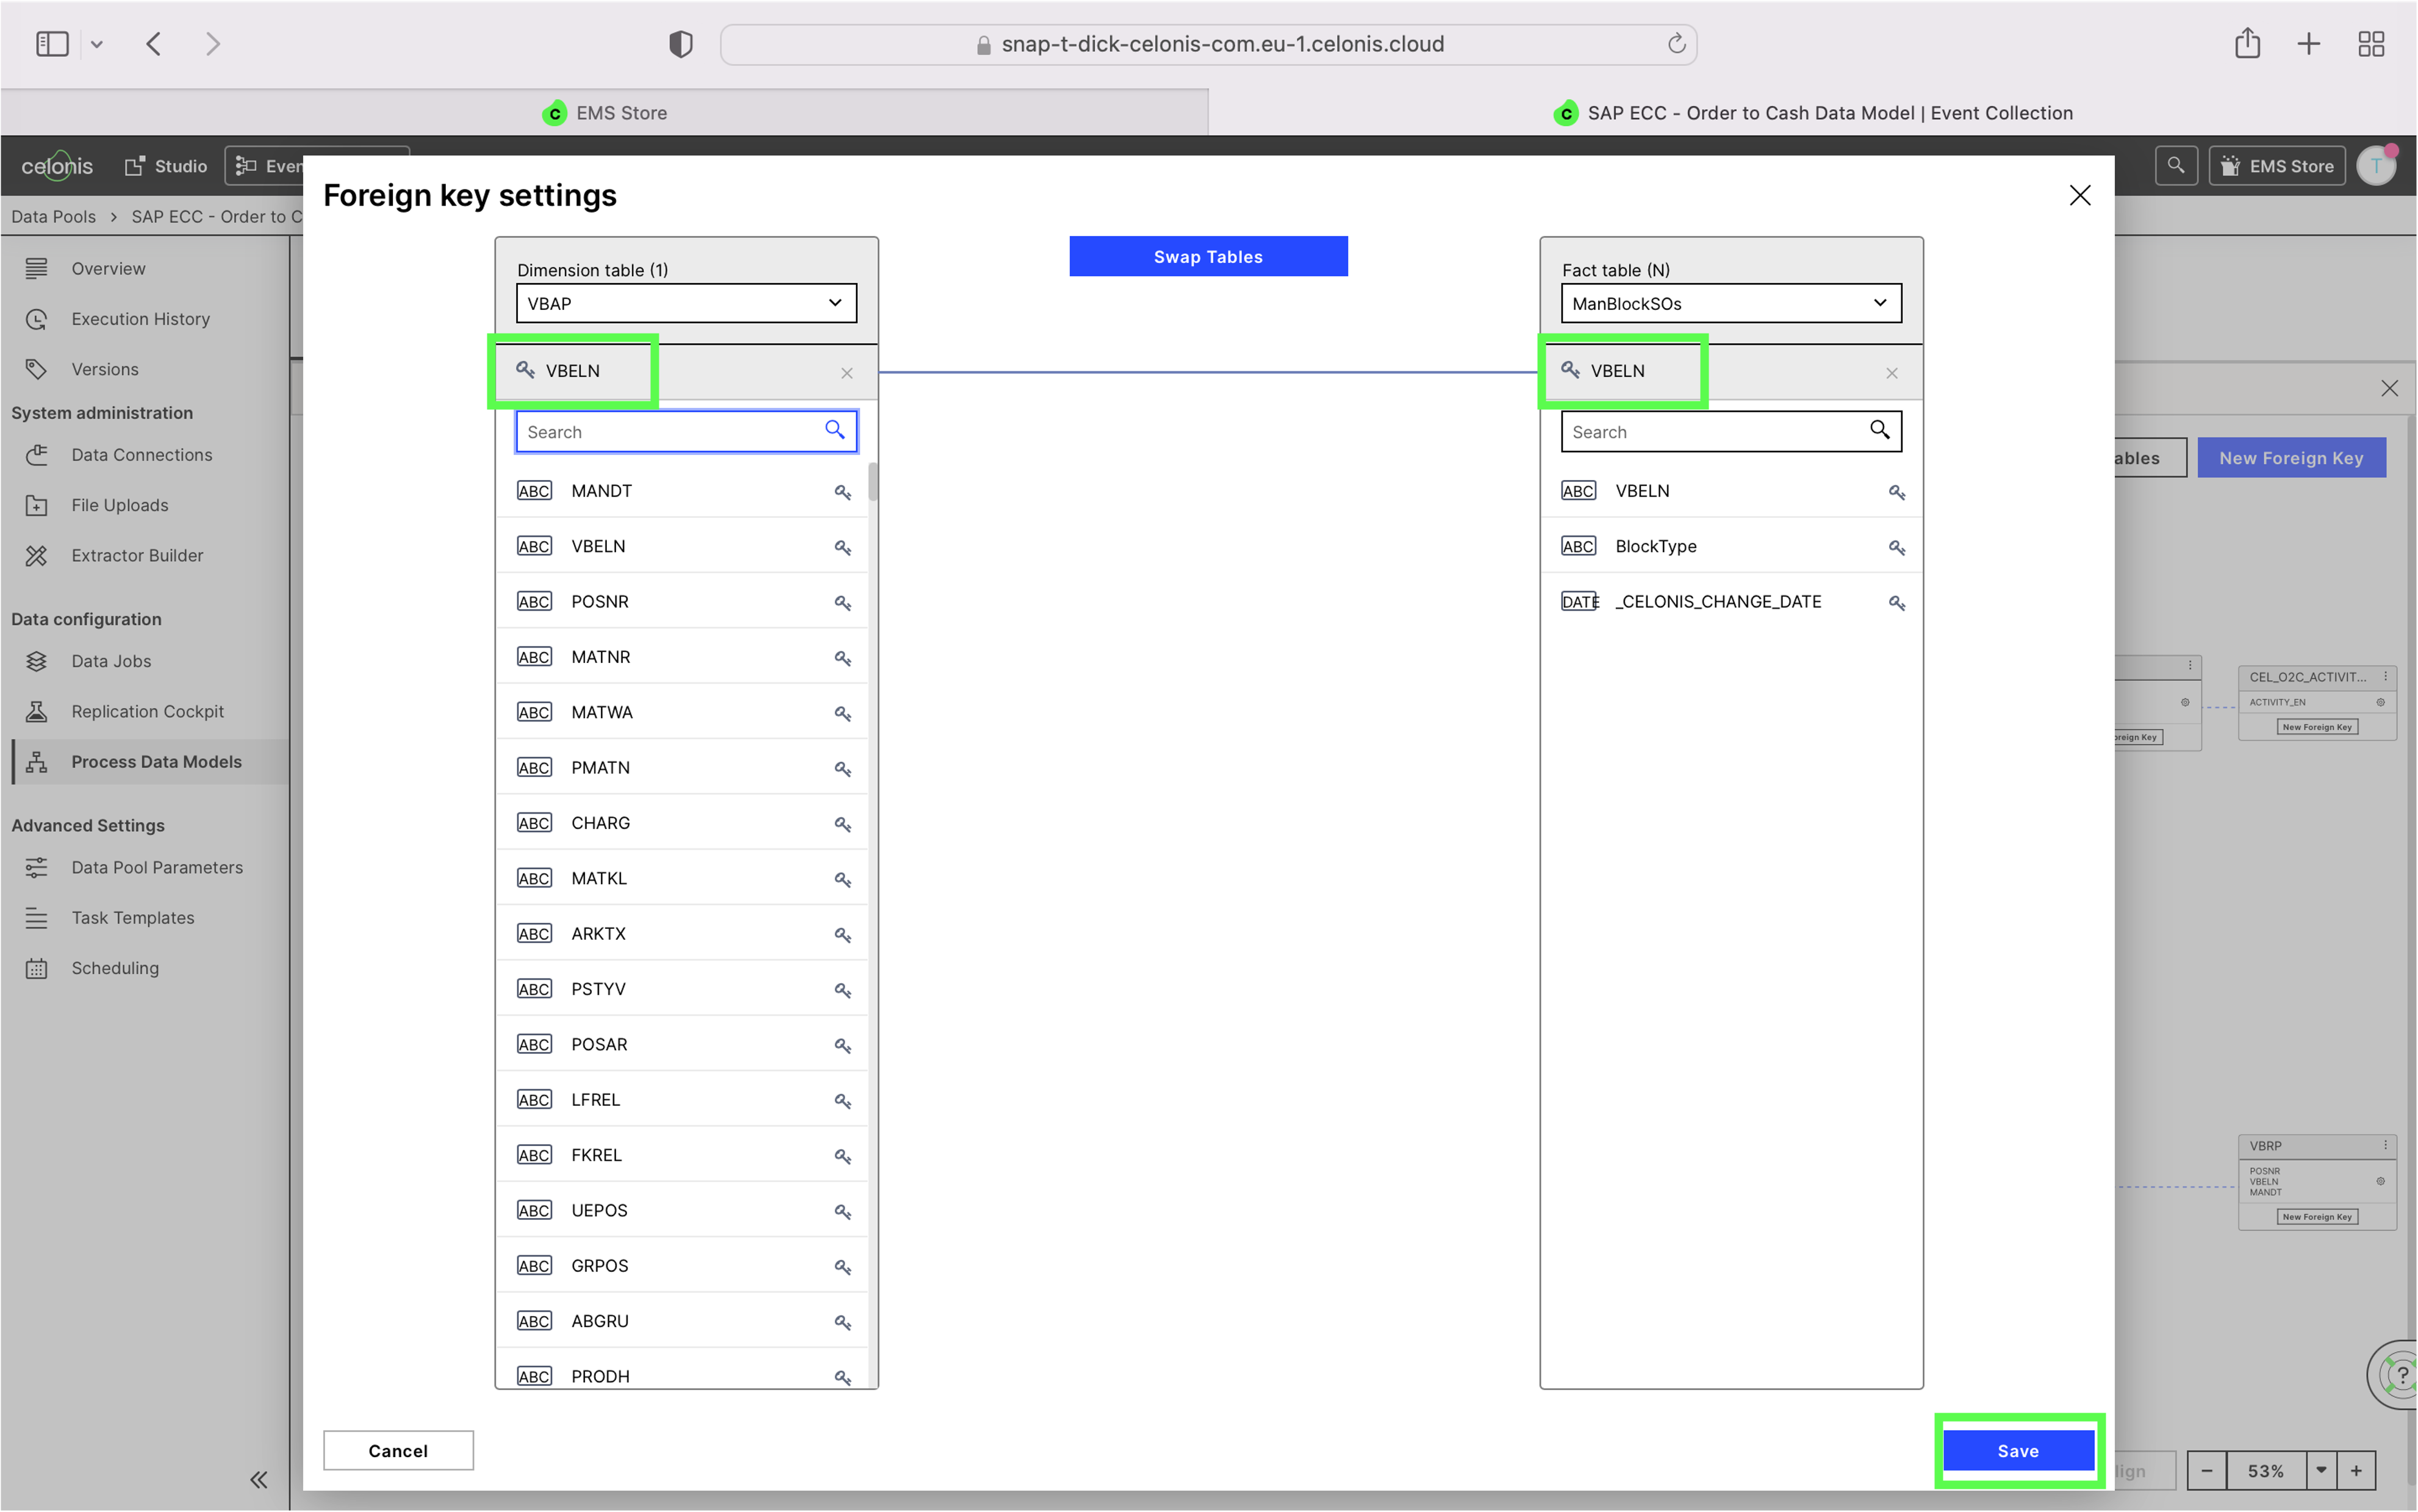
3. Select 'New Foreign Key' at the Case Table (in this example VBAP) and connect it to the new Table
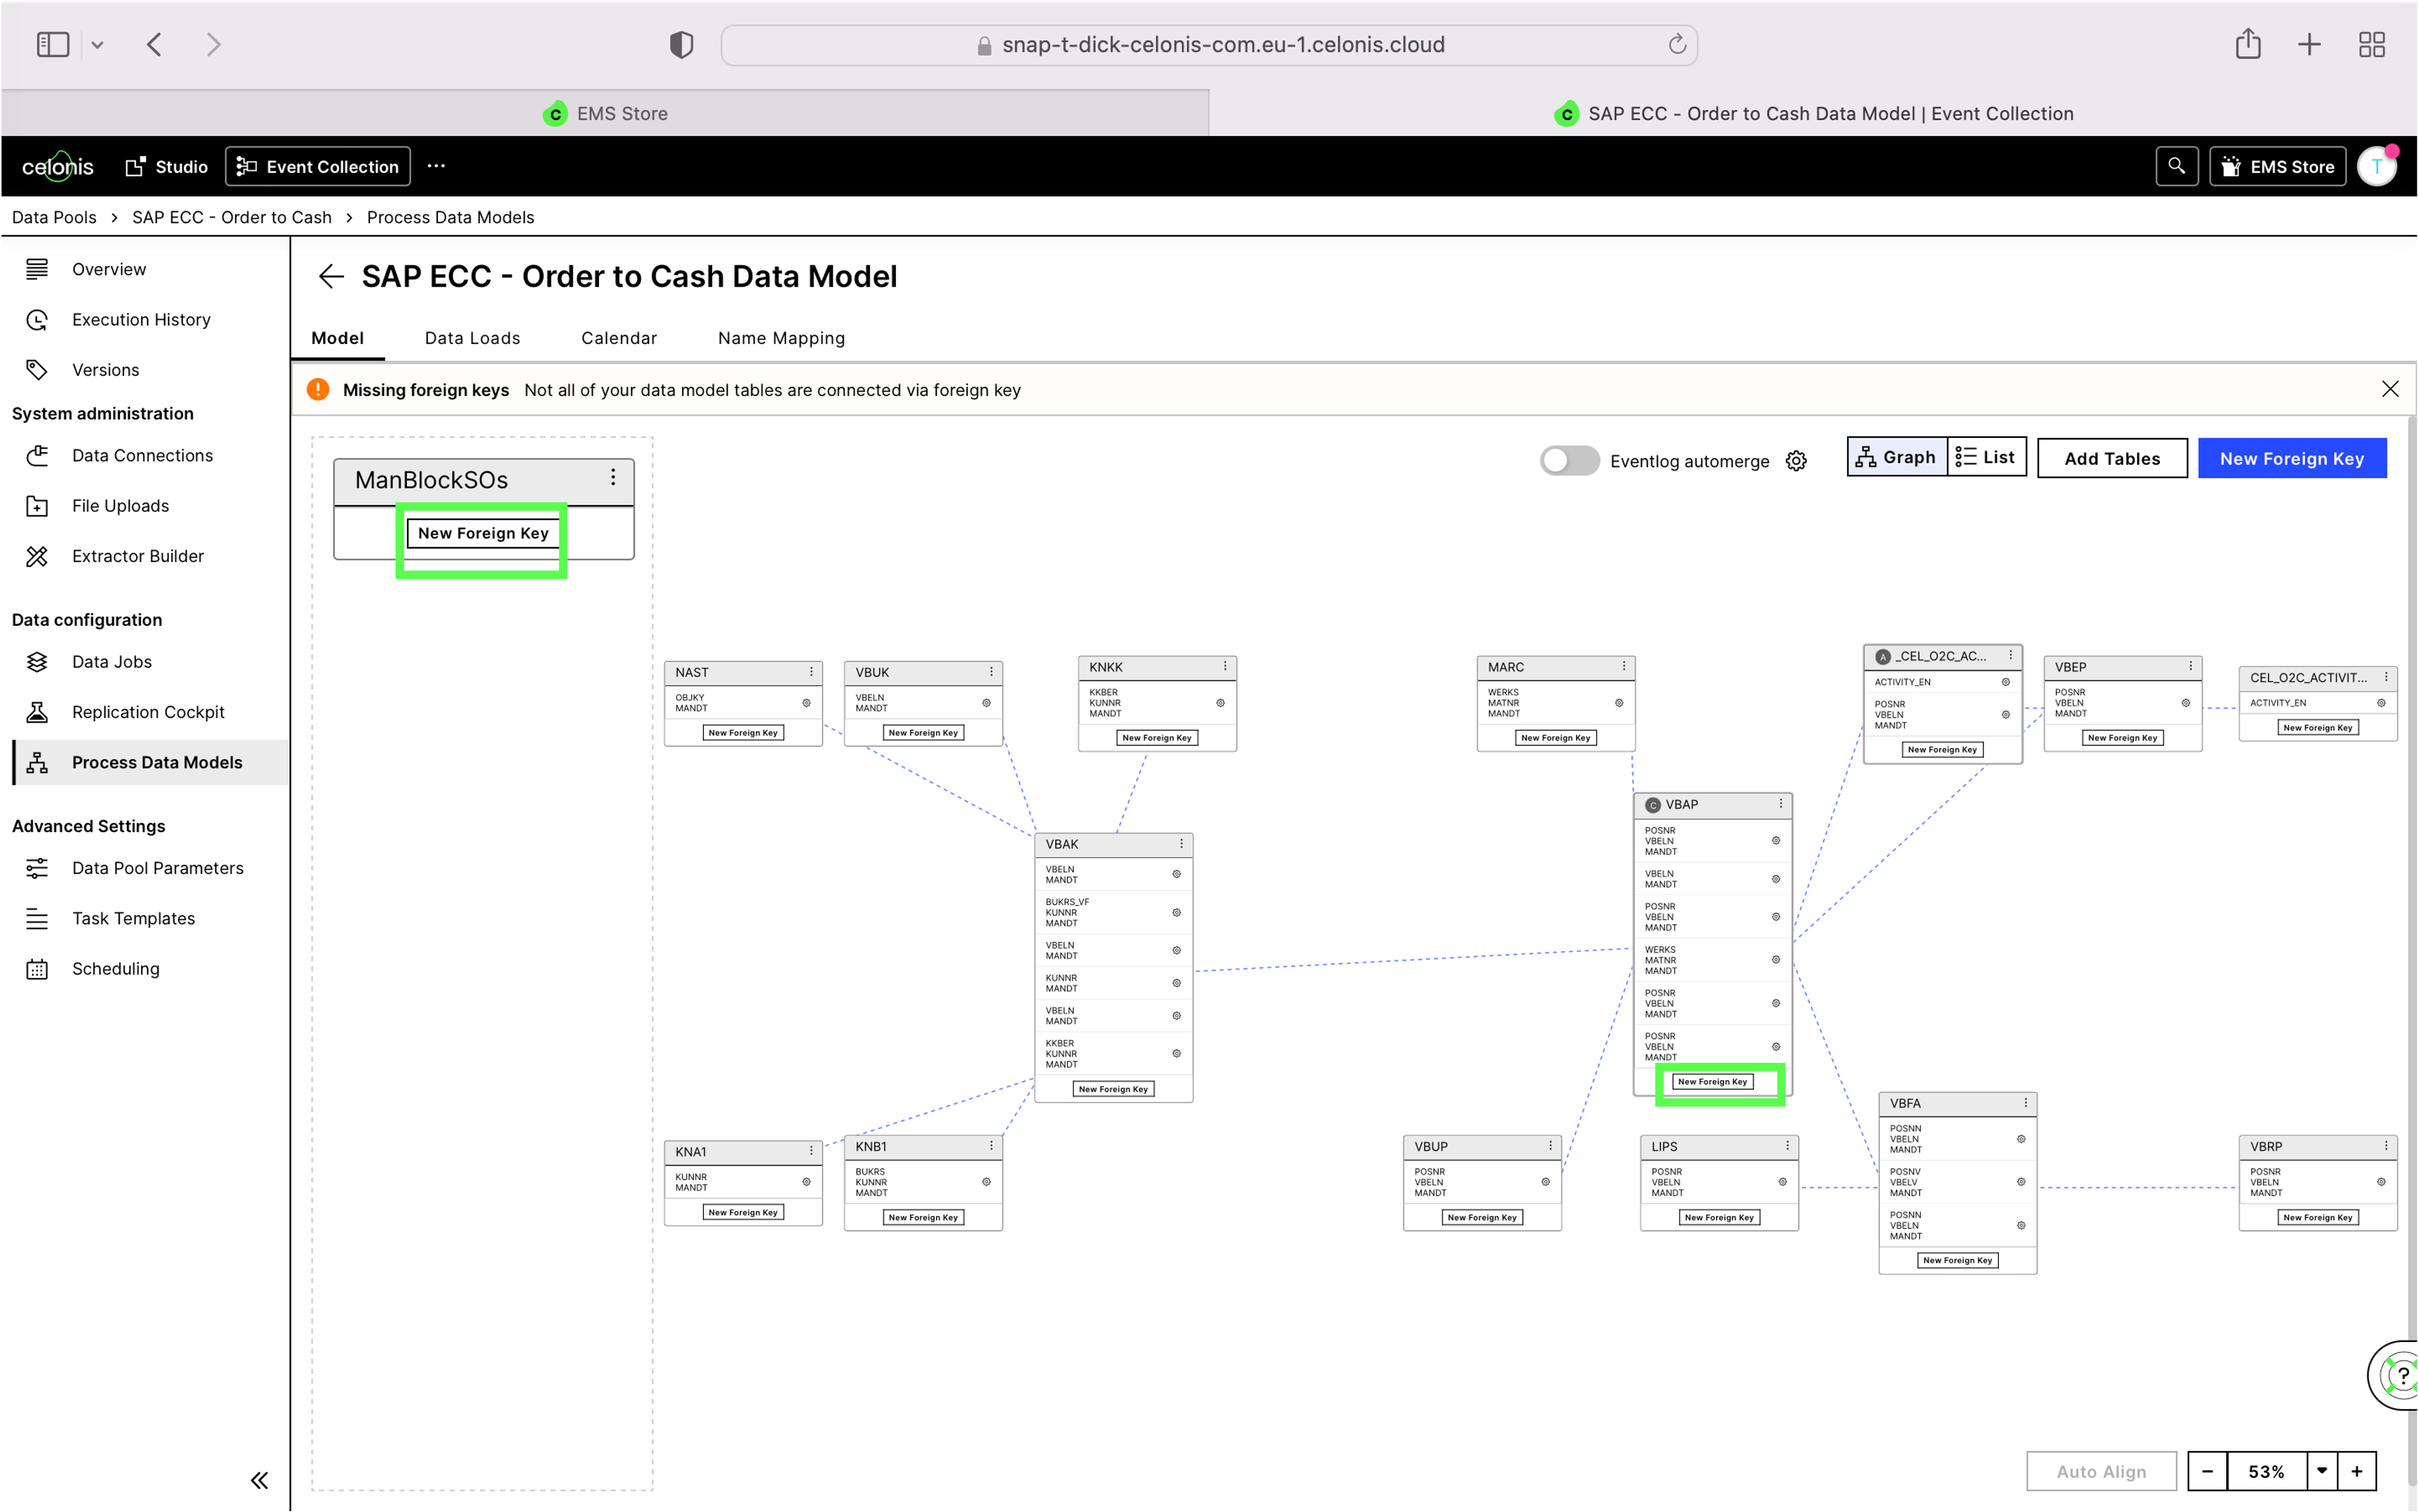 |
4. Select VBELN as Case Keys and Save
 |
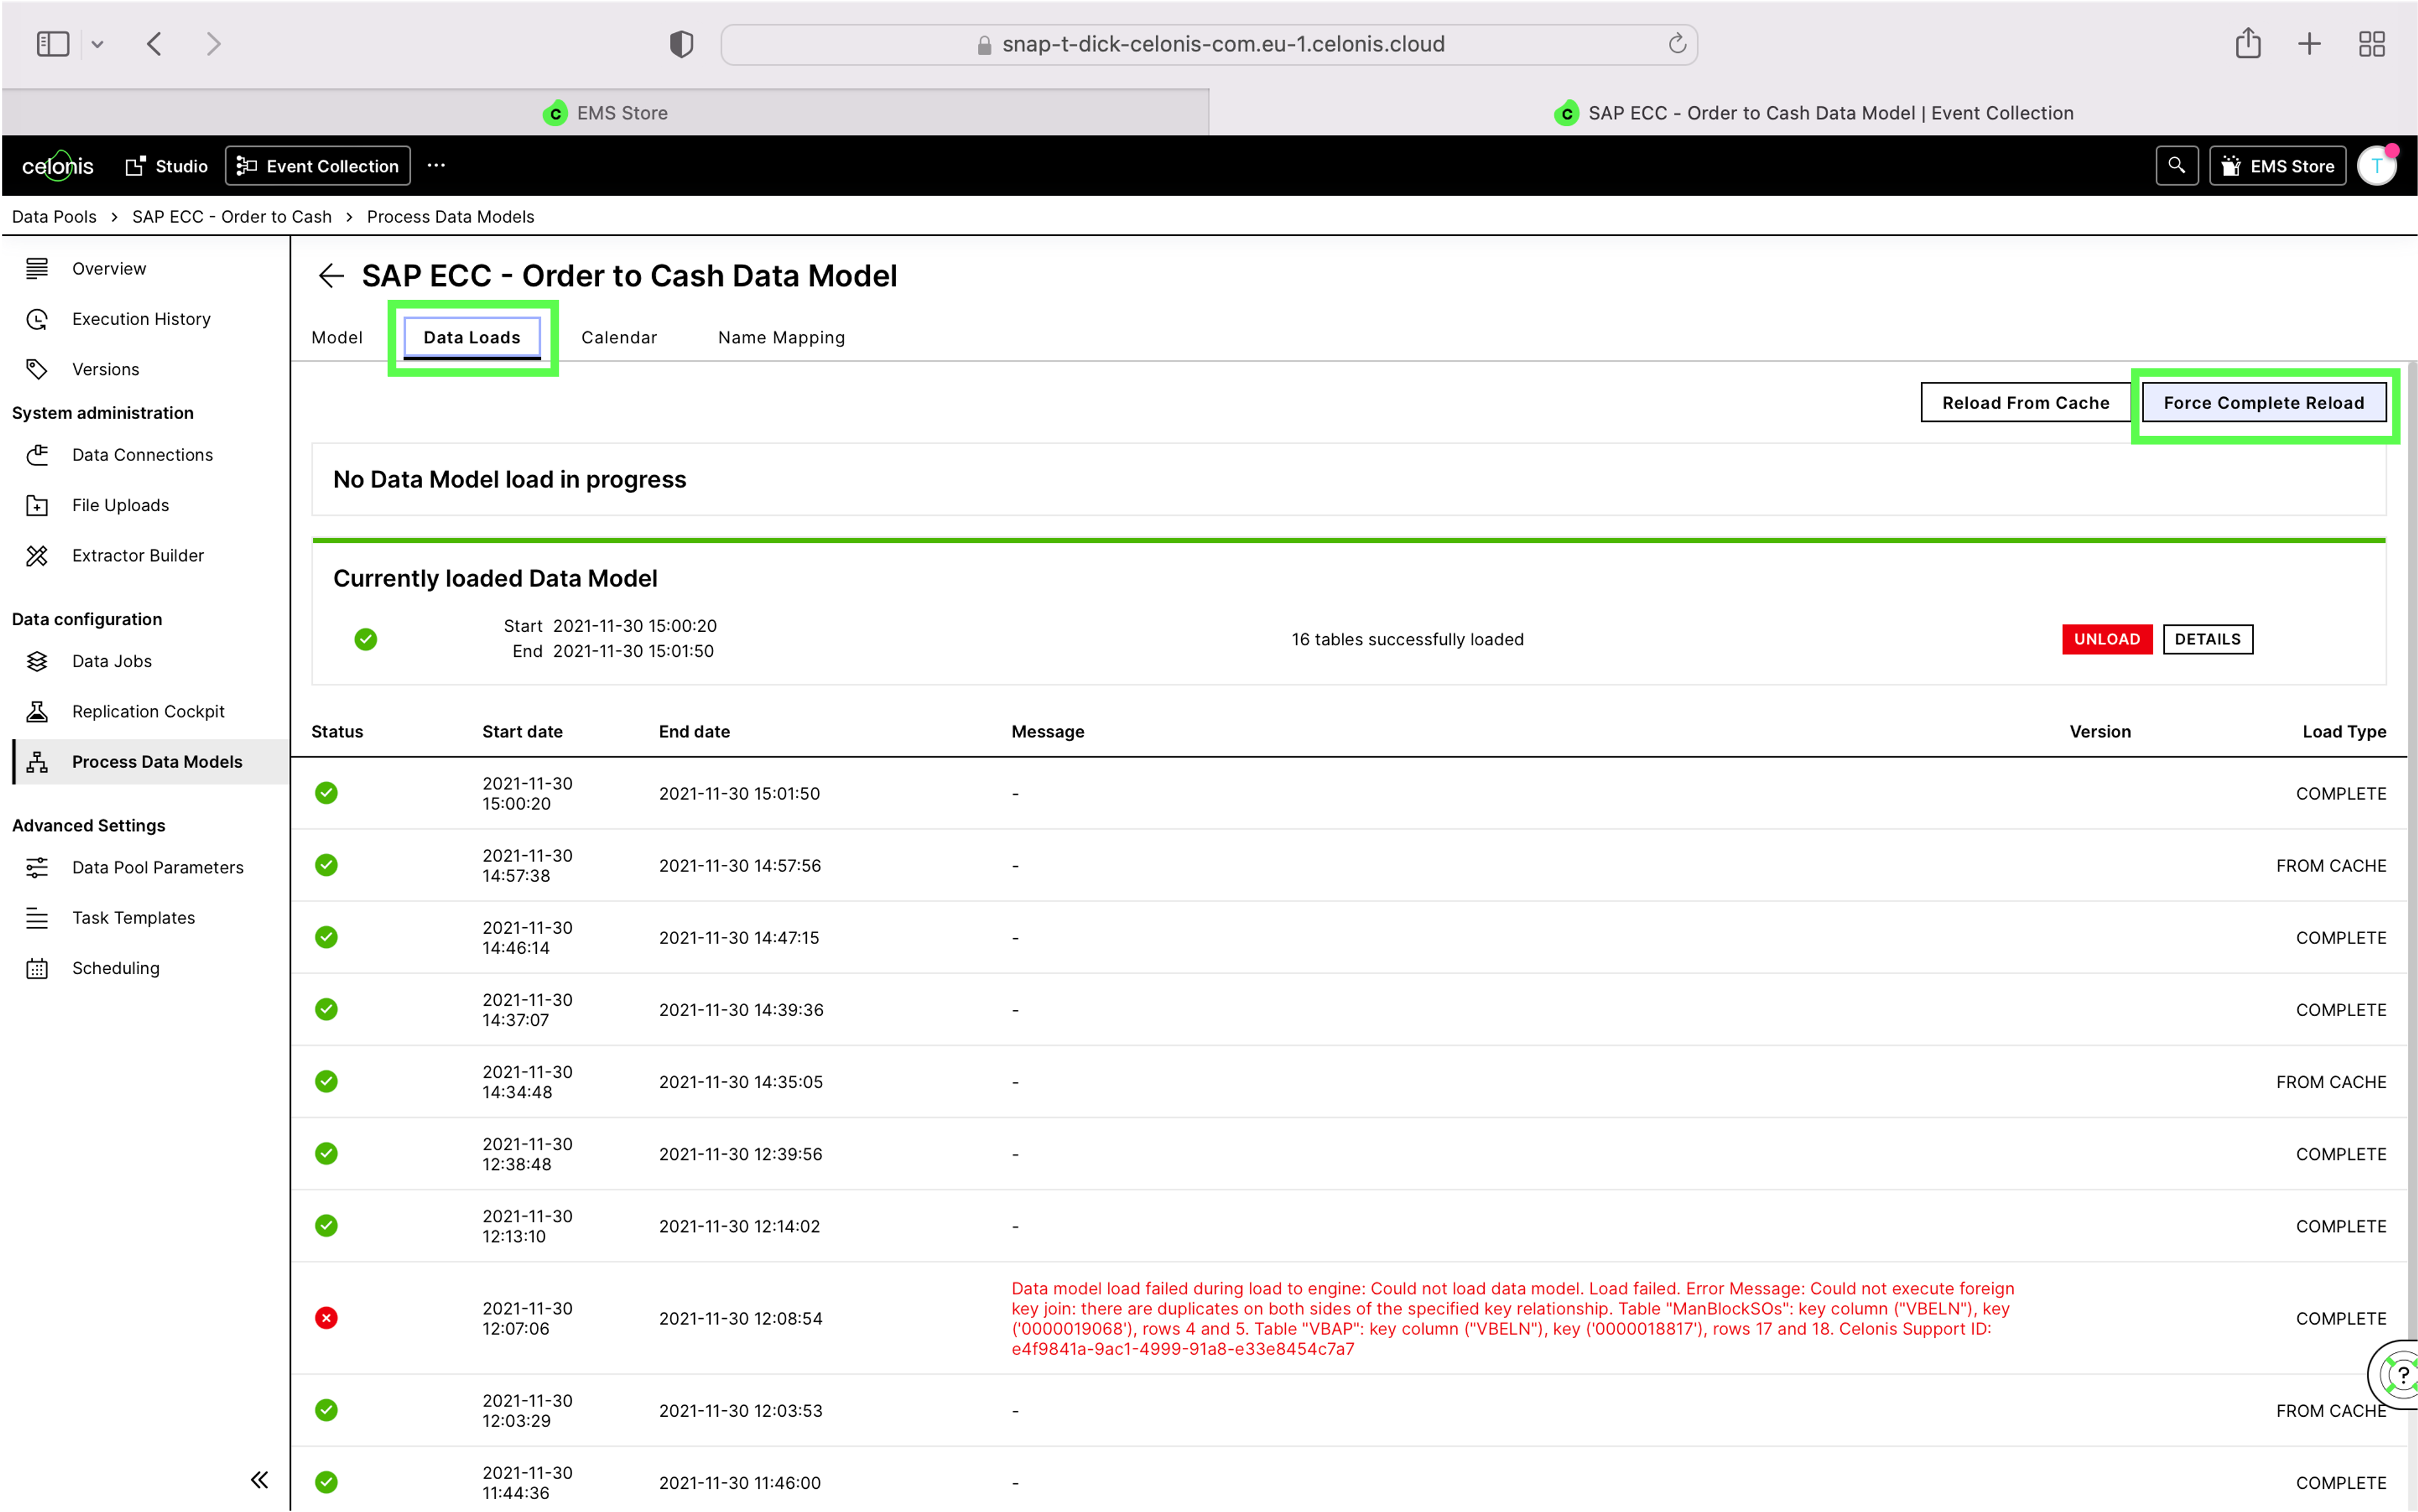
5. Navigate to the Tab Data Loads and Force a Complete Reload
 |
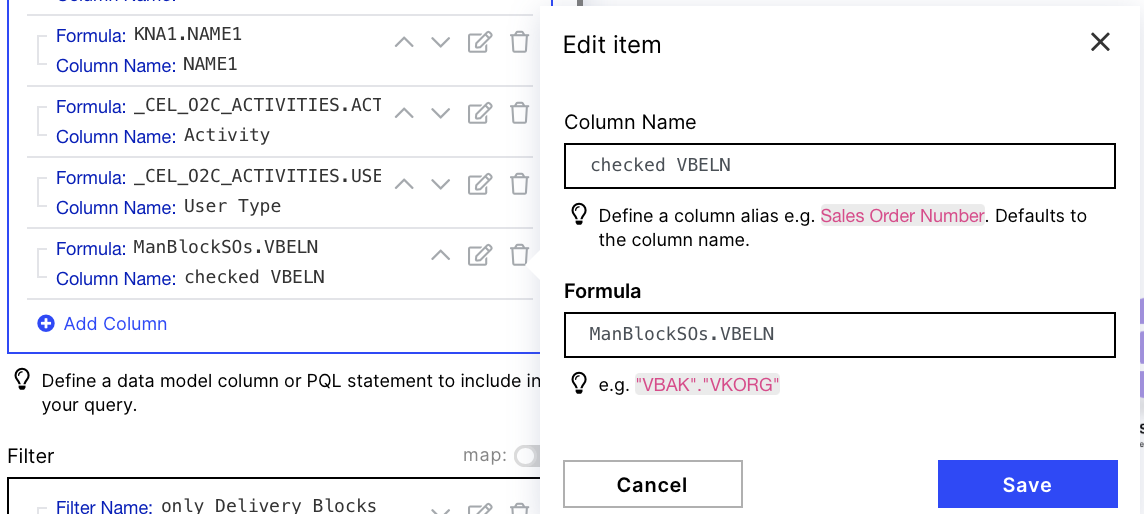
Go Back to the first module 'Query Data' and add a new column which we will then use to make sure we haven't send an update for this Sales Order before.
Column Name: checked VBELN
Formula: ManBlockSOs.VBELN
Note
If you changed the Name of the Table make sure to use the new one here. Also if you changed the name of the column in the CSV make sure to also adapt it here
Run module once
To be able to use the newly added column in the following Filter you might have to run the module once (option available by right clicking on the module)
 |
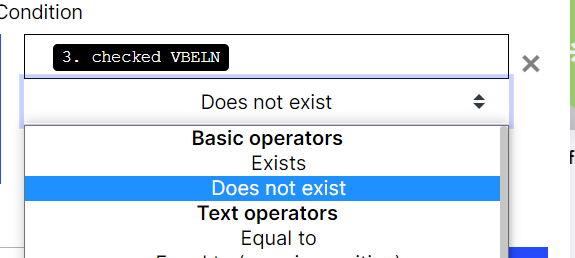
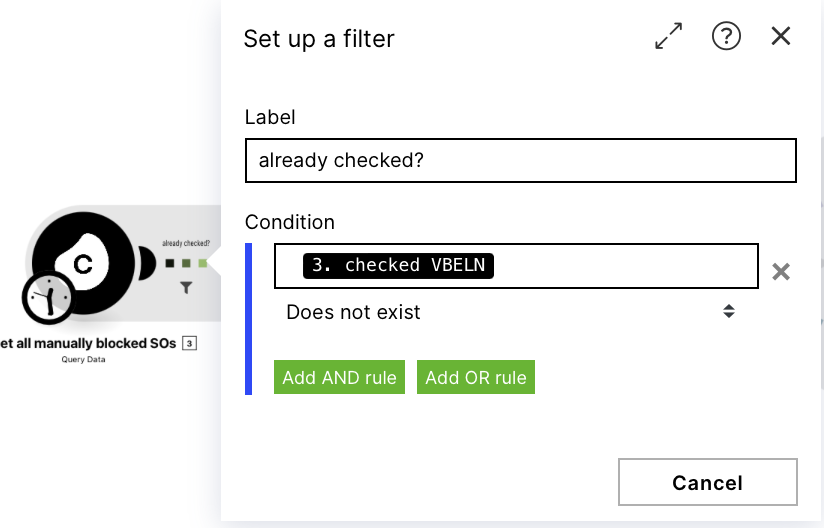
Add a Filter between the Array Aggregator and the Celonis Query Data module where you check if for the Sales Order in the iteration an entry in the table we built exists. If it doesn't exists this means we didn't notify someone about that Block and we can go on.
Filter: Does not exist
 |
 |
Congratulations, you made it!!