Add data received by a Webhook to Sheet
Sorting and saving data which is sent to you by hand can be annoying. That's the reason we provide you with that automation solution which offers an interface to receive data, manipulate it and saves that data in a structured way automatically. Working with Webhooks gets more and more important to get data from one System into another automatically as soon as it is sent. Speeding up this process by using an automation can save a lot of time and getting rid of manual human errors.
The following scenario demonstrates a automated bridge between external data and a centralized spreadsheet. This specific Action Flow performs three core functions:
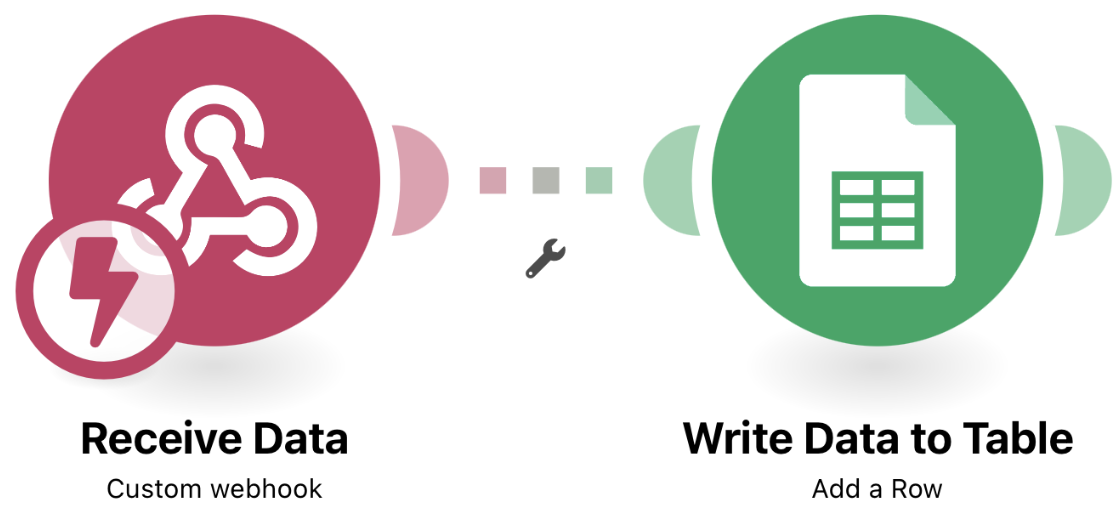
Receive Data: The flow starts when the Custom Webhook receives an HTTP request containing raw data (such as a new order or customer inquiry).
Process and Manipulate: The system parses the incoming data. At this stage, you can add "Tools" or "Functions" to calculate values, format dates, or filter out unnecessary information.
Update Google Sheets: The processed data is automatically written into a new row in a preconfigured Google Spreadsheet, ensuring your records are always up to date without manual entry.
To configure the Webhook and Google Sheet:
The first module in your Action Flow acts as the listener for incoming data.
Select Module and Action: Choose the Webhooks module and the Custom webhook action.
Create Webhook: Click Add to create a new webhook and give it a descriptive name.
Determine Data Structure:
Copy the generated Webhook URL.
To manually define variables, paste the URL into a browser address bar and append your data parameters (e.g.,
?Order_Id=123&Customer=Amadeus).Press Enter; the module will show a "successfully determined" confirmation.
Configure Advanced Settings: Open Advanced Settings to adjust the Maximum number of results (the default is 2) based on how many line items you expect to receive at once.
Once the webhook is ready, you need to tell the flow where to send that data.
Select Module and Action: Add the Google Sheets module and select the Add a Row action.
Establish Connection: Connect your Google account to authorize Celonis to access your drive.
Select Target Sheet: Choose the specific Spreadsheet and individual Sheet (tab) where the data should be saved.
Map Data Fields: Ensure the "Table contains headers" option is active.
Map the variables captured by the Webhook (like Order ID or Customer) to the corresponding columns in your spreadsheet.
Finalize the flow to ensure it runs when needed.
Set Scheduling: Set the flow to run Immediately (default) if you want data processed as soon as the webhook receives it.
Run a Test: Send a final test request to the Webhook URL and verify that the new row appears instantly in your Google Sheet.
Activate: Turn the Action Flow to ON to begin live processing.