Getting started with Process Designer
The following is an example of a fully configured Process Designer environment:
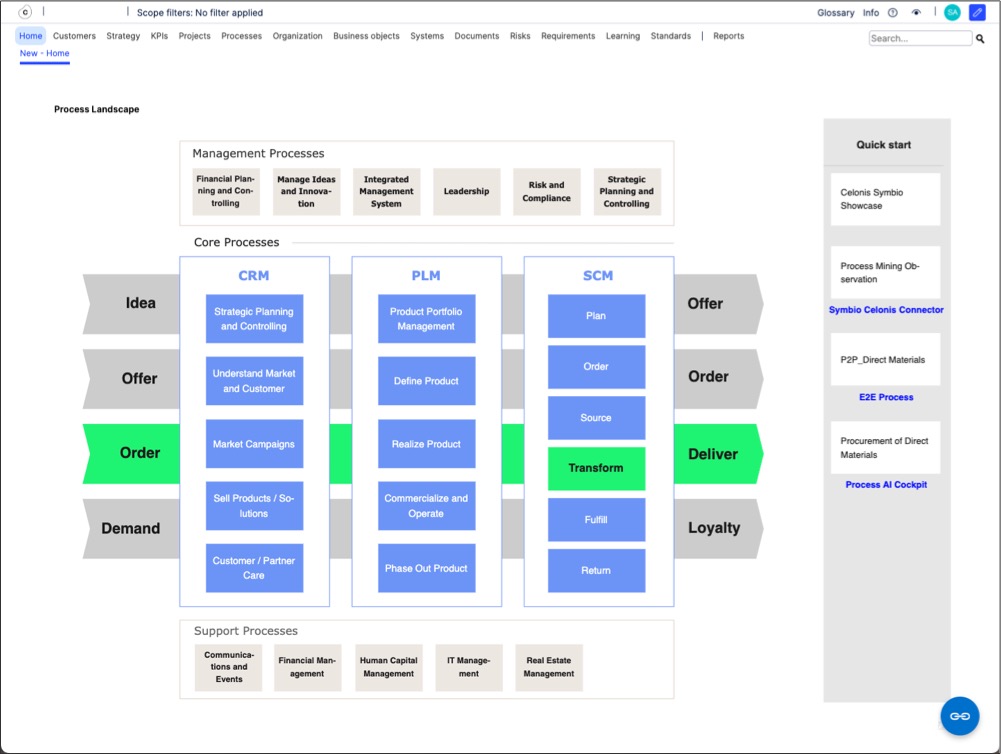
Process Designer offers the following main features:
Intuitive Process Modeling: Process Designer offers intuitive process modeling with a user-friendly, drag-and-drop interface that simplifies the creation of structured workflows. It supports hierarchical modeling, allowing users to easily break down complex processes into manageable layers like value chains, main processes, and sub processes.
Role based collaboration: The tool also enables role-based collaboration by assigning specific responsibilities, such as Architect, Author, and Reviewer, to users involved in process design and management. This ensures clear accountability, streamlined reviews, and efficient teamwork throughout the process lifecycle.
Object re-usability and centralization: The ability to create re-usable objects, known as repository objects, keeps process models consistent and reduces duplication. You can also create a central library of roles, systems, customer interactions, and learning content.
Versioning and change management: The built-in version control for processes and objects helps you to track changes and review content histories. You can also set notifications and reminders for periodic reviews.
Compliance and governance support: You can map your processes to standards and requirements, such as ISO 9001, GDPR, and SOX. By defining controls, risks, and mitigation actions, you can ensure audit readiness.
When using Process Designer, you can take advantage of the following navigation features:
Understanding the menu structure
All areas of Process Designer have the same menu structure, giving you a consistent experience when viewing and editing your process content.
The top menu allows you to switch between the process object types - for example, switching between KPIs and Organization objects:

Within each object type you'll then find the overall object architecture, a list of content, the content graphic, and the graphic editor:

You then have the related objects for that main object type - for example, Organization's contain Org units, Positions, Skills, Groups, Roles, and Locations:

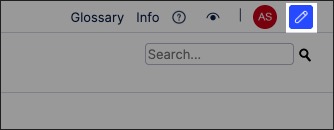
Switching between View / Edit mode
Depending on your Process Designer permissions, you can switch between View and Edit mode by clicking the Edit icon:
In Edit mode, you have access to additional features and menu options. For example, when viewing Systems in Edit mode, you can access the graphic Editor and Orphaned content list:

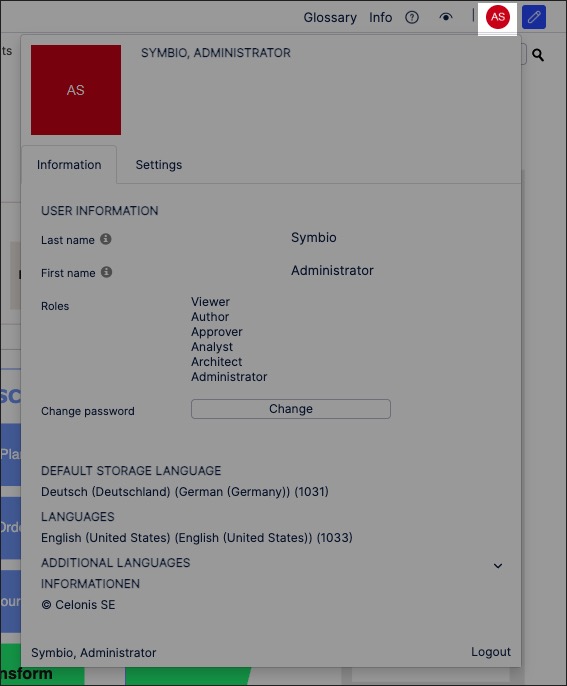
Managing your profile
You can manage your Process Designer profile, including changing your password and default languages, by clicking the Profile icon:
In Process Designer, content is hierarchically organized. This means that you can structure your content from the high-level strategy to the detailed operational steps.
While your Process Designer can be customized (meaning that names may vary), typically the following levels of content are used:
Process House / Landscape / Overview: This is the top-level container for your processes and process attributes. You can use the existing overview top or create your own.
Process categories: Process categories are the second highest level of structuring within Process Designer, used as a container for your main processes, sub-processes, repository objects, and related content. By creating and using process categories in Process Designer, you can organize and classify your process models, making them easier to navigate, manage, and reuse.
To learn more about creating process categories, head to: Process categories.
Main processes: Main processes are the highest-level processes in your organization’s process hierarchy. They represent the core business activities or end-to-end value chains that are critical to how your organization operates. Main processes typically cover a entire business function and serve as a starting point for breaking down operations into sub processes or detailed activities.
To learn more about creating main processes: Creating main processes.
Sub processes: A sub process is a process step that contains a more detailed process within it. It represents a breakdown of a higher-level (main) process into smaller, manageable parts. You can think of it as a "process within a process."
To learn more about creating sub processes: Creating sub processes.
In this example, you can see the different levels of content within Process Designer:

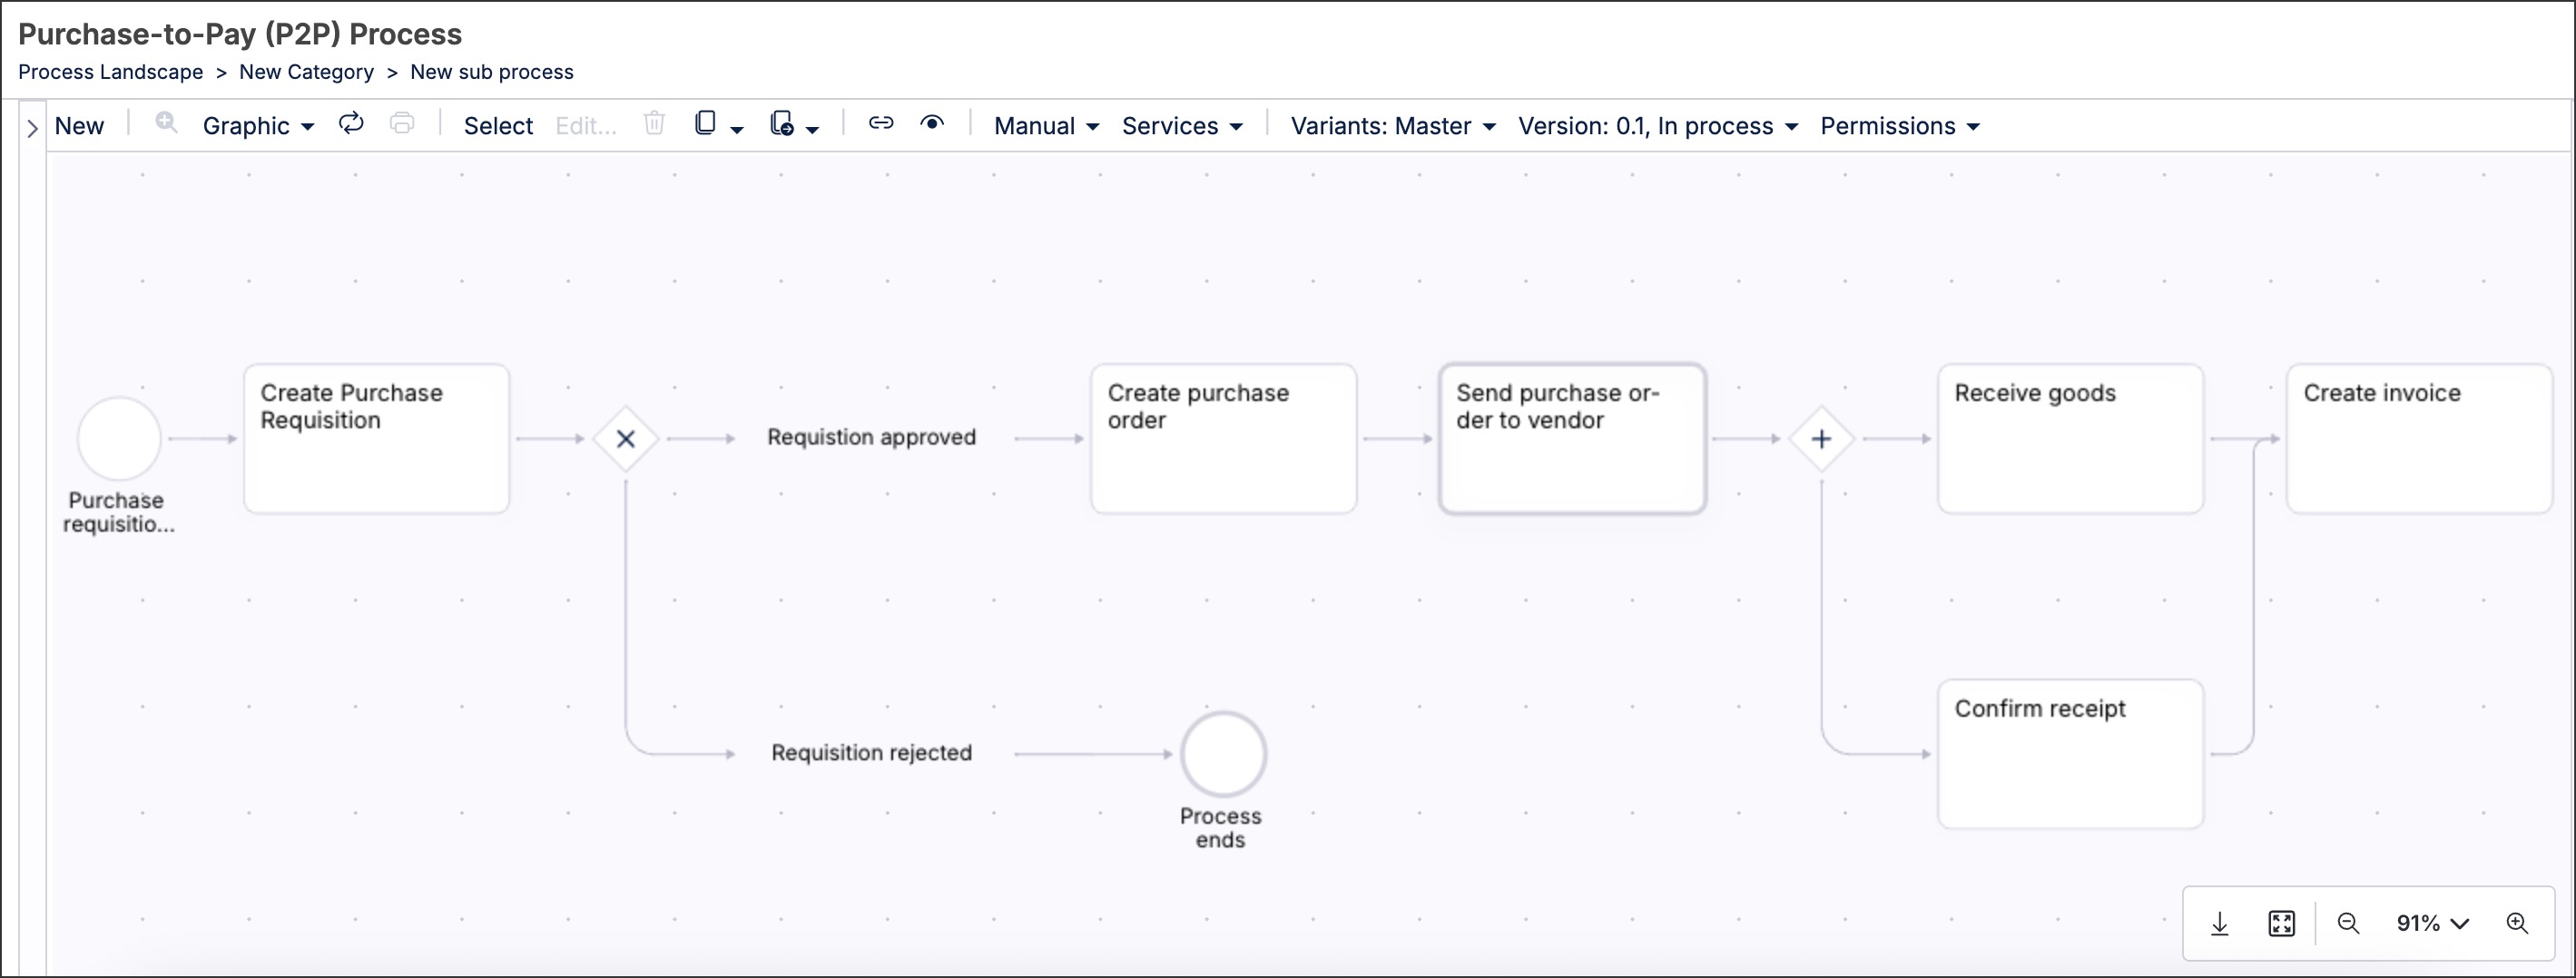
Process graphics are a visual representation of a process, showing the sequence of steps, activities, and decisions involved in achieving a specific goal or objective. Process graphics are useful for understanding how a process flows, identifying potential bottlenecks, and improving overall efficiency.
You can create process graphics for both main and sub processes in Process Designer using the process canvas. This interactive canvas enables you to choose your diagram modes and then add and configure process events, such as Start and End, and objects, such as tasks or interfaces.
For example, the process canvas has been used to create a purchase-to-pay process graphic:
To learn more about creating process graphics, see: Process graphics.
With administration permissions in Process Designer, you can configure your environment by clicking the Admin icon:
This gives you access to the following Admin features:
Administration: Log files, apply new configurations.
Users: Manage users, user groups, permission sets.
Settings: Facets, variants, tags, languages, Process Designer settings.
Services: Automation, converter, selection list services, storage connections, service hooks, ID providers, authentication providers.
Configure: Extended configuration, features, release cycle, fact sheets, stereotypes, manuals, reporting, navigation, document templates, validation rules.
Importer: AML import, Symbio data import, document import config files, Excel import.