Creating Action Flows for manual triggering
To make the description more engaging for a user, I’ve refocused the language on your actions and the value you get from the setup.Enhanced Short DescriptionEmpower your business users by transforming manual workflows into interactive automations. By configuring Action Flows for manual triggering, you enable team members to launch complex processes with a single click, providing them with the flexibility of attended automation while maintaining full control over inputs and security.
In use cases of attended automation Celonis Platform users click buttons which in turn can execute Action Flows.
To create Action Flows for manually triggering:
Tip
For improved security and traceability, consider enabling dynamic connections for Action Flows. Dynamic connections allow you to specify that the execution of an Action Flow requires the user's authentication with personal credentials. This not only ensures that individual user permissions from the respective system are applied to your automation but also allows you to track your users' actions better. For more information, see Dynamic connections.
Start building your Action Flow.
(Optional) Add Inputs:
Note
For more information on inputs and their structure, see Action Flow inputs.
Click Inputs.
Here you can define inputs that have to be provided when an Action Flow is executed.
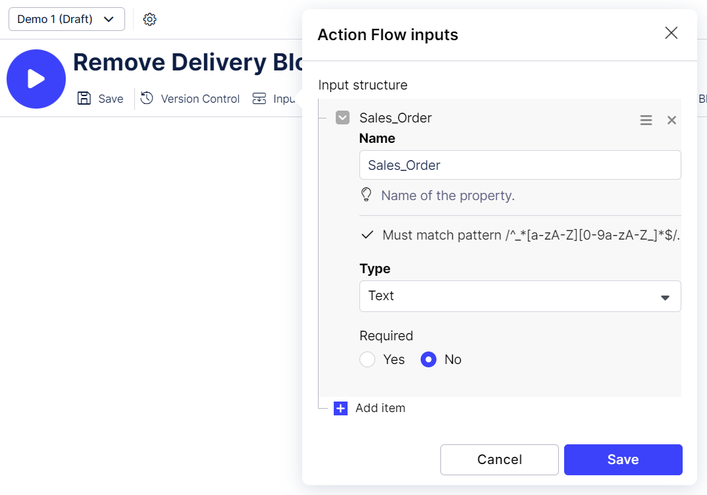
Enter a Name for the input.
Select the Type (Text, Date or Number).
Choose if the input is required or optional.
Click Save.
Note
When testing the Action Flow using the Run Once button, the respective inputs have to be filled manually.
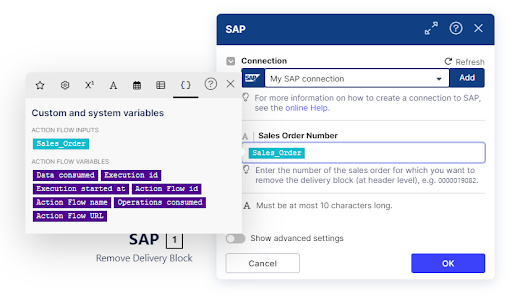
These Action Flow inputs can be used as a space holder in every module when building the Action Flow. They are shown below the “Custom and system variables” (symbol {}) tab.
(Optional) Increase the “number of consecutive errors” setting.
Note
Toggle the Show advanced settings switch to view the Action Flow Settings. The “Number of consecutive errors” setting is set to 3 by default. This means when the Action Flow fails 3 times in a row, it gets deactivated and the Action is no longer shown to business users as button. In order to avoid this type of automatic deactivation, we recommend increasing this value for any “On demand” Action Flows (since manual executions may have more errors due to wrong inputs).

Save your Action Flow.
Publish your Action Flow.
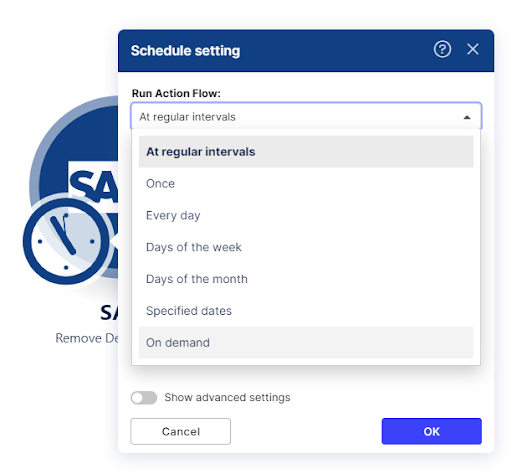
In the View mode, schedule the Action Flow to On demand.
Switch the Activate toggle to activate the Action Flow.
You’ve created an Action Flow which is ready to be used with Actions.