Adding Action to Tables
Actions are shortcuts for executing Actions Flows. Once you’ve created your first Actions you can add them in the form of a button to Celonis Platform Tables.
Legacy Actions
You're viewing documentation for record-based legacy type Actions. If you're already using our enhanced Studio experience, we recommend using Tasks, which allow for running user-triggered automation from your Studio Views. See Tasks.
To learn how to add Actions to your Table, see our Academy video or follow the step-by-step instructions.
Procedure:
In Celonis Platform, go to a View with a Table.
In the upper-right corner, click Edit Mode.
Hover over the Table to which you want to add an Action, and click Edit Component.
In Table Setting, go to the Actions section on the right hand side.
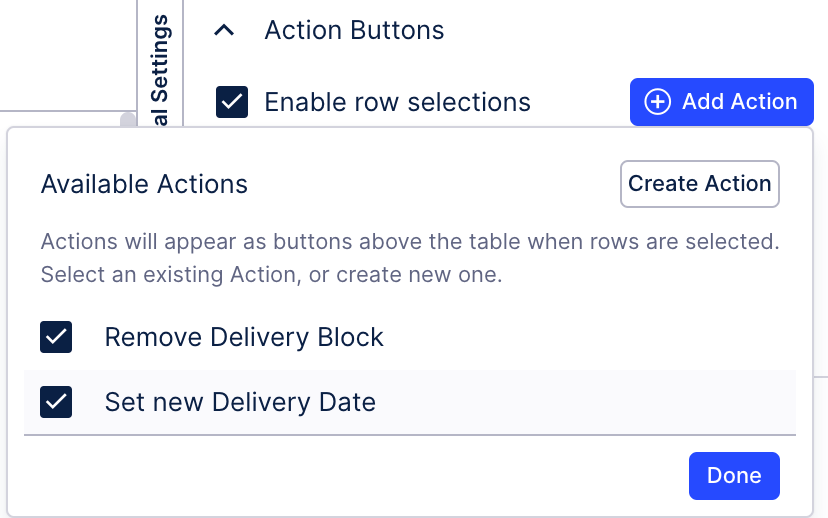
Select Enable row selection.
Add an Action to your Table by doing one of the following:
Note
You can select only Actions that match the Record criteria set in the Table you’re editing. If you've already created an Action and it doesn't appear on the list of Actions available for the Table, it means that the Record criteria set in the Action don't match the Record criteria of the Table you're editing.
Select one of the already available Actions to add them to the Table and click Done.
Click Add Action.
You will be presented with the same Action creation flow as when you create Action Flow directly from the Knowledge Model. For step-by-step instructions for creating an Action, see Creating an Action in the Knowledge Model.
 Actions available in a Table
Save and exit the Editor.
You've added your Action to the Table.