Creating and managing requirements
In Process Designer, requirement objects are elements used to capture, define, and manage requirements related to business processes, IT systems, or compliance within the process model. These requirements can represent:
Business needs (e.g., "The process must comply with GDPR")
Regulatory or legal obligations
System or software specifications
Customer or stakeholder expectations
An example of using requirements object is when you're storing customer data as part of an online order. In this case, the requirement could be "GDPR Compliance - Data Storage". Customer personal data must be stored in accordance with the General Data Protection Regulation (GDPR), including data encryption and retention policies.
To create requirements objects in Process Designer editor mode as an architect:
Click Requirements - Architecture.
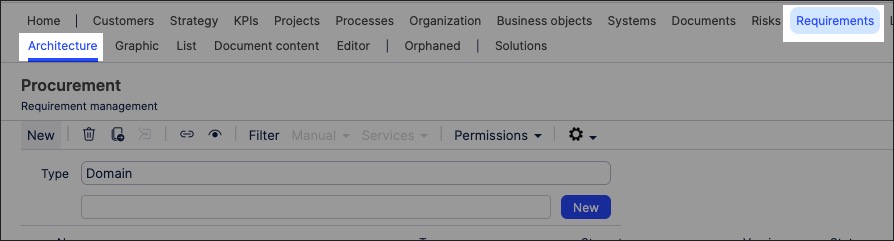
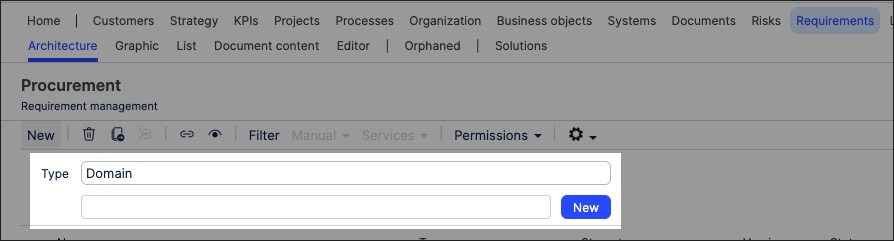
Select the domain to associate the requirements object to.
Add a requirements object name and click New.
The requirements object is created and set to version 0.1 with the state 'In progress'.
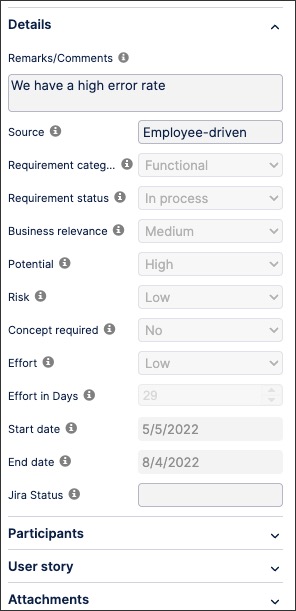
With the requirements object side panel open, configure the requirements attributes. This includes the requirement details, user stories, and participants.
The requirements object is now available and can be linked to within a process or task.
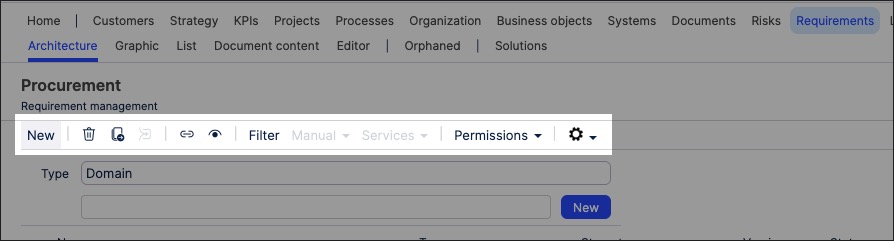
You can manage existing requirements objects by returning to the Requirements screen and either editing the object details or by using the toolbar:
You can also create requirements graphics using the content you've previously created. This enables you to visually map out the structure and contents of your organization's requirements content.
To create a requirements graphic in Process Designer editor mode as an architect:
Click Requirements - Graphic.
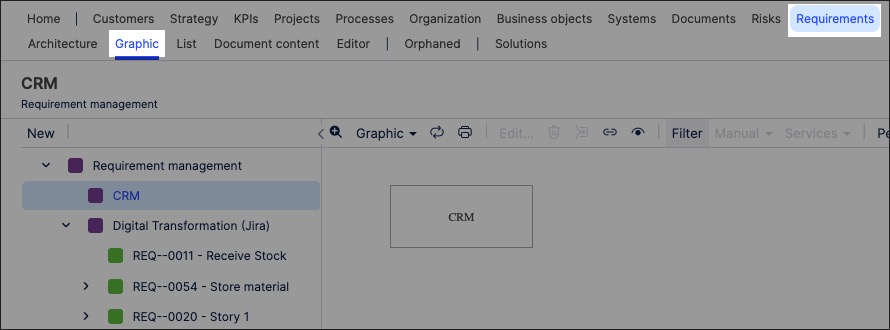
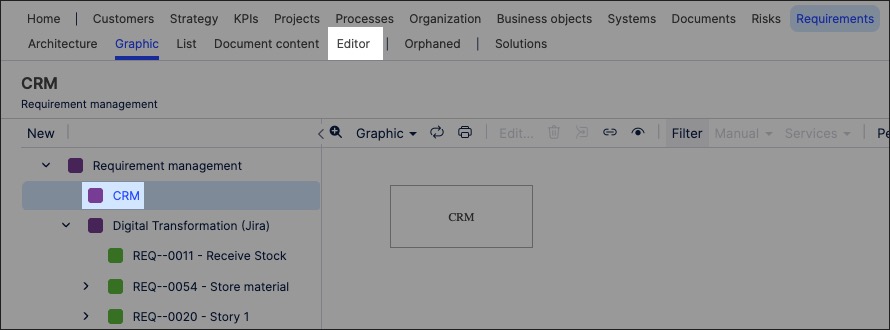
Select the object that you want to create the graphic for and then click Editor.
In this example, we're selecting the CRM graphic to edit:
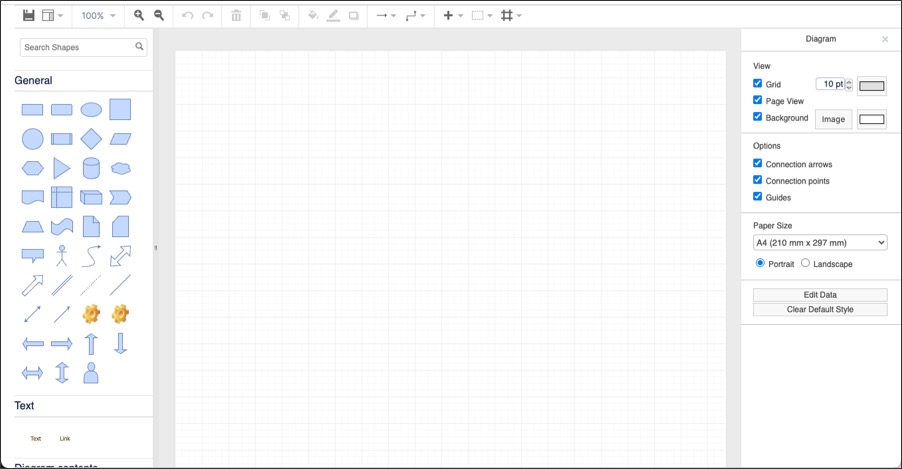
The editor loads and is pre-loaded with the related repository objects from the layer you selected.
Use the drag and drop editor to create the graphic, utilizing the graphic editor features.
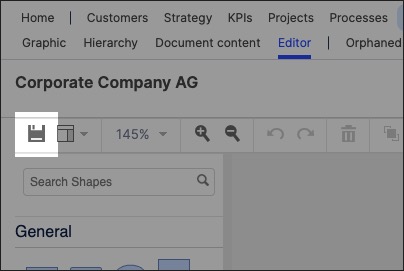
Click Save.
Graphic editor features
When creating graphics using the editor, you have the following features available:
Toolbar: This controls the following features:
Save: Save the current graphic, updating the graphic displayed in the Hierarchy area.
View: Display and hide the format panel, graphic outline, and layers panels.
Zoom / view controls: Controls the view of the editor.
Undo/redo: Effective for the last three changes.
Delete: Removes the existing graphic element.
Front / back layering: Moves the selected element forwards or backwards.
Fill / line / shadow: Configure the colors and shadow for the selected elements.
Connections / waypoints: Add connections between elements and choose the connection style.
Add link / image: Add external elements to the graphic, such as interactive links and uploaded images.
Flow: Automatically organize the selected elements based on how they should flow into each other (such as horizontally or vertically).
