Installing the object-centric Payment Terms Optimizer app
The Payment Terms Optimizer app works with objects and events created for object-centric process mining. Before you set up the Payment Terms Optimizer app, you’ll need to enable and configure the Accounts Receivable process, load the object-centric data model with your data, and validate the standard Accounts Receivable perspective. You’ll also need to create the custom items required by the app. See Prerequisites for the Payment terms optimization app for the instructions.
When you’ve arranged with your account team for the additional licensing fee, you can request the Payment Terms Optimizer app from the Celonis Marketplace. When you link the app to the custom perspective, it uses the objects and events that you’ve already built from your source system data and stored in the OCPM Data Pool.
Here’s how to install the Payment Terms Optimizer app:
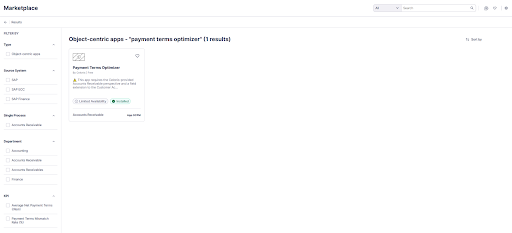
Open the Celonis Marketplace from the Celonis navigation menu, and search for all or part of the app’s name. Select the Payment Terms Optimizer app to see its information page.
Select Request Access to request the app. Your request is forwarded to the product team. They’ll need 1-2 business days to review your request with your account team, then they’ll give you access to the app and provide you with the setup guide for the customizations to Celonis catalog items.
When you’ve completed the custom setup, go back to the Celonis Marketplace and select Get it now to download the app.
In Celonis, choose a Studio space to install the app in. You can use an existing Studio space or create a new one. (You can move the app after installation.) Click Confirm to proceed with the installation.
In the Studio overview, find the Deductions Leakage app package in the space where you installed it, and click its tile to go to the app package.
Click the Package Settings icon (the box) and select Variables.
Select the Assign Data Model button, then search or browse for the extended perspective that you set up for the app, and click to select it. Click Save to set the Data Model variable.
Important
You can’t change the perspective for the app package after publishing it, because the augmented attributes are created as tables in the loaded data model for the perspective. Use the version of the perspective with the prefix test: if you’re installing the app in the development environment, and the version without the prefix if you’re installing the app in the production environment. To use the app with a different perspective, you’ll need to download and publish it again.
The Payment Terms Optimizer app needs to be published before configuration to create the augmented attribute tables. Select the Publish button to publish a version of the app.
Tip
To prevent business users from accessing the app while you’re working on setup, set the package permissions to hide it from them. Click the Package Settings icon (the box), and select Permissions. Set “No Permissions” to stop a user or group from seeing the app. You can also hide the view in the Apps Perspective tab in the package settings, but then you won’t see it either, so you won’t be able to check your settings in Apps.
Use the Getting Started view to set up the variables for the app. See Configuring settings for the Payment terms optimization app.
Tip
Because the Payment Terms Optimizer app needs to be published right away, you’ll need to change the settings in these views in Apps and Studio. Changing the settings in Studio after publishing doesn’t affect the values in Apps.
Check that the business logic used by the KPIs and calculated attributes in the app’s Knowledge Model is correct for your business. Validating KPIs for the object-centric Unshipped Orders app explains how. You’ll need Analyst permissions for Studio and the Knowledge Model to modify any KPIs and calculated attributes.
Configure the tasks and actions for the app. Configuring tasks and actions for the object-centric Inventory Management Planning Parameter Optimization app tells you how, and explains what needs configuring.
If you want to add custom values for the status of customer account debit items, sales order items, and customers besides the supplied values, configure the augmented attributes to add these. Configuring augmented attributes for the object-centric Unshipped Orders app has instructions to do this.
If you want to customize the app’s views to change their look, fit your business process, or include custom items, edit them in Studio. Editing views for the Payment Terms Optimizer app explains the process. You’ll need Analyst permissions for Studio and the views to modify them. If you make any changes to view components that involve the calculated attributes from the Knowledge Model, we’ll automatically update the calculated attributes in the Knowledge Model.
In the published app, open the Payment Terms Checker view and validate that your data is shown in the Invoice Mismatches and Customer Accounts tabs. It might take a few seconds before all the tables are created. If you see “Table could not be found” errors, wait for a short time and then reload the page to see if they disappear. If they remain, you’ll need to recheck your app settings and your custom objects, events, and perspective.
When you’re happy with your results, publish a version of the app. There's a Publish button at the top of all the screens in your Studio space.