Send Email created by Celonis
Need to send automated emails for testing or process alerts without using your own mailbox? You can use noreply@celonismail.com by connecting Action Flows with Skills.
This integration allows you to consolidate process data, format it into a structured layout (like an HTML table), and trigger an automated send-off directly from the Celonis platform.
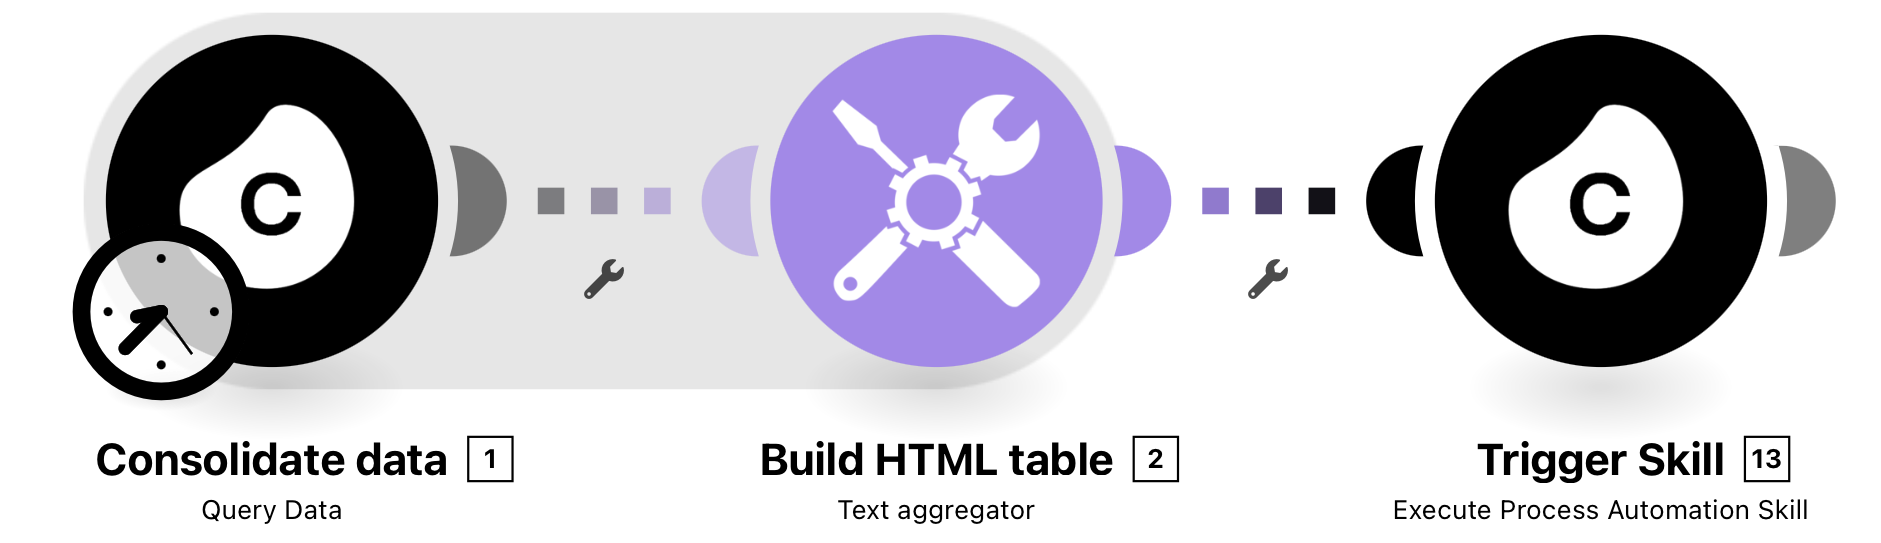
This integration uses a three-step Action Flow to automate email delivery without requiring a personal mail server.
Data Extraction: The flow begins by pulling specific data defined in your query (e.g., records to be included in the notification).
HTML Transformation: A Text Aggregator converts the raw data into a structured HTML format, allowing you to customize layouts and apply date formatting.
Skill Trigger: The final module passes the HTML table to a pre-configured Skill, which sends the email via the noreply@celonismail.com address.
 |
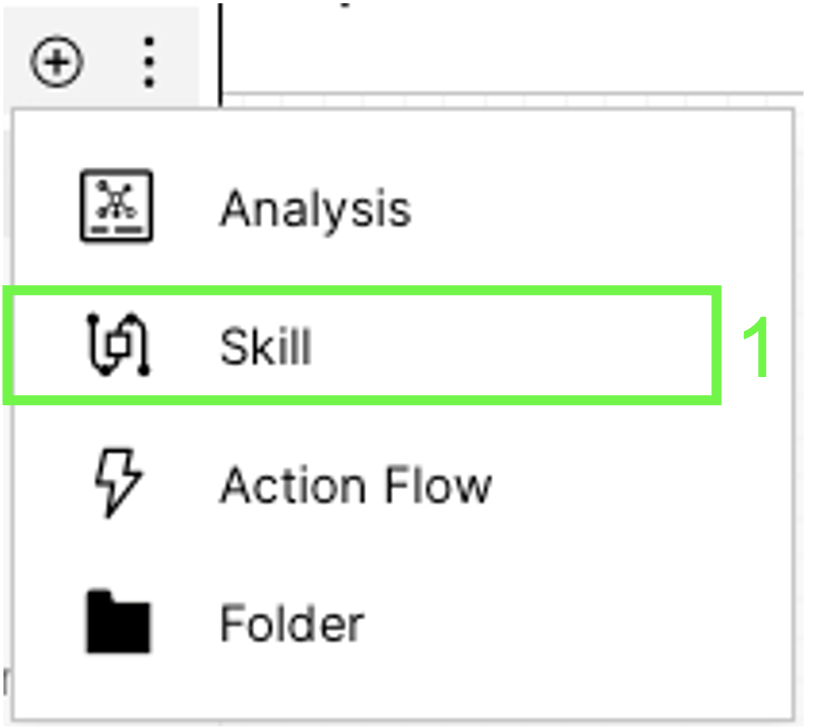
This step-by-step guide that shows how to configure each action of the Skill you need to use to send an email from Celonis via an Action Flow.
1. Choose the Skill option.
 |
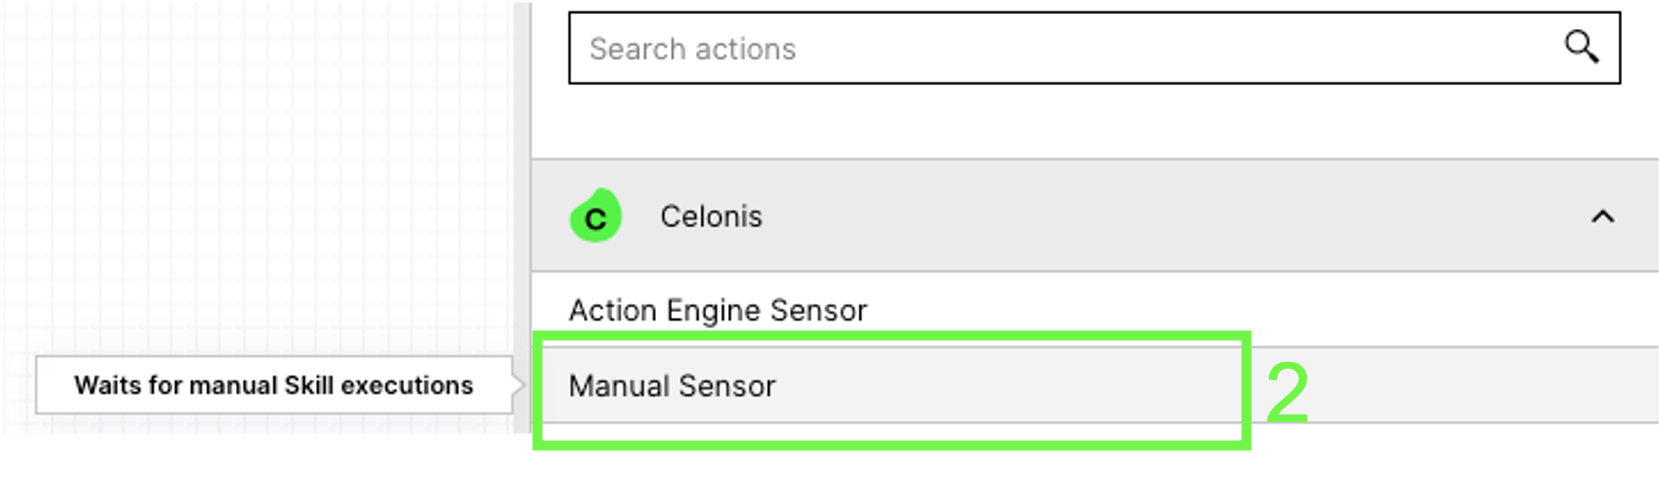
2. Select the Manual Sensor.
 |
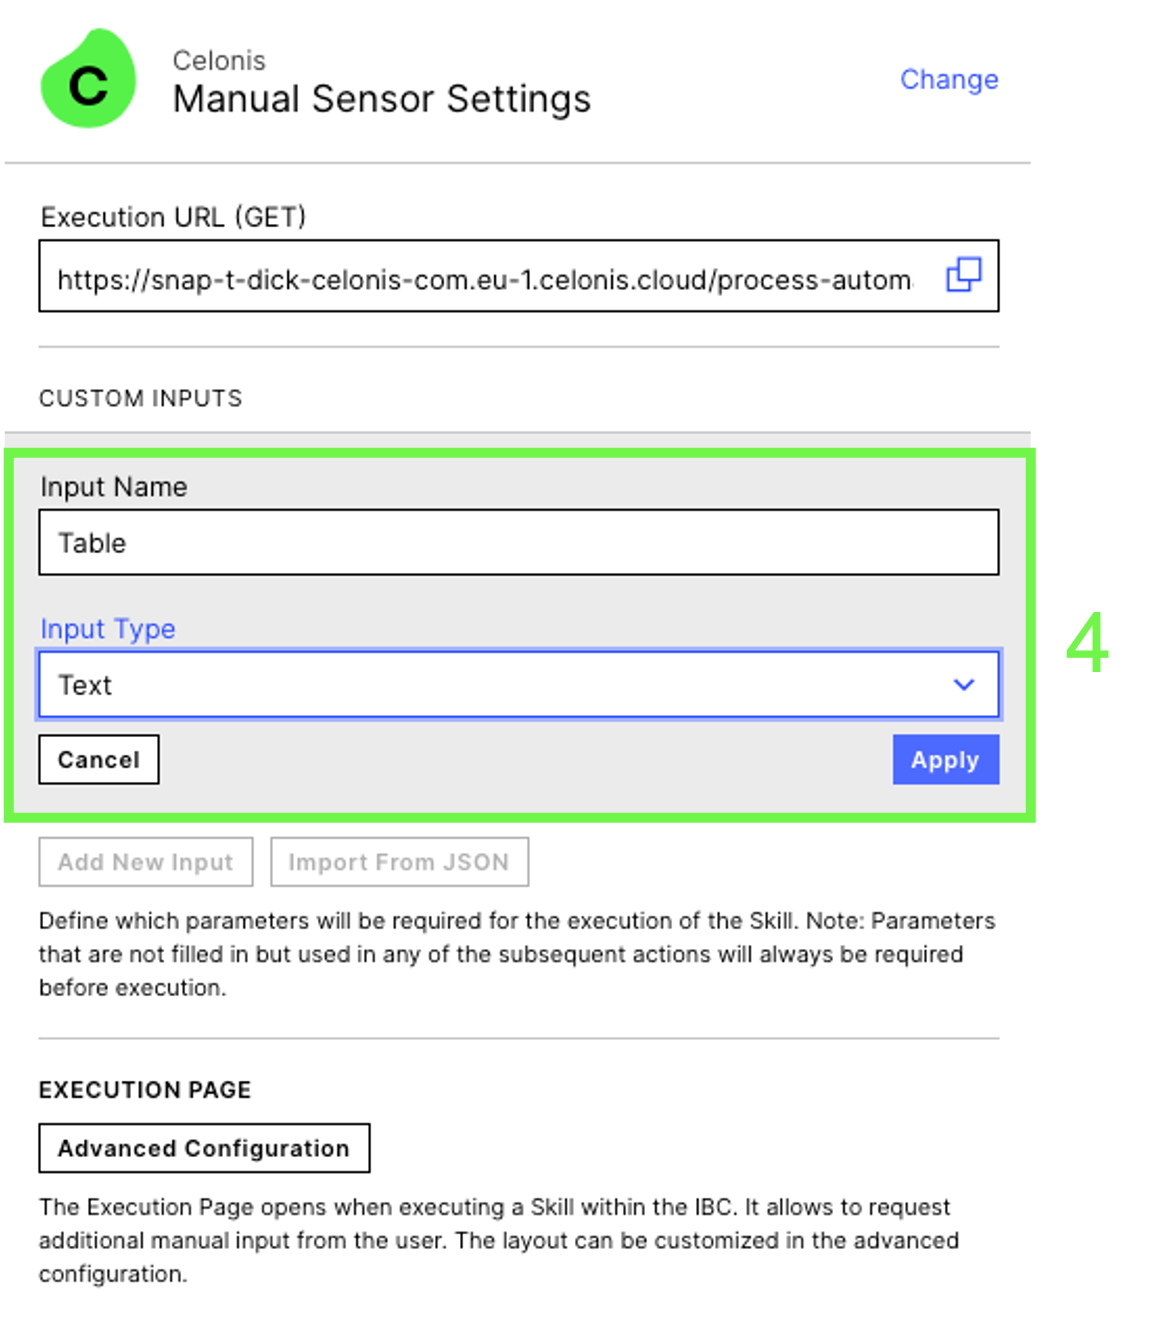
3. Click Add New Input if you want to transfer any data from the Action Flow to the Skill later.
 |
4. Choose a name for the input to come, and define the format.
 |
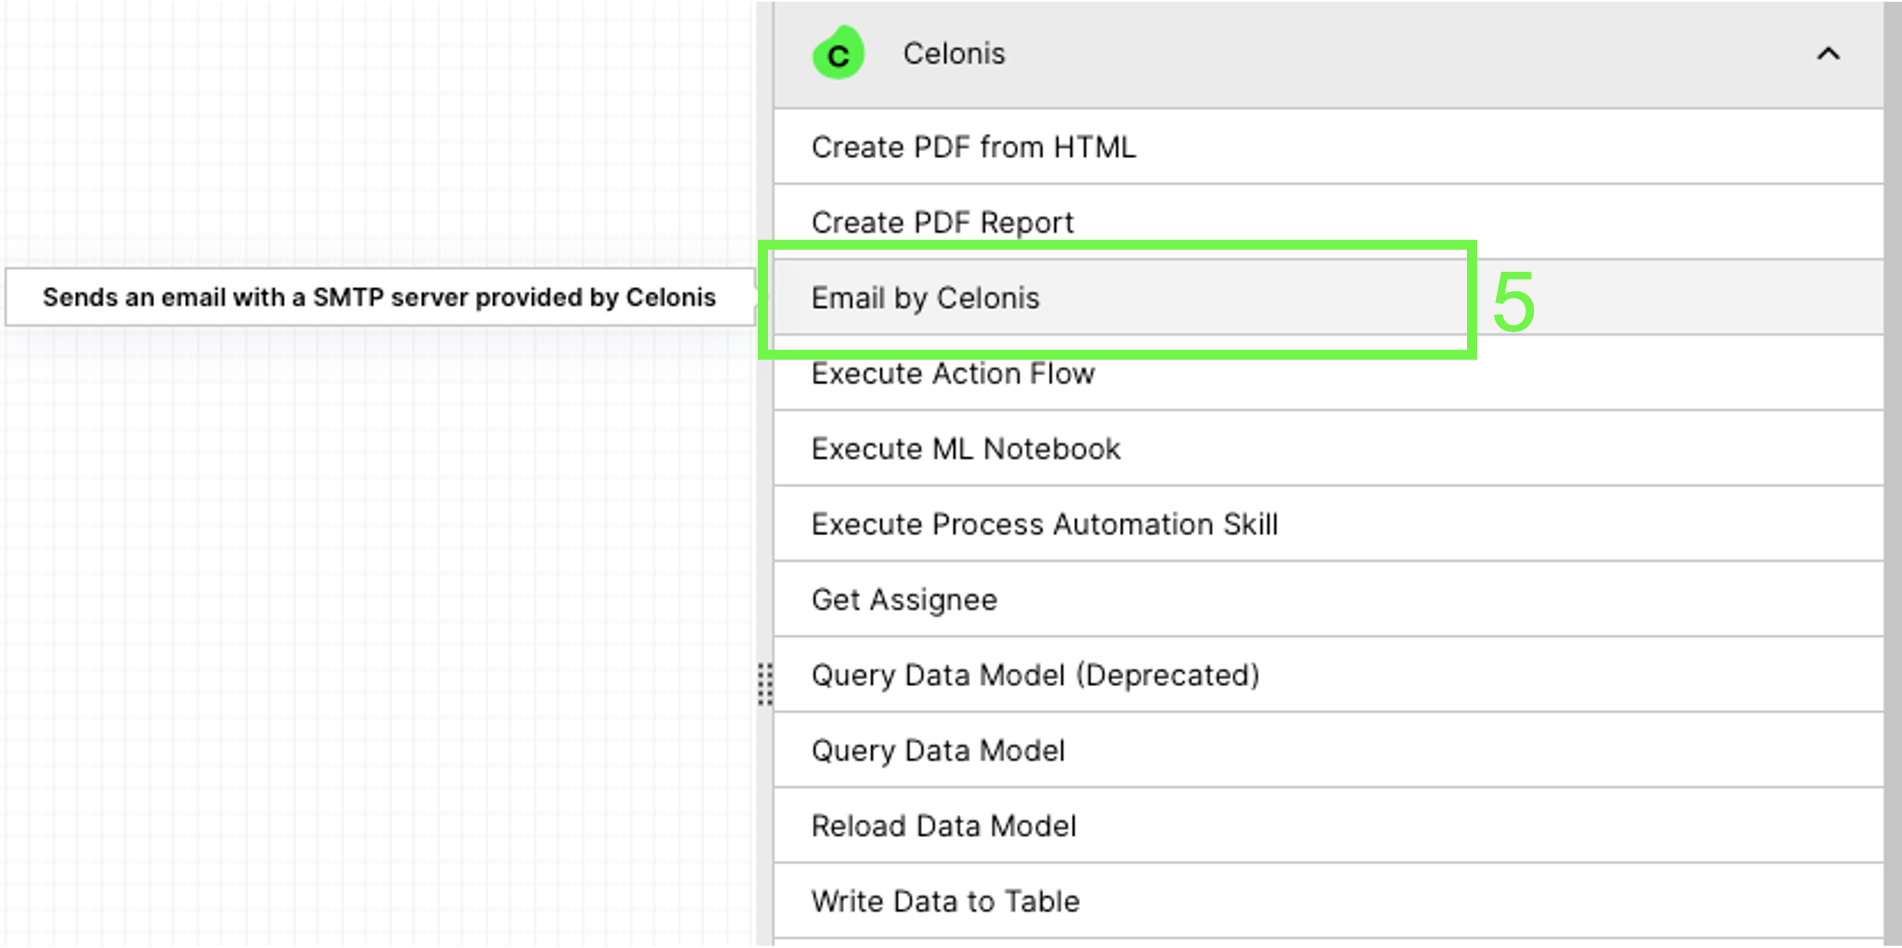
5. Add the Email by Celonis action.
 |
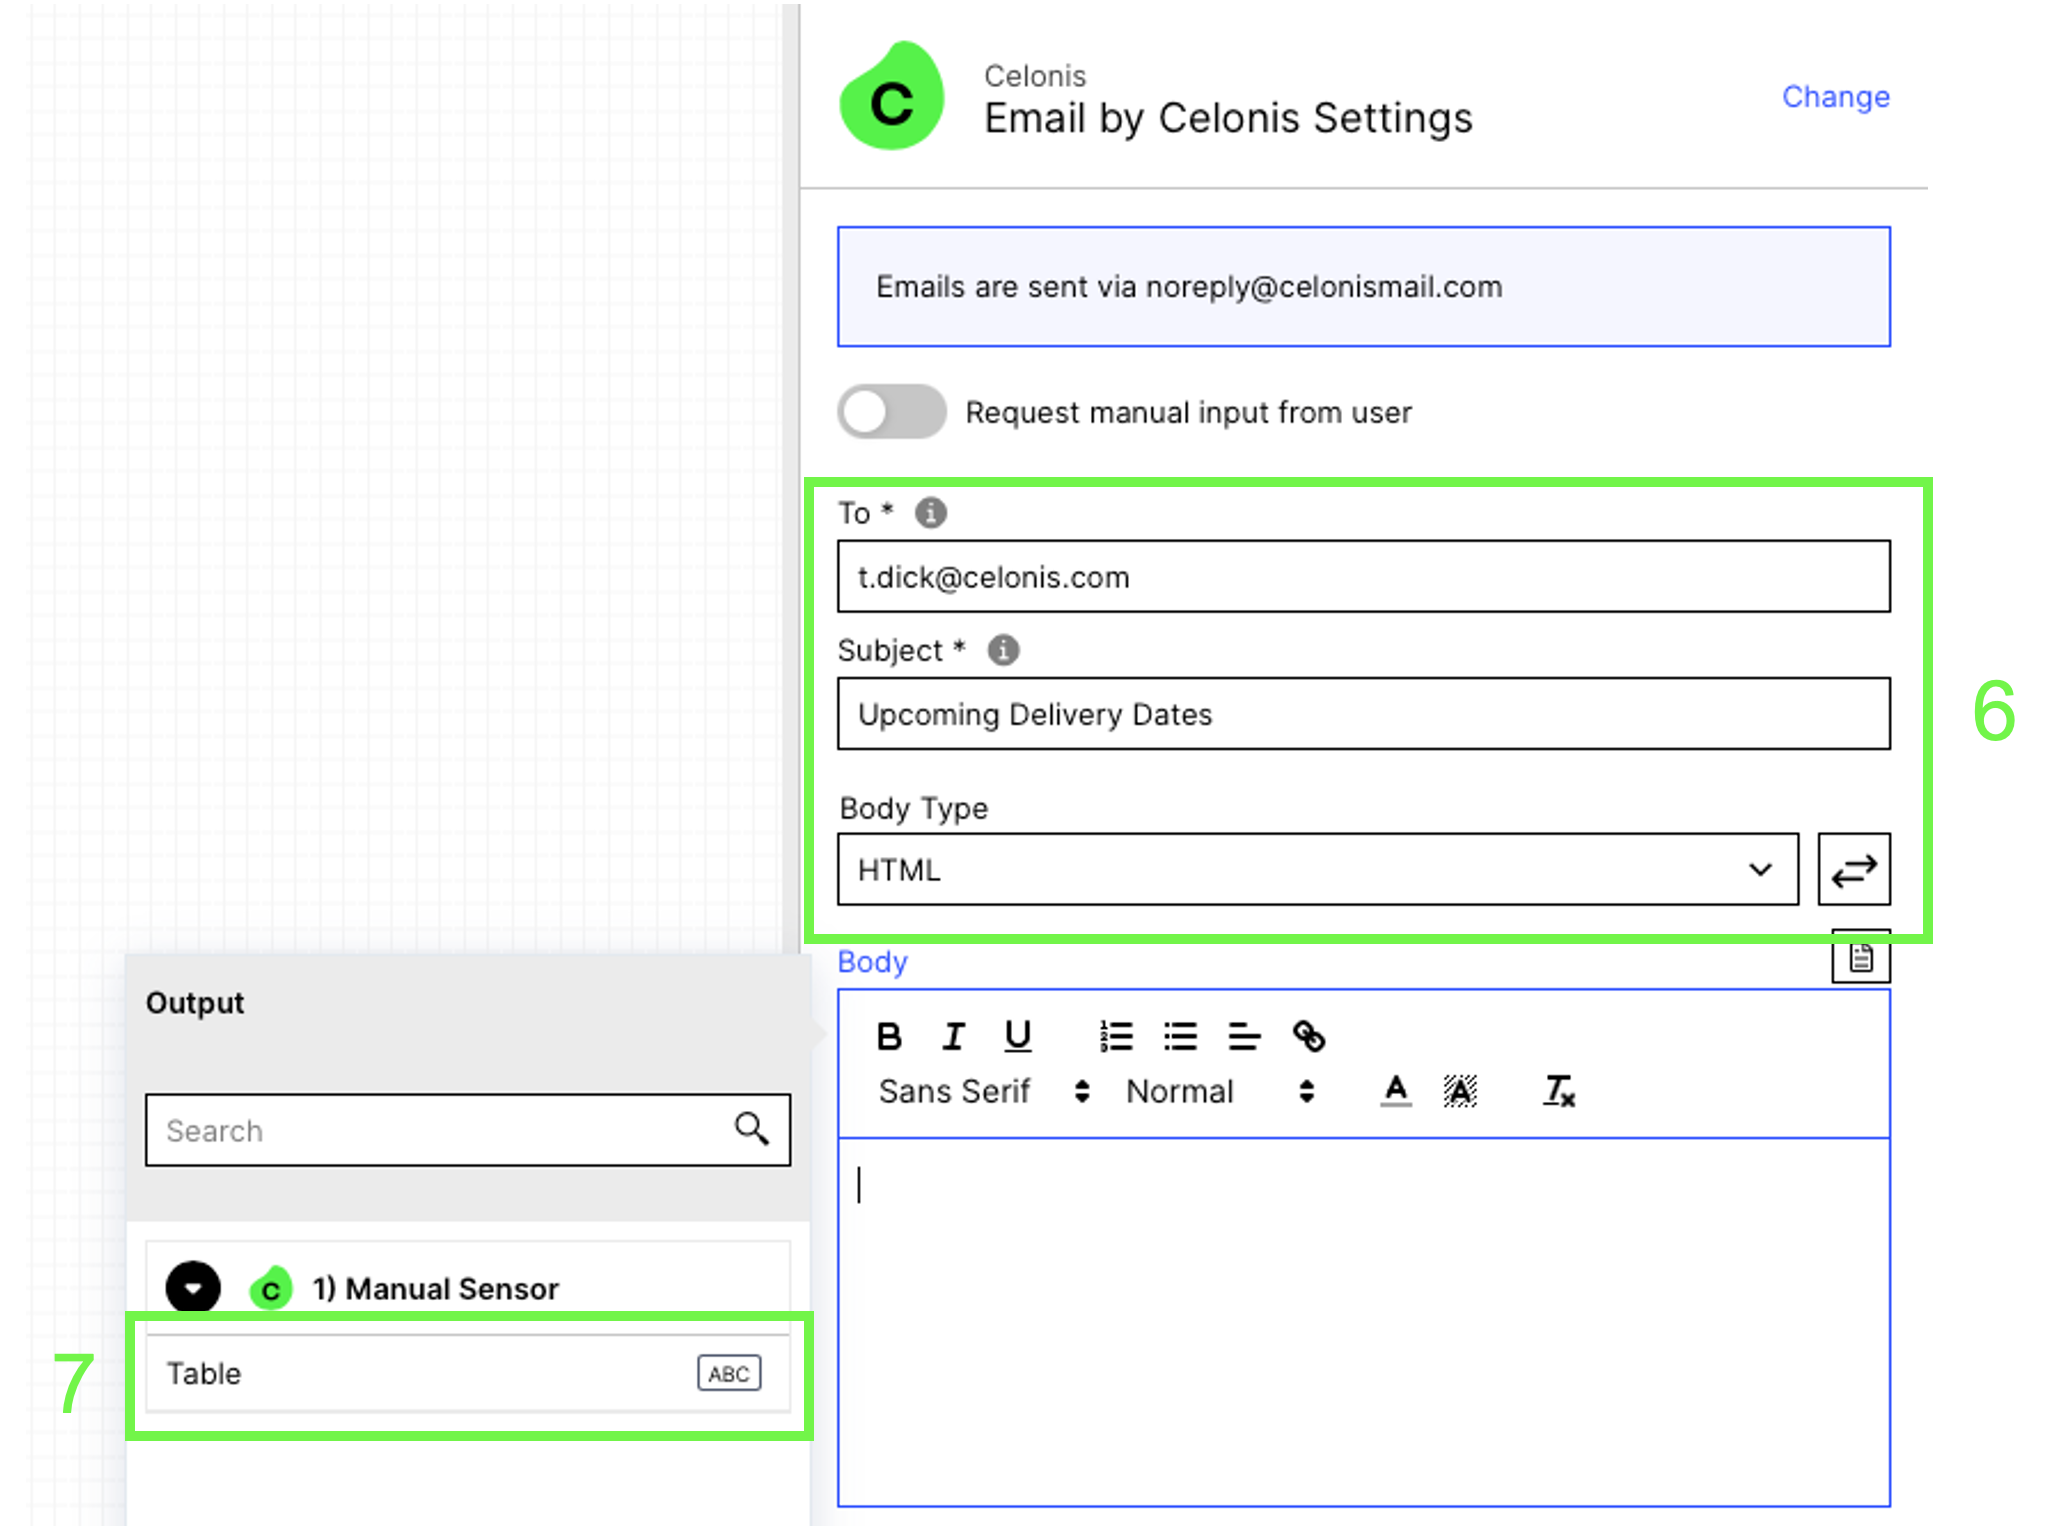
6. Fill out the Recipient and Subject, and choose HTML as the Body Type.
7. Add the input of the manual sensor in the Body field.
 |
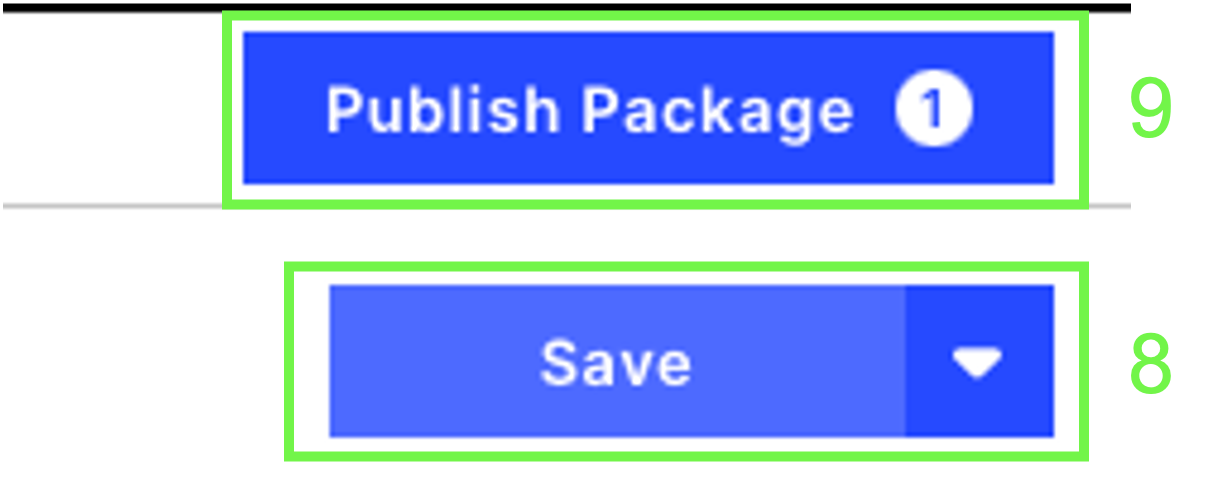
8. Click Save.
9. Click Publish Package.
This is necessary to make the skill available within the Action Flow.
 |
These steps show how to configure each module of the above Action Flow.
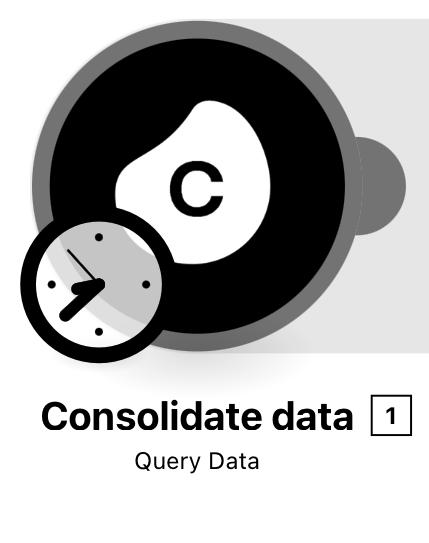
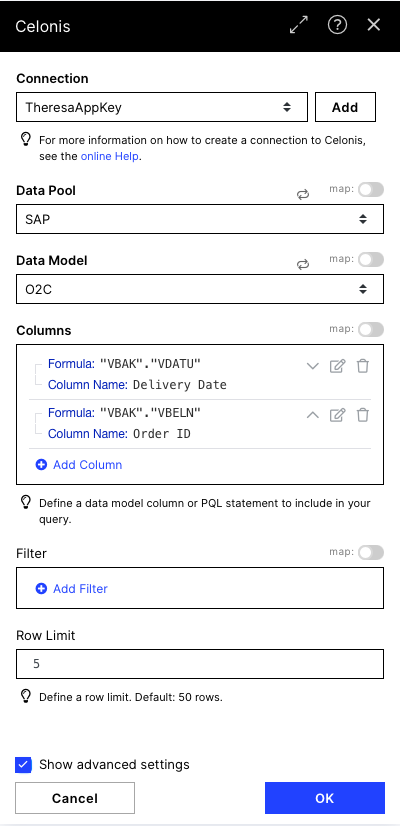
To get the data you want to use in the HTML Table you have to set up the Get Rows module. We use some Demo Data here as an example, getting Order IDs and the corresponding delivery dates.
Note
We can set the row limit to 5 to just retrieve 5 results. You can add other filters here or as a filter between Query data and the following module. Just make sure the row limit is adjusted to suit your needs. The default is 50.
 |
Configuration:
Action Flows Module: Celonis
Action: Query Data
 |
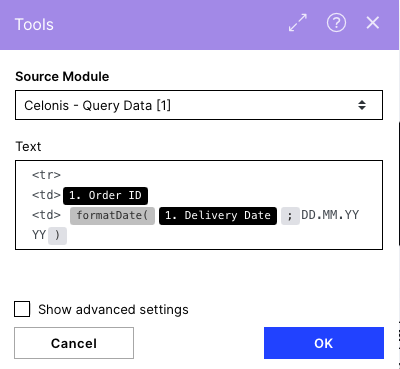
To build up an HTML table you have to define a structure with table rows (<tr>) and table cells (<td>) which will later be included in a table structure to get the right format. Here you have the chance to format dates as we show it with the Delivery Dates.
Add for each column you want to have in your resulting table the structure <td> data of the column</td>
Text:
<tr>
<td>{{1.`Order ID`}}</td>
<td> {{formatDate(1.`Delivery Date`; "DD.MM.YYYY")}}</td>
</tr>
 |
Configuration:
Action Flows Module: Tools
Action: Text Aggregator
 |
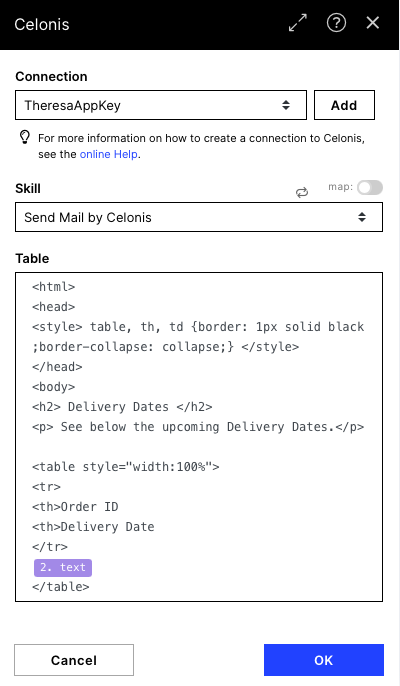
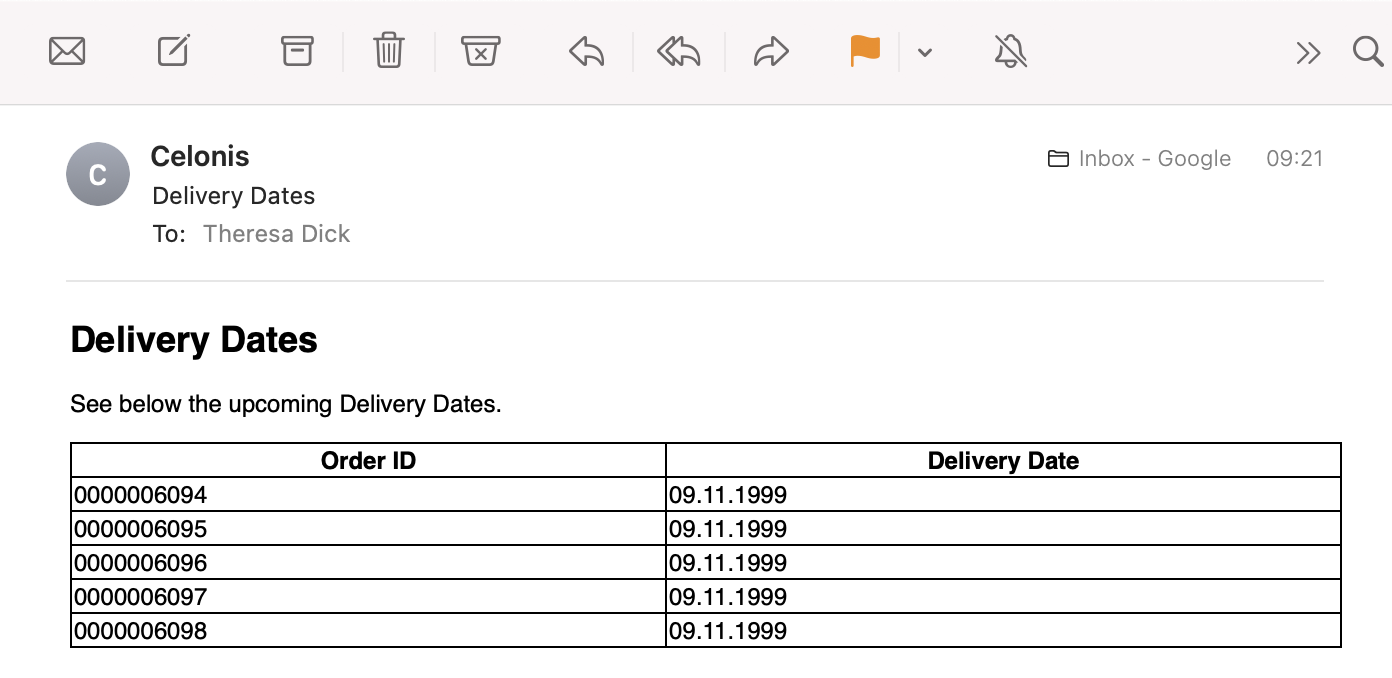
Connect to your Celonis account. You should find the published skill in the Skills dropdown menu. The specified input for the Skill (in this example we called it 'Table') should open up with the possibility for you to fill it. We add an HTML table and some text for the mail here. Note that this could also be done in the mail by celonis action in the Skill. When running the action flow you should now be able to send mails via noreply@celonismail.com. Find the example mail on the right.
Table:
Styling html code:
<html>
<head>
<style> table, th, td {border: 1px solid black;border-collapse: collapse;} </style>
</head>
<body>
<h2> Delivery Dates </h2>
<p> See below the Delivery Dates.</p>
table html code:
<table style="width:100%">
<tr>
<th>Order ID</th>
<th>Delivery Date</th>
</tr>
{{2.text}}
</table>
HTML Tables
Find more information on how to send HTML tables in a mail and how to adapt the HTML code to your needs in this template.
 |
Configuration:
Action Flows Module: Celonis
Action: Execute Process Automation Skill
 |
 |