Knowledge Model - Event Logs (object-centric)
Case-centric data models
If you're using a case-centric data model, you should follow the instructions provided here: Event logs (case-centric)
Object-Centric Event Logs allow events to be related to multiple business objects (such as orders, items, and customers) simultaneously. This many-to-many relationship captures the complexity of real-world business processes more accurately than traditional case-centric models.
Key capabilities of object-centric event logs
Visual builder: Create logs directly in Studio using a visual interface.
Dynamic events: Relabel activities using event attributes to create more granular process steps.
Knowledge Model integration: Output tables are automatically created as Records in the Knowledge Model.
Advanced analysis: Since output tables behave like standard data model tables, you can query them with PQL or extend them with Calculated Attributes.
Data structure of object-centric event logs
Every object-centric event log generates two primary components:
Event log table: Contains the individual event data.
Edge table: Defines the connections and relationships between those events.
To create object-centric event logs in the Knowledge Model:
Click Studio and then open the package containing the KM you want to create the event log in.
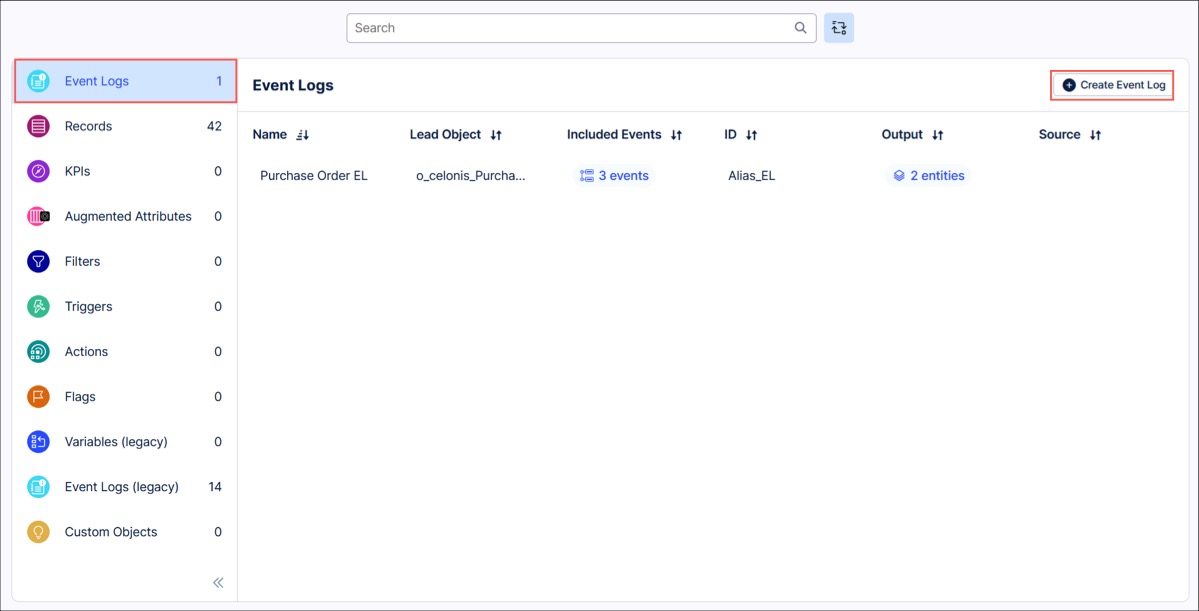
Select the KM asset and then click Event Logs.
Click Create Event Log, add a display name, and optionally a description.
An ID is automatically generated based on the display name. This is used in PQL statements but can be manually changed if needed.
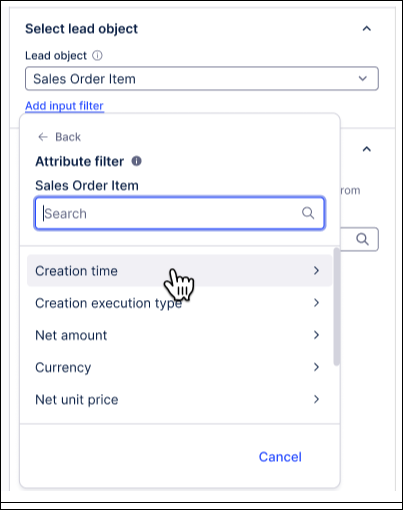
Select lead object: Select the lead object for the event log.
Click Add input filter to configure which objects should be included and excluded from your event log. Using this filter will reduce the size of the resulting table, increasing the performance of your content.
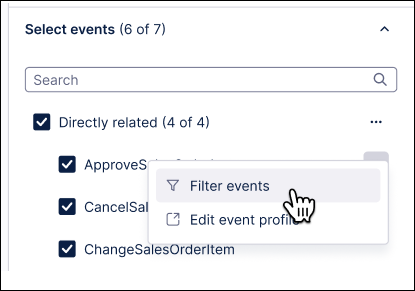
Select events: Select the events that are relevant for the process you are tracing, using the event filters to include or exclude specific event instances from your event log. Like with filtering your objects, using this filter will reduce the size of the resulting table, increasing the performance of your content.
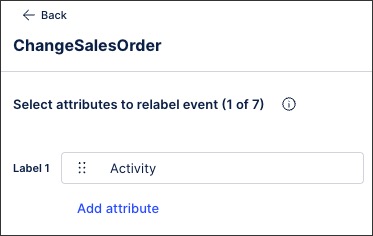
To configure dynamic events by adding attributes of event types:
Click the three dots by the name of an event type, and select Relabel event.
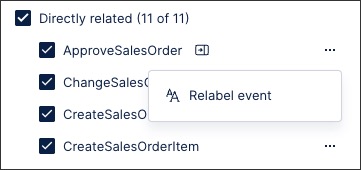
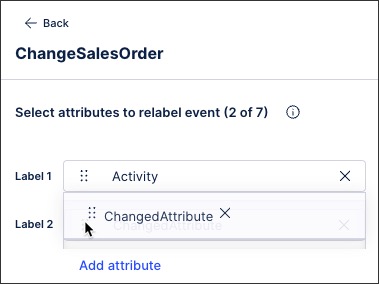
Click Add attribute, and select an attribute from the list. The preview updates immediately to include the new attribute in the Activity Details column. You can select any number of attributes for any number of events in the event log.
Tip
Selecting numerical attributes can produce a lot of different groupings - these are handled as separate events and may break certain limits, so be careful when selecting attributes with these data types.
Drag and drop the attributes to arrange them in the order you want. We'll concatenate the attributes in the order you place them.
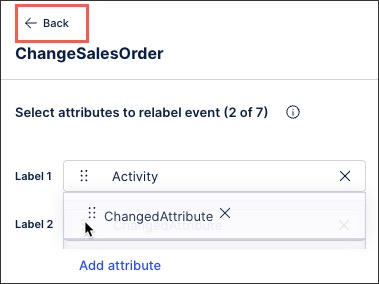
When you've added all the attributes you want to, select Back.
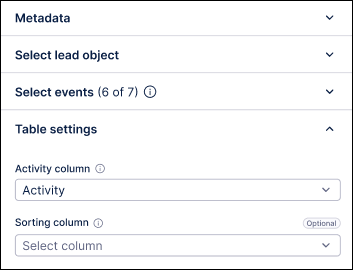
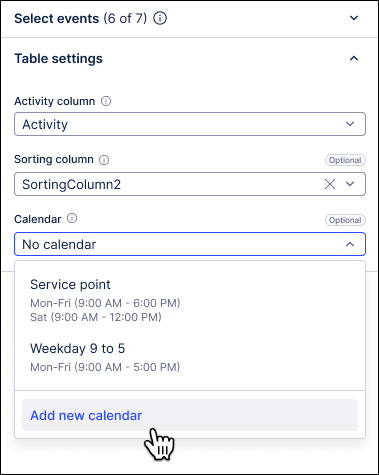
Choose your event log table settings, including:
Activity column: Select which is the activity column to visualize in the Process Explorer. By default, 'Activity' is selected.
Sorting column (optional): Events with identical timestamps will be sorted according to the values in the selected column.
While specifying a sorting column is optional, we recommend it if your data set includes activities that may have the same timestamp. If two activities belong to the same case and have the same timestamp without any configured sorting, the resulting process graph is based on implementation details (such as the alphanumerical order for CREATE_EVENTLOG). This can result in unwanted process variants.
Preview your process: Use the Process Explorer preview to validate your configuration in real-time.
The preview generates a visual representation of your process based on a sample of your data.
As you add or remove events or change the Sorting column, the Process Explorer updates to show how these changes affect the process flow and variants.
Use this to identify unwanted variants caused by identical timestamps before saving.

Click Save .
When you save the event log, it’s added to your Knowledge Model, and the output tables are added to Records in your Knowledge Model. The event log won’t be visible in the perspective builder in the Objects and Events UI.
To add calculated attributes to extend the output tables for the event log:
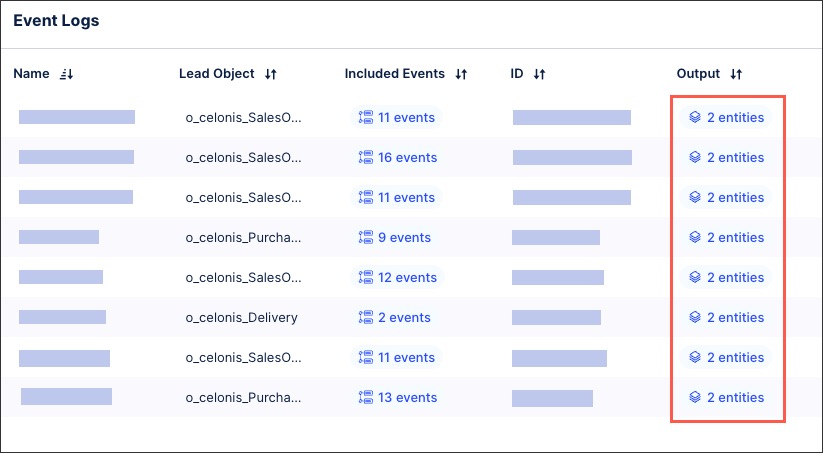
Select Event Logs in the Knowledge Model.
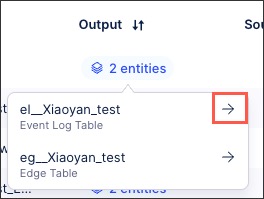
Click the entities tag in the Output column for your event log:
Click the arrow to open the editor for the event log table Record or the edge table Record.
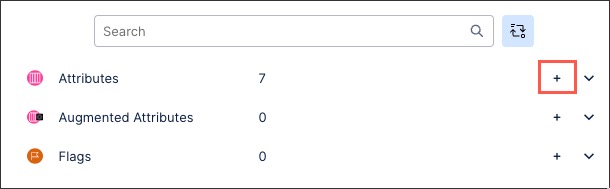
Click + and set up the calculated attribute column in the editor.
The calculated attribute is associated to the record of the output table, so you don't need to start from the Records section in the Knowledge Model. The record ID, which you'll need to reference in the PQL formula, is EL__your event log name for the event log table, or EG__your event log name for the edge table.
By default, the Event Log Builder automatically selects the shortest available path between your objects and events. If your data model contains multiple relationships of equal length, or if you need to ensure a specific join path for consistent KPI calculations, you can manually define the relationship.
Manually selecting a relationship ensures deterministic behavior. This prevents unexpected changes to your process analytics if a data model update later introduces a new, shorter path.
To configure advanced join paths for your Event Logs:
In the Event Log Builder, locate the event you want to configure and click the three dots (...) or the settings menu for that specific event.
Select Relate via from the dropdown menu.
Note
This option allows you to see all available join paths between the lead object and the event.
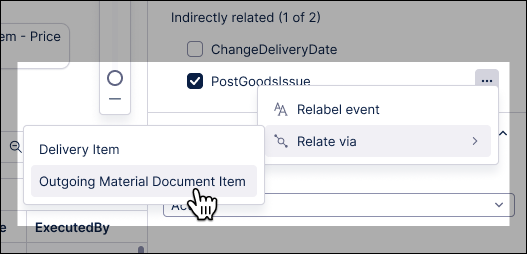
From the list of available object-to-event relationships, select the specific path you wish to use.
This explicit path is saved to your Knowledge Model. The
CREATE_EVENTLOGoperator will now use this deterministic path every time the log is generated, rather than defaulting to the shortest path.Verify your event log to ensure that the KPI counts and data projections match your expected join logic.
Standard throughput time (TPT) calculations often include weekends, public holidays, and leave days. For processes like insurance claims or procurement, this "gross" time leads to skewed metrics and inaccurate efficiency insights. To make your process data more realistic, you can select and configure a working calendar for your event logs.
To create a calendar for your event logs:
Click Studio and open the package containing your Knowledge Model.
Open your KM - click Event logs and select the event log you want to create a calendar for.
Open Table settings and click Calendar - Add new Calendar.
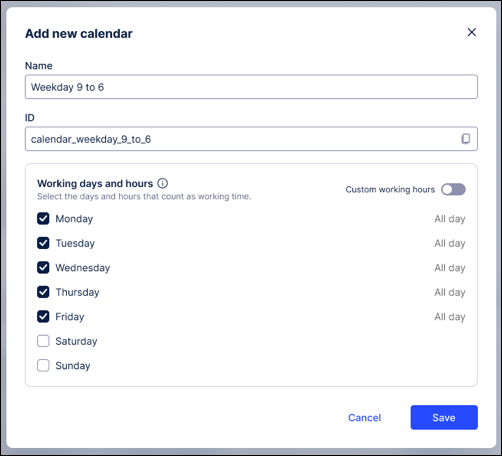
Configure the calendar:
Name: Add a unique name for the calendar, used as an reference.
ID: This is automatically derived from the name entered.
Working Hours: You have the option to add specific custom working hours for each day.
If your hours are consistent, you can use the "copy hours to all selected days" button to apply your settings in bulk.
Click Save.
Once you save your configuration, it is stored as a reusable Knowledge Model entity. You can then reference it in your PQL queries using a variable (e.g., @yourCalendarName).
For example:
WEEKDAY_CALENDAR ( MONDAY TUESDAY WEDNESDAY THURSDAY FRIDAY )

or

WEEKDAY_CALENDAR ( MONDAY 09:00 - 13:00 THURSDAY FRIDAY 09:00 - 11:30 )
When adding and referencing calendars, the Knowledge Model JSON formatting is:
calendar:
  - id: myCal1
    displayName: My beautiful weekday calendar 1
    calendarType: WEEKDAY_CALENDAR
    Config:
        days:
            - day: MONDAY
            - day: TUESDAY
            - day: WEDNESDAY
            - day: THURSDAY
            - day: FRIDAY

  - id: myCal2
    displayName: My beautiful weekday calendar 2
    calendarType: WEEKDAY_CALENDAR
    config:
        days:
            - day: MONDAY
              time:
                  - start: 09:00
                    end: 13:00
            - day: THURSDAY
            - day: FRIDAY
              time:
                  - start: 09:00
                    end: 11:30