Setting data permissions manually for users and groups
You can manually set data permissions for users or groups of users for each data model, giving you granular controls over who has access to your data. These permissions can supersede a user's admin access. And if a user is a member of two groups, the higher permission level will apply to both groups. For example, if a user has limited access to one group and is then given unlimited access to a second group, they will then automatically have unlimited access to both groups.
To set up data permissions involving multiple values or multiple table columns, see: Combining data permissions.
To set your data permissions manually from your data pool diagram:
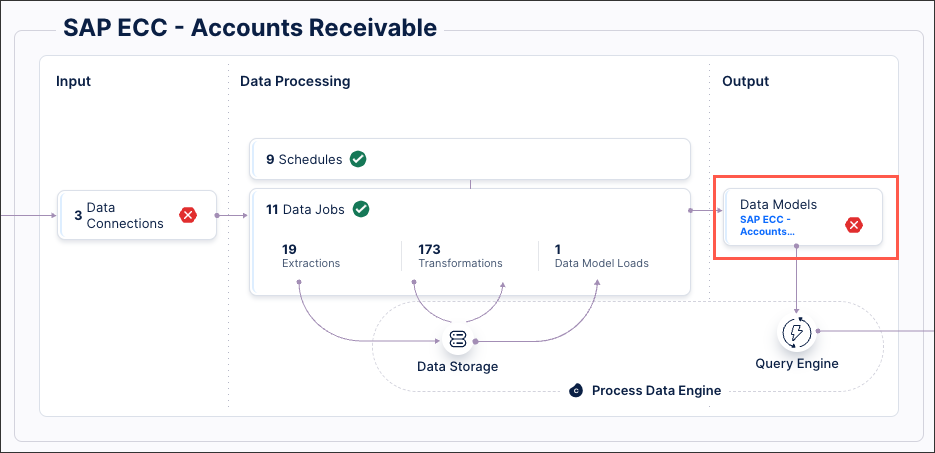
Click Data Models.
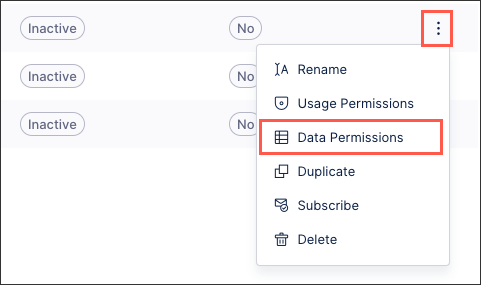
Locate the data model you want to manually set permissions for and click Options - Data Permissions.
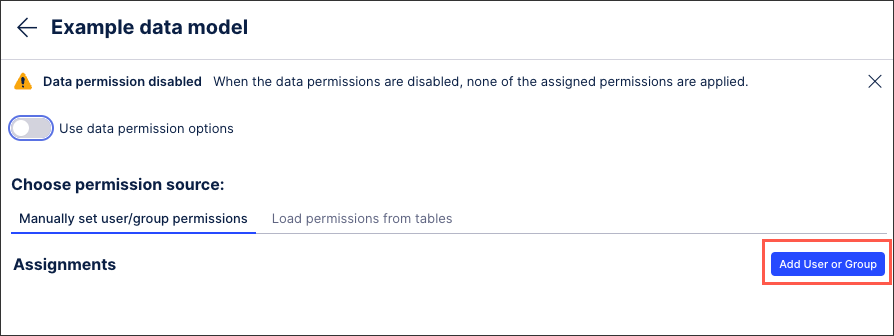
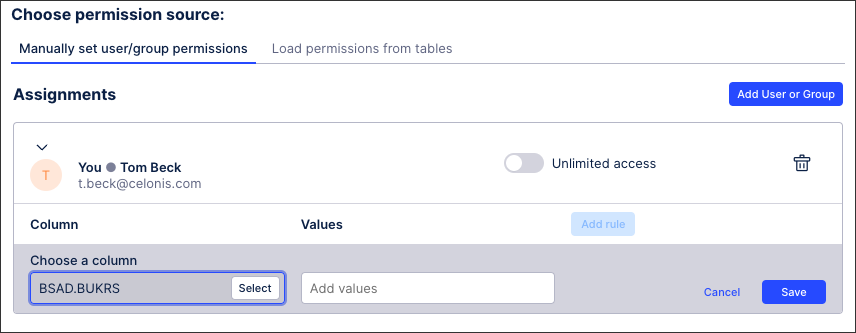
Click Add User or Group, select those who should have access, and then click Done.
For users or groups you've added, decide if they should have unlimited access or whether a rule should be applied for them:
Unlimited access: The user or group can see all the data in all of the data models that they have access to.
Rules: Choose the specific columns from your data tables and whether only individual column values should be available to this user or group. If adding a rule, click Save.
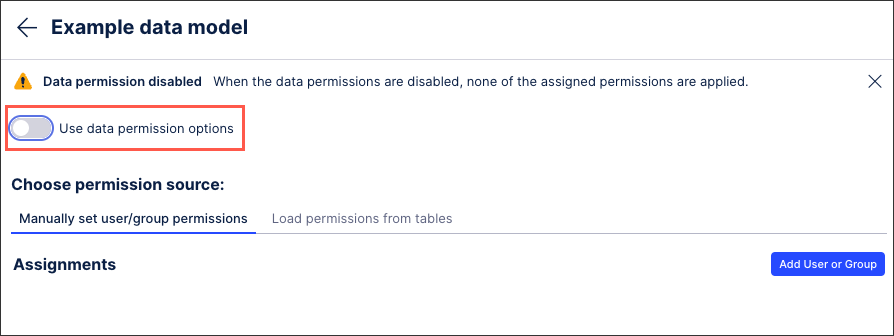
To enable the data permissions you have set, click Use data permissions options.
The data permissions are now active, potentially superseding a user's overall Celonis Platform permissions.
