Execute Skills in Action Flows
In this tutorial, we're going to cover how to execute existing Skills within an Action Flow. If you're interested in how to execute an Action Flow from a Skill, please refer to this tutorial.
If you want to use the OAuth connection method for your Action Flow, your OAuth app must have the following scopes assigned to it:
skills:read
skills:execute
studio.packages:read
For more information, see Registering your OAuth client and Available OAuth scopes.
Navigate to the Skill you want to execute.
Add a Manual Sensor, allowing for a manual execution of the skill by copying and inserting the execution URL in the browser.
Note
You can only select Skills with a Manual Trigger, not with a Smart Trigger.
(optional) Add input field to have the possibility to transfer data from the Action Flow to the Skill).
Select the add new input button to have the possibility to transfer some data from the Action Flow to the Skill later
Give you input a name.
Save.
Publish the package (necessary to find the skill within the Action Flow)
Publish the Skill to make it accessible from within Action Flows.
Create an application key.
Add a new action.
Search for 'Celonis'.
Select 'Execute Process Automation Skill'.
Add a connection and enter the application key you just created.
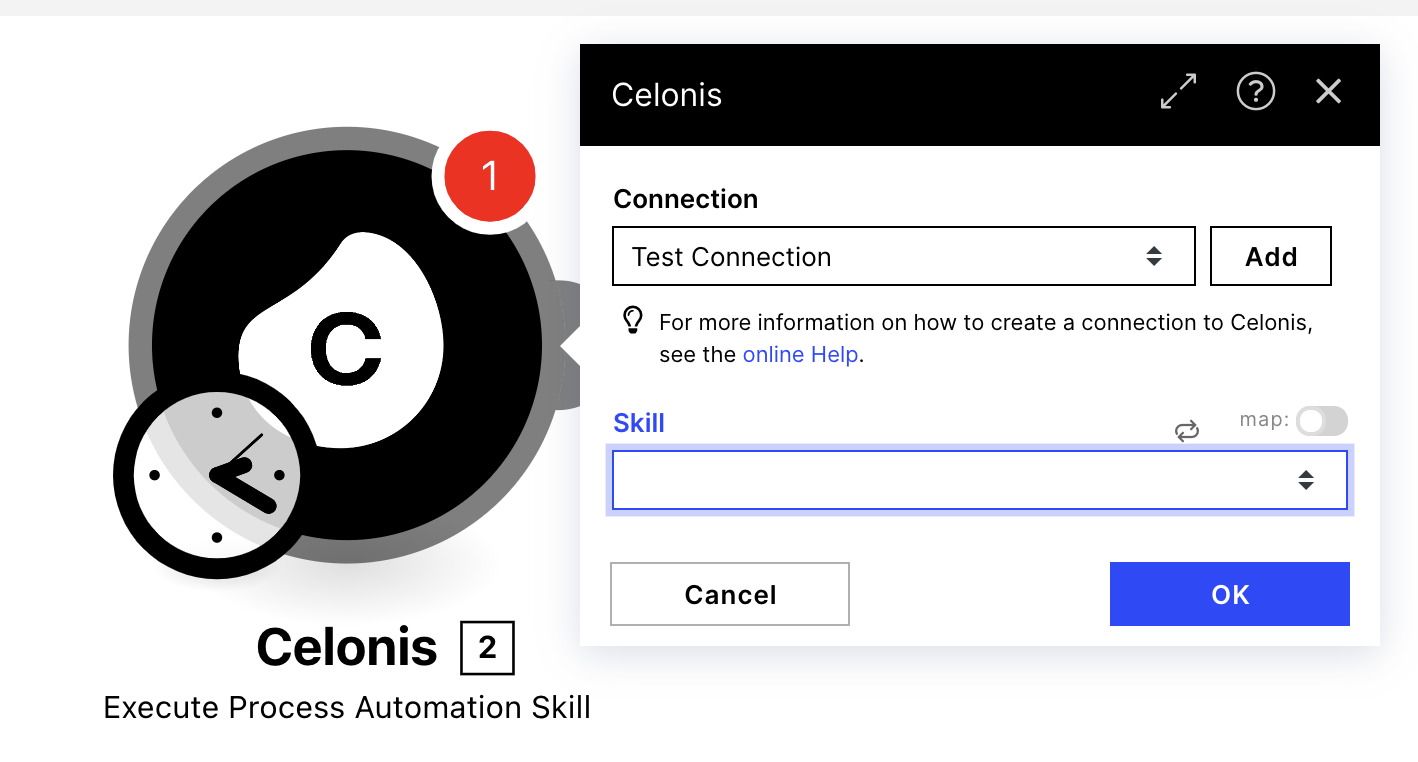
A new menu opens up with a list of all published Skills within the team you're working in. Select the Skill you want to execute within your Action Flow. If you added the input field at the Manual sensor a field will be shown when you selected the skill where you can put the data to transfer in.
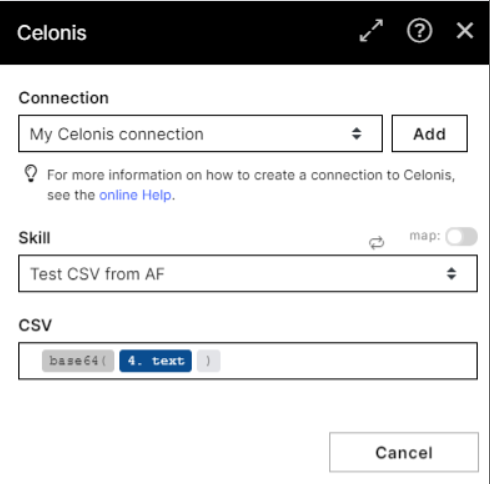
Pass CSV Output to Skill
If you want to use a CSV output from your Action Flow in a Skill, you have to encapsulate the data with the base64() function.
Run the Action Flow to execute the Skill.