Copying multiple assets between teams
For Premium Sandbox Subscribers only
This feature is only available for Premium Sandbox Subscribers. For more information, reach out to your account representative.
As a team admin, you can bulk copy Studio packages and your data pools between your teams. Using the Team-to-team copy feature, you select the team you want to copy your assets into (known as the target team), check and resolve asset dependencies, and run the copy.
When copying assets into the target team, a version snapshot is taken of their current state in the target team when the copy is run. To maintain parity between assets available in multiple teams, subsequent manual copy runs must be made.
When running a team-to-team copy, the following assets are copied:
Studio: The latest published version of the studio package is copied, including:
Views
Process Adherence Manager
Analysis
Action Flows: As an admin, you can also map connections and update variables for Action Flows in the target team during copying. When copied to the target space, Action Flows are kept in the draft mode. To make the copied Action Flows active in the target team they must be republished.
Knowledge Models
Augmented Attributes: Definitions of Augmented Attributes (AA) are copied to the target team. If this is the first copy to the target, you must wait until the Data Model is loaded, followed by a manual publish of the Knowledge Model in the target team to create the AA tables.
Skills
Simulation
AI Annotation Builder
Folders
Data Pools: The latest draft version of your data pool is copied where available.
Copied assets include:
Data Connections: Excluding Authorization.
With a shared connection we recommend copying both the source pool and the target pool by “Resolve dependencies”.
If a copied Data Connection name contains [FIXME], it means the source data pool was not included in the copy. A placeholder connection was created instead.
Warning
Do not delete and recreate the connection manually. Deleting it breaks the underlying Team-to-Team Copy (T2TC) mapping, which will cause duplicate connections on future runs.
To safely re-establish the connection:
Navigate to the Target Team.
Locate the placeholder connection.
Click the three-dot menu (...) on the right-hand side of the connection and select Edit.
Link it to the correct shared connection.
If you do not see the expected connection within the list, it means that the connection needs to be shared to the data pool first. For more information on how to share a data connection, see Sharing data between data pools.
Data Jobs: Including all extractions and transformations.
Data Models: Excluding name mappings.
Data Pool parameters
Objects & Events and related configurations
Schedules
Replication Cockpit: Including all extractions and transformations.
Task Templates
Objects and Events (with listed behaviors):
OCPM Data Pools are always copied together with their OCDM configuration; copying OCDM alone is not supported.
The OCDM version deployed to Production in the source Data Pool is copied. Individual OCDM assets (objects or events) cannot be copied.
A successful Team-to-Team Copy creates a new OCDM version in the target team, but it is not automatically deployed.
Data Pools can be copied to an existing or new Data Pool in the target team. Once established, this mapping is permanent.
When copying to an existing target Data Pool, the OCDM version history is reset to 0.0.1 on the first copy.
Assets not copied during a team-to-team copy
The following assets are not copied during a team-to-team copy:
Studio:
Permissions to Studio assets
Data Explorer
Data Pools:
Data extracted from source systems (and corresponding data logs and extraction history)
Permissions
Alerts and notifications
Configurations for auto-cancellation
Subscriptions
Extractor builder configurations
Streaming cockpit
Machine Learning Workbenches
To copy assets between your teams, you need:
Two teams: a source team (where the assets are currently stored) and a target team (where the assets are being moved).
Team-to-team copy feature enabled in both teams.
Admin permissions for both teams. See User and team roles.
To authorize both your current team and the target team you want to copy assets into. See Step 1: Authorizing your teams for copying.
Before copying assets into your target team, both your current and target teams must be authorized. Teams must be authorized manually in advance.
To manually authorize your target team before copying the assets, click Authorized Teams.
 |
And then click Add new authorized team.
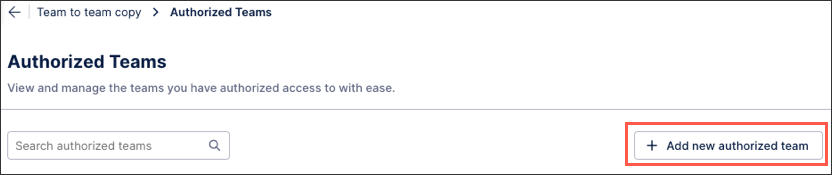 |
To copy assets between teams:
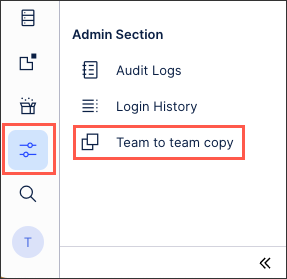
From the team that contains the assets you want to copy, go to Admin & Settings and then select Team-to-team copy.
Click Create new.

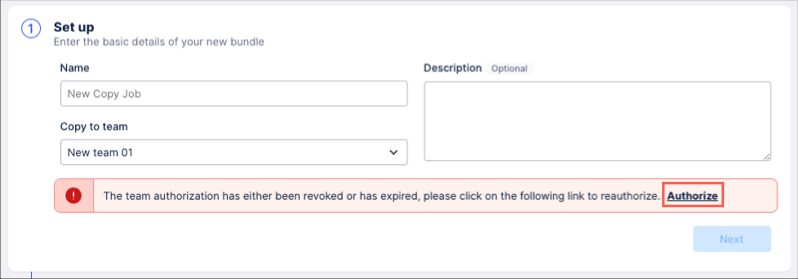
Configure your team target and click Next.
You will be prompted here if your teams still need to be authorized for copying:
Select the packages and data pools you want to copy.
You will be prompted here if any assets you select have missing dependencies. You can attempt to automatically resolve these by clicking Resolve dependencies.
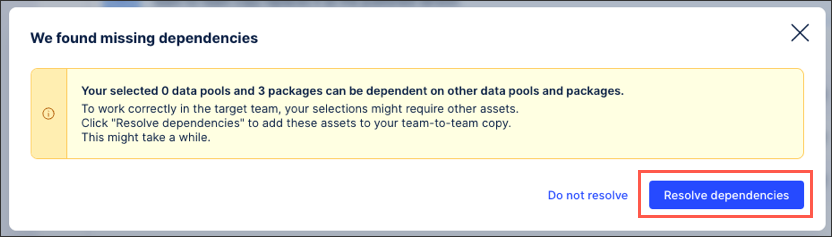
You can also run a dependency check on all selected packages and data pools by clicking Run dependency check.

Once all dependencies have been resolved, click Next.
Check that everything in your team-to-team copy is correct and then click Save and run.
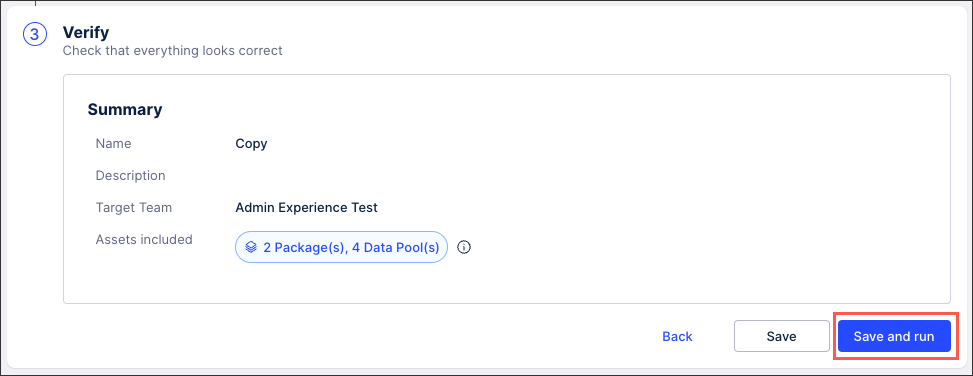
The copy now runs and is displayed on the overview area.
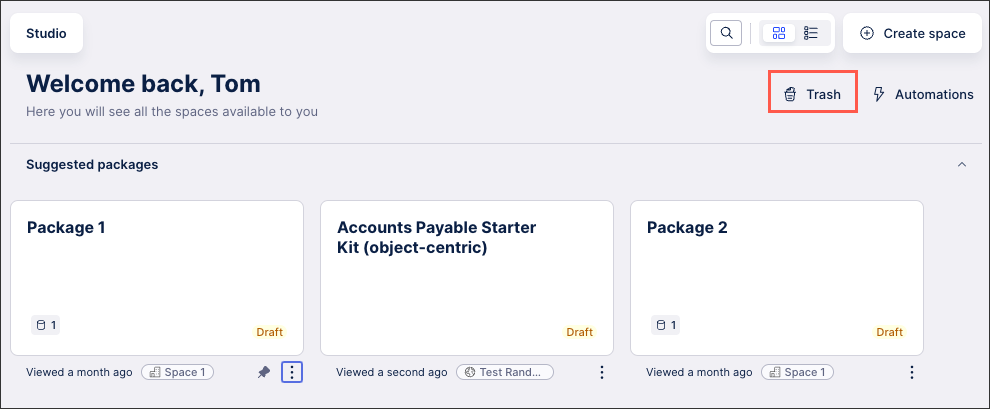
Copy failed due to duplicate IDs
If you've previously copied a package and then deleted the copied package, your team-to-team copy may fail if that deleted asset is still in your Studio Trash. To resolve this, you can either empty your Trash or restore the deleted asset.
To access your trash, click Studio - Trash:
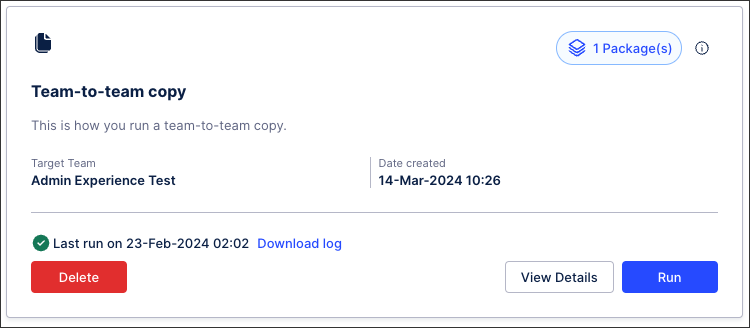
Once created, Team-to-team copy runs are displayed on the overview area. You can manage your existing runs in the following ways:
Copy status: The following status are available: Running (still in progress), successfully finished, failed, and not attempted.
Download log: This log is downloaded as a .csv file and contains full details of the copy attempt.
Run: Manually run the copy based on the last configuration.
View: View and edit existing run details.
Delete: This deletes the run configuration only, with previously copied assets remaining in the target team.
 |
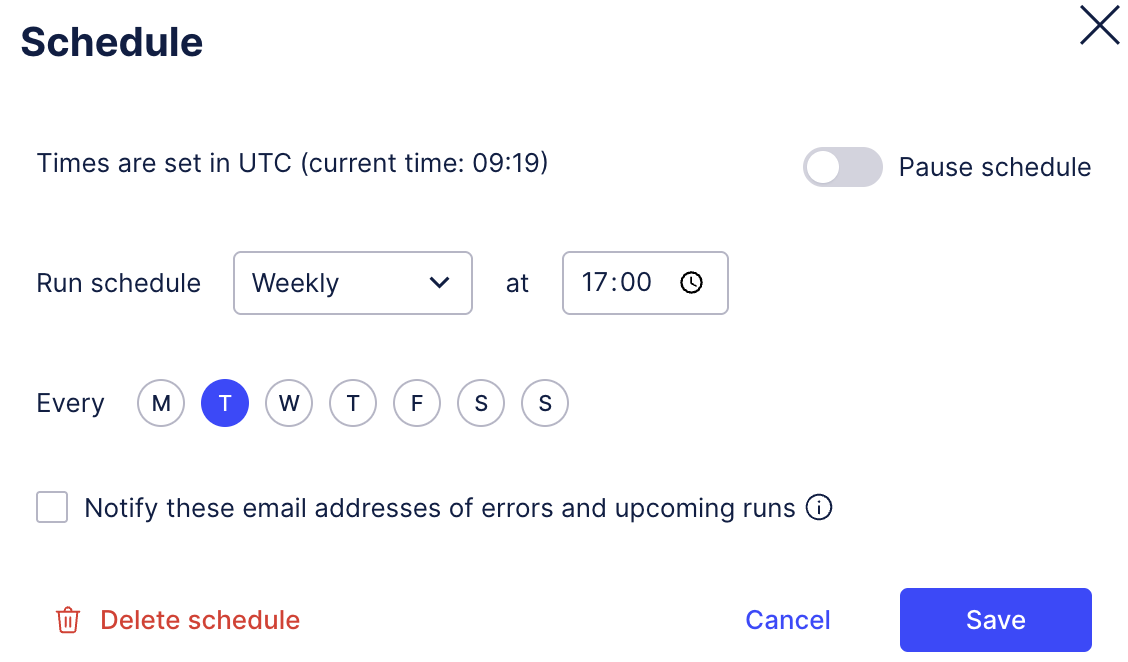
As an admin, you can schedule copying of the configuration using daily, weekly, and monthly schedules. Additionally, you can set users which will be notified every time a new copy job is run or in case any errors occur.
Setting a schedule for the copying job is simple:
Check if the last run of your team-to-team copy job was successful.
On selected configuration copy, click View Details.
Click Set up a schedule.
Set scheduling details and click Save.
To update an existing schedule, edit its details and click Save.
 |