Custom connection via python extractor
Limited Availability
This extractor is currently in limited availability mode and can be added to your Celonis Platform environment by request only.
To request access to this extractor, contact Celonis Support.
Java version
Starting from version 2.116, the python connector will no longer support Java 17. If you're setting up a new connection or upgrading, you should use Java 21 exclusively.
Celonis offers a dedicated python extractor, also known as Celoxtractor, that enables you to connect to your chosen database using a python based connection. This requires you to install an on-premise extractor, allowing you to keep control of your data but still benefit from the full range of data integration features available on the Celonis platform.
For our Github based documentation, see: Celonis.github.io - Celoxtractor
The first step is to set up an on-premise server for your database connection.
For the hardware and system requirements, see: On-Premise - System requirements.
And for the installation guide, see: Setting up.
The next step is to modify your network settings to allow the python extractor to communicate with your database and the Celonis Platform.
Source system | Target system | Port | Protocol | Description |
|---|---|---|---|---|
Python extractor | Database | Depending on the database, typical ports are 5432 for Postgres and 30015 for HANA for example. | TCP | Connection from on-premise extractor server to the database. The port is the one you normally use to connect to the database. |
Python extractor | Celonis Platform | 443 | TCP | HTTPS connection from on-premise extractor server to Celonis cloud endpoint. The IPs of the Celonis Platform depending on the cloud cluster (which can be seen in the URL). |
Celonis Platform IP addresses depending on the cluster
The respective clusters use multiple IPs each, so you need to enable all three of them in your firewall configuration to connect the on-premise extractor server and the cloud endpoint.
For a complete list of inbound and outbound Celonis Platform IP addresses to be allowlisted if needed, see: Allowlisting Celonis domain names, IP addresses, and third-party domains
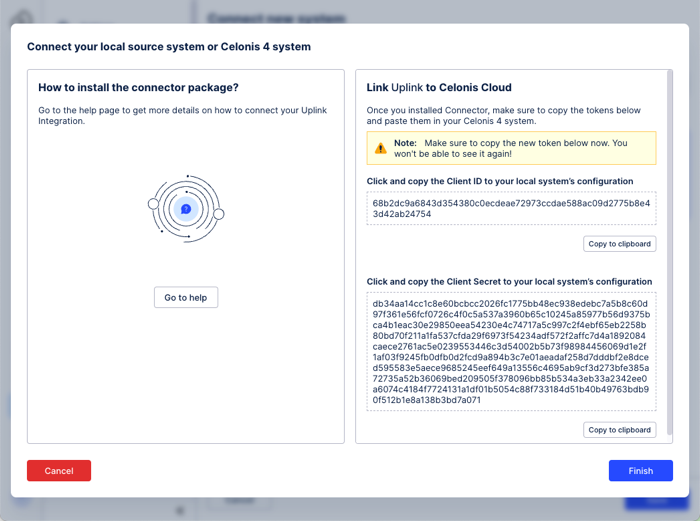
You now need to create the uplink connection in the Celonis Platform, giving you access to the client ID and client secret needed to establish the connection.
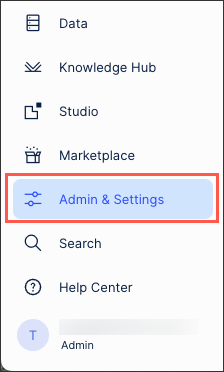
Click Admin & Settings.
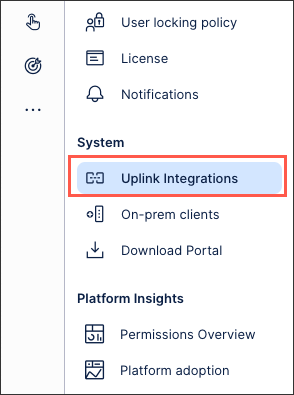
Click Uplink integrations.
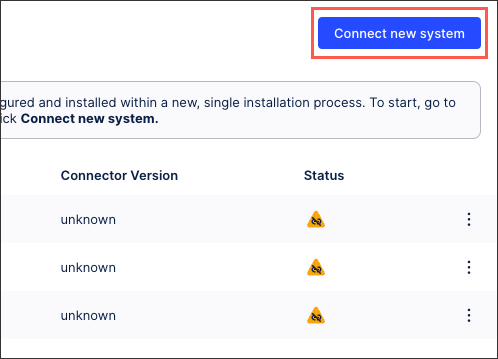
Click Connect new system.
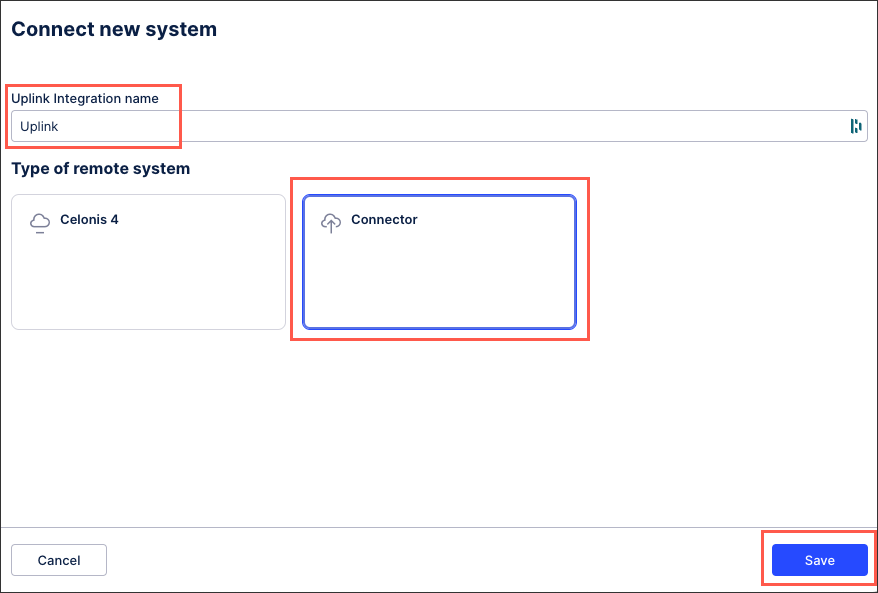
Add a Connector name, select Connector, and then click Save.
Copy the client ID and client secrets displayed.
You now need to download the python extractor for the Celonis Download Portal and modify the application-local.yml file supplied with it.
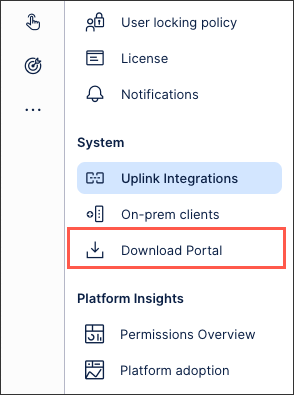
Click Admin & Settings.
Click Download Portal.
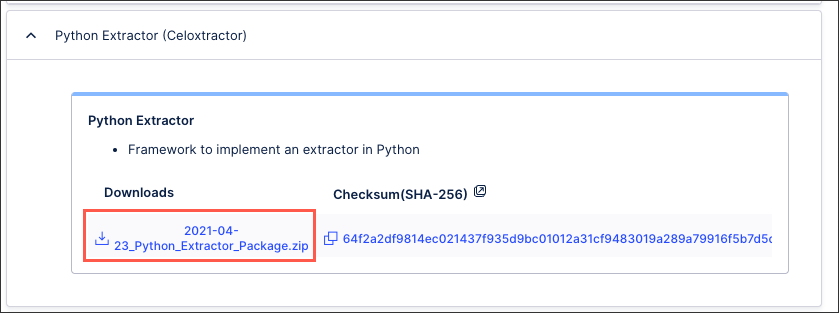
Locate and download the Python Extractor package.
Extract the zipped file and open the application-local.yml file.
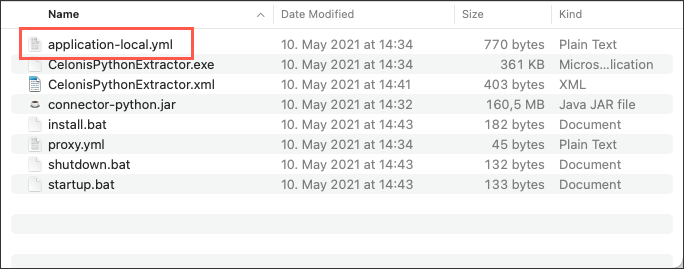
Edit the .yml file based on the following:
url: specify the team name and cluster where you want to use the extracted data.
clientId: insert the client ID of the uplink endpoint that you generated in step 3.
clientSecret: insert the client secret of the uplink endpoint that you generated in step 3.
pythonExecutable: insert the path to your python executable.
fullPath: insert the path to your python extractor's python script.
requirementsFileFullPath: insert the path to a requirements file with required libraries.
className: enter the name of your extractor's class in the Python script.
pipExecutable: Specify the path to the pip executable.
Before running your python extractor, you now need to verify your local version. We recommend the following:
Verifying the installed version of python in your system: To do this, use the following commands:
Linux and Windows:
python --version.
The following python versions are supported: 3.7, 3.8, 3.9, 3.10, and 3.11.
Verifying the existing of the python executable in your system: To do this, use the following commands:
Linux:
which pythonorwhich python3.Windows:
where pythonorwhere python 3.
These commands should show the python executable path. If no path is fine, we recommend installing a suitable python version.
Verifying the existence of the python package installer (PIP) in your system: This is required for the extractor to be able to install the extractor dependency. To do this, use the following commands:
Linux:
piporwhich pip3.Windows:
where piporwhere pip3.
These commands should show the PIP executable path. If no path is fine, we recommend installing a suitable PIP version.
After editing the application-local.yml file, you can now run the python extractor. You have two options here:
Running the extractor in the command line: Start the jar file by opening the terminal/cmd, navigating to the respective folder and running it with the following command:
java -jar connector-python.jar serve
Running the extractor as a service:The major benefit of running the extractor as a service is that it can be automatically started with server reboots. This can be done using both Windows and Linux.
Running the extractor as a Windows service
The extractor package contains four files that enable you to run the extractor as a Windows service:
Celonis<ConnectionType>Extractor.xml: The configuration file of the service. Normally, you do not need to make any changes to this file.
install.bat: The batch file to install the services on the service.
startup.bat: The batch file to start the service manually.
shutdown.bat: The batch file to stop the service manually.
To perform an install, a startup or a shutdown, you need to run the batch file as an administrator. To do that, simply right-click on the respective file and then select "Run as administrator".
Running the extractor as a Linux service
If you wish to start the application on startup of the server, you can use systemd - the standard way to start a Linux service at boot.
For this, you need to create a unit file and put it in the directory /etc/systemd/system/. You can use this example unit file below named celonis_extractor.service:
[Unit]
Description=Celonis Extractor Service.

[Service]
Type=simple
User=root
WorkingDirectory=[path to root folder of installation]
ExecStart=/usr/bin/java -jar connector-sap.jar serve
Restart=on-abort

[Install]
WantedBy=multi-user.target
To enable and start the service execute the following commands
sudo systemctl start celonis_extractor.service: # starts the service
sudo systemctl enable celonis_extractor.service # registers the service so that it is started on boot
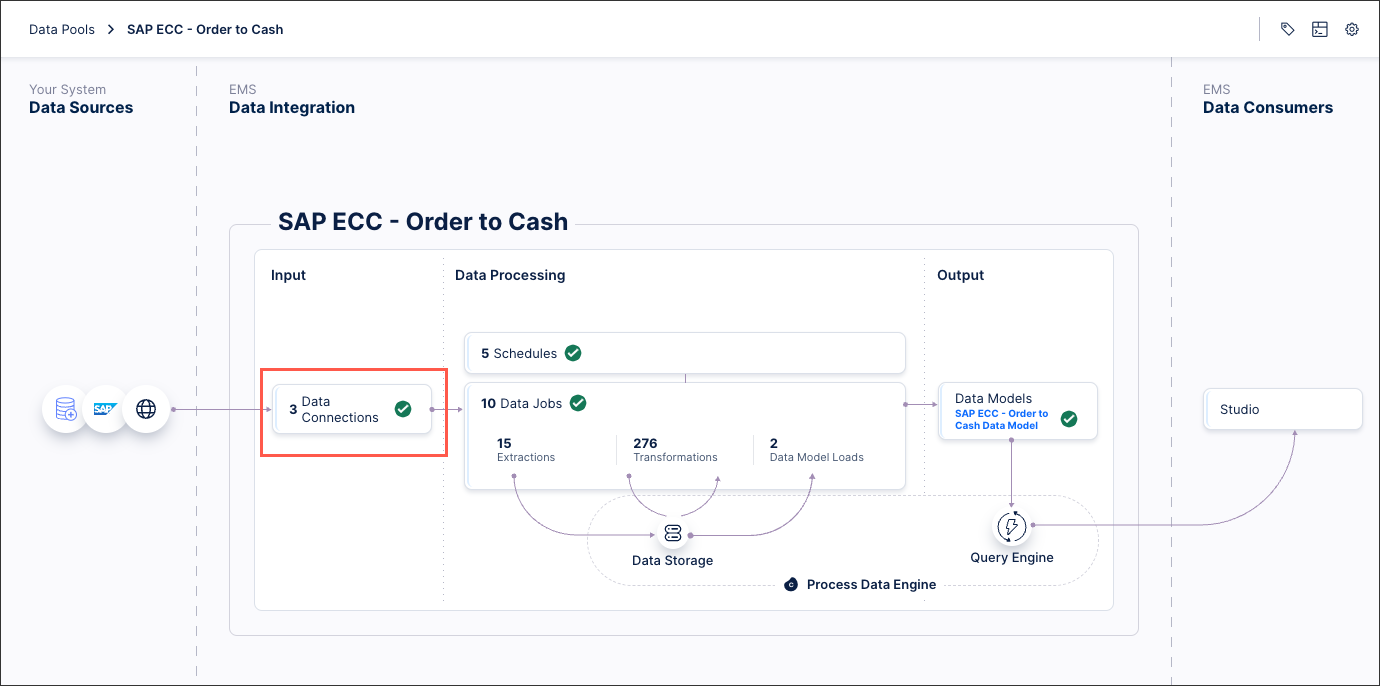
You can now create the data connection in the Celonis Platform from your data pool diagram:
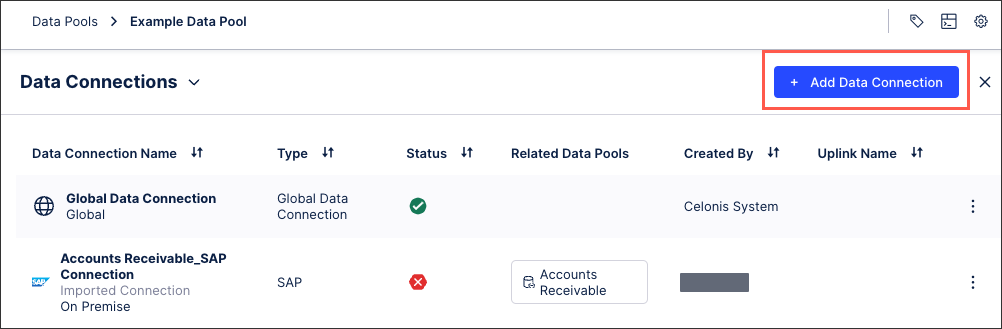
Click Data Connections.
Click Add Data Connection and select Connect to Data Source.
Click On-Premise - Python Connector and select your uplinked integration.
Enter a name and add any parameters you want for your connection.
Click Save.