Setting up a Task Mining project
Important
We're removing support for API keys and moving to industry-standard OAuth authentication across the Celonis Platform. You must take action if you're using version 2.16 or earlier of the Task Mining Client software and/or want to continue using Task Mining projects that were created using version 2.16 or earlier of the Task Mining Client software. No action is required for later versions of the Task Mining Client software. For more information, see Deprecating Task Mining API keys.
Before setting up a Task Mining project
You must have Task Mining CREATE PROJECT permissions.
Note
If you're an admin, you'll automatically have Task Mining CREATE PROJECT permissions. If you're an analyst, CREATE PROJECT permissions will need to be assigned to you. You may also need additional permissions outside Task Mining. For more information, see Task Mining permissions.
Stage 1: Creating a Task Mining project
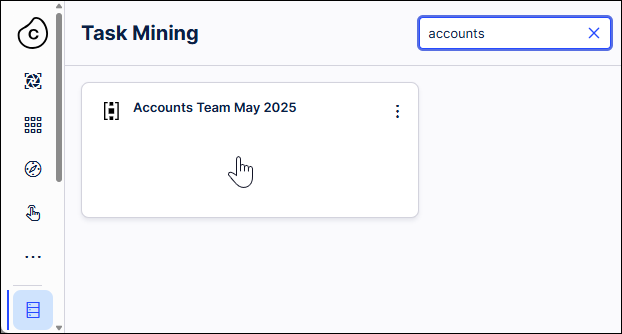
In the Celonis navigation bar, select Data > Task Mining.
Note
If you see a Request Access button, Task Mining hasn't been activated yet for your Celonis team. To get access, an additional licensing fee is payable. Talk to your Celonis account team or contact Support.
Select Create New Project.
The New Project screen appears.
Enter a unique name for your Task Mining project.
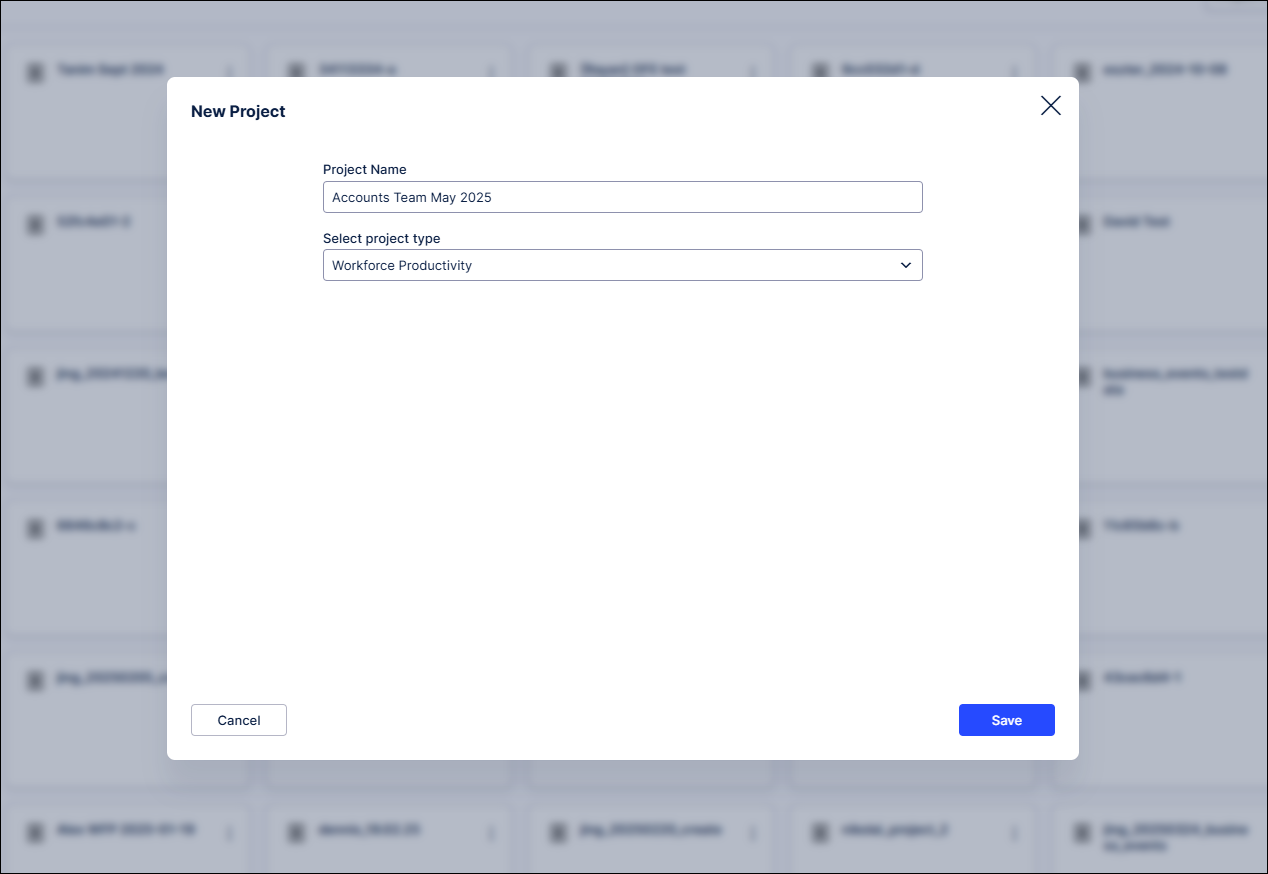
Leave the project type as Workforce Productivity.
Important
The Custom project type has been superseded by the Workforce Productivity project type. Custom projects have limited functionality with Labels, Tasks, Business Events and automated data processing not supported, while integration with Studio is very limited. You should therefore only use Custom projects for legacy projects and with the support of your Celonis contact.
Select Save.
Task Mining sets up the new project and opens the project’s Home page.
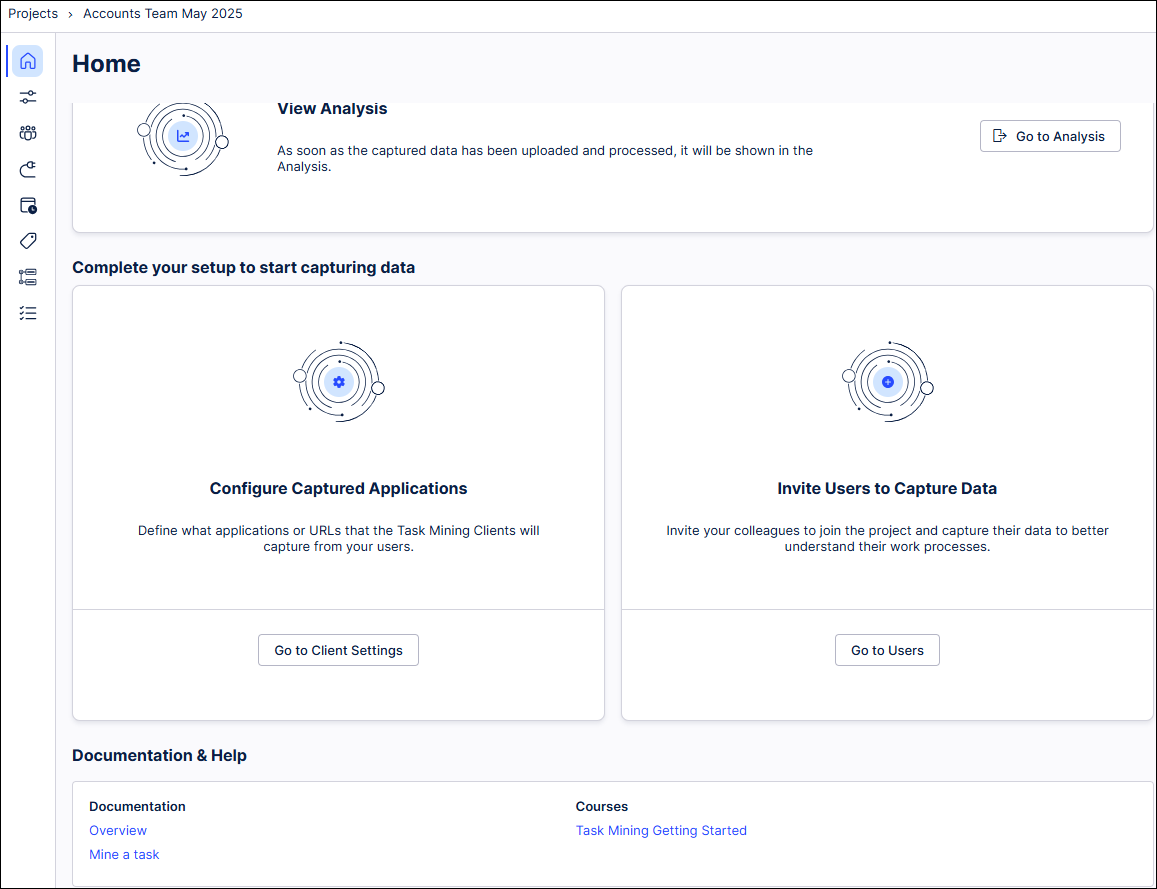
For information about the components that are automatically set up for your project and how to view them, see Task Mining components installed during project set up.
Tip
You can always find your Task Mining project by selecting Data > Task Mining in the Celonis navigation bar. If you have access to multiple Task Mining projects, use the Search field to find your project.
Note
You must have appropriate permissions to access Task Mining components. For more information, see Task Mining permissions.
Component | Accessing the component | Component naming |
|---|---|---|
Background data processing service for your captured data. | In the Task Mining project navigation, select the Run & Schedule button
| -- |
Data Pool and case-centric data model containing default tables for a Task Mining project. | In the Task Mining project navigation, select the Project Connection button or In the Celonis navigation bar, select Data > Data Integration. |
|
Storage bucket for captured screenshots. | In the Task Mining project navigation, select the Project Connection button or Add https://<team>.<cluster>.celonis.cloud/storage-manager/ui/storage |
|
For Task Mining Client versions:
| In the Celonis navigation bar, select Admin & Settings > Applications. |
|
Workforce Productivity app in Studio displays the data captured from user machines by the Task Mining Client software. | On the Home page for your Task Mining project, select Go to Analysis. or In the Celonis navigation bar, select Studio, search for 'workforce productivity' in the Studio overview then select the app package named after your project. Note The Workforce Productivity app package is installed in the Studio default space if it exists. Otherwise, it's installed in the first Studio space Task Mining identifies. If you access the Workforce Productivity app before you’ve captured any data, you’ll see errors in the views. Remove some of these errors by publishing a version of the app using the Publish button in any screen in your Studio space. |
|


Stage 2: Configuring a Task Mining project
Tip
This is where you create the configuration file for your Task Mining project. You can edit or update your configuration file later on if necessary in the Task Mining Configuration Editor.
Open the Client Settings form by selecting:
Go to Client Settings on the Home page of your Task Mining project; or
The Client Settings button
 in the Task Mining project navigation.
The Client Settings form appears.
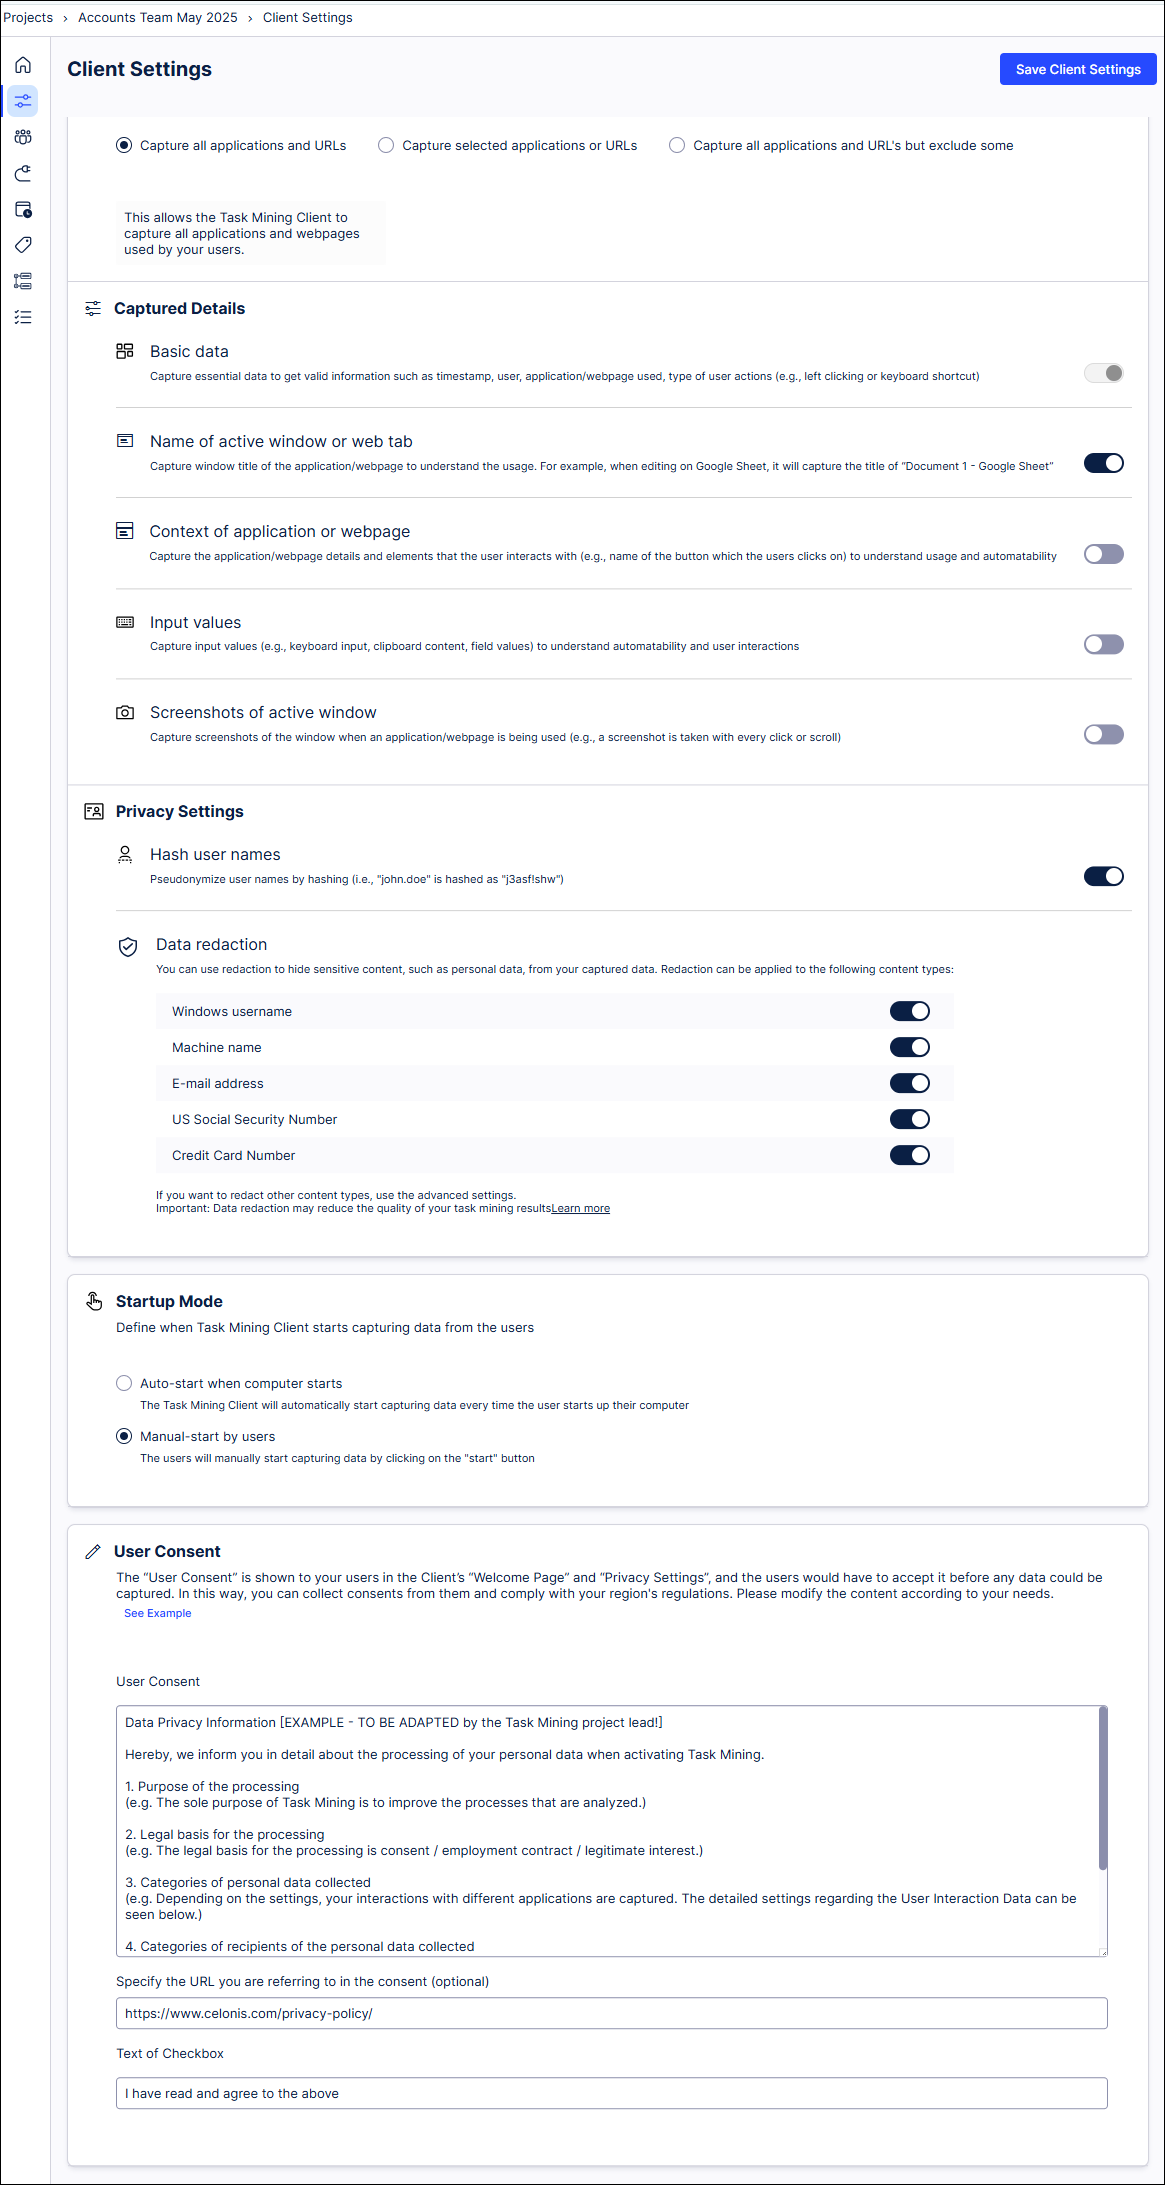
Update the Client Settings form using the information in Task Mining basic client settings.
Notice
We recommend leaving Use basic settings enabled for now. After initial testing, you can enable advanced client settings, if required, and use the Configuration Editor to refine and customize the data that's captured.
Select Save Client Settings.
Section | Options | Sub-option | Description | Default setting |
|---|---|---|---|---|
Captured Applications | Capture all applications and URLs | -- | Captures Task Mining data for all applications and web pages. | On |
Captured Applications | Capture selected applications or URLs | Add Applications | Specifies which applications Task Mining data is captured from.
| Off |
Captured Applications | Capture selected applications or URLs | Add URL(s) | Specifies which websites Task Mining data is captured from.
| Off |
Captured Applications | Capture all applications and URLs but exclude some | Add Applications | Specifies which applications Task Mining data is not captured from.
| Off |
Captured Applications | Capture all applications and URLs but exclude some | Add URL(s) | Specifies which websites Task Mining data is not captured from.
| Off |
Captured Details | Basic data | -- | Captures the basic data required for Task Mining including timestamps and types of user action. Note This is always turned on and cannot be turned off. | On |
Captured Details | Name of active window or web tab | -- | Captures the name of the active window or web browser tab. | On |
Captured Details | Context of application or webpage | -- | Captures contextual information about how the user interacts with the application or page including, for example, buttons selected. | Off |
Captured Details | Input values | -- | Captures values input by the user from, for example, the keyboard or pasted from their clipboard. | Off |
Captured Details | Screenshots of active window | -- | Captures screenshots of active windows. | Off |
Privacy Settings | Hash user names | -- | Pseudonymizes user names in the Task Mining data. | On |
Privacy Settings | Data redaction | Windows username | Redacts the Windows user name from the captured Task Mining data. | On |
Privacy Settings | Data redaction | Machine name | Redacts the Windows machine name from the captured Task Mining data. | On |
Privacy Settings | Data redaction | E-mail address | Redacts email addresses from the captured Task Mining data. | On |
Privacy Settings | Data redaction | US Social Security Number | Redacts US Social Security numbers from the captured Task Mining data. | On |
Privacy Settings | Data redaction | Credit Card Number | Redacts credit card numbers from the captured Task Mining data. | On |
Startup Mode | Auto-start when computer starts | -- | Starts Task Mining automatically when the user’s computer starts. | Off |
Startup Mode | Manual start by users | -- | Activates Task Mining manually when the user wants to start capturing data. | On |
User Consent | User Consent | -- | Consent notice displayed to the user before the Task Mining data capture begins. Important While we’ve provided some guidance about what you might include, you MUST verify the text you include here with your organization’s legal department. | Placeholder text |
User Consent | Specify the URL you are referring to in the consent (optional) | -- | URL where the user can view a webpage containing user consent information. | On |
User Consent | Text of Checkbox | -- | Text displayed when user is asked to accept the user consent information. | Placeholder text |
Stage 3: Testing a Task Mining project
Open the Users & Invite screen by selecting:
Go to Users on the Home page of your Task Mining project; or
The Users & Invite button in the Task Mining project navigation.
The Users & Invite screen opens.
Select Invite Users.
The Users & Invite modal appears.
Select Copy to clipboard.
An invitation link for your project is copied to your clipboard.
Select Done.
Paste the invitation link into an email.
Send the email to a small number of users.
Note
When users follow the invite link, they’ll be prompted to download and install the latest version of the Task Mining Client software (if not already installed) and connect their client to your project. You can use the link yourself if you want to capture test data from your own machine. For information about requirements for running the Task Mining Client software, see Task Mining Desktop Application.
Work with the invited users to capture test data for the applications or use case you’re targeting.
You can view connected users and when they're online in the Users & Invite page of your Task Mining project.
Tip
Users of the Task Mining Client software can’t see or edit your Task Mining project or the results in the Workforce Productivity app unless they’re members of your Celonis team with access to the project or the Workforce Productivity app.
Stage 4: Validating and refining the Task Mining project data
Note
You use the Workforce Productivity app to validate your Task Mining project. before refining your Task Mining project settings, if necessary. in the Configuration Editor. As well as validating the captured data, getting feedback from your user testers on their experience of installing and using the Task Mining Client software can help you decide how to roll out the Task Mining Client software at scale.
Open the Workforce Productivity app by selecting:
Go to Analysis on the Home page of your Task Mining project; or
Studio in the Celonis Navigation bar, searching for 'workforce productivity' in the Studio overview and selecting the app package named after your project.
The Workforce Productivity app opens in Studio.
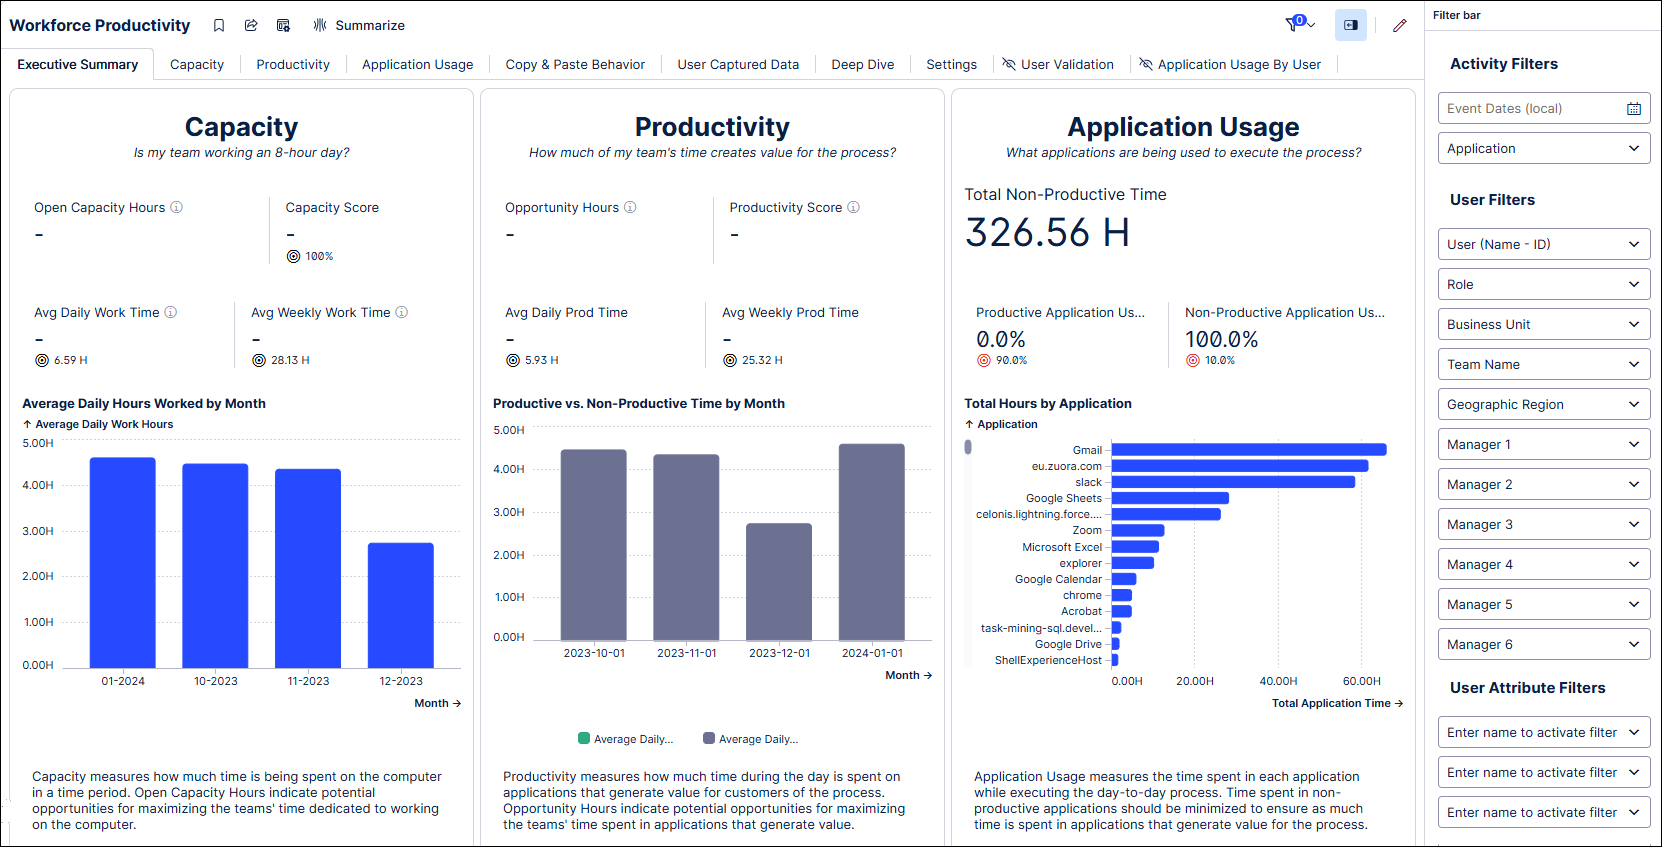
Review the Task Mining data captured in the Workforce Productivity app, selecting different horizontal tabs to view different aspects of your Task Mining data.
Tip
Select the User Captured Data tab to view information about your users.
Refine your project’s settings as required to improve your data capture or the end user experience.
Add filters in the Filter bar to focus on specific aspects of your process.
Go back to the Home page and select Client Settings.
The Client Settings form appears.
Enable the Use advanced settings radio button.
Download the Configuration Editor if prompted to do so.
In the Configuration Editor, make any changes required to your project's settings
Important
We strongly recommend confirming the privacy settings selected and the user consent text with your organization's legal department to ensure they are appropriate for a project in production.
Validate your project’s new settings using more data and user feedback from your user testers and make further refinements as needed.
Stage 5: Rolling out a Task Mining project
Task Mining project rollout options
When your Task Mining project is ready, you can:
Invite more users via the invite link you created in Stage 3: Testing a Task Mining project; if users don't already have the Task Mining Client software installed, they'll be prompted to do so.
Roll out the Task Mining Client software on your users’ machines as an administrator-led process so your IT team can push the software to multiple user machines at once.
Important
The project rollout option you choose will depend on different factors like how many users you want to add to your Task Mining project and how technical your users are. We generally recommend using the centralized admin rollout option if you're rolling the project out to more than a handful of users. For more information, see Centralized admin rollout options.