Quickstart: Extract and transform your data into objects and events
While you can configure your own object-centric data model (OCDM), the quickest way to start modeling objects and events is to use the Celonis provided core processes. These core processes provide you with the object types, event types, relationships, and perspectives for your chosen process. You can then use these assets to view your Process Intelligence Graph and then create content using Celonis Platform features such as Studio.
To use your data for modelling objects and events, you need to create a connection between your data source and the Celonis Platform. The commonly supported connections are:
SAP ECC / Oracle EBS: Celonis supplies prebuilt extractions and transformations for SAP ECC and Oracle EBS systems. These are available by downloading the extraction package from the Celonis Marketplace. For the steps, see: Quickstart for SAP ECC and Oracle EBS.
Other source systems: For other source systems, you can use the supplied extractor or create one with the Extractor Builder. You then import your data tables or upload a sample file, before creating SQL transformations using the editor. For the steps, see: Quickstart for other source systems.
When connecting your SAP ECC or Oracle EBS accounts to the Celonis Platform, follow these steps to start modeling your objects and events:
To start, you need to establish a connection between your source system and the Celonis Platform. Once established, you then need to extract the data that you want to model and then share that data to the object-centric data pool.
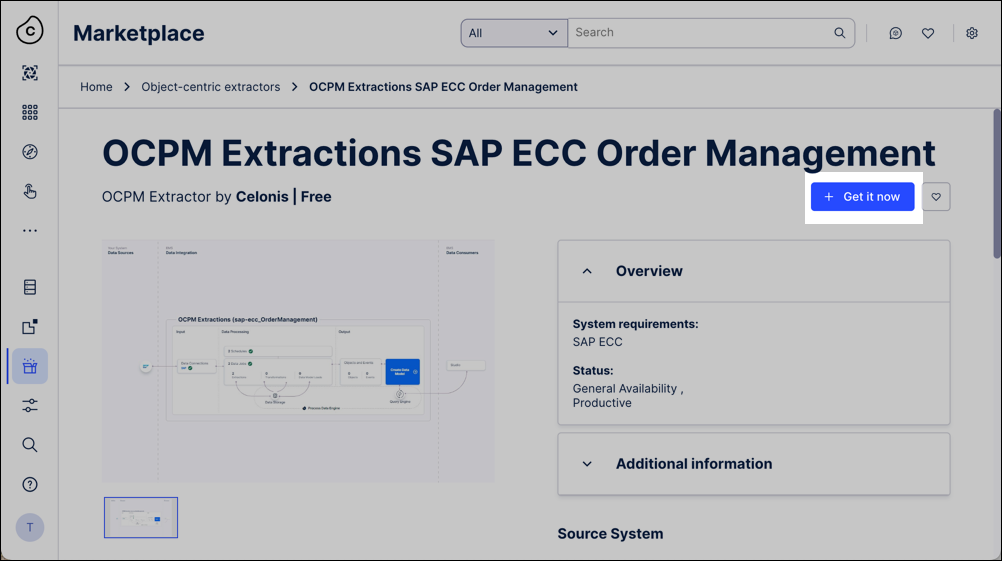
From the Celonis Marketplace, find the object-centric extractor for your system and click Get it now.
For example, the OCPM Extractions SAP ECC Order Management:
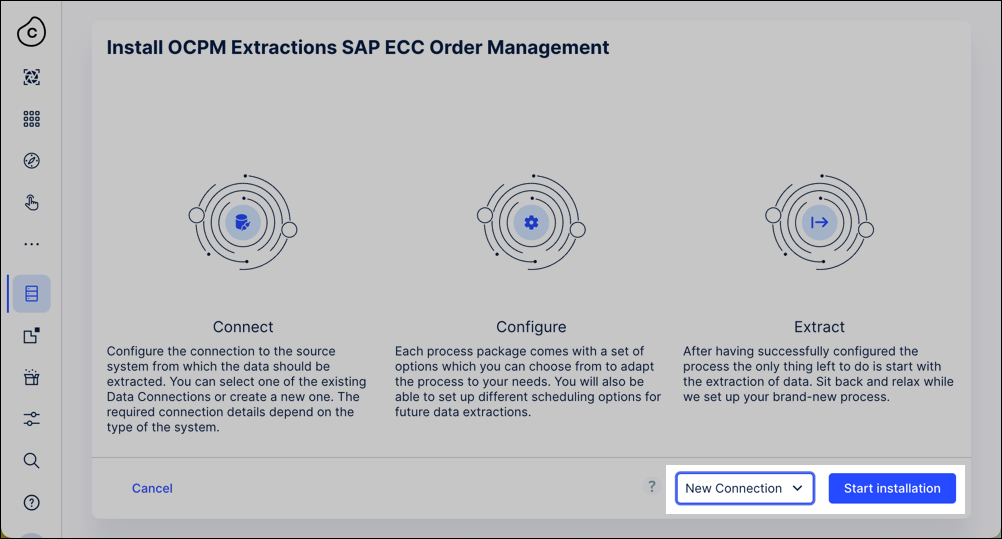
In the install wizard, choose whether you want to install the extractor with or without a Data Connection to the source system, then click Start installation.
With a data connection: The extractor sets up a data pool, connects to the source system, and uses data jobs and schedules to pull the required data from the Celonis catalog. It includes predefined parameters to customize which data to extract for analysis.
Without a data connectIon: The installation creates a data pool from which you need to then configure a data connection.
For SAP ECC, see: SAP ECC and S/4 HANA (on-prem + private cloud).
For Oracle EBS, see: Oracle EBS.
Optional: If your objects and events require additional data from any other source systems, add further data connections to them. You can reuse the data jobs that the extractor supplies.
Run the data jobs to extract your source system data into the extraction data pool.
For more information about data jobs, see: Executing data jobs.
Share the data from the extraction data pool into the the data pool where you’re working with objects and events.
From the main menu, click Data - Objects and Events and then click Dashboards - OCPM Data Pool. When you do this for the first time, the OCPM Data Pool is created in your team.

From the main menu, click Data - Data Integration and select your OCPM data pool.
Now that you have access to an OCPM data pool, you need to enable the core processes that you want to work with. To do this:
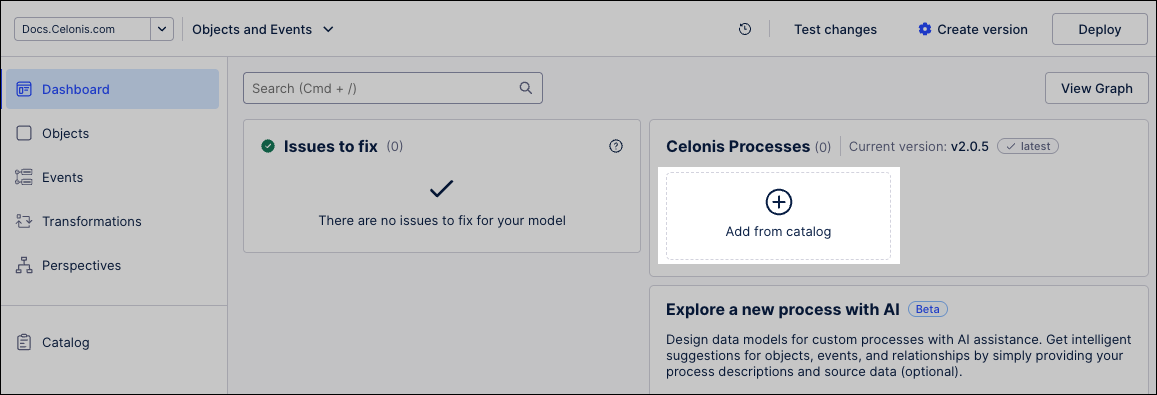
Click Data - Objects and Events and select the data pool you want to use.
Click + Add from catalog.
Click the name of any of the Celonis processes, such as Procurement, and use the Enable process slider to enable it.
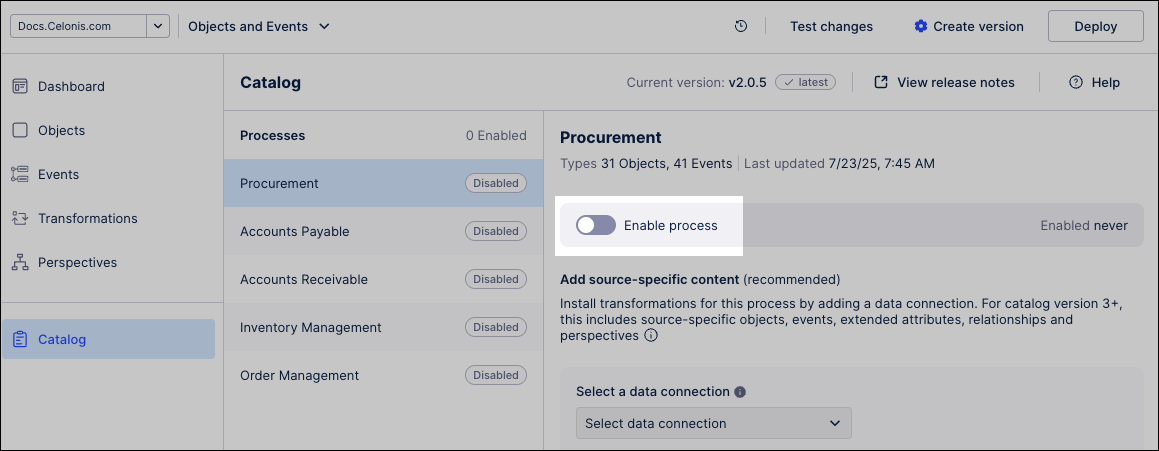
The Celonis object types, event types, relationships, and perspective for that process are enabled.
To add the Celonis transformations, select your data connection from the dropdown and click Add.
For each process, enable either SAP ECC or Oracle EBS transformations—never both on the same connection. If you have multiple source systems, create a separate data connection for each one.
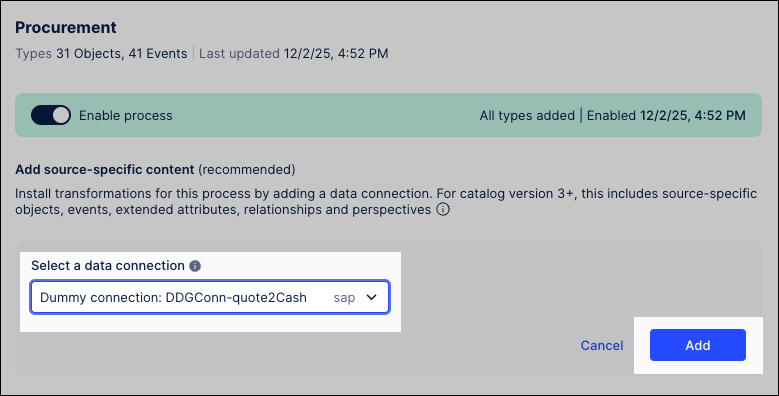
Optional: If your source system lacks some data needed for Celonis objects or events, you can enable Skip missing data to let transformations run despite errors.
Missing columns: Your objects and events will be created with null values in these fields.
Required columns with mismatched data types: These are automatically converted to the expected format.
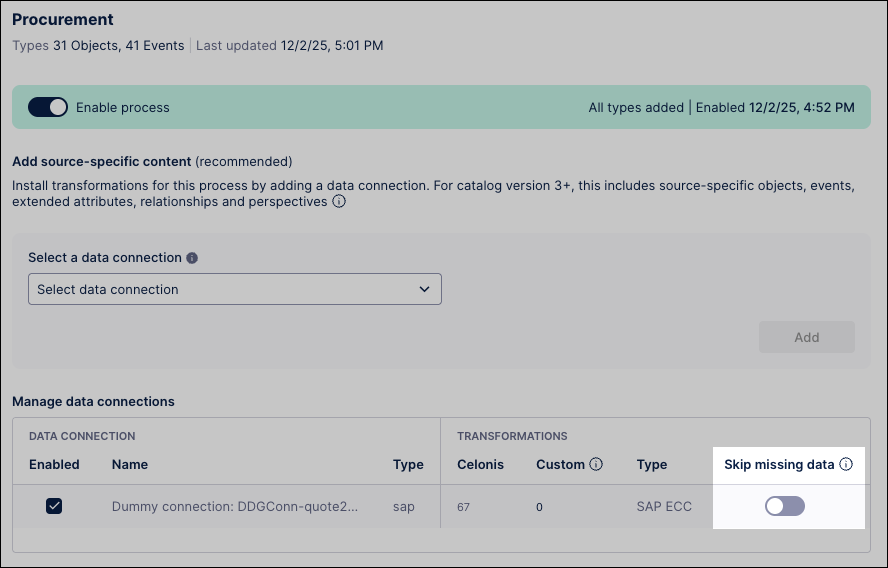
You can now create a version of the data model. To do this, click Data - Objects and Events and then click Create version.
To learn more about creating versions and deploying them to production, see: Versioning and deploying OCDM
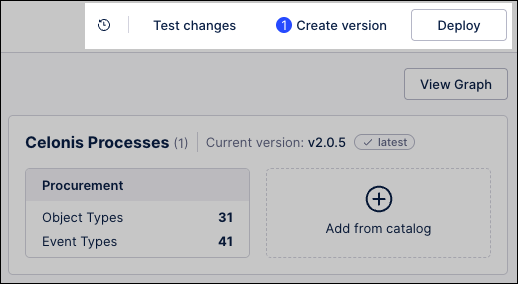
You can now deploy the latest version to production. To do this, click Deploy and then follow the wizard.
The final step is to run your extractions and transformations, which pull raw data from your source systems and convert it into a usable format in the Celonis Platform. To do this:
Click Data - Data Integration and select the object-centric data pool you deployed in the previous steps.
Click Data Jobs, opening the overview of your configured data jobs.
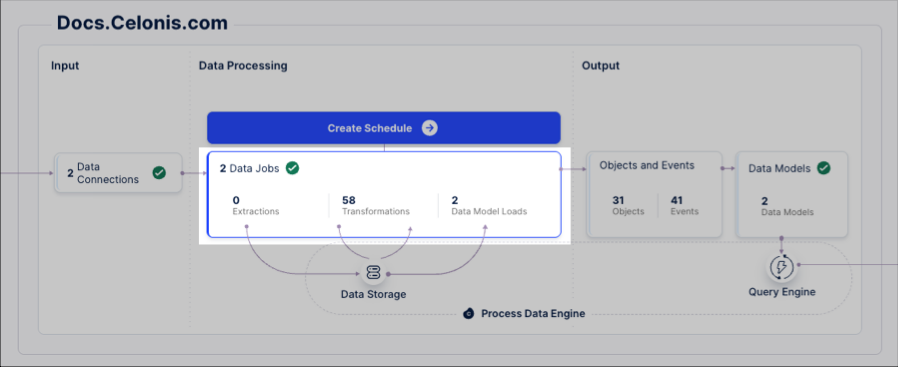
You should have at least two data jobs listed here (your extraction package's data jobs might have different names to the example):
ocpm-data-job: This contains the predefined transformations which can be used for productive uses.
test: ocpm-data-job: This contains transformations which can be used in your development environment and for testing purposes.
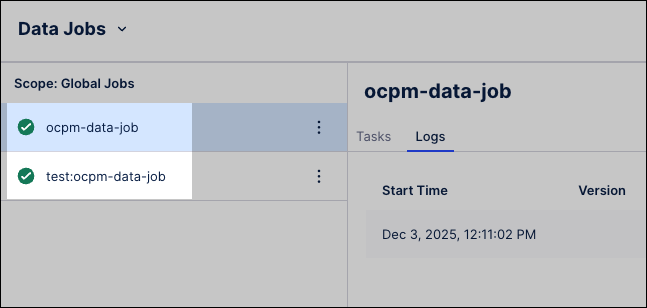
For each of the data jobs listed, click Options - Execute Data Jobs.
If you’re extracting data from more than one source system, you’ll need to repeat this for each source system.
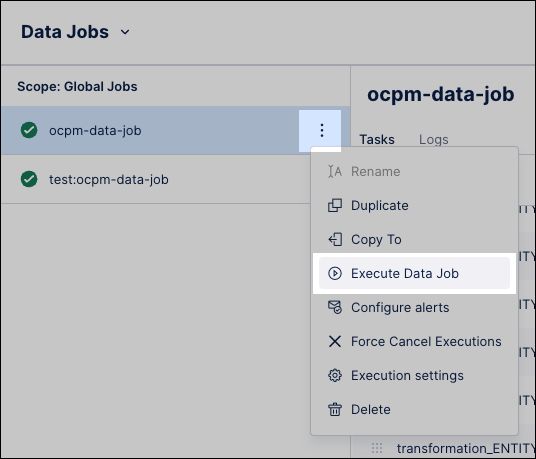
To run the extractions, click Full Load, then Execute Selection.
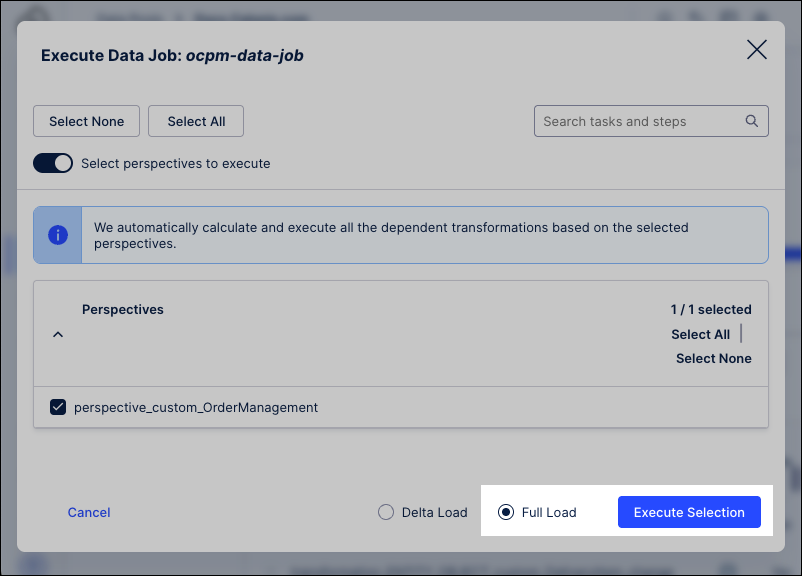
The extractions now run, taking your raw data and transforming it into usable content in the Celonis Platform.
Follow these steps to extract and transform data from a source system that’s not SAP ECC or Oracle EBS.
To start with, you need to create an object-centric process mining data pool. The method you use here depends on how your Celonis Platform data pools are currently configured:
Creating a new data connection: If your data is not currently in the Celonis Platform or you want to create a data connection just for your objects and events, see: Connecting data sources.
Copying data from an existing data pool: If you already have the data in a Celonis Platform data pool, you can copy this into the OCPM data pool. To do this, see: Sharing data between data pools.
Once you've established a connection between your source system and the Celonis Platform, you then need to extract your data from it into the data pool. To do this from your data pool diagram:
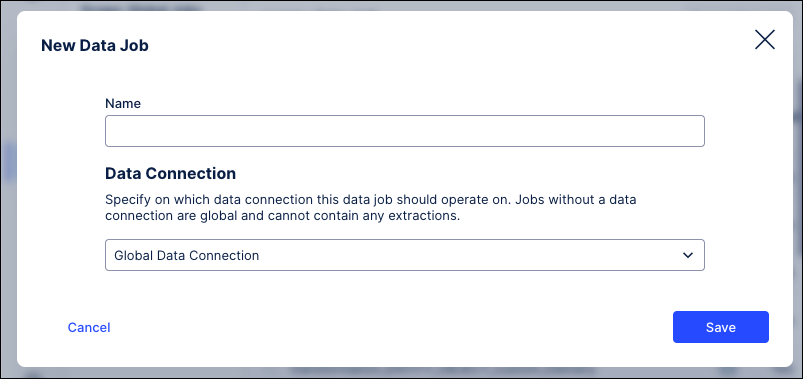
Click Data Jobs and then Add Data Job.
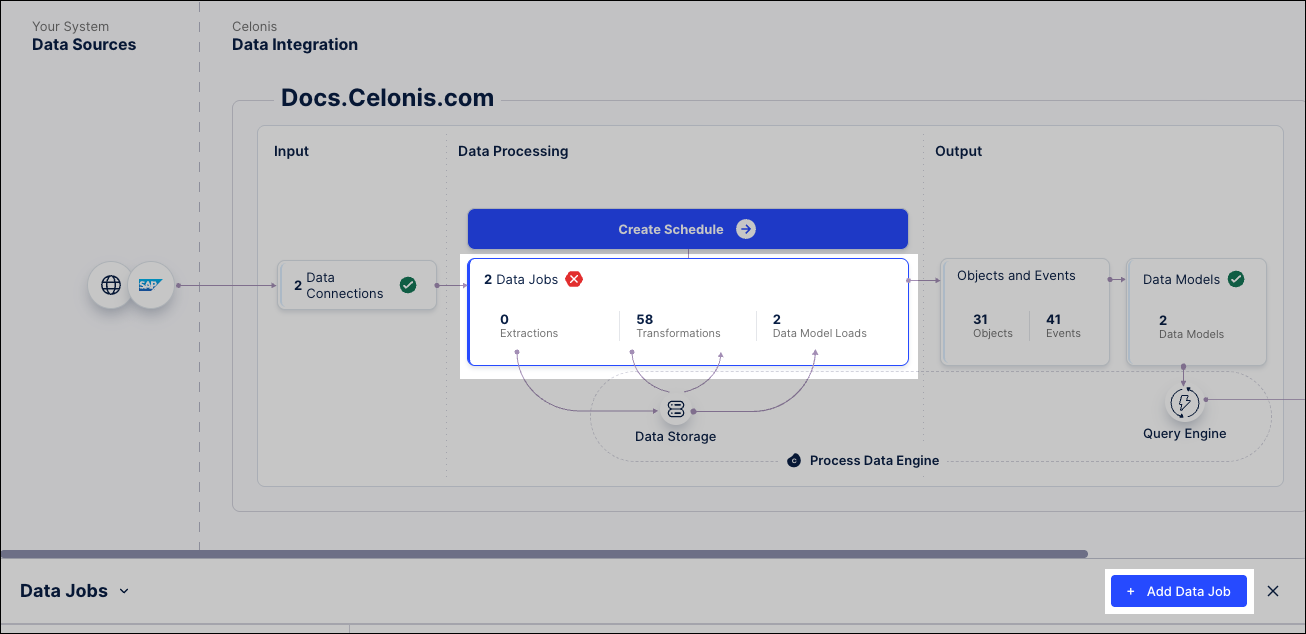
Name the data job and specify your Data Connection.
Select your new data job, and select the Add Tables button to create an extraction task.
Add the tables that you need from your source system via your Data Connection, and configure any options and filters that you need for your data.
Now that you have access to an OCPM data pool, you need to enable the core processes that you want to work with. To do this:
Click Data - Objects and Events and select the OCPM data pool you want to use.
Click + Add from catalog.

Click the name of any of the Celonis processes, such as Procurement, and use the Enable process slider to enable it.

The Celonis object types, event types, relationships, and perspective for that process are enabled.
To add the Celonis transformations, select your data connection from the dropdown and click Add.
For each process, enable either SAP ECC or Oracle EBS transformations—never both on the same connection. If you have multiple source systems, create a separate data connection for each one.

Optional: If your source system lacks some data needed for Celonis objects or events, you can enable Skip missing data to let transformations run despite errors.

You can now create a version of the data model. To do this, click Data - Objects and Events and then click Create version.
To learn more about creating versions and deploying them to production, see: Versioning and deploying OCDM

You can now deploy the latest version to production. To do this, click Deploy and then follow the wizard.
The final step is to create your custom transformations and then run your extractions. This pulls raw data from your source systems and convert it into a usable format in the Celonis Platform. To do this:
Follow the instructions in Creating custom transformations to create your own SQL transformations to map your extracted data to the object-centric data model. You’ll need to do this for the Celonis object types and event types in your selected processes, as well as for any custom types that you create.
Click Data - Data Integration and select the object-centric data pool you deployed in the previous steps.
Click Data Jobs, opening the overview of your configured data jobs.

For each of the data jobs listed, click Options - Execute Data Jobs.
If you’re extracting data from more than one source system, you’ll need to repeat this for each source system.

To run the extractions, click Full Load, then Execute Selection.

The extractions now run, taking your raw data and transforming it into usable content in the Celonis Platform.
Follow the Suggested steps after extracting your data.
Set up a schedule to run your data pipeline regularly. See: Scheduling the execution of data jobs.
When available, apply updates to the object types and event types that you've installed from the Celonis catalog. See: Core process catalog.
Customize and extend the object-centric data model for your business’s specific needs. See: Extending or editing existing objects and events.
Analyze your business processes using the objects and events you’ve built. See: Views.