Using Apps
Apps, which are published versions of Studio Views, provide you with an interactive dashboard to visualize and view your process data. While the content of each App will differ, there are a number of key features you'll commonly find. These features include:
For a video overview of navigating through Apps and using some of their key features:
Depending on the settings applied by the App creator, you may be able to filter your View and its components in a number of ways.
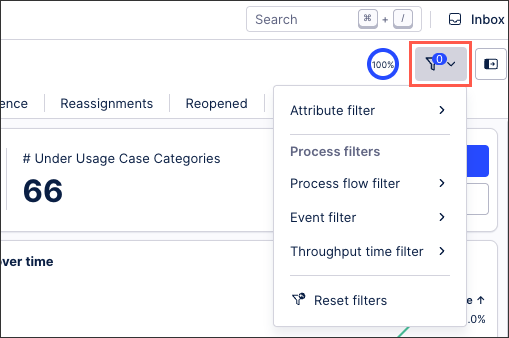
Advanced filters: When enabled, you may have the following advanced filter options:
Attribute filter: This filter allows users to select objects based on specified attributes, like country "Belgium" or start date "February 2, 2015". See: Enabling and using attribute filters
Process flow filter: Select objects where an event is or isn't followed by another, e.g., "Invoice sent" followed by "Invoice canceled". See: Process filters.
Event filter: Select objects based on their flow through specified events, such as objects starting with or including "Create Order".
Throughput time filter: Select objects where the duration between two events is faster/slower than specified, e.g., "Item sent" to "Item received" in under 3 days.
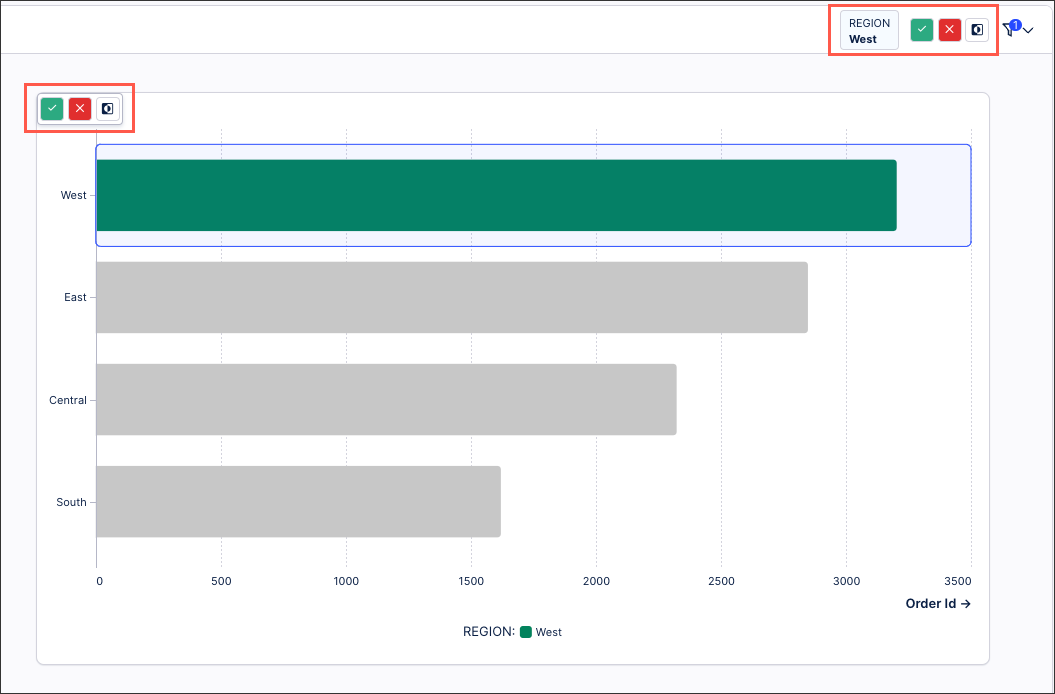
Temporary component filters: When enabled, you can apply temporary filters to App components. In this example, the chart has been configured to allow the user to click a region and filter their View based on that region. In addition to updating the component itself, the filter is then applied to the whole View and a filter chip is added to the toolbar.
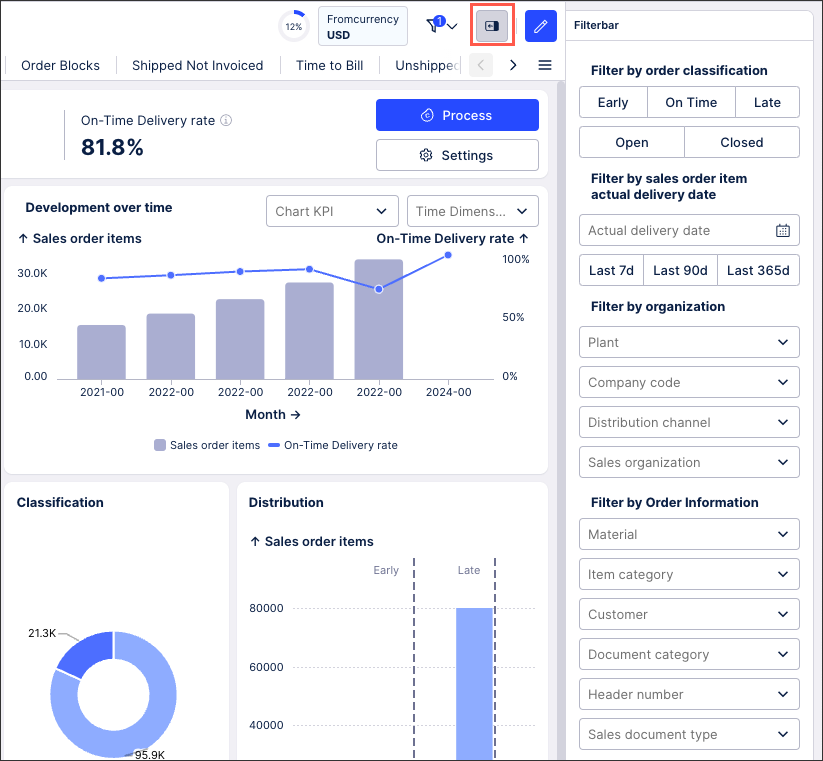
Using a filter bar: When configured, some Apps include a filter bar. This is a collapsible side panel that allows you to apply a number of filters to the App.
As an example, the following View has a filter bar allowing users to filter data based on classification, delivery dates, organizations, and order information:
In addition to applying filters to App components, you can also interact with them in different ways. This includes entering free form text, selecting fields, choosing from dropdowns, and clicking buttons.
With table components, there are a number of added features that can be enabled / disabled by the App creator. They include the following:
Exporting table and charts to CSV / XLSX file: When enabled, you can export the contents of the table to a CSV or XLSX file, giving you offline access to the data.
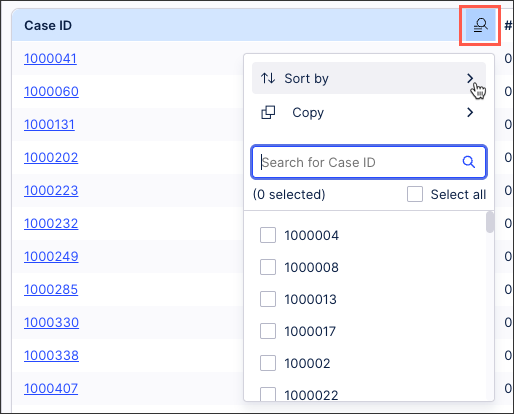
Custom sorting and copying values: Click the sorting icon to sort the table or copy the values from it.
Note
When sorting your table columns, the numbers in the table column dropdowns show the amount of rows in the table that have the listed value within this column.
For example, in this table has 6 references to Aaron Bergman.
Clicking linked values to learn more: When a table entry is blue and underlined, clicking it will open a linked view with more information.
Changing the table breakdown: Some tables have multiple views, allowing you to breakdown the data based on configured categories.
Resetting table to default:You can reset the table to it's default state at any time, removing any applied filters or sorting.

Bookmarks allow you to save your user preferences (including filters, selections, component states) of a View and share them with your team. Bookmarks can be created and viewed in both Studio and Apps, depending on your permissions. Bookmarks are deleted automatically after 180 days if they are not used or if the associated assets or spaces are deleted.
To create and view bookmarks, click the bookmark icon:
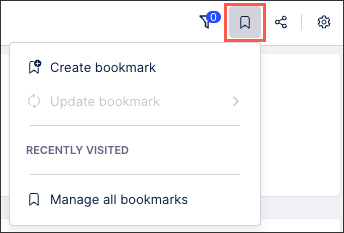
In this example, the App has two bookmarks, each with their own filters set. This animated image shows what happens when the user clicks from bookmark 1 to bookmark 2:
If you'd like to know more about bookmarks, head to: Bookmarks.
Depending on the user permissions for the App, you can both share a link to the App or export the View as a PDF using the Share or export View button:
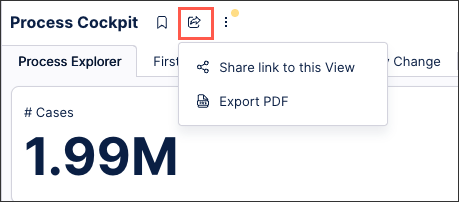
Share link to this View: This gives you access to a direct link to the view, accessible to anyone who has the correct user permissions for the Celonis Platform team that the App is published in.
Export PDF: You can manually export your Studio Views as a PDF, giving you shareable versions of the data outside of the Celonis Platform. This includes the ability to select multiple tabs, include page numbers, and choose the scale and orientation of your PDF.
As an example, this Process Cockpit app can be exported as a PDF:

To learn more about exporting Views, including examples of the different PDF settings, see: Exporting Views.
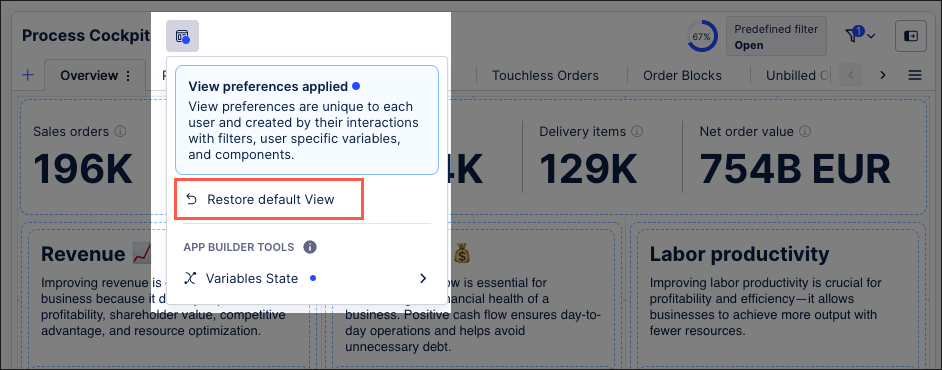
When working with an App, a number of the sorting, filtering, and component interactions are stored for you. These preferences are then loaded the next time you open the App.
You can restore the app to it's default state at any time, removing all user preferences, by clicking Restore default View:
If the contents of the App you're viewing has been translated into different languages, you can switch between them using the Translations dropdown.
In this example, the App is available in Dutch, English, German, and French:

If you want to know more about translating Studio Views and Apps, see: Languages / translations.