Getting started with the machine learning workbench
Build, schedule, and manage custom Python-based machine learning models in a fully hosted Jupyter environment integrated with your Celonis data.
When getting started with machine learning, we recommend the following topics:
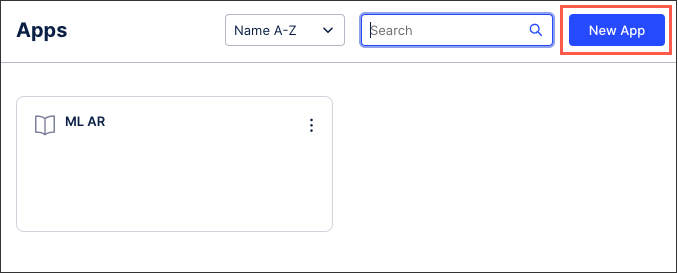
Creating and managing machine learning applications
To access the machine learning Python interface, you must first create a machine learning application. This application can then be assigned permissions and allocated resources such as CPU, memory, and storage.
For more information, see Creating and managing applications.
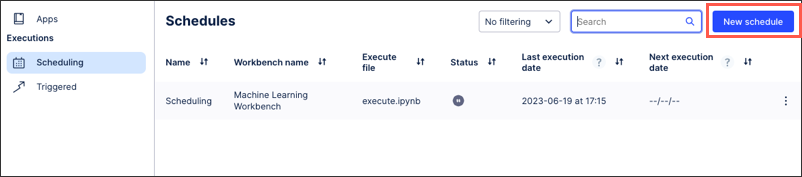
Scheduling machine learning notebooks
Machine learning notebooks can be executed on a recurring schedule within the Celonis Platform. By scheduling your notebooks you can control when they execute, determine the length of the timeouts, and set the maximum number of retries allowed.
For more information, see Scheduling notebooks.
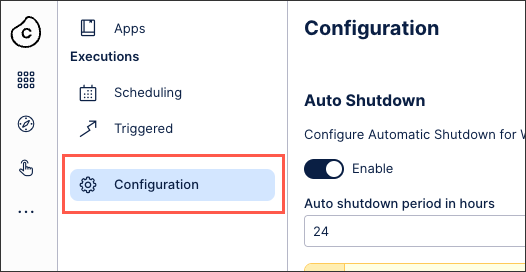
Managing machine learning resources and consumption
Active machine learning workbenches and the notebooks they contain consume resources, CPU, data storage, and most notably memory. These resources count towards your allocated Celonis Platform team resources, so attention must be paid to how much your existing machine learning workbenches are consuming.
For more information, see Managing resources and consumption.
Best practices for machine learning
To optimize your machine learning configurations, see Best practices.