Task Discovery
Limited availability
This functionality is currently in limited availability. If you’re interested in trying it out, get in touch with us through the Support Portal.
Using the Task Discovery feature, you can now add tasks to your Task Mining data. By creating and capturing tasks (in addition to per day data), you're able to view detailed measurements of task frequency, task duration, and the steps involved in a task.
To capture task data, you need to create and define tasks in the Celonis Platform. This involves defining the task instance start and end events:
Start event: Define at which event one instance of this task starts, e.g. when a user clicks on 'Create Opportunity' in Salesforce.
End event: Define at which event one instance of this task ends, e.g. when a user clicks on 'Save Opportunity' in Salesforce.
Creating and defining tasks
To create and define Task Mining tasks in the Celonis Platform:
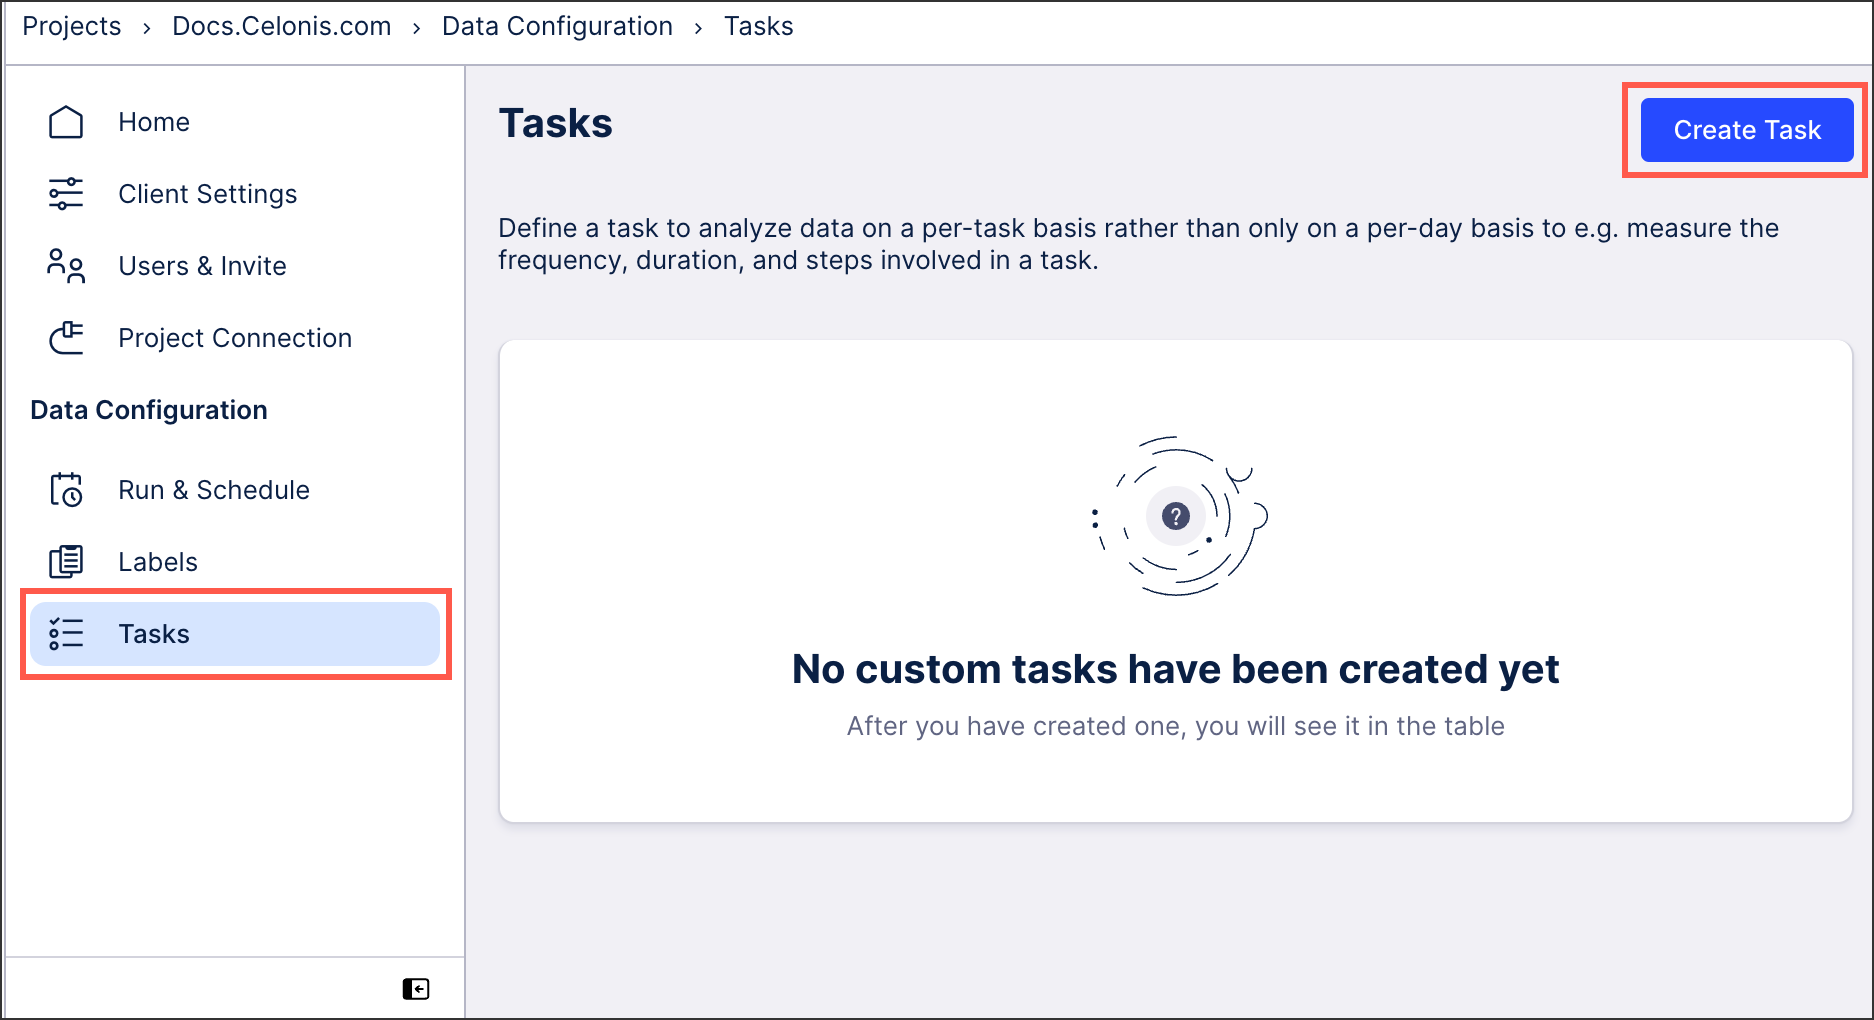
Click Data - Task Mining and open the project you want to create tasks for.
Click Tasks and then click Create Task.
Add a task Name and Description, helping you to identify and reference the task internally.
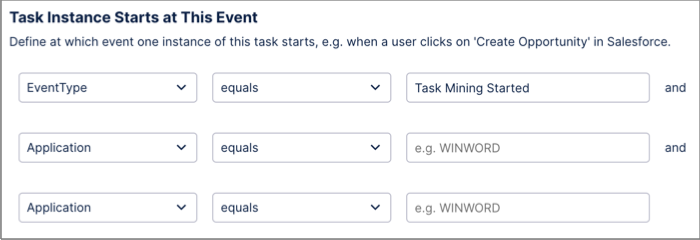
Configure at least one Task Instance Starts at This Event line (with a maximum of three start conditions possible).
In this basic example, the task starts when the task mining starts (using an EventType equals condition):
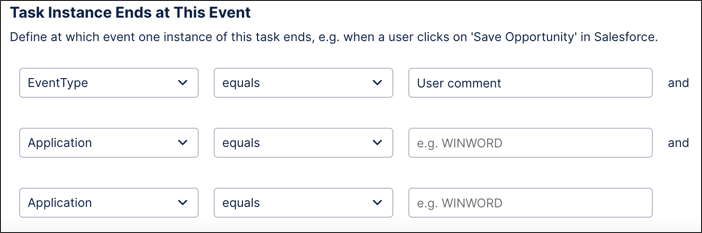
Configure at least one Task Instance Ends at This Event line (with a maximum of three end conditions possible).
In this basic example, the task ends with a user comment (using an EventType equals condition):
Click Save.
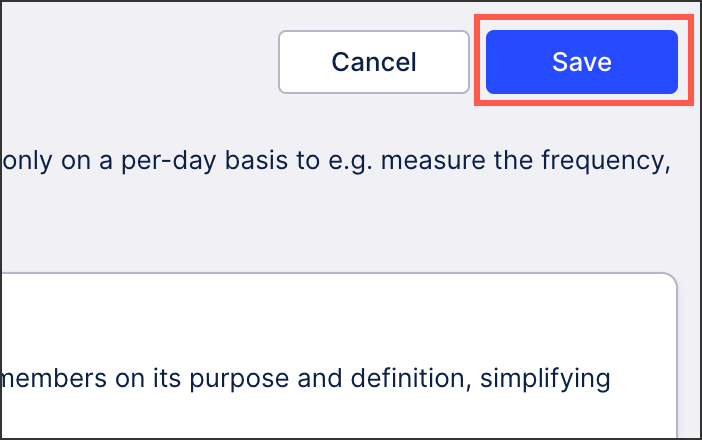
The task is now saved to your project and can be captured the next time you manually run your Task Mining project or a scheduled run is performed.
You can edit or delete this task at any time by returning to your Task overview screen and clicking the Options icon:
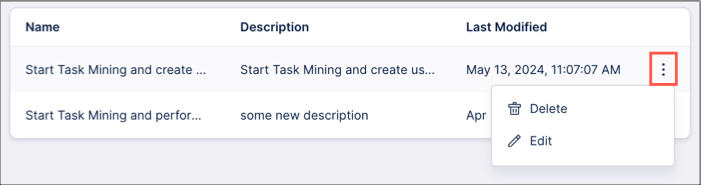 |
Capturing task data
After creating a task in your project, the task data is captured by either manually running your data configuration or the next time a scheduled run executes.
To view this information, click Run & Schedule:
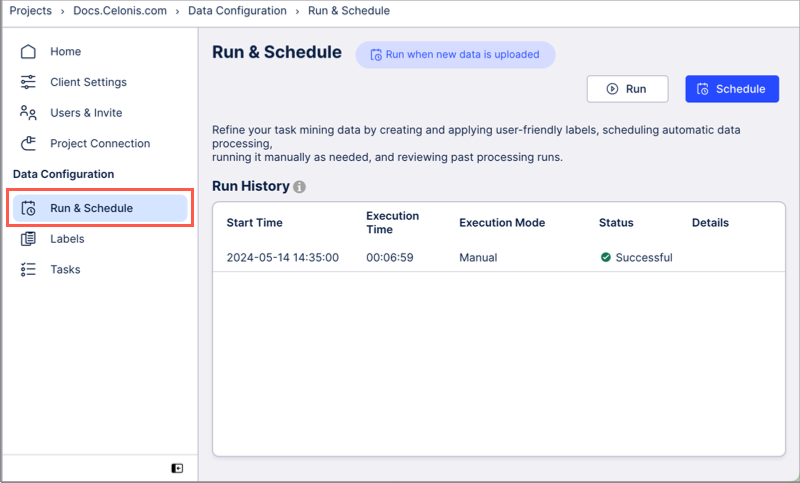 |
In addition to viewing your Run History, you can then click Run or Schedule:
Run: This manually runs the data configuration, with a status displayed.
Schedule: You can set the schedule in the following ways:
Run when new data is uploaded: The Data Configuration runs every time the Task Mining Client uploaded new data. There are delays of up to 20 minutes between the Client showing “uploaded” and the start of the run.
Run by schedule: The Data Configuration regularly runs at a user-defined point, e.g. every hour, every night at 3pm, every sunday etc.
Run manually: The Data Configuration runs manually only by clicking the Run button.
Using task data in Studio Views and Analysis
You can use the task data you've captured to create Studio Views or Analysis, allowing you to visualize the results.
To view your Analysis, click Home and then Go to Analysis:
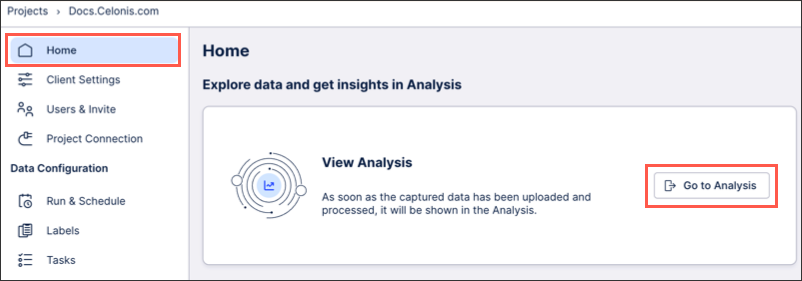 |
In this example, an Analysis has been created using the task data to visualize Workforce Productivity:
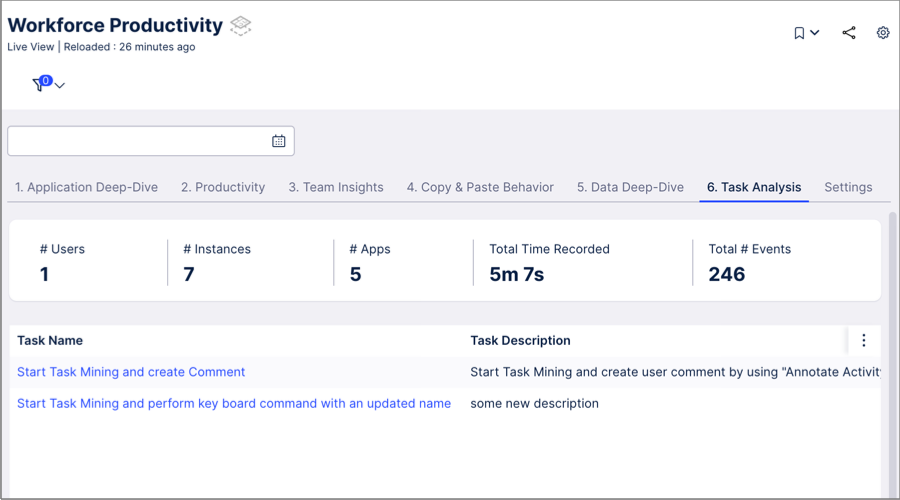 |
A linked view has then been configured, opening the task Analysis:
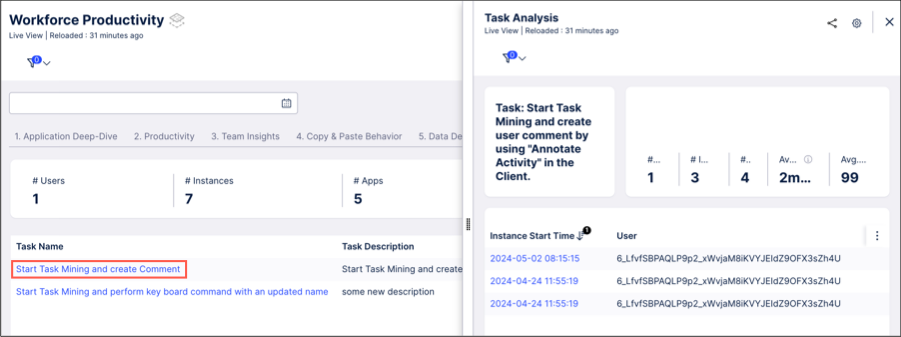 |