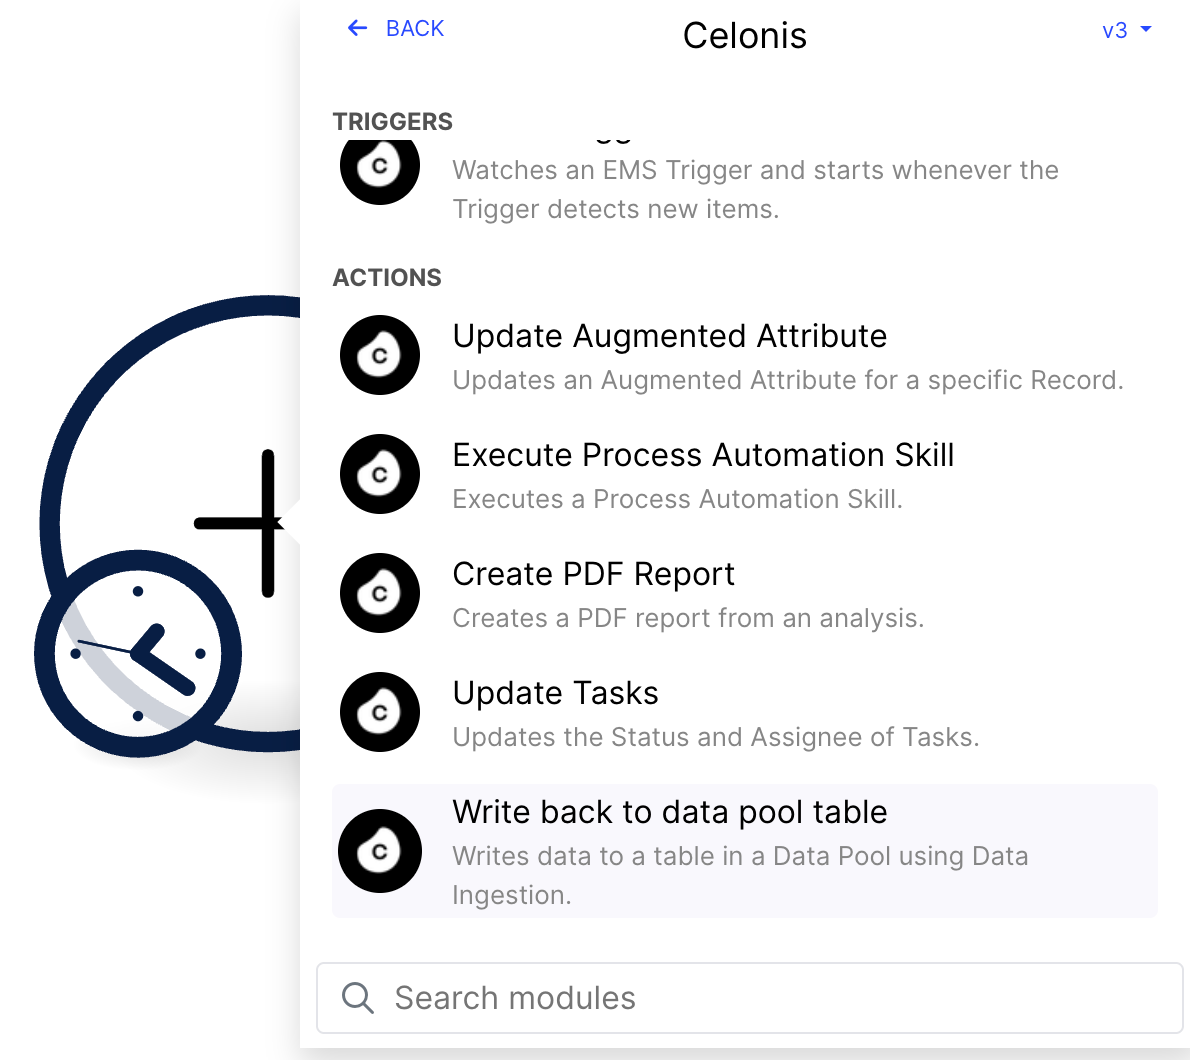
Write back to Data Pool table module Action Flow
The Write to Data Pool module provides a dynamic way to capture and store your actions in Data Pool tables. This real-time data capture allows you to gain valuable insights into system operations, enhancing your ability to track value. This data can be viewed later in the Transformations details of your Data Pool.
Limited availability
This functionality is currently in limited availability as it relies on data ingestion API. If you’re interested in trying it out, get in touch with us at Celopeers to enable data ingestion API.
To configure the Write to Data Pool module:
In Studio, go to your package and click New asset > Action Flow.
Click Add module and from the list select Celonis > Write back to data pool table.

Add a connection to the module using one of the following methods:
Celonis Application Key
The Celonis App Key connection will reflect the data permissions granted to the selected Application Key and allow you to query data to which you may not otherwise have access.
Give your connection a name.
In a separate window, create an application key and copy it. See Application keys.
Paste the application key and click Save.
Celonis user
The Celonis User connection will reflect your existing data permissions and allow you to query data to which you already have access.
Note
You must have Data integration service permission to use this connection method. See Data Integration permissions.
Give your connection a name.
Click Save.
Choose the Data selection method for the following fields:
Enter manually - enter values manually or using Action Flow variables.
Select from the list - choose values from the dropdown list.
Select the Data Pool.
You can only select from Data Pools to which you have access.
Select Data connection.
This Action Flow module allows you to select only from Data Connections of the “Push data into Celonis” type, which we refer to as Data ingestion connections here. If there are no Data connections of this type on your list, you must create one first. You can do it directly from the Data ingestion connection dropdown by clicking + New connection. See Using the Standard Data Ingestion API.
Tip
In the case of the manual data selection method, if you type in the name of the connection that doesn’t exist yet, we will create one for you.
Select a table in which you want to save data from Action Flow.
Select an existing table from the list.
Create a new table.
Select your data source:
Manually map table columns
Use this option to populate columns in your data table with fixed values you enter manually or using Action Flow variables. You can enter values for existing columns in your selected table or add new columns if needed. You can also select individual columns for Primary Key.
Manually map table columns from CSV
Use this option to upload data from a CSV format into Celonis Platform. This option can be particularly useful for importing bulk data.
Select the module from which you want to import the aggregated data in the CSV format.
Select delimiter type.
Select if your CSV contains headers in the first row.
The first row will be skipped if the CSV file contains headers. This option is set to Yes by default.
Enter values for existing table columns.
You can enter values for columns manually or use variables from the Action Flow. You can also define if a given column is part of Primary Key.
(optional) Click Add item to add new columns to the table.
You can provide values for individual columns manually or use variables from the Action Flow.
(optional) Toggle Advanced settings for the following additional configuration settings:
Quote sequence
Espace sequence
Data format
Date time format
Automatically map table columns from CSV
Use this option to upload data from a CSV format into Celonis Platform. In this method, your tables and columns are created automatically based on your CSV files.
Important
For automatic mapping to be successful, your CSV file must contain headers.
Select the module from which you want to import the aggregated data in the CSV format.
Select delimiter type.
Viewing data in Data Pool
Run your module to upload your data to Celonis Platform. You can view the uploaded data in the Data Integration area of Celonis Platform. To do so, go to Data > Data Integration. Go to the Data Pool you referred to in your Action Flow module and click Tranformations. Select Transformation for your Data Pool to see the newly created table.