Create AI Prompt (Celonis AI Integration)
The Create AI Prompt Action Flow module provides a simple way for users to build powerful AI-driven use cases within Action Flows. This is made possible through its full integration with the Celonis Large Language Models (LLM) infrastructure. With just a few clicks, you can begin developing these solutions without needing to provide your own API keys, as consumption is fully tracked against a centralized AI output budget.
Make sure you have enabled AI Services in your Celonis Platform. See Enable AI Services.
Note
Running the Create AI Prompt module contributes to the consumption of your AI outputs. You can monitor your AI consumption details under Admin & Settings > AI Settings.
In Studio, go to your package and either start editing an existing Action Flow or start a new one by clicking New asset > Action Flow.
Click Add module and from the list select Celonis > Create AI Prompt (Celonis AI Integration).
Click Create a connection.
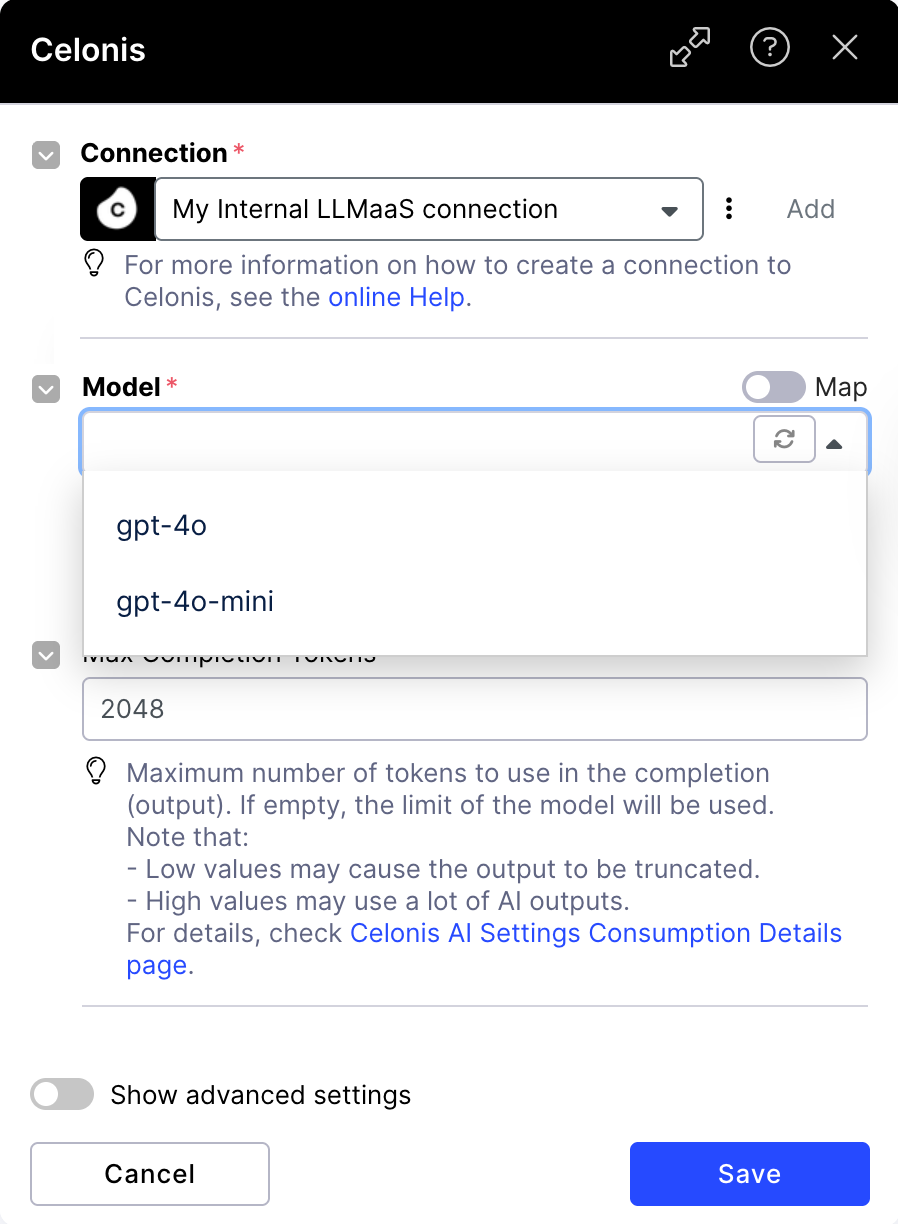
From the dropdown, select the AI model you want to use for creating your prompts.
The list of AI models you see here is determined by the models defined in the AI settings section within Admins and Settings. See AI settings.
In the message section, type in your AI prompt:
From the Role dropdown, select your role.
Roles help AI models select a level of priority to give to messages. In most cases, we recommend using the “user” role.
Type in your prompt.
(optional) Add images to enrich your prompt. You can insert the URL of an image on the web or upload your own image.
Tip
If you want to use use base64 encoded path to images:
change the image input type to Image File,
strip your base64 image string of everything that comes before the comma. For example:
change the following
data:image/png;base64,iVBORw0KGgoAAAANSUhEUgAAAA...into:
iVBORw0KGgoAAAANSUhEUgAAAA
use the
toBinaryfunction to translate your image string into text, for exampletoBinary( iVBORw0KGgoAAAANSUhEUgAA... ; base64 )
(optional) Select image quality: low/ high/ auto.
Set the maximum number of tokens to be used in your AI output.
Important
Low values may cause the output to be truncated. High values may consume a lot of AI outputs.
Save your changes.
Once you’re done with configuring your automation, publish and activate the Action Flow. You can now run your Action Flow.