Scheduling the execution of data jobs
Schedules are used to automatically execute data jobs on a predefined basis, allowing you to control the day, time of day, and repetition of your executions.
By default, schedules run sequentially, meaning that they attempt to successfully execute each task before moving on to the next. If a task fails to execute, all remaining tasks are canceled.
When scheduling your data jobs, you have two options:
Frequency based scheduling: This allows you to manually define when your data jobs are executed based on day, time of day, and repetition of the execution. See: Creating frequency based scheduling of data jobs.
Trigger based scheduling: Using trigger based scheduling of your data jobs, the successful execution of one schedule of data jobs automatically triggers another schedule to run. See: Configuring trigger based scheduling of data jobs.
This allows you to manually define when your data jobs are executed based on day, time of day, and repetition of the execution.
To create a standard schedule for your data jobs from your data pool diagram:
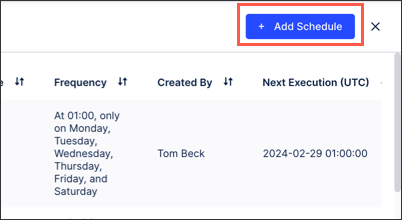
Click Schedules.

Click Add Schedule, add a schedule name, and then click Create.
Configure your schedule using the following options:
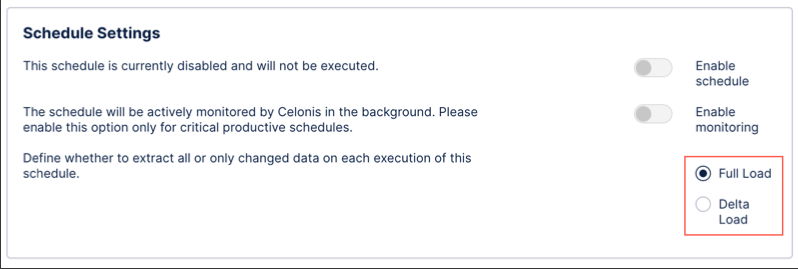
Schedule Setting - Load type: Select from full or delta loads.
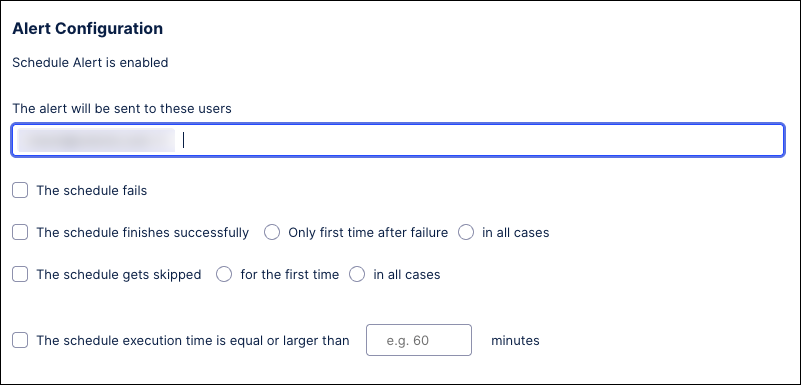
Schedule alert configuration: Configure email alerts for your schedule, with the ability to send notifications if the alert fails, skips, takes longer than a specified time, or is completed successfully. This can be enabled / disabled.
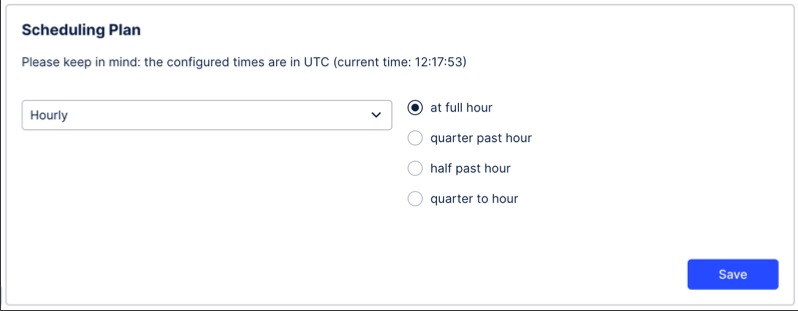
Scheduling plan: Select from hourly, every few hours, daily, weekly, monthly, or custom cron and then enter the time or date frequency. For more information about the custom cron, see: Custom cron syntax.
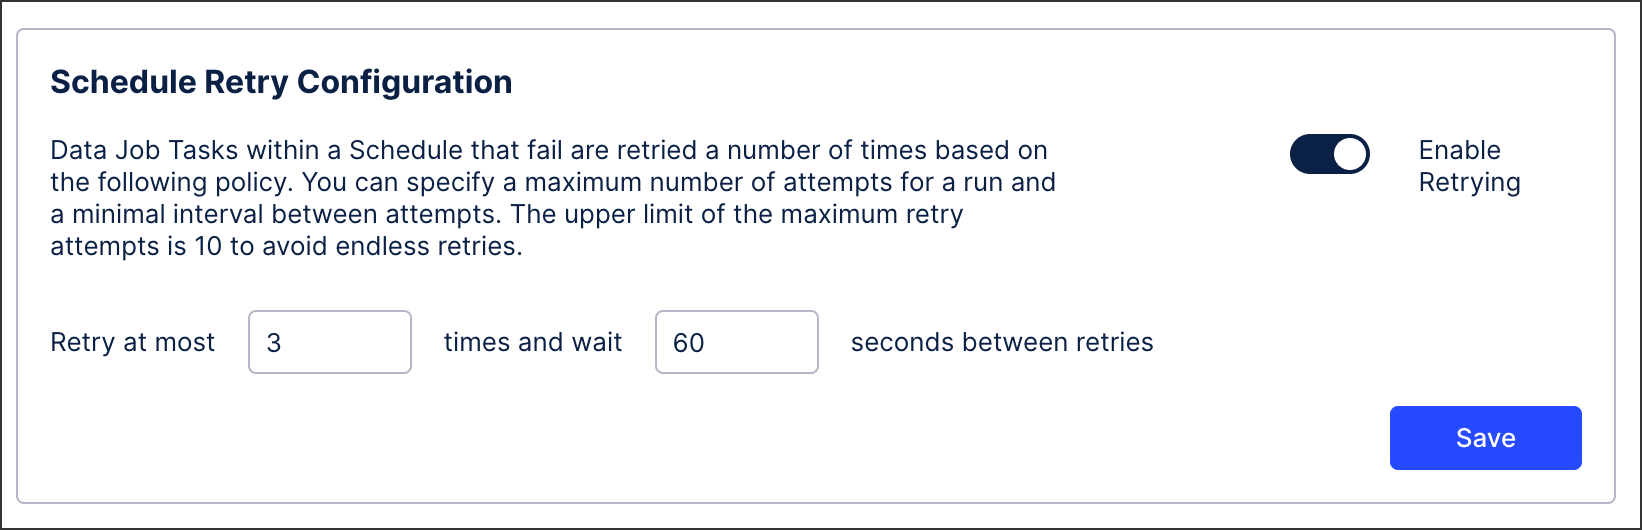
Schedule Retry Configuration: Data Job Tasks within a schedule that fail are retried a number of times based on the policy you define here. You can specify a maximum number of attempts for a run and a minimal interval between attempts. The upper limit of the maximum retry attempts is 10 to avoid endless retries.
Schedule retry supported source systems
While the majority of source systems allow you to schedule the retrying of data jobs, the following use dependent tables that prevent this feature working:
SAP Ariba
Coupa
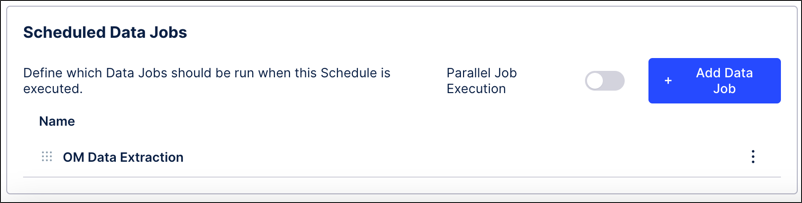
Scheduled Data Jobs - Add data jobs: Select which data jobs should be included in this schedule and then order them in sequential order (with the top job running first and so on).
Execute: Manually execute the existing configuration of this schedule.
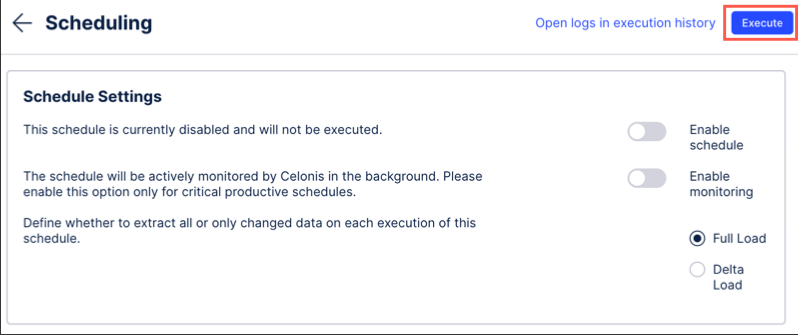
Enable / disable schedule: Select if this schedule is live, with the schedule running at the next configured time or date.
Enable / disable monitoring: Select if this schedule should contribute to your data job monitoring.
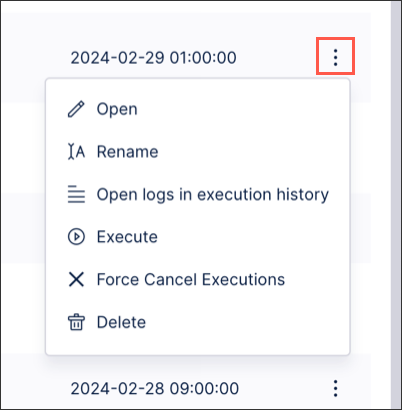
The schedule is now configured and can be managed and edited from your scheduling overview page by clicking Options.
Trigger based schedules allow you to choose a schedule to serve as a trigger from any data pool within your Celonis Platform team and then select a target schedule to be triggered. This allows you to orchestrate schedules across data pools.
Using trigger based scheduling of your data jobs, the successful execution of one schedule of data jobs automatically triggers another schedule to run.
To configure trigger based scheduling:
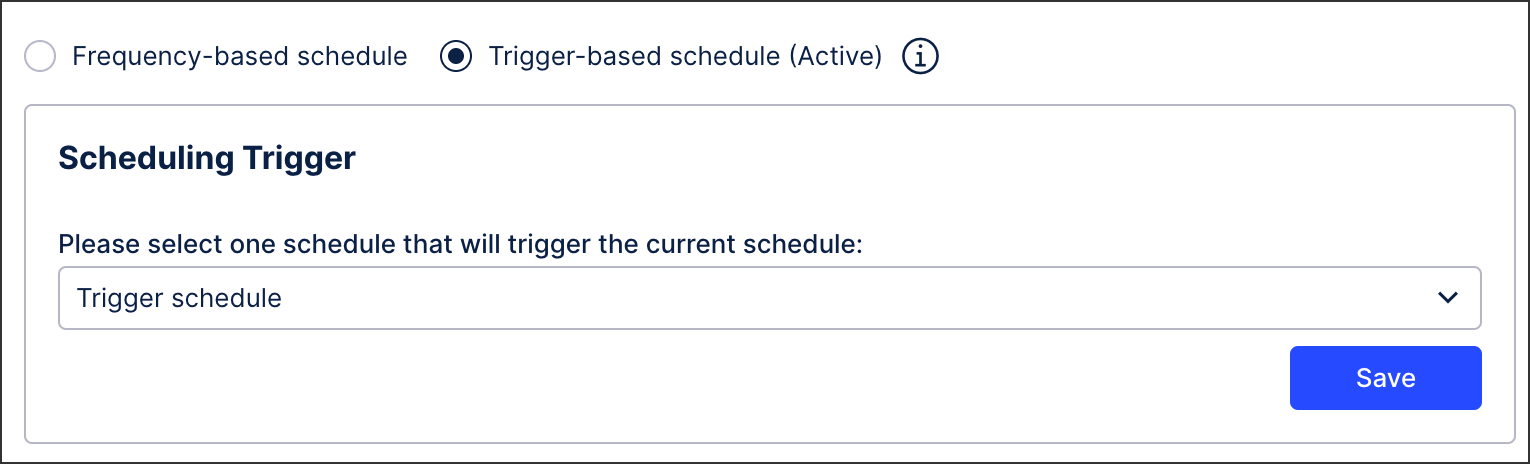
Open the schedule to be triggered and select the Trigger-based schedule radio button.
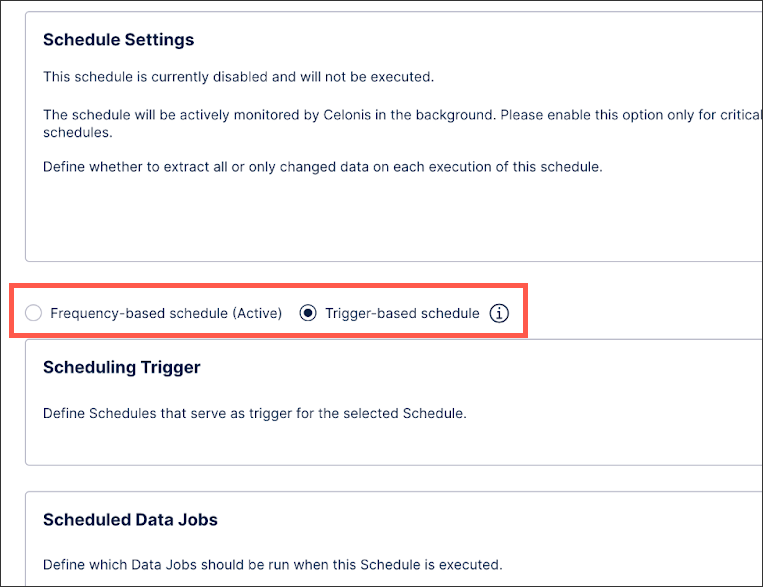
In the Scheduling Trigger section, select the schedule to use as a trigger and click Save.
Configure your schedule using the following options:
Schedule Setting - Load type: Select from full or delta loads.
Schedule alert configuration: Configure email alerts for your schedule, with the ability to send notifications if the alert fails, skips, takes longer than a specified time, or is completed successfully. This can be enabled / disabled.
Scheduling Plan: Select from hourly, every few hours, daily, weekly, monthly, or custom cron and then enter the time or date frequency. For more information about the custom cron, see: Custom cron syntax.
Schedule Retry Configuration: Data Job Tasks within a schedule that fail are retried a number of times based on the policy you define here. You can specify a maximum number of attempts for a run and a minimal interval between attempts. The upper limit of the maximum retry attempts is 10 to avoid endless retries.
Scheduled Data Jobs - Add data jobs: Select which data jobs should be included in this schedule and then order them in sequential order (with the top job running first and so on).
Execute: Manually execute the existing configuration of this schedule.
Enable / disable schedule: Select if this schedule is live, with the schedule running at the next configured time or date.
Enable / disable monitoring: Select if this schedule should contribute to your data job monitoring.
Click Save.
The new trigger-based schedule displays in the Scheduling Trigger section and shows additional information such as the current status and the next scheduled execution.
The cron syntax allows you to precisely define a custom scheduling plan using . The syntax is composed of six elements, with each element represented by either a number or a special character.
In addition to the below explanations, we recommend using an online cron expression generator such as: Freeformatter - Online Cron Expression Quartz.
Custom cron formats
When creating a custom cron, use the following formats (using with values or special characters):
Field | Allowed Values | Allowed Special Characters |
|---|---|---|
Second | 0-59 | , - * / |
Minute | 0-59 | , - * / |
Hour | 0-23 | , - * / |
Day of the week | 1-7 OR SUN-SAT | , - * ? / L # |
Day of the month | 1-31 | , - * ? / L W |
Month of the year | 1-12 or JAN-DEC | , - * / |
Custom cron special characters
The following special characters can be used:
Operator | Purpose | Example |
|---|---|---|
Asterisk ( * ) | Specifies all possible values for a field. | An asterisk in the hour time field is equivalent to “every hour.” |
Question mark (?) | A question mark ( ? ) is allowed in the day-of-month and day-of-week fields. It is used to specify “no specific value,” which is useful when you need to specify something in one of these two fields, but not in the other. | If you want a trigger on a particular day of the month (for example, the 10th), but you don't care what day of the week that is, enter 10 in the day-of-month field, and ? in the day-of-week field. |
Dash ( - ) | Specifies a range of values. | 2-5, which is equivalent to 2,3,4,5. |
Comma ( , ) | Specifies a list of values. | 1,3,4,7,8. |
Slash ( / ) | Used to skip a given number of values. | */3 in the hour time field is equivalent to 0,3,6,9,12,15,18,21. The asterisk ( * ) specifies “every hour,” but the /3 means only the first, fourth, seventh. You can use a number in front of the slash to set the initial value. For example, 2/3 means 2,5,8,11, and so on. |
L (“last”) | The L character is allowed for the day-of-month and day-of-week fields.Specifies either the last day of the month, or the last xxx day of the month. | The value L in the day-of-month field means “the last day of the month,” which is day 31 for January, or day 28 for February in non-leap years. If you use L in the day-of-week field by itself, it simply means 7 or SAT. But if you use it in the day-of-week field after another value, it means “the last xxx day of the month.” For example, 6L means “the last Friday of the month.” |
W (“weekday”) | Specifies the weekday (Monday-Friday) nearest the given day. | If you specify 15W as the value for the day-of-month field, the meaning is “the nearest weekday to the 15th of the month.” So if the 15th is a Saturday, the trigger fires on Friday the 14th. If the 15th is a Sunday, the trigger fires on Monday the 16th. |
Pound sign ( # ) | This character is used to specify “the nth” xxx day of the month. | The value of 6#3 in the day-of-week field means the third Friday of the month (day 6 = Friday and #3 = the 3rd one in the month). |
Custom cron examples
Cron expression | Schedule |
|---|---|
* 0 0 ? * * * | Every second |
* * 0 ? * * * | Every minute |
* * * ? * * * | Every hour |
* * * ? * TUE * | Every Tuesday at 12:00am |
* * * 6 * ? * | Every 6th of the month at 12:00am |
* * * L * ? * | On the last day of the month at 12.00am. |