Action Flow inputs
Action Flow inputs allow you to pass structured data into your automation every time it runs. They act as a bridge between Celonis and other systems, ensuring that your Action Flow has all the specific information it needs to execute its logic correctly.
To find Action Flows inputs, go to your automation editor and click inputs icon on the toolbar.
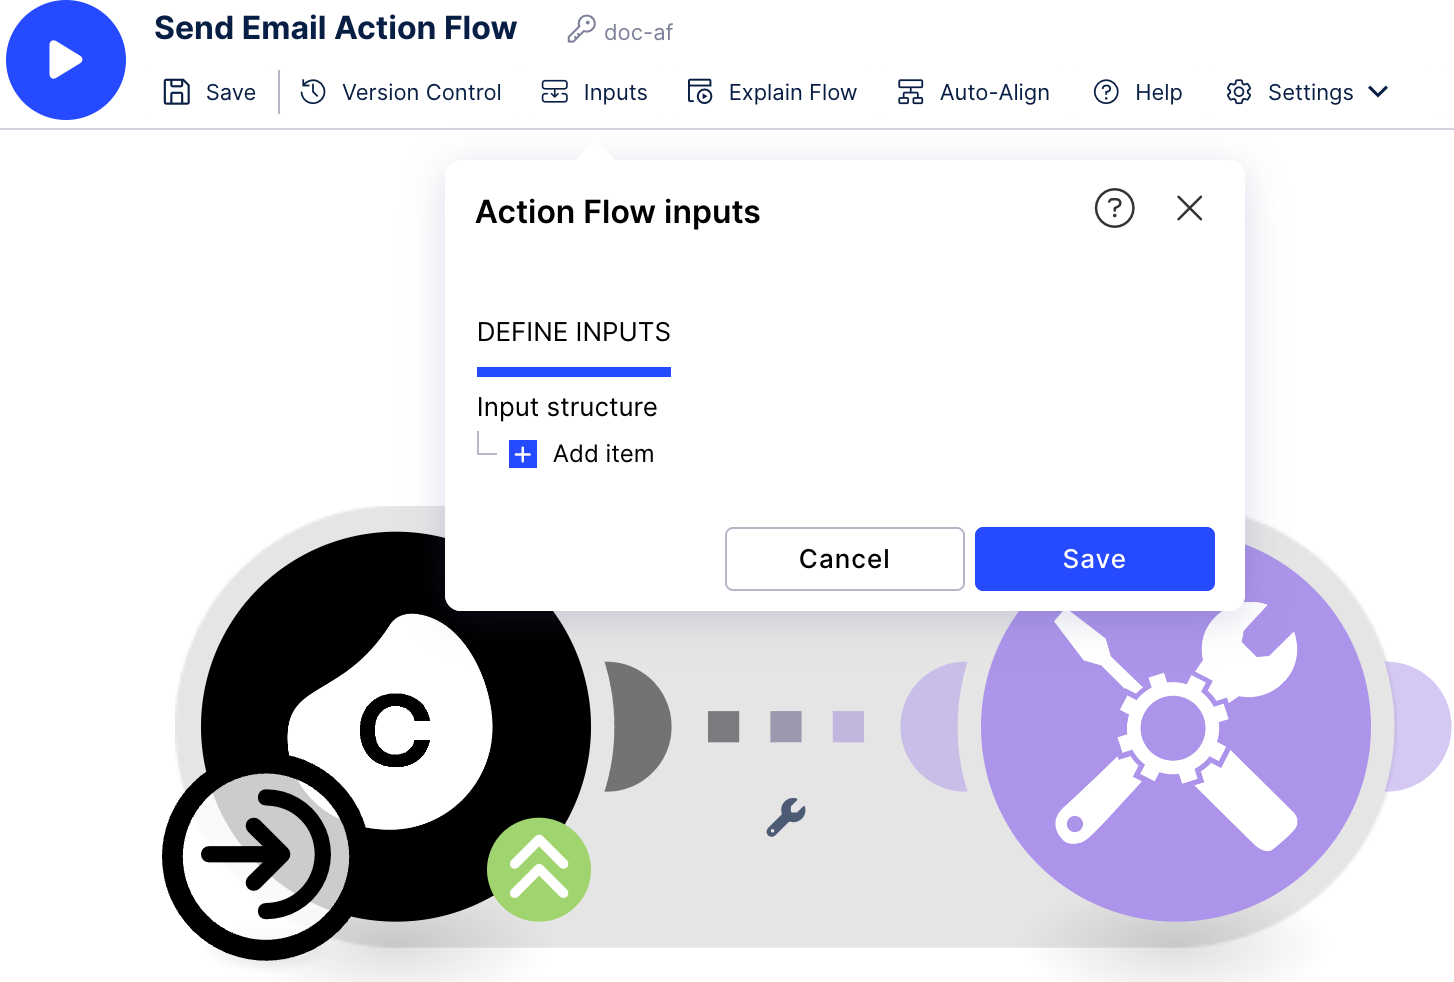
Action Flow inputs function as the primary configuration layer for manual or hybrid automations. Here is a look at each stage of the lifecycle:
Define the structure: During the design phase, you establish the "schema" or blueprint of the data your Action Flow needs to function.
Field Mapping: You define specific keys (e.g., customer_email, total_amount) and assign them data types (text, number, date, or boolean).
Validation Rules: You can designate specific fields as Required, ensuring the automation never runs with missing critical data.
User Interface: These definitions automatically generate the labels and tooltips that the end-user will see when they trigger the flow.
Input data (the trigger event): When a user initiates the Action Flow—either from a button in a Celonis View or directly within the Action Flows module—the system intercepts the request.
Dynamic Form Generation: Celonis renders a real-time input form based on your defined structure.
User Interaction: The user enters the specific values for that unique execution (e.g., typing in a specific "New Hire Name" or selecting a "Reason for Rejection").
Gatekeeping: If any Required fields are missing, the "Run" button remains disabled or returns an error, preventing partial or failed executions.
Automation execution and data distribution: Once the form is submitted, the data enters the Action Flow environment as a set of global variables.
Variable Availability: The input data becomes a selectable "pill" in the mapping panel of every subsequent module (e.g., Jira, Slack, or ServiceNow).
Consistency: Because the data is collected once at the start, the same value (like an Employee ID) is synchronized across all connected platforms, eliminating manual entry errors.
Process Transparency: These inputs are logged in the execution history, allowing you to audit exactly what data was used to trigger a specific run.
If you need to set up accounts for a new hire across Jira, Slack, and Email. Instead of manually logging into each platform, you can use Action Flow inputs:
The inputs: You define fields for First Name, Last Name, Work Email, and Employee ID.
The action: Once you enter this information into the input form, the Action Flow automatically creates the accounts in all systems simultaneously.
The benefit: You don't need to understand the complex logic or API connections happening in the background; you just provide the data, and the automation handles the rest.
Other common use case scenarios include:
Customer Syncing: Updating profile information across multiple CRM platforms.
Lead Management: Adding offline event leads to CRMs and mailing lists.
Document Generation: Creating invoices or orders by providing a specific set of variables.