Connecting to a database using custom JDBC driver
You can connect to your database using a custom JDBC driver, allowing you to extend the settings offered by our extractor builder. This requires you to use an uplink connection (using an on-premise extractor), with the custom driver being supplied by you.
For more information about creating uplink connections and installing on-premise extractors, see: On-premise extractors.
The next step is to modify your network settings to allow the database extractor to communicate with your database and the Celonis Platform.
Network settings for uplink connections
The following network settings apply for uplink connections (via the on-premise extractor):
Source system | Target system | Port | Protocol | Description |
|---|---|---|---|---|
On-premise Extractor server | Source system | Depending on the database, typical ports are 5432 for PostgreSQL and 30015 for HANA for example. | TCP | JDBC connection from on-premise extractor server to the database. The port is the one you normally use to connect to the database. |
On-premise Extractor server | Celonis Platform | 443 | TCP | HTTPS connection from on-premise extractor server to Celonis cloud endpoint. The IPs of the Celonis Platform depending on the cloud cluster (which can be seen in the URL), and they can be found in the section below. |
Celonis Platform IP addresses depending on the cluster
The respective clusters use multiple IPs each, so you need to enable all three of them in your firewall configuration to connect the on-premise extractor server and the cloud endpoint.
For a complete list of inbound and outbound Celonis Platform IP addresses to be allowlisted if needed, see: Allowlisting Celonis domain names, IP addresses, and third-party domains
Note
This step is only needed if your database is not reachable from the Celonis Platform.
For this step, you need to set up the database extractor in your network if your database is not reachable from the Celonis Platform.
For more information, see: Setting up
If you would like to use a proxy (optional), see: Proxy settings for on-premise extractors.
You now need to download and extract the JDBC driver from your database provider. This extracted file should come with a .jar file, needed for the following step.
As an example, this is the extracted zipped file from Cloudera Impala:
 |
You now need to create the jar directory for the .jar file provided by your database provider:
Create a directory named 'jar' (or alternatively any other name provided there is no period / full stop in the name) and move the .jar file from the extracted connector file into this folder.
From this directory, run the following command (referencing the correct file name of the .jar file):
java -Dloader.path=jar -Dspring.config.location=application-local.yml -jar connector-jdbc.jar
In order to extract from a database, you need to create or use an existing user who has read (SELECT) access to all tables that should be extracted.
The user should also access the schema information_schema to read metadata for the tables to be extracted.
For more information about this, consult your database's official documentation.
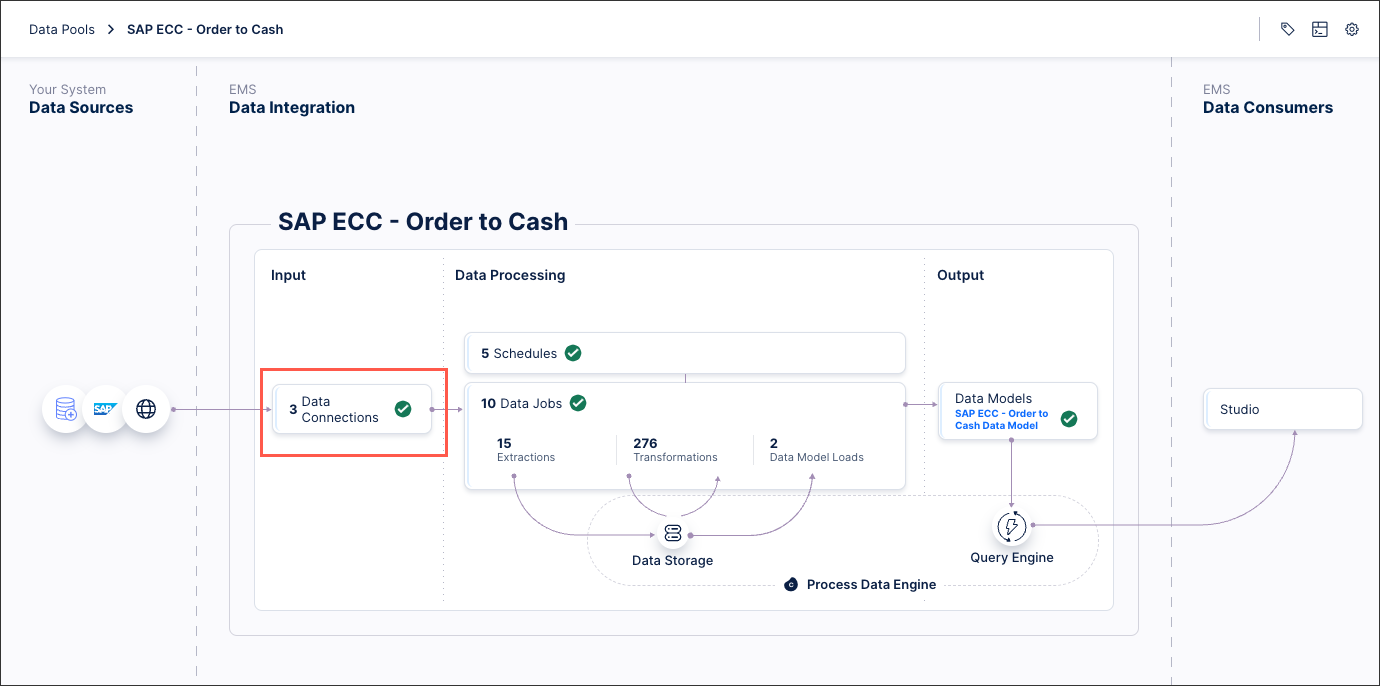
You can now create the connection between your database and the Celonis Platform from your data pool diagram:
Click Data Connections.

Click Add Data Connection and select Connect to Data Source.

Select On-Premise - Database.
Configure the following connection details, with the options here depending on your choice of uplinked or direct connection:
Name: An internal reference for the data connection.
Uplink Connections: The name of the Uplink Extractor Server installed on your end.
Database Type: The type (generic name) of the database to which you want to connect.
Configuration type: Select Custom JDBC Connection String
JDBC Connection String: Enter the string you want to use for this connection.
Driver class: The main driver class is responsible for providing the application methods that will control the device, providing feedback when the device provides it, and providing events that let applications know when feedback changes.
For example, when connecting to Tampala:
com.cloudera.impala.jdbc.Driver
Schema name: The schema to use (optional).
Additional Properties: Additional properties like validateCertificate=false for a HANA database or integratedSecurity=true for domain users in MSSQL.
Username and password: The database credentials used by the user in configured in step 4.
Maximum number of parallel extractions: This is usually governed by the database type you are using. The default value chosen is 4.
Timeout for database connections: Timeout for all database connections created in this connection (specific to this connection only). This value will overwrite the local timeout (in application.yaml) in case of uplinked connection.
Click Test Connection and correct any highlighted issues.
Click Save.
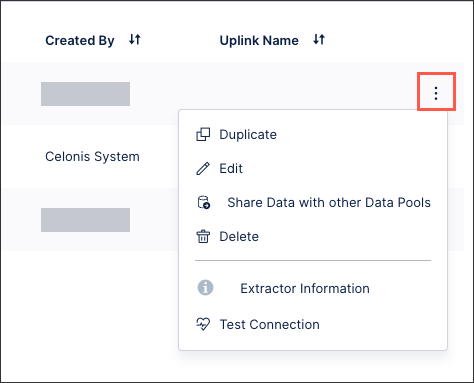
The connection between your Cloudera Impala account and the Celonis Platform is establised. You can manage this connection at any time by clicking Options:
