Limit content in Process Navigator
If you want to model and release a process, but don't want every employee in your organization to be able to view it, you can specify which content to hide from Process Navigator. Content limited in this way cannot be viewed in Process Navigator at all.
Sensitive content can be hidden from Process Navigator by:
Granting only specific groups access with the Permission setting
Ensuring Process Navigator does not have permission to view all content
As an Admin, you can create a few configurations together to make this happen.
Caution
Make sure you add your Admin user to all user groups you create, to ensure you have management control after excluding content from Process Navigator.
 |
In Process Designer, navigate to the Admin area by clicking the gear icon in the top right-hand corner. Click the Features tile.
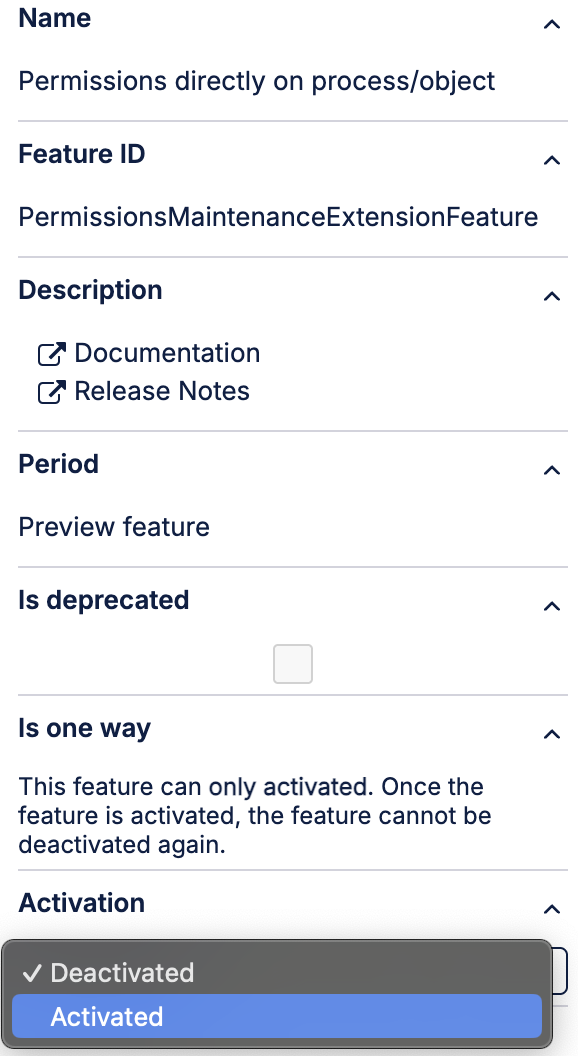
In the Features list, search for "Permissions directly on process/object" and select it from the list.
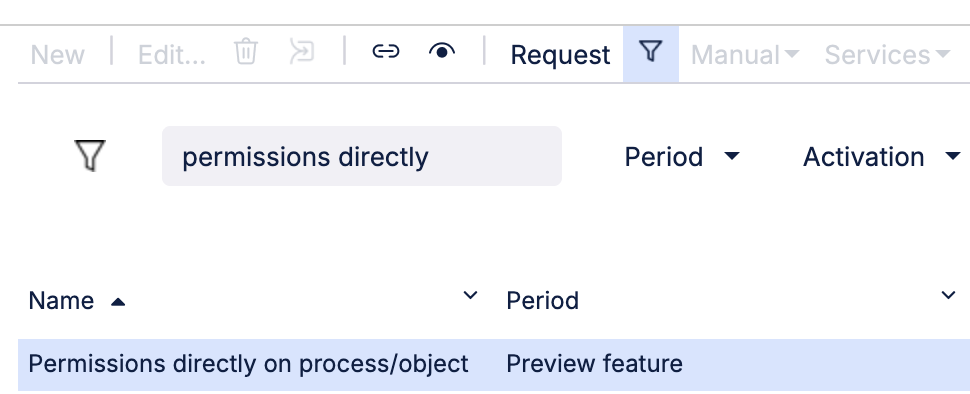
In the details panel, look for Activation and select Activated from the dropdown.
In Process Designer, navigate to the Admin area by clicking the gear icon in the top right-hand corner. Click the Automation tile.
In the Automation list, look for the "data, Rest-API endpoint" group, and then inside it look for something called "RepPool”/“ReportPool”/”Reporting". Select it from the list.

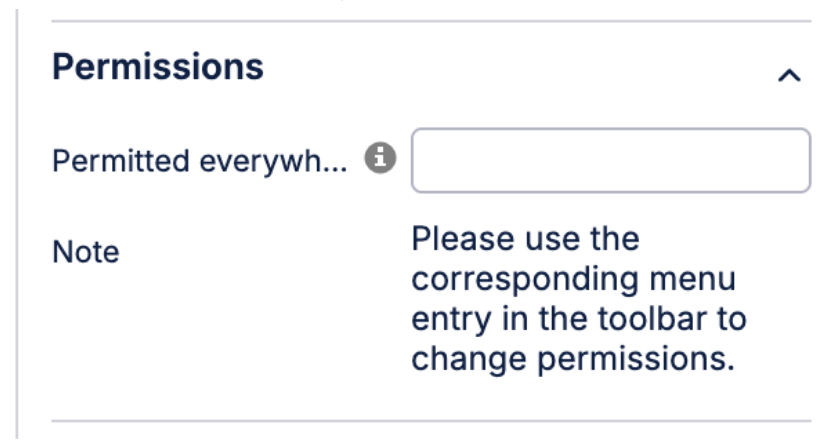
In the details panel, look for Permissions, and make sure the Permitted everywhere field is empty.
In Process Designer, navigate to the Admin area by clicking the gear icon in the top right-hand corner. Click the User group tile.
Create a new user group, or select an existing one. This group will contain everyone you want to show sensitive information to.
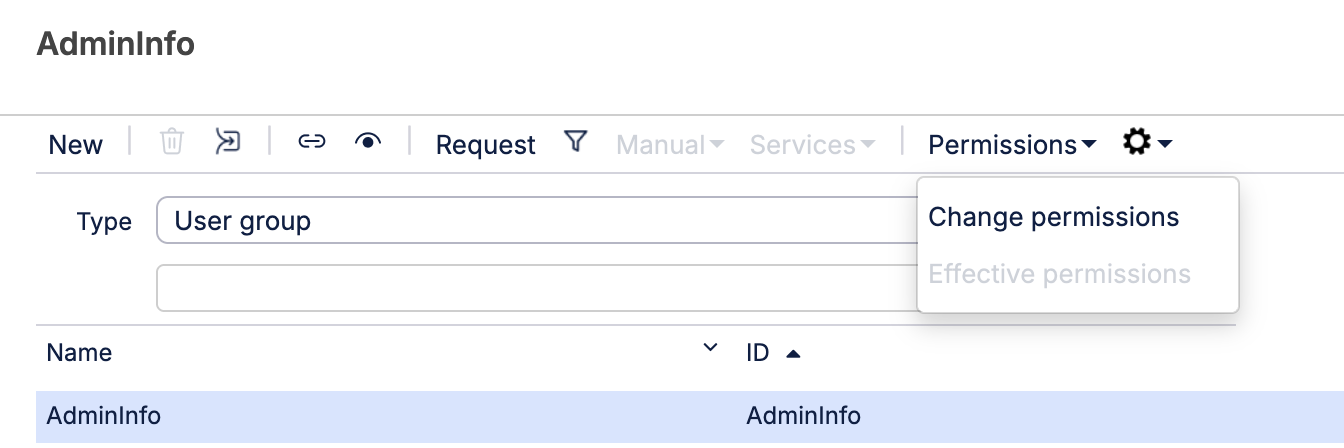
Select your user group from the User group list, then click Permissions in the toolbar. Select Change permissions from the dropdown.
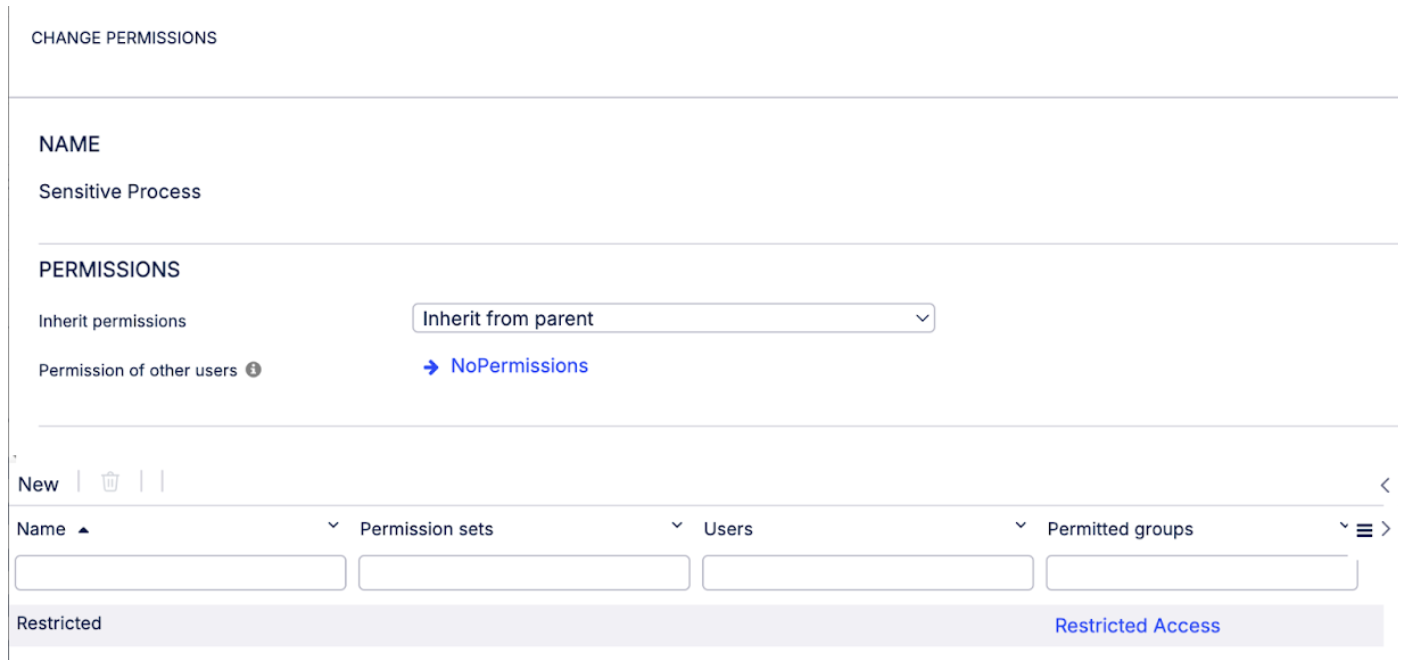
In the Permissions section, make sure "Permission of other users" is set to "NoPermissions".

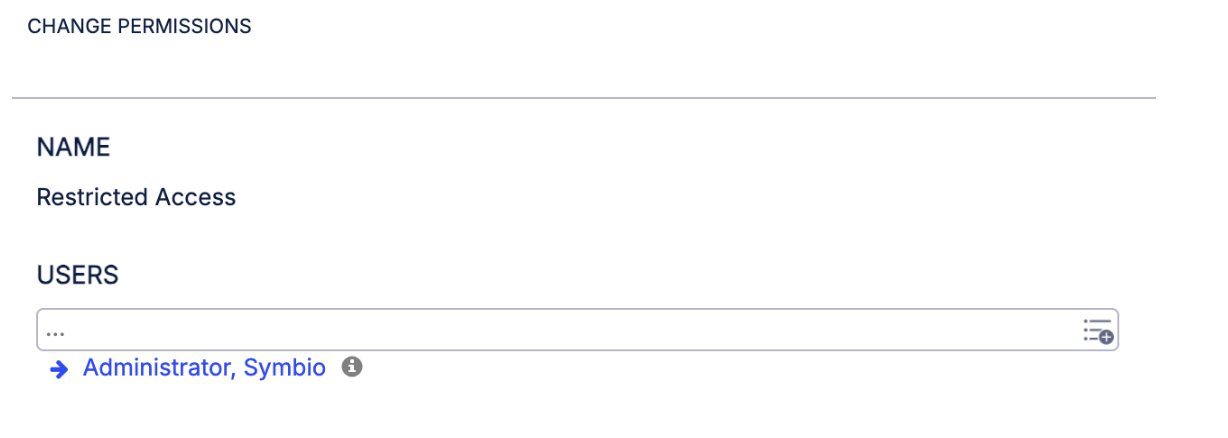
Now create a new permission rule and name it whatever you like. In this example, we've named ours "Restricted".
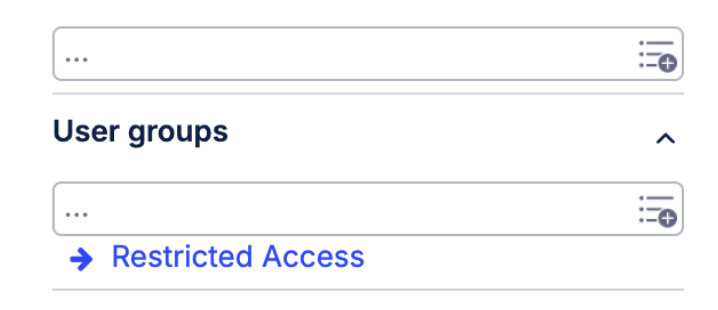
In the bottom right of the modal, use the User groups field to assign the user group we created in the previous steps to this permission rule. You can also assign individual users. This will prevent anyone not in the group from viewing content in Process Designer.
Finally, navigate back to the Admin area in Process Designer and click the Apply new configuration tile to save.