Creating table transformations
In Object-Centric Process Mining (OCPM), building an accurate data model requires transforming raw system data before it can be mapped to objects and events. Table Transformations allow you to design, test, and execute custom table-level transformations directly within the Objects & Events interface, eliminating the need to pivot to isolated data integration tools.
For an Analytics Engineer optimizing an Order-to-Cash (O2C) workflow, raw ERP tables often obscure the root causes of process bottlenecks. For example, when analyzing order fulfillment delays, a common business pain point is untracked credit blocks on high-value transactions. If regional databases store block status codes differently, you cannot accurately pinpoint which approvals are delaying shipments.
Table transformations bridge this gap by enabling you to:
Target process pain points: Isolate and standardize data anomalies, such as mismatched regional status codes, directly within your OCPM environment.
Simplify SQL logic: Eliminate redundant
JOINoperations across massive transactional tables by creating a single, clean reference table.Leverage advanced SQL: Centralize Common Table Expressions (CTEs) to isolate specific business segments, such as filtering out low-value noise to focus strictly on high-risk orders.
Eliminate orchestration dependencies: You no longer need to orchestrate and coordinate multiple different data jobs with each other to complete pre-processing.
Before you begin, ensure you have:
Permissions: Admin access to the Objects and Events dashboard.
Source data: Successfully ingested the raw source tables (e.g., SAP, Oracle) required for your query into your Data Pool.
To create table transformations using the Objects and Events dashboard:
Set up the initial configuration and database naming conventions for your new custom transformation table.
From the Objects and Events dashboard:
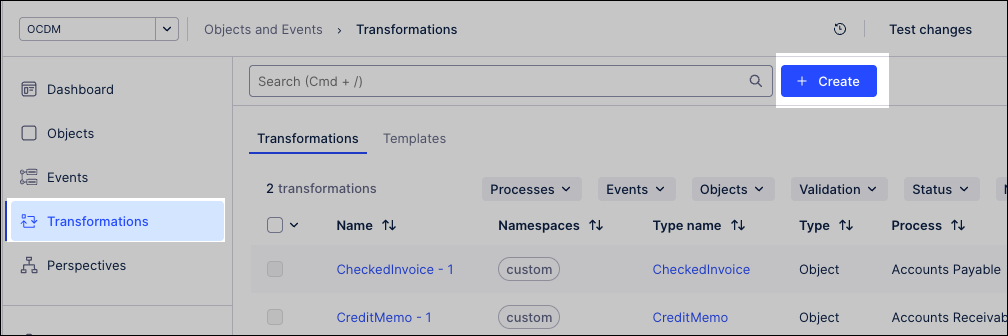
Click Transformations.
Click Create.
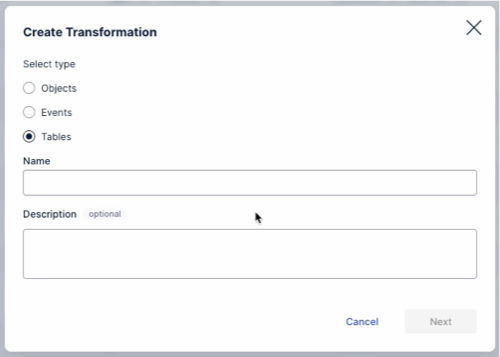
Select Tables as the transformation type.
Enter a Name and Description for the table using these parameters:
Name: This becomes the technical name of the underlying table created in the database during data job execution.
Best practice: Use an uppercase, underscore-separated convention (e.g.,
STG_O2C_ORDER_CLEANED). Avoid spaces and special characters. Do not add environment prefixes (like t_), as Celonis manages these automatically.
Description: An optional but highly recommended field used to provide context for other data teams. Use this space to document:
The core business logic or process pain point being addressed.
The source tables and dependencies involved (e.g.,
SAP VBAK / VBAP).Key filters applied, such as specific regional or high-value segment exclusions.
Click Next.
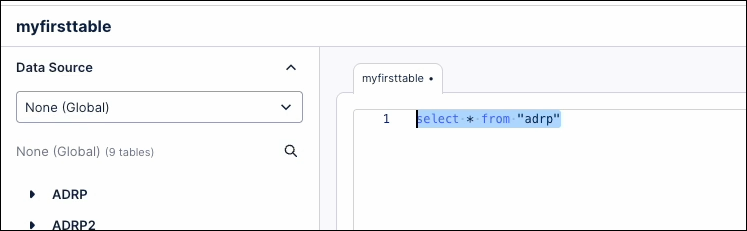
In the SQL Editor workspace, write a standard
SELECTstatement to define your table transformations (such as dropping columns, changing data types, or joining source tables).For example:
select * from "adrp"
In this example, "adrp" refers to the standard SAP ERP system table for Business Address Services (Persons). In your actual transformation, replace this with whatever raw staging or source table contains the data you need to clean, filter, or pre-process.
Click Execute query selection to run a preview in the transformation console.
Expected result: Verify in the lower console panel that your query executes successfully and shows the correct columns and mock data without syntax errors.
Click Save with Validation.
Celonis will check the query against your active Data Pool schema to ensure all referenced tables and fields exist before saving the asset.
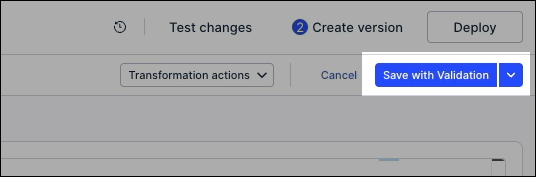
After saving your table transformation, you must deploy a new version of your OCDM to make the new table available for object and event mappings.
Click Deploy.
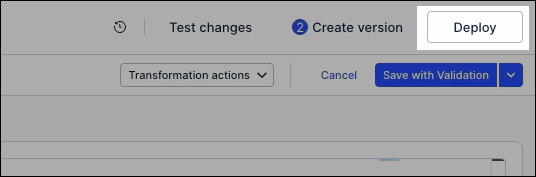
Create a new draft version, include your transformation, and click Deploy.
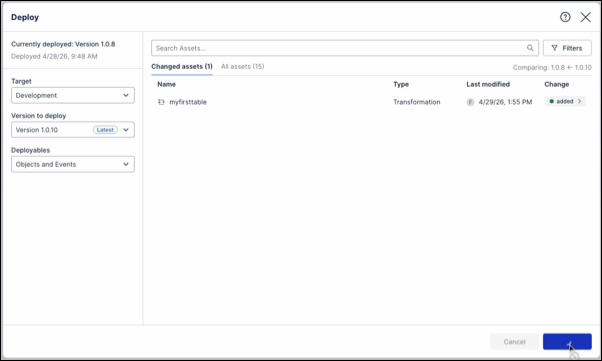
For detailed, step-by-step instructions on versioning and deploying your OCDM, see: Versioning and deploying OCDM
Once deployed, your custom transformation table functions as a standard data source within your schema. You can reference it in downstream SQL scripts to build out more complex object or event transformations.
Note
Always enclose your custom table name in double quotes (e.g., "STG_O2C_ORDER_CLEANED") to comply with database case-sensitivity rules and ensure smooth execution within the Celonis validation engine.
Create or open a downstream transformation asset (such as an Object Transformation or Event Transformation).
In the SQL Editor workspace, query your custom table by referencing its exact technical name.
For example, to use your cleaned staging table for an event mapping:
SELECT
    "Order_ID",
    "Clearance_Date" AS "EventTime",
    'Clear Credit Block' AS "Activity"
FROM "STG_O2C_ORDER_CLEANED";
Click Execute query selection to verify that the downstream editor successfully reads from your custom table and outputs the expected dataset.
Track the data lineage, validation health, and execution history of your custom table to ensure downstream data integrity.
In the main Transformations menu, use the filter options to isolate your custom table transformations.
What to check: Verify the Validation Status (to ensure no schema mismatches) and the Last Run timestamp (to guarantee data freshness).
Click on a specific table transformation to open its details view. Review the dependency graph or reference section to identify exactly which objects, events, or downstream transformations rely on this table.
Before saving any edits or schema updates to an active table transformation, carefully review the system-generated Impact Assessment.
Caution
Modifying column names, deleting fields, or changing data types can cause breaking changes downstream. Always verify the validation engine's impact report before committing your changes to a production table.