Filtering the process model
Process model filter overview
You can filter on all objects, events and relationships in the process model. When you filter, you change what is included in the process model and displayed in the process model graph. You have access to multiple filter types and you can also copy your filters to a View in Studio.
Note
When creating filters, it doesn’t matter if the object or event is shown or hidden in the process model. An event is still part of the process model, even if it’s not currently included in the process model graph. If the event count or object count is reduced to zero due to filtering, then the event is no longer displayed in the process model graph.
Viewing data and coverage information
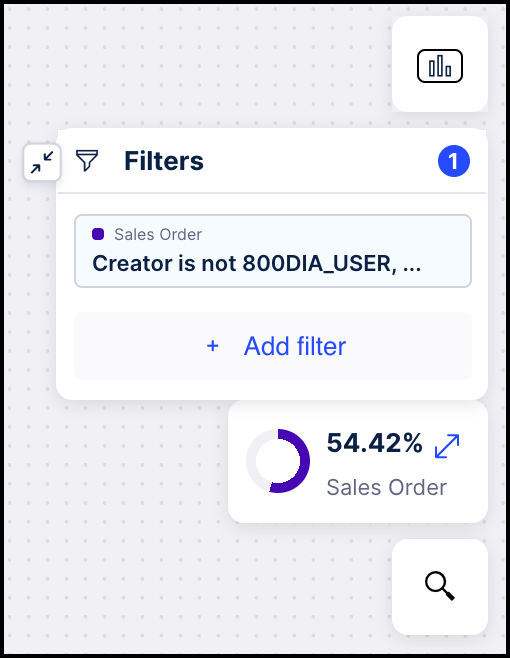
The Data & Coverage Info panel shows the percentage of the total number of objects that remain in the process model after filtering.
 |
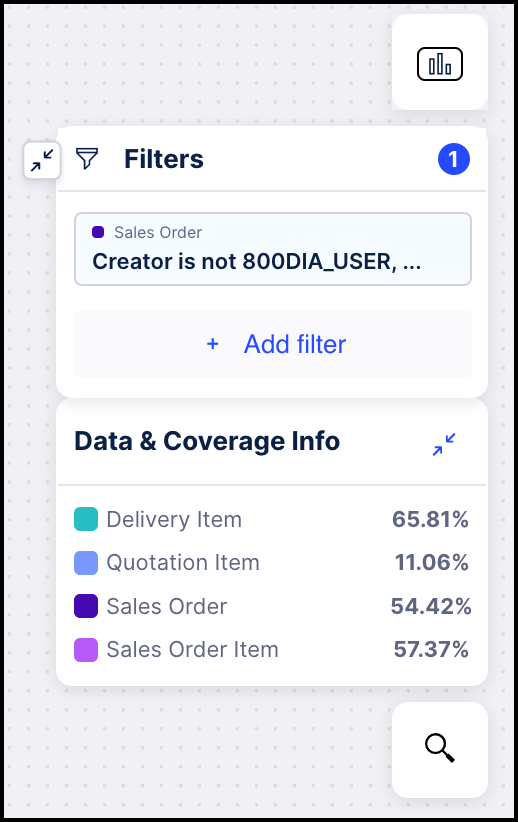
You can also view a breakdown of the coverage for all object types remaining by clicking the double arrows in the upper right corner to expand the panel. The Data & Coverage Info shows the coverage rate for each object type meeting the filter criteria.
Adding a filter
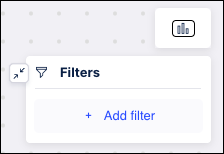
Click the Filter icon
 in the top left of the screen.
In the Filters panel, click Add filter.
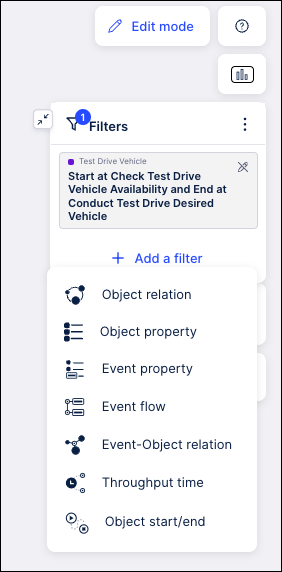
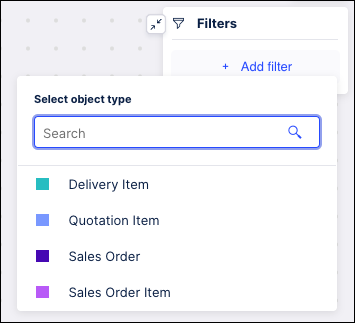
Select the type of filter you want to add from the dropdown list.
Tip
Hover over any option to see a description of the filter type.
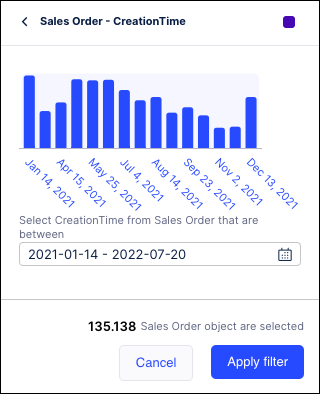
Enter the criteria for your filter from the lists provided.
The available fields and options vary based on the type of filter being created. You can also use Search to narrow down the list of options.
Select the specific items you want to filter from the dropdown list.
Click Apply filter.
The process model graph and data and coverage information are automatically updated based on your selected criteria.
Filter types
Filter type | Description |
|---|---|
Object relation | Filter on objects of a particular type that have a specific relation to another object type. |
Object property | Filter on any object property. |
Event property | Filter on any event property. |
Event flow | Filter based on particular event flow patterns. |
Event-Object relation | Filter on various combinations of objects and events. |
Throughput time | Filter on processes that occur within the range of a throughput time between two events. |
Object start/end | Filter on objects with a particular start or end event. |
Copying filters to a View in Studio
Note
This option is not available if any deviation filters have been applied.
In the Filters panel, click
 .
.Select Copy all filters to View.
Select the specific View you want to copy the filter to.
Saving filters to a knowledge model
Before you publish your asset, you can apply deviation filters in the Process Adherence ManagerView mode and save them as a knowledge model filter which can then be applied to any other Studio assets that use the same data model.
In the Filters panel, click
.Select Save Save all filters Knowledge Layer.