Action Flow - Configuration changes
The Automation Skills necessary to use the app are available out of the box, however they will need several small updates to ensure they have the correct permissions and targets for your Celonis instance. Some of these steps can be performed using the instructions below:
Common Action Flows:
Write Transaction Activity:
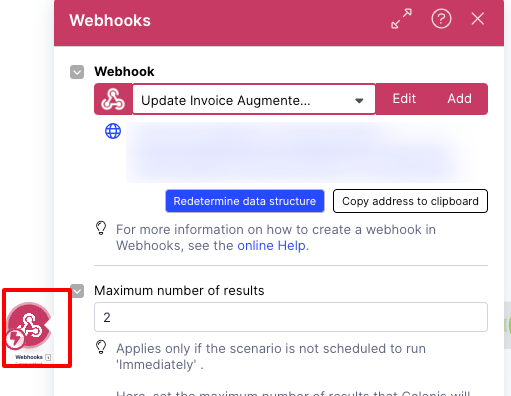
Step 1: Add Webhooks (1):
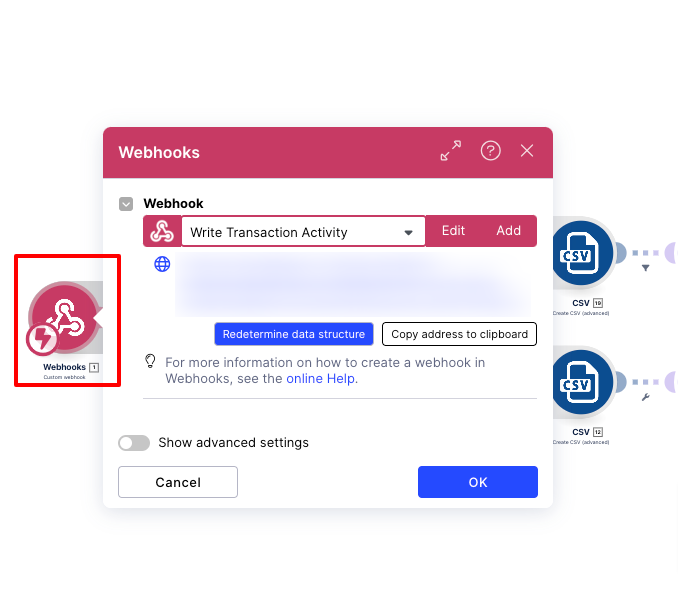
Step 2: Create CSV (19):
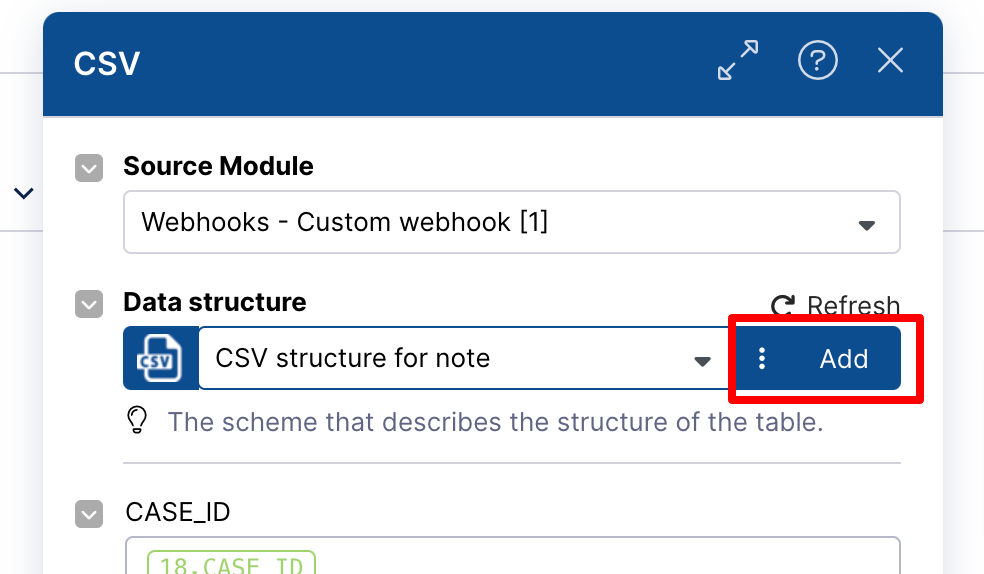
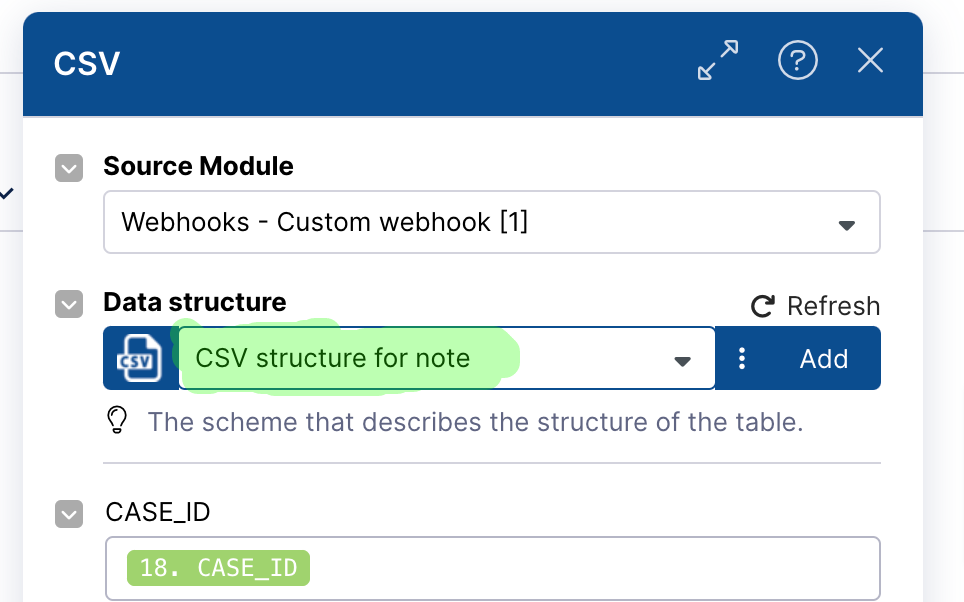
Click on CSV (19).
Click the Add button.
Enter the name (CSV structure for note) in the udts.name field.
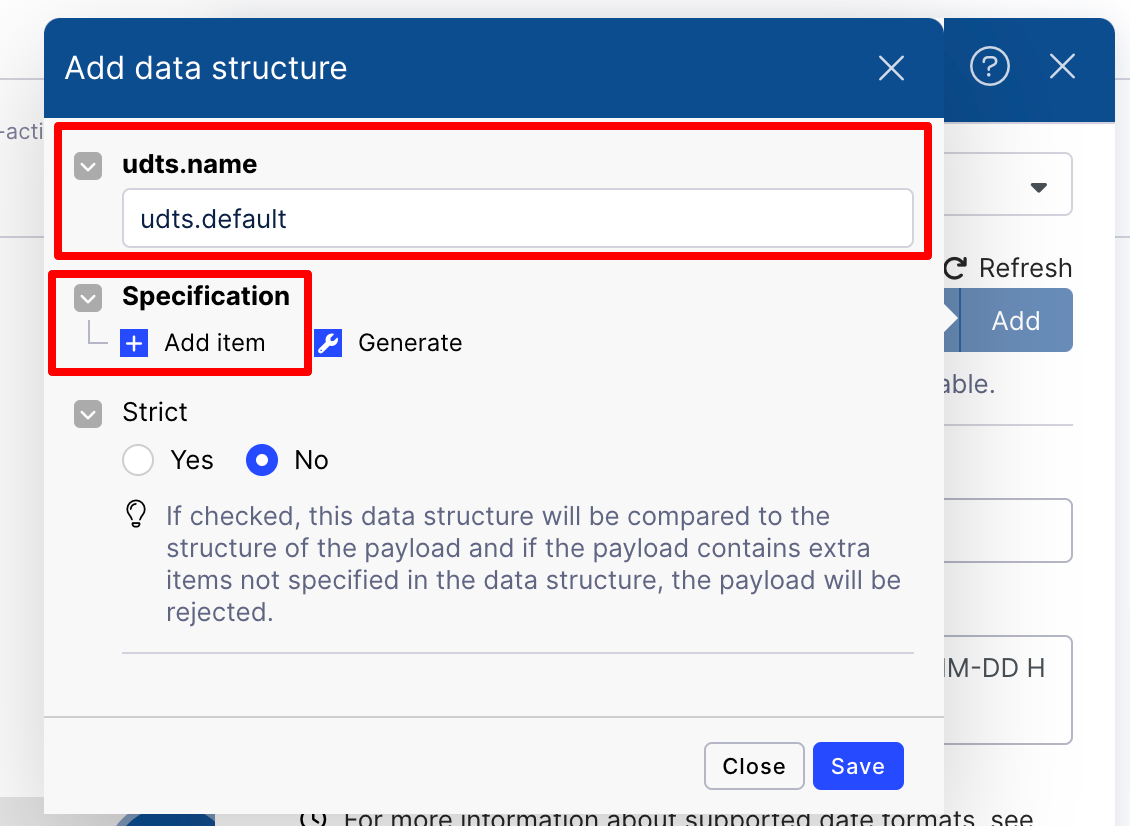
Click the Add item button.
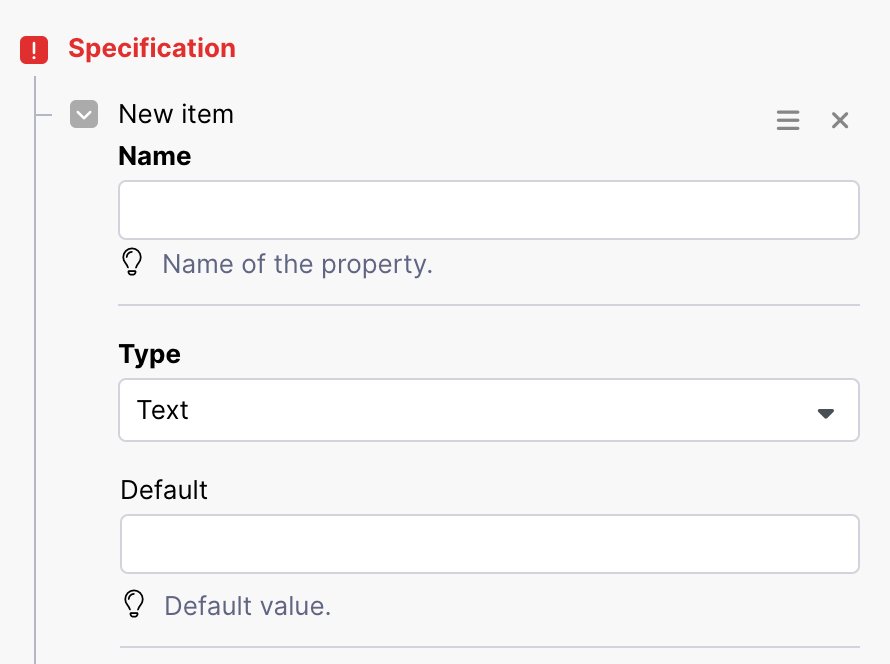
Enter the name from the table below in the Name field and then select the type:
Note
Add all items in the specification one-by-one.
Name
Type
CASE_ID
text
EVENTTIME
Date
UTILITY
text
_SORTING
Number
USER_NAME
text
NOTE
text
NOTE_ID
text
Click the Save button.
Click the Ok button.
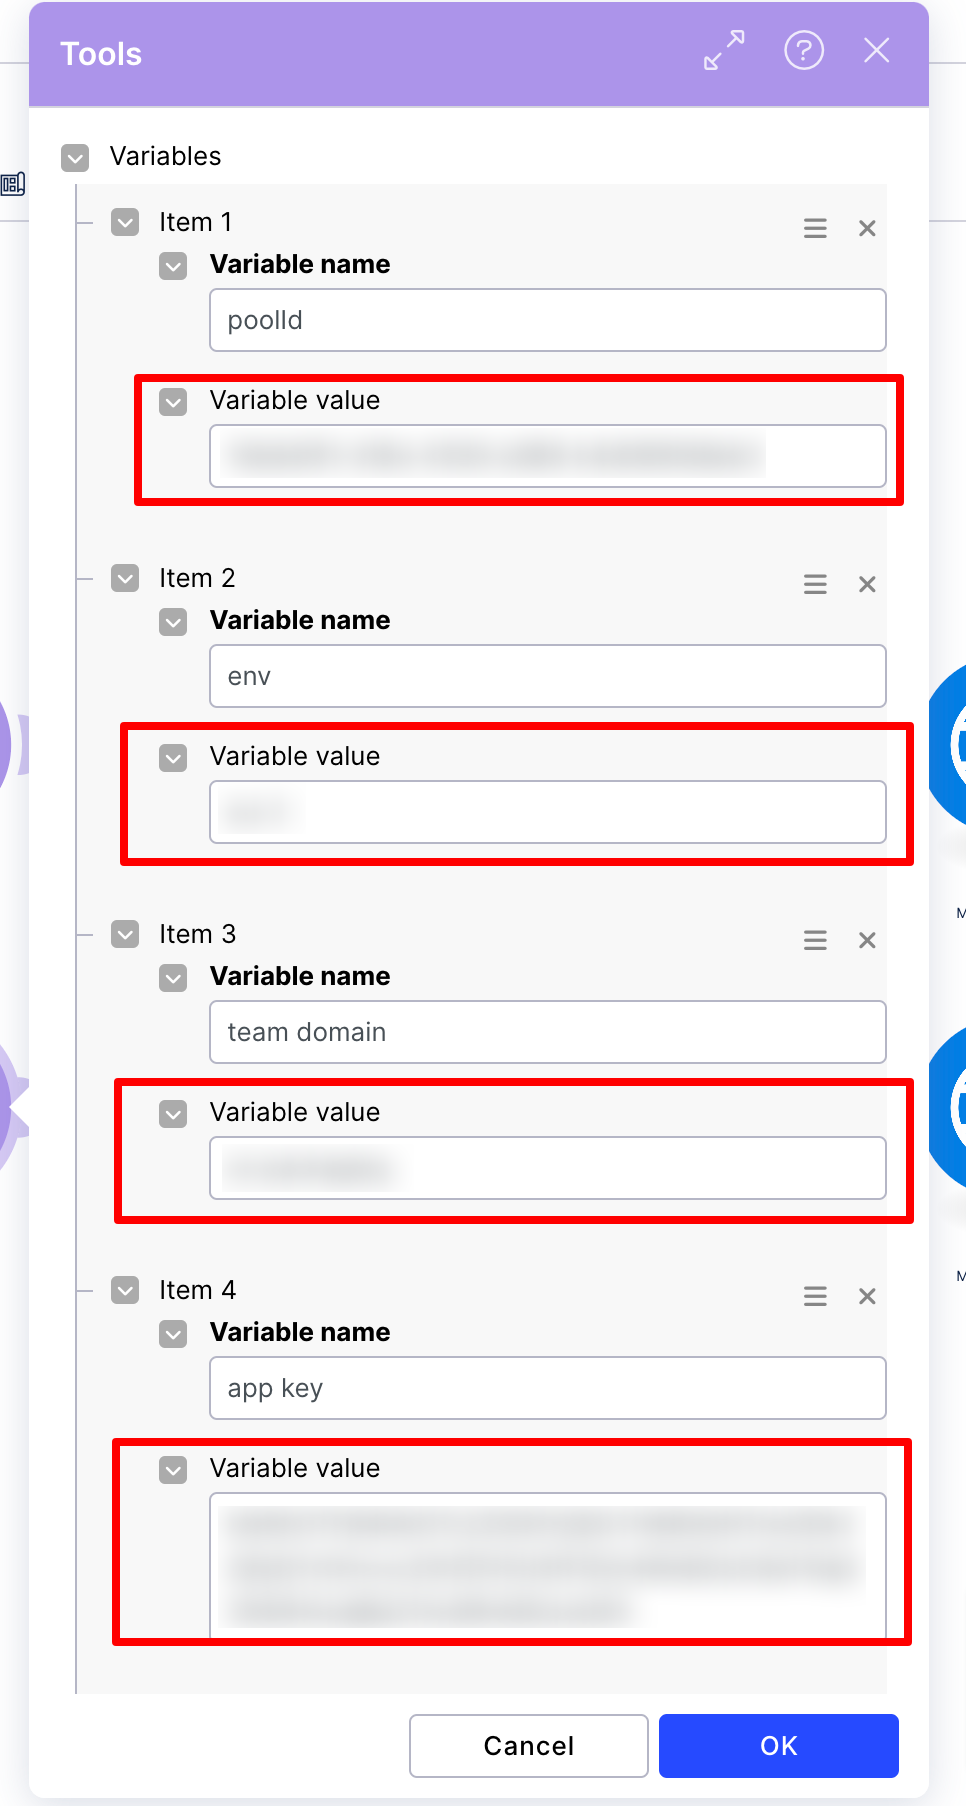
Step 3: Tools (20):
Click on Tools (20).
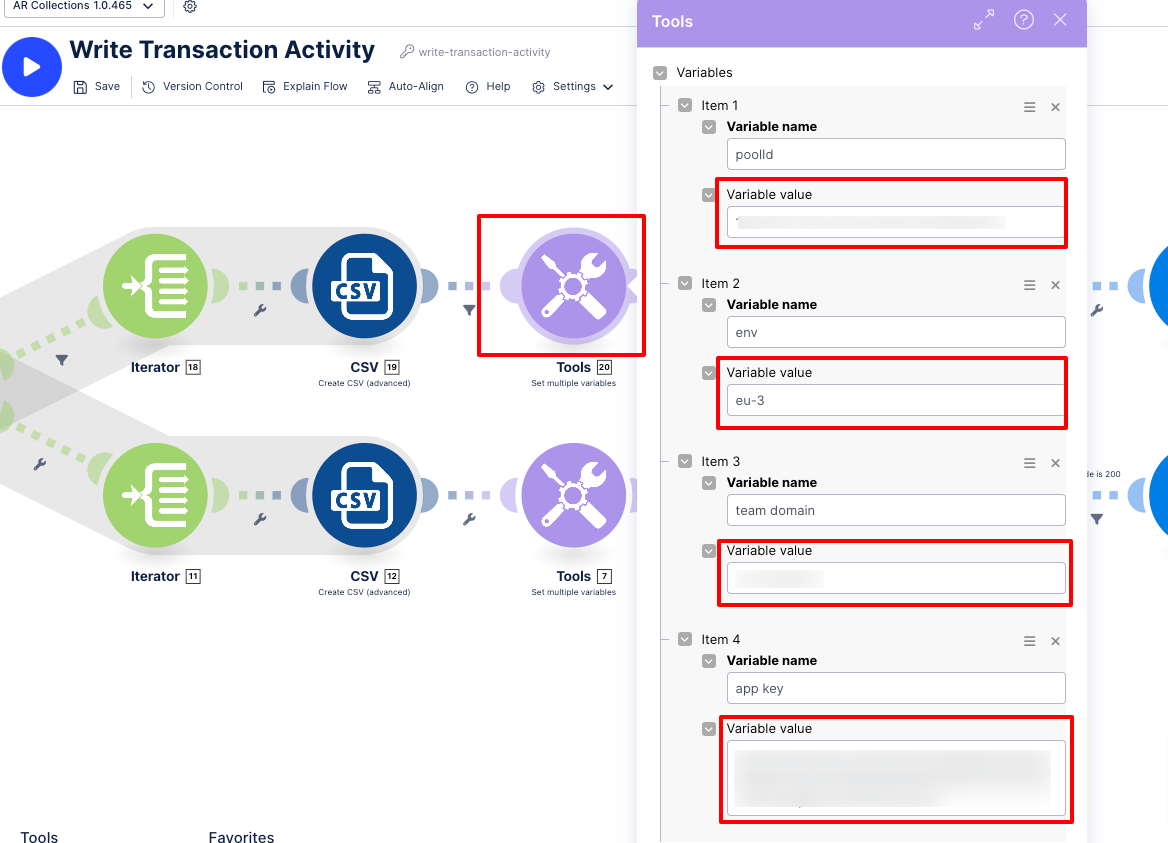
Enter the Poolid in the item 1 field:

Enter the env in the item 2 field:

Enter the Team Domain Name in the item 3 field.

Enter the app key in the item 4 field.
Click the OK button.
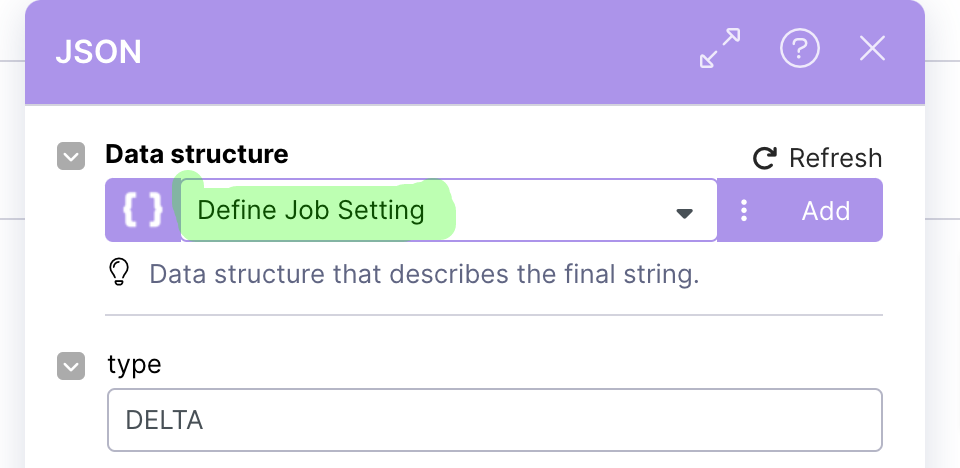
Step 4: Define Job Setting (21):
Click the Add button.
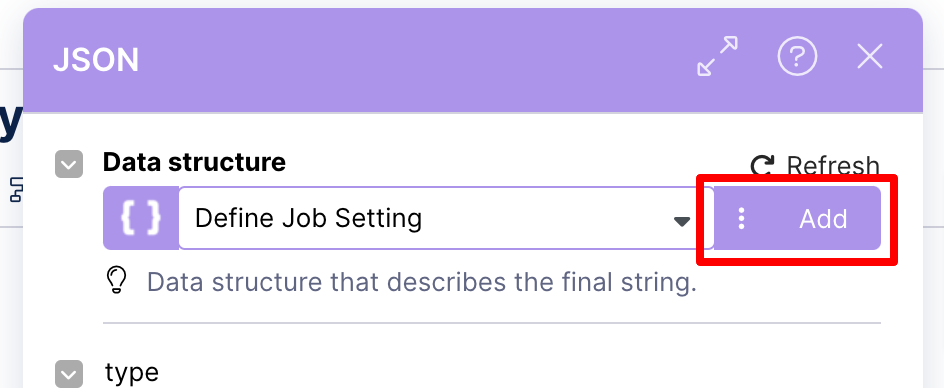
Enter the Name (Define Job Setting) in the udts.name field.
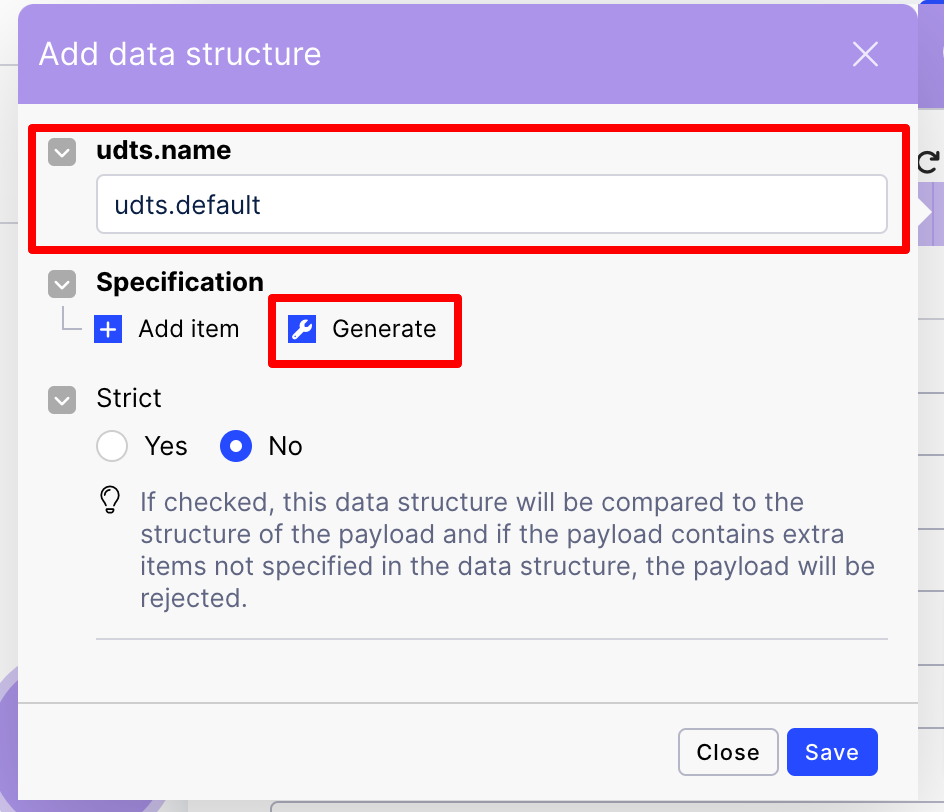
Click the Generate button.
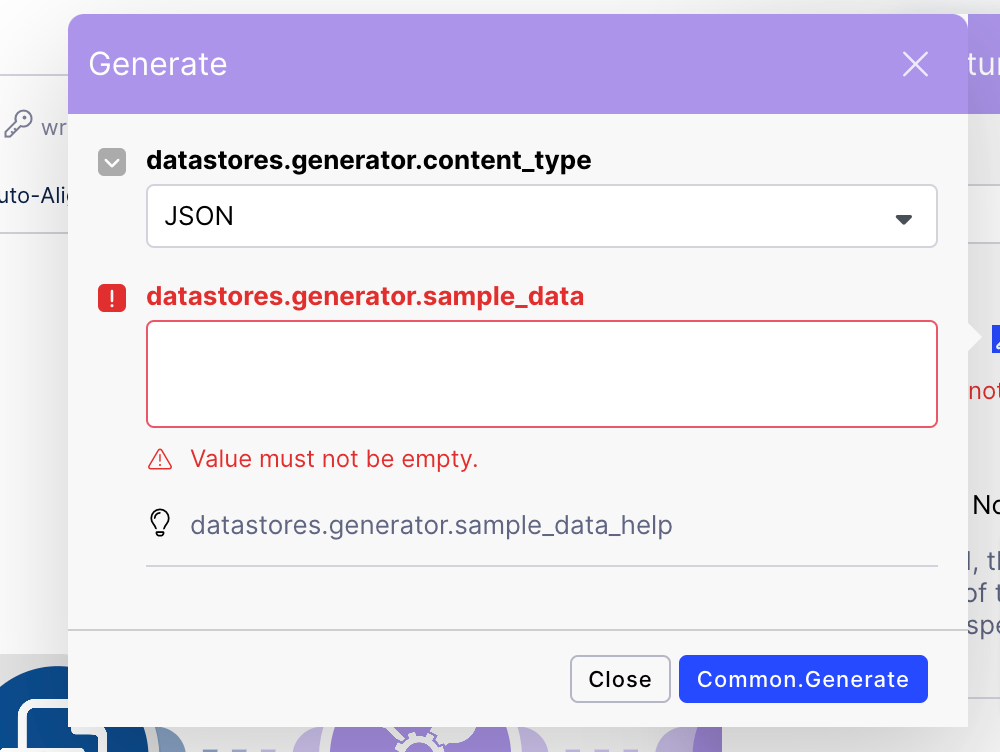
Enter the JSON statement below in the datastores.generator.sample_data field.
{
"type":"",
"fileType":"",
"dataPoolId":"",
"targetName":"",
"csvParsingOptions":{
"charSet":"",
"lineEnding":"",
"dateFormat":""
},
"upsertStrategy":"",
"tableSchema":{
    "tableName":"",
        "columns":[{
            "columnName":"",
            "columnType":"",
"fieldLength":0
}]
}
}
Click the Common.generator button.
Click the Save button.
Click the OK button.
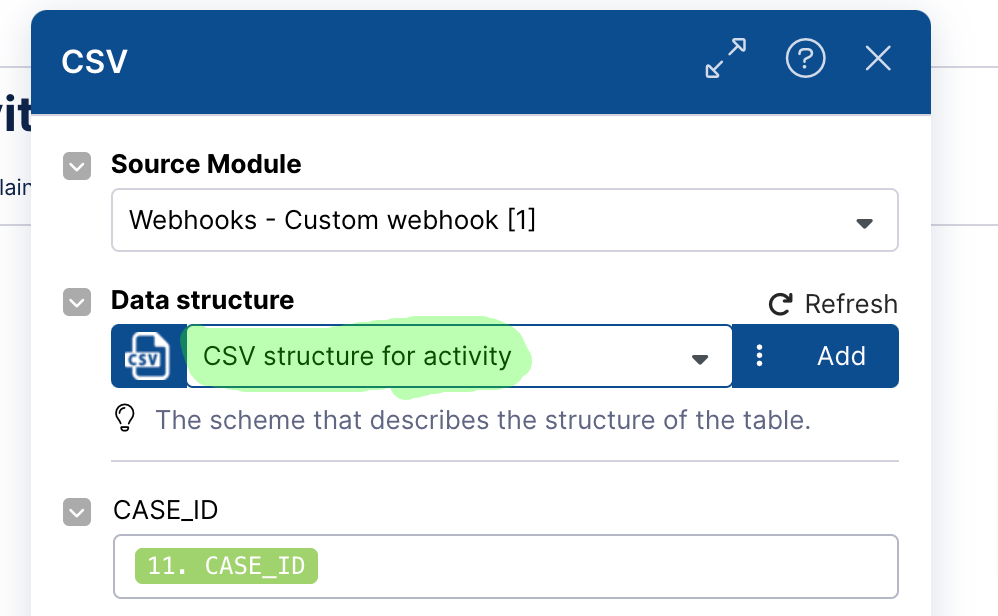
Step 5: CSV (12):
Click on CSV (12).
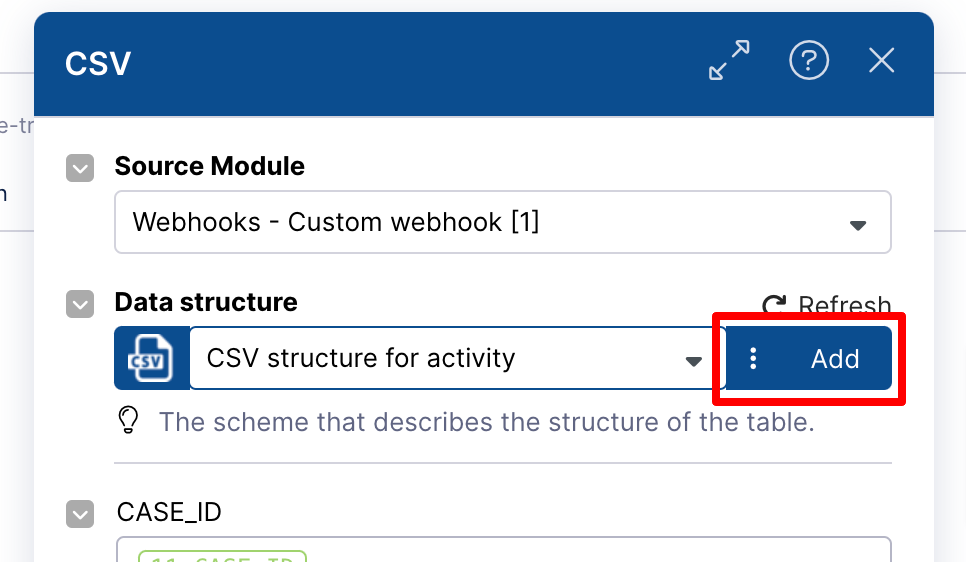
Click the Add button.
Enter the name (CSV structure for activity) in the udts.name field.
Click the Generate button.
Enter the name from the table below in the Name field and select the type.
Note
Add all items in the specification one-by-one.
Name
Type
CASE_ID
text
EVENTTIME
Date
ACTIVITY_EN
text
_SORTING
Number
USER_NAME
text
NOTE
text
Click the Save button.
Click the OK button.
Step 6: Tools (7):
Click on Tools (7).
Note
Need to change configuration according to Step 3: Tools (20).
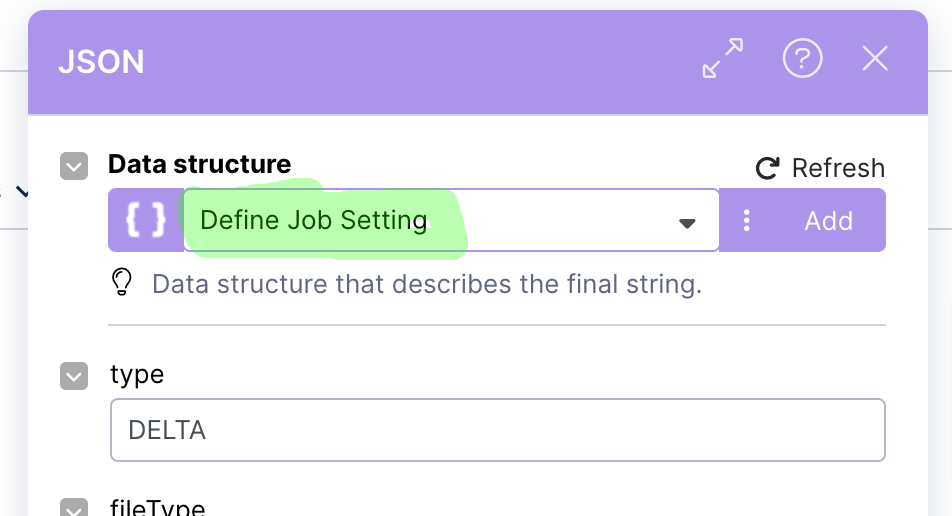
Step 7: Define Job Setting (13):
Click on Define Job Setting (13).
Select “Define Job Setting” in the Data structure field.
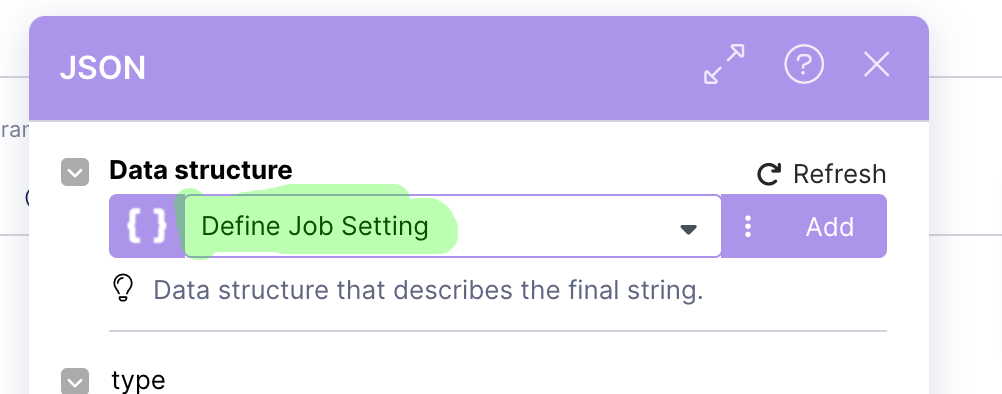
Click the OK button.
Step 8: Save the action flow:
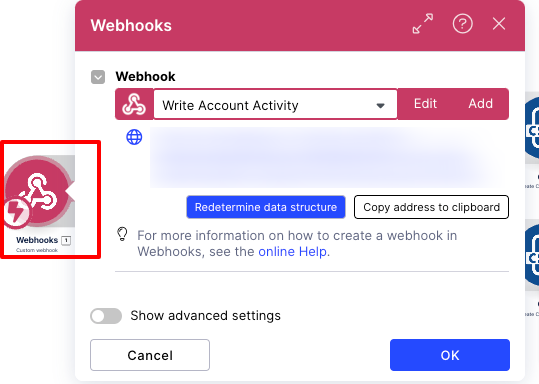
Write Account Activity:
Step 1: Add Webhooks (1):
Step 2: Create CSV (19):
Click on the CSV (19).
Select “CSV structure” for note in the Data structure.
Click the OK button.
Step 4: Tools (20):
Click on Tools (20).
Note
Need to change configuration according to the step (Write Transaction Activity (Step 3: Tools (20):)).
Click the OK button.
Step 5: Define Job Setting (21):
Click on the Define Job Setting (21).
Select “Define Job Setting: in the Data structure field.
Click the OK button.
Step 6: CSV (12)
Click on the CSV (12).
Select “CVS structure for the activity” in the Data structure field.
Click the OK button.
Step 7: Tools (20):
Click on Tools (20).
Note
Need to change configuration according to the step (Write Transaction Activity (Step 3: Tools(20):)).
Click the OK button.
Step 8: Define Job Setting (13)
Click on the Define Job Setting (13).
Select “Define Job Setting” in the Data structure field.
Click the OK button.
Step 9: Save action flow.
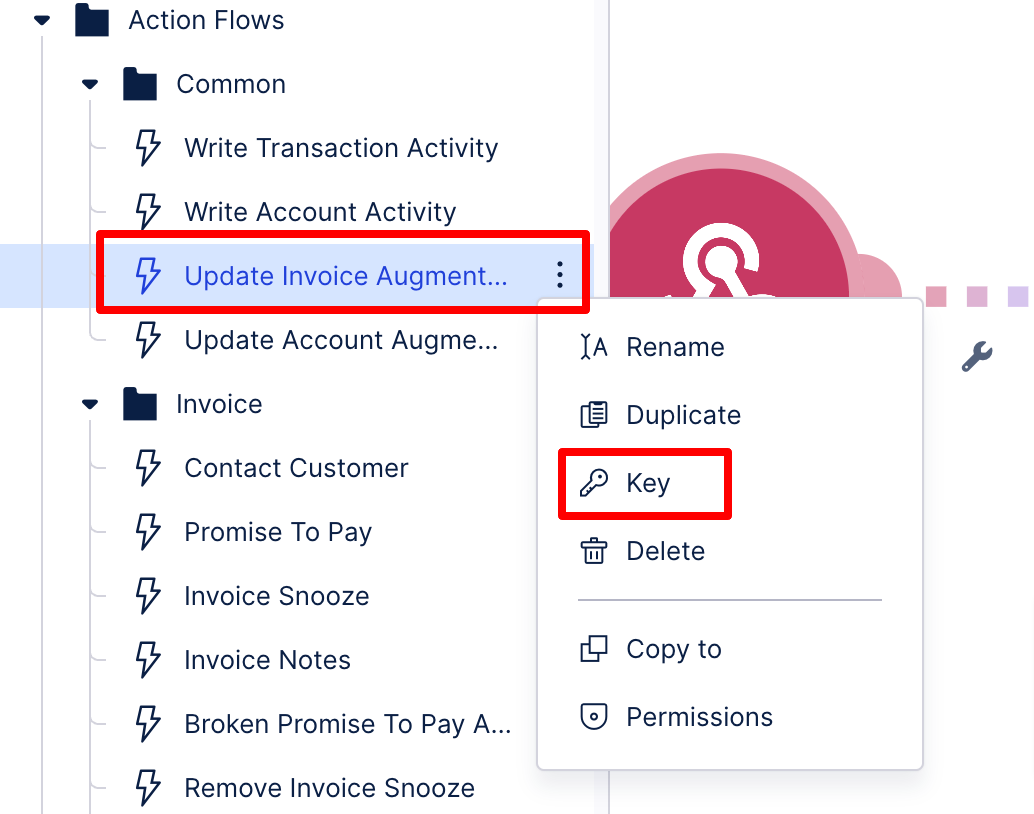
Update Invoice Augmented Attribute:
Step 1: Add Webhooks (1):
Step 2: Tools (36):
Click on Tools (36).
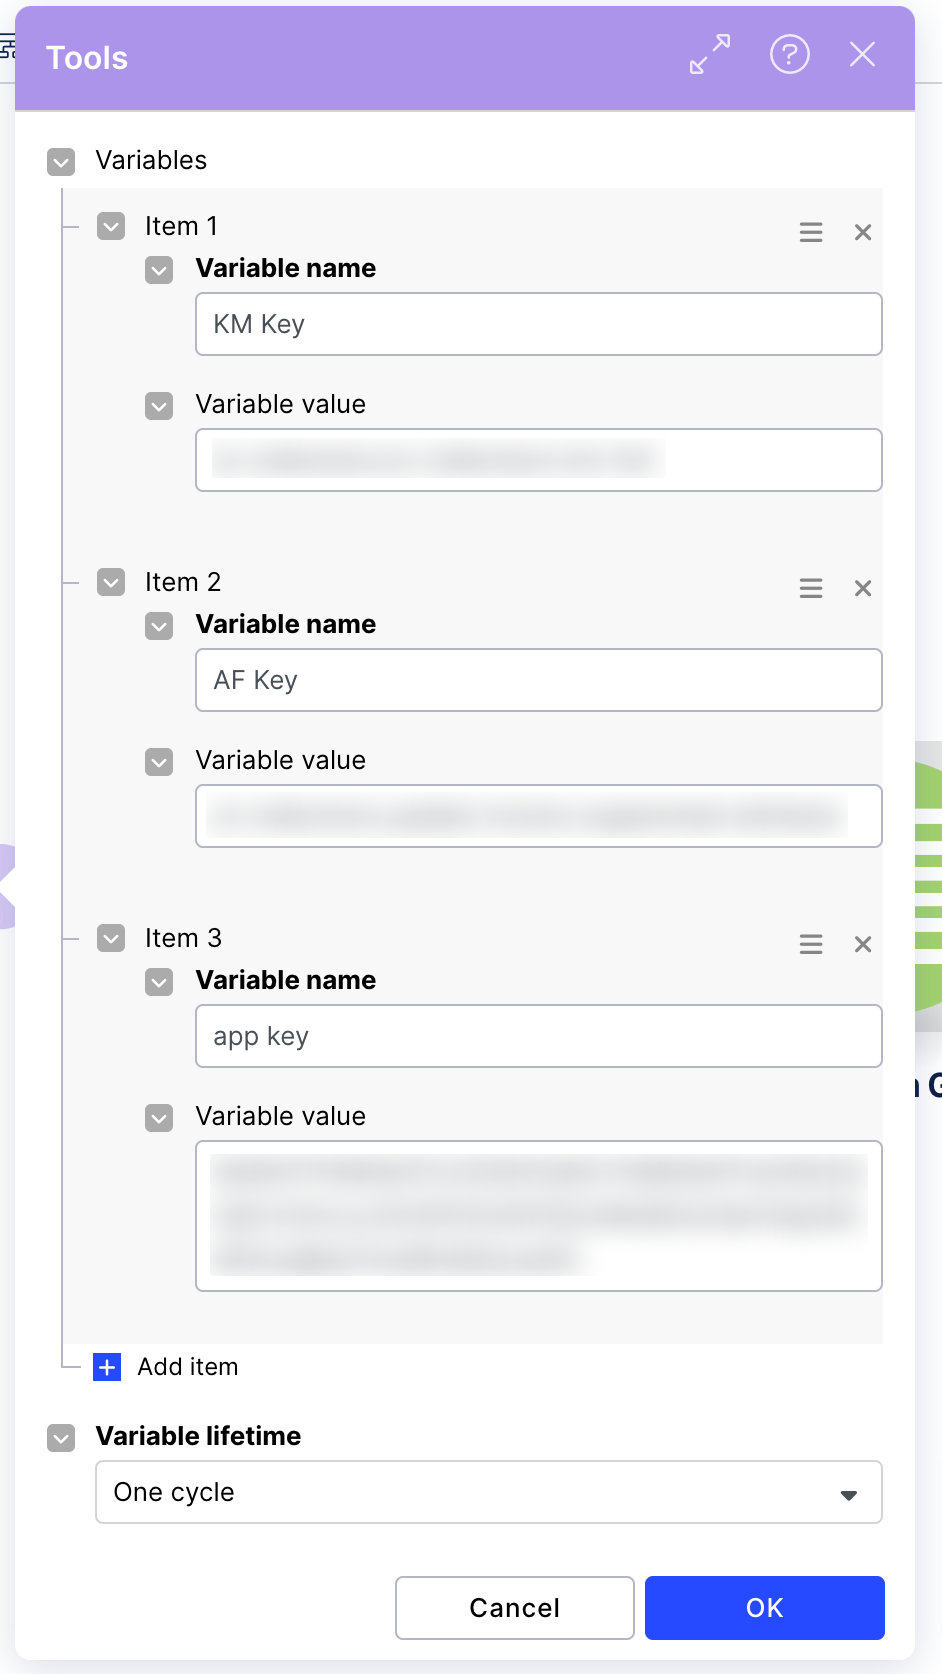
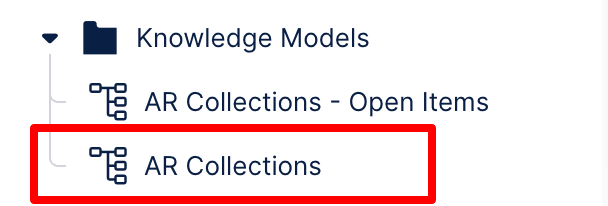
Enter the “KM Key” (copy the KM key and paste in the Variable Value field).
Enter the AF key (copy the AF key and paste in the Variable Value field).
Enter the App key.
Click the OK button.
Step 3: JSON for last action and last touched (32):
Click on the JSON for last action and last touched (32).
Click the Add button.
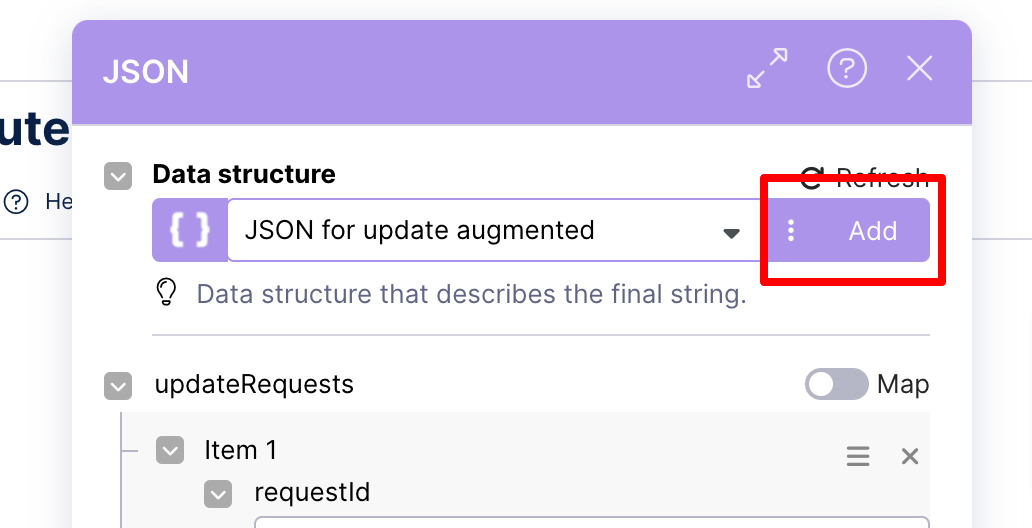
Enter the Name (JSON for update augmented) in the udts.name field.
Click the Generate button.
Enter the Json statement below in the datastores.generator.sample_data field.
{
"updateRequests":[{
"requestId":"",
"requestedBy":"",
"skillKey":"",
"augmentedAttributeValue":{
"knowledgeModelKey":"",
"recordMetadataId":"",
"augmentedAttributeId":"",
"recordId":"",
"value":""
}
}]
}
Click the Common.generator button.
Click the Save button.
Click the OK button.
Step 4: JSON for latest note and latest note date (41):
Click on the JSON for latest note and latest note date (41).
Select “JSON for update augmented” in the Data structure field.
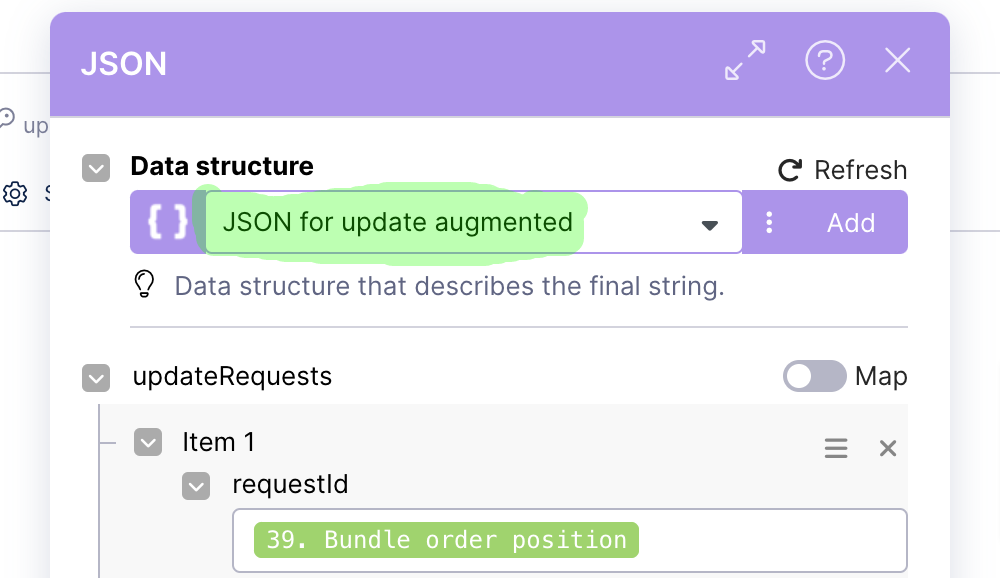
Click the OK button.
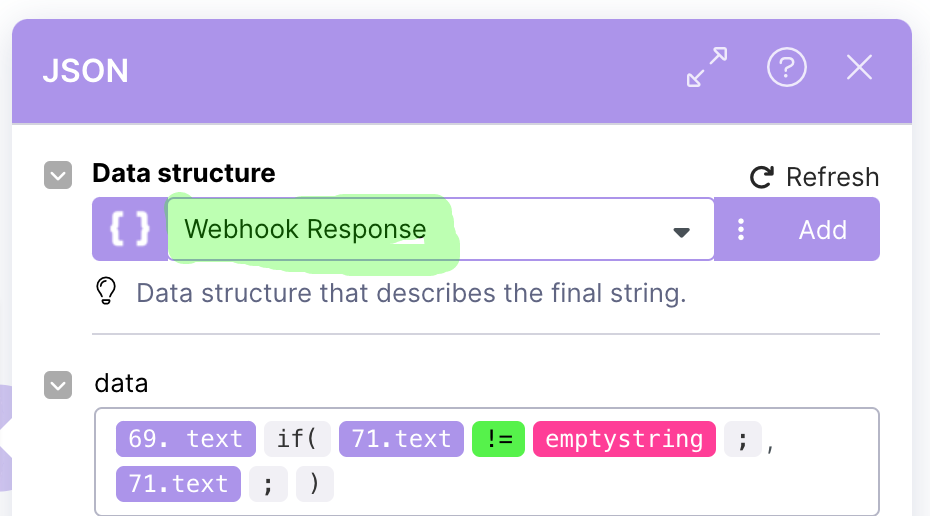
Step 5: JSON (59):
Click on JSON (59).
Click the Add button.
Enter the Name (Webhook Response) in the udts.name field.
Click the Generate button.
Enter the JSON statement in the datastores.generator.sample_data field
Note
Select "boolean type" for success.
{
"data":"",
"success":0
}
Click the Common.generator button.
Click the Save button.
Click the OK button.
Step 6: Save the action flow.
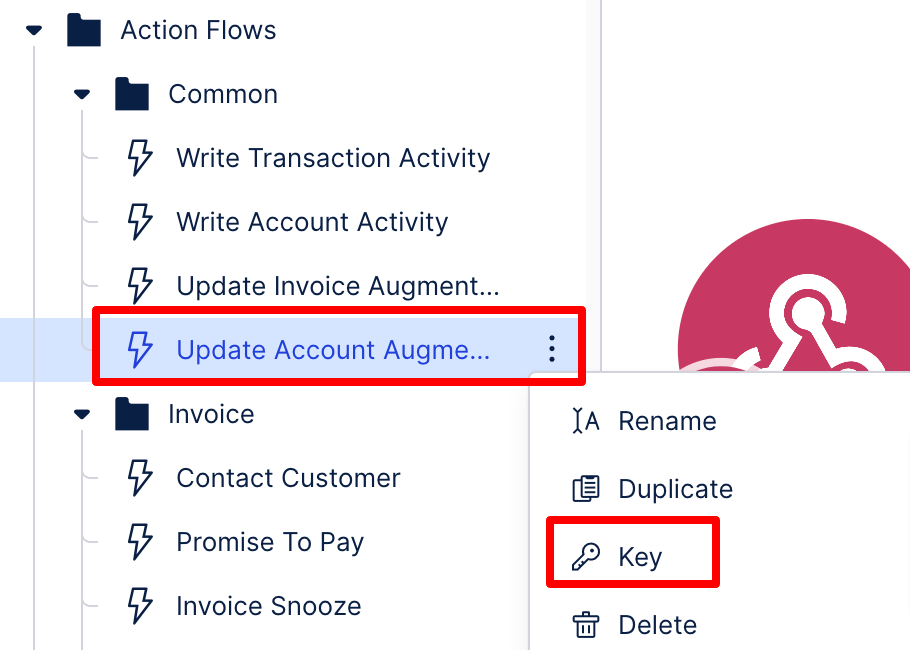
Update Account Augmented Attribute:
Step 1: Add Webhooks (1):
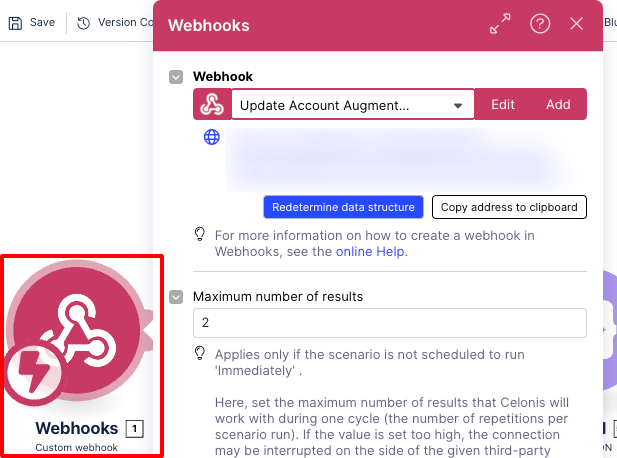
Step 2: Tools (36):
Click on Tools (36).
Enter the KM Key (copy the KMkey and paste in the Variable Value field).
Enter the AF key (copy the AF key and paste in the Variable Value field).
Enter the App key.
Click the OK button.
Step 3: JSON for last action and last touched (32):
Click on the JSON for last action and last touched (32).
Select “JSON for update augmented” in the Data structure field.
Click the OK button.
Step 4: JSON for latest note and latest note date (62):
Click on the JSON for latest note and latest note date (62).
Select “JSON for update augmented” in the Data structure field.
Click the OK button.
Step 5: JSON (59):
Click on the JSON (59).
Select “Webhook Response” in the Data structure field.
Click the OK button.
Step 6: Save the action flow.