Skills - Configuration changes
The Automation Skills necessary to use the app are available out of the box, however they will need several small updates to ensure they have the correct permissions and targets for your Celonis instance. Some of these steps can be performed using the instructions below:
Note
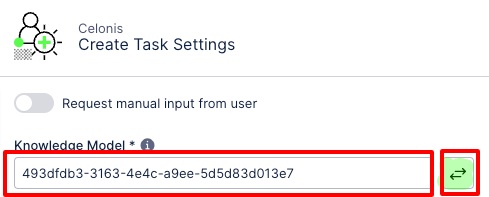
If the ID is visible on the field, you can switch the text input to dropdown by clicking the icon to the right.
Example:
 |
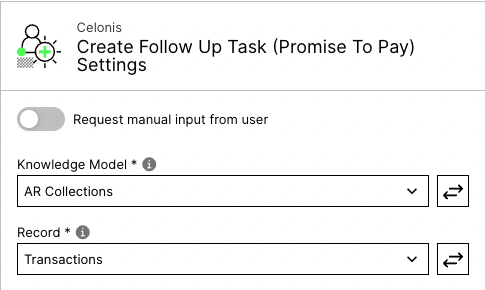
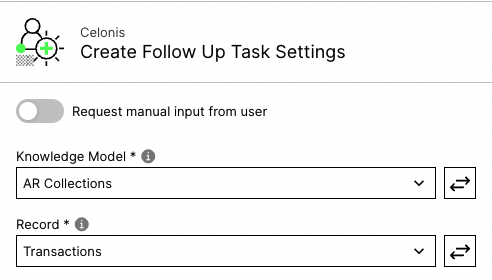
Skill: "Create Follow Up Task":
Step 5: Create Follow Up Task (Promise To Pay):
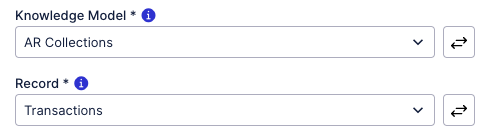
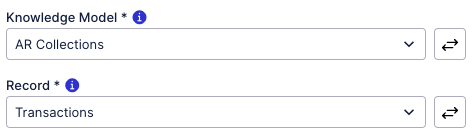
Knowledge Model: Select “AR Collections” as the knowledge model.
Record: Select the “Transactions” record from the knowledge model.
Step 20: Create Follow Up Task:
Knowledge Model: Select “AR Collections” as the knowledge model.
Record: Select the “Transactions” record from the knowledge model.
Step 8: Create Follow Up Task (Dispute):
Knowledge Model: Select “AR Collections” as the knowledge model.
Record: Select the “Transactions” record from the knowledge model.

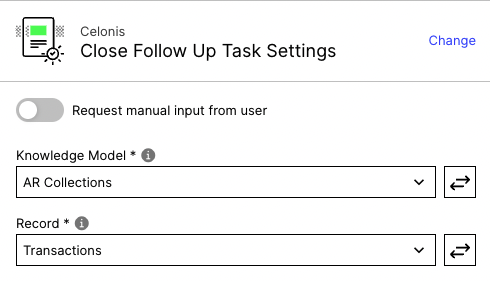
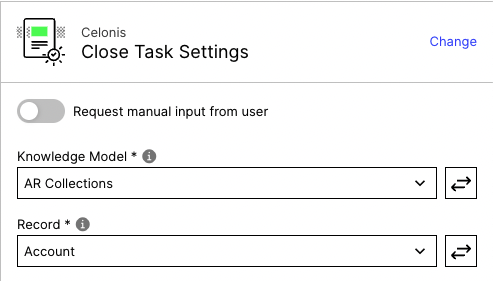
Step 10: Close Task:
Knowledge Model: Select “AR Collections” as the knowledge model.
Record: Select the “Transactions” record from the knowledge model.
Step 12: Create Follow Up Task:
Knowledge Model: Select “AR Collections” as the knowledge model.
Record: Select the “Transactions” record from the knowledge model.
Step 18: Close Task:
Knowledge Model: Select “AR Collections” as the knowledge model.
Record: Select the “Transactions” record from the knowledge model.
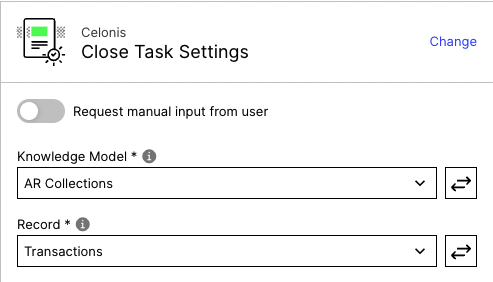
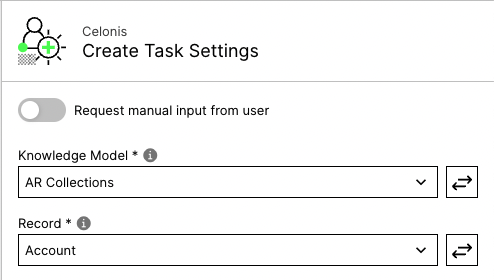
Step 14: Create Task:
Knowledge Model: Select “AR Collections” as the knowledge model.
Record: Select the “Account” record from the knowledge model.
Step 16: Close Task:
Knowledge Model: Select “AR Collections” as the knowledge model.
Record: Select the “Account” record from the knowledge model.
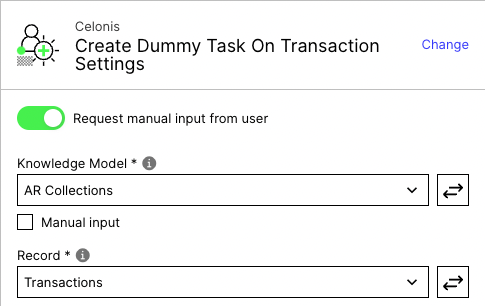
Skill: "Enabled Transaction Task Table - Dummy”:
Step 2: Create Dummy Task On Transaction:
Knowledge Model: Select “AR Collections” as the knowledge model.
Record: Select the “Transactions” record from the knowledge model.
Skill: "Enabled Account Task Table - Dummy”:
Step 2: Create Dummy Task On Account:
Knowledge Model: Select “AR Collections” as the knowledge model.
Record: Select the “Account” record from the knowledge model.

Skill: "Create Dispute Task”:
Step 2: Create Task For Dispute:
Knowledge Model: Select “AR Collections” as the knowledge model.
Record: Select the “Transactions” record from the knowledge model.
Step 11: Call Update Dispute Action Flow (Approve):
Action Flow: Select the “Update Dispute From Task” Action Flow.

Step 13: Call Update Dispute Action Flow (Rejected):
Action Flow: Select the “Update Dispute From Task” Action Flow.
Step 7: Close Task:
Knowledge Model: Select “AR Collections” as the knowledge model.
Record: Select the “Transactions” record from the knowledge model.
Step 9: Close Task:
Knowledge Model: Select “AR Collections” as the knowledge model.
Record: Select the “Transactions” record from the knowledge model.