Registering Application Keys in Celonis Platform
Note
Where possible, we recommend using the OAuth 2.0 authentication method. For more information, see: Using OAuth 2.0.
Creating applications enables you to give access and permissions to any applications you create, either within your or externally. Applications can be of two types: OAuth clients or Application Keys. Once created, an application must be granted the necessary permissions within your Celonis Platform. By default, applications are created without any permissions set.
Admins can also receive system notifications whenever a new application has been created. See: System notifications
Procedure
To create an application and grant it permissions:
In your Celonis Platform, click Admin & Settings > Applications.
Tip
The UI shows all applications and their type split into two categories: customer-configured and Celonis-configured applications. Customer-configured applications are managed by customer admins and are created when, for example, the admin needs to integrate another application with the team. Celonis-configured applications are configured and managed by Celonis services to integrate seamlessly with the team. For example: Task Mining creates an OAuth client every time a device is activated. The On-Premise Client is used to bootstrap extraction whenever it is installed on an on-prem device.
Click Add New Application.
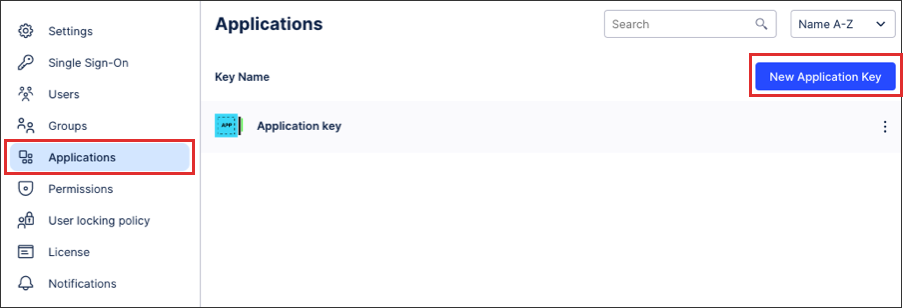
Click Application Key.
Enter the key name and Save.
Copy the application key displayed. It will be necessary to assign permission to your application.
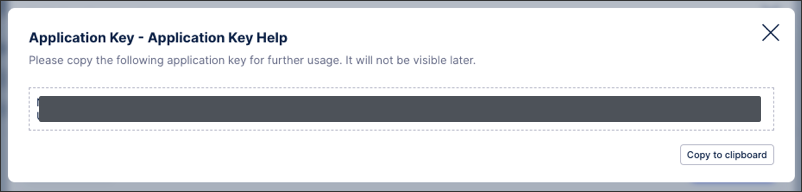
Note
You can only view an application key once, so make sure to copy it when you create it. If you don't have a copy of the keys on your list, you'll need to create a new one.
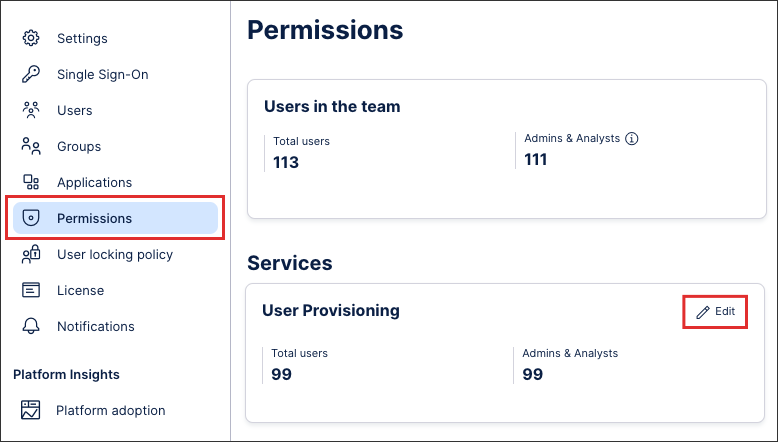
In your Celonis Platform, go to Admin & Settings > Permissions.
Locate the service you need and click Edit.
In this example, we’re updating the User Provisioning service.
Select the required template for your application and, if required, enable SCIM permissions.
In this example, we are granting our application with manage permissions and enabling SCIM permissions.
Click Save.
Add the Application Key to the authorization header of your requests using the following format
Authorization: AppKey APPLICATION_KEY
Your application now has the correct permissions within your Celonis Platform.
What's next
You can use application keys for a number of Celonis Platform features and use cases. These include: