Process Navigator display settings
Important
You must be a Celonis Process Management team admin to view and edit Process Navigator display settings. Any changes you make to display settings will be implemented for all users in your Process Navigator team.
Display settings you can change in Process Navigator
You can:
Change the language displayed on the Process Navigator home page.
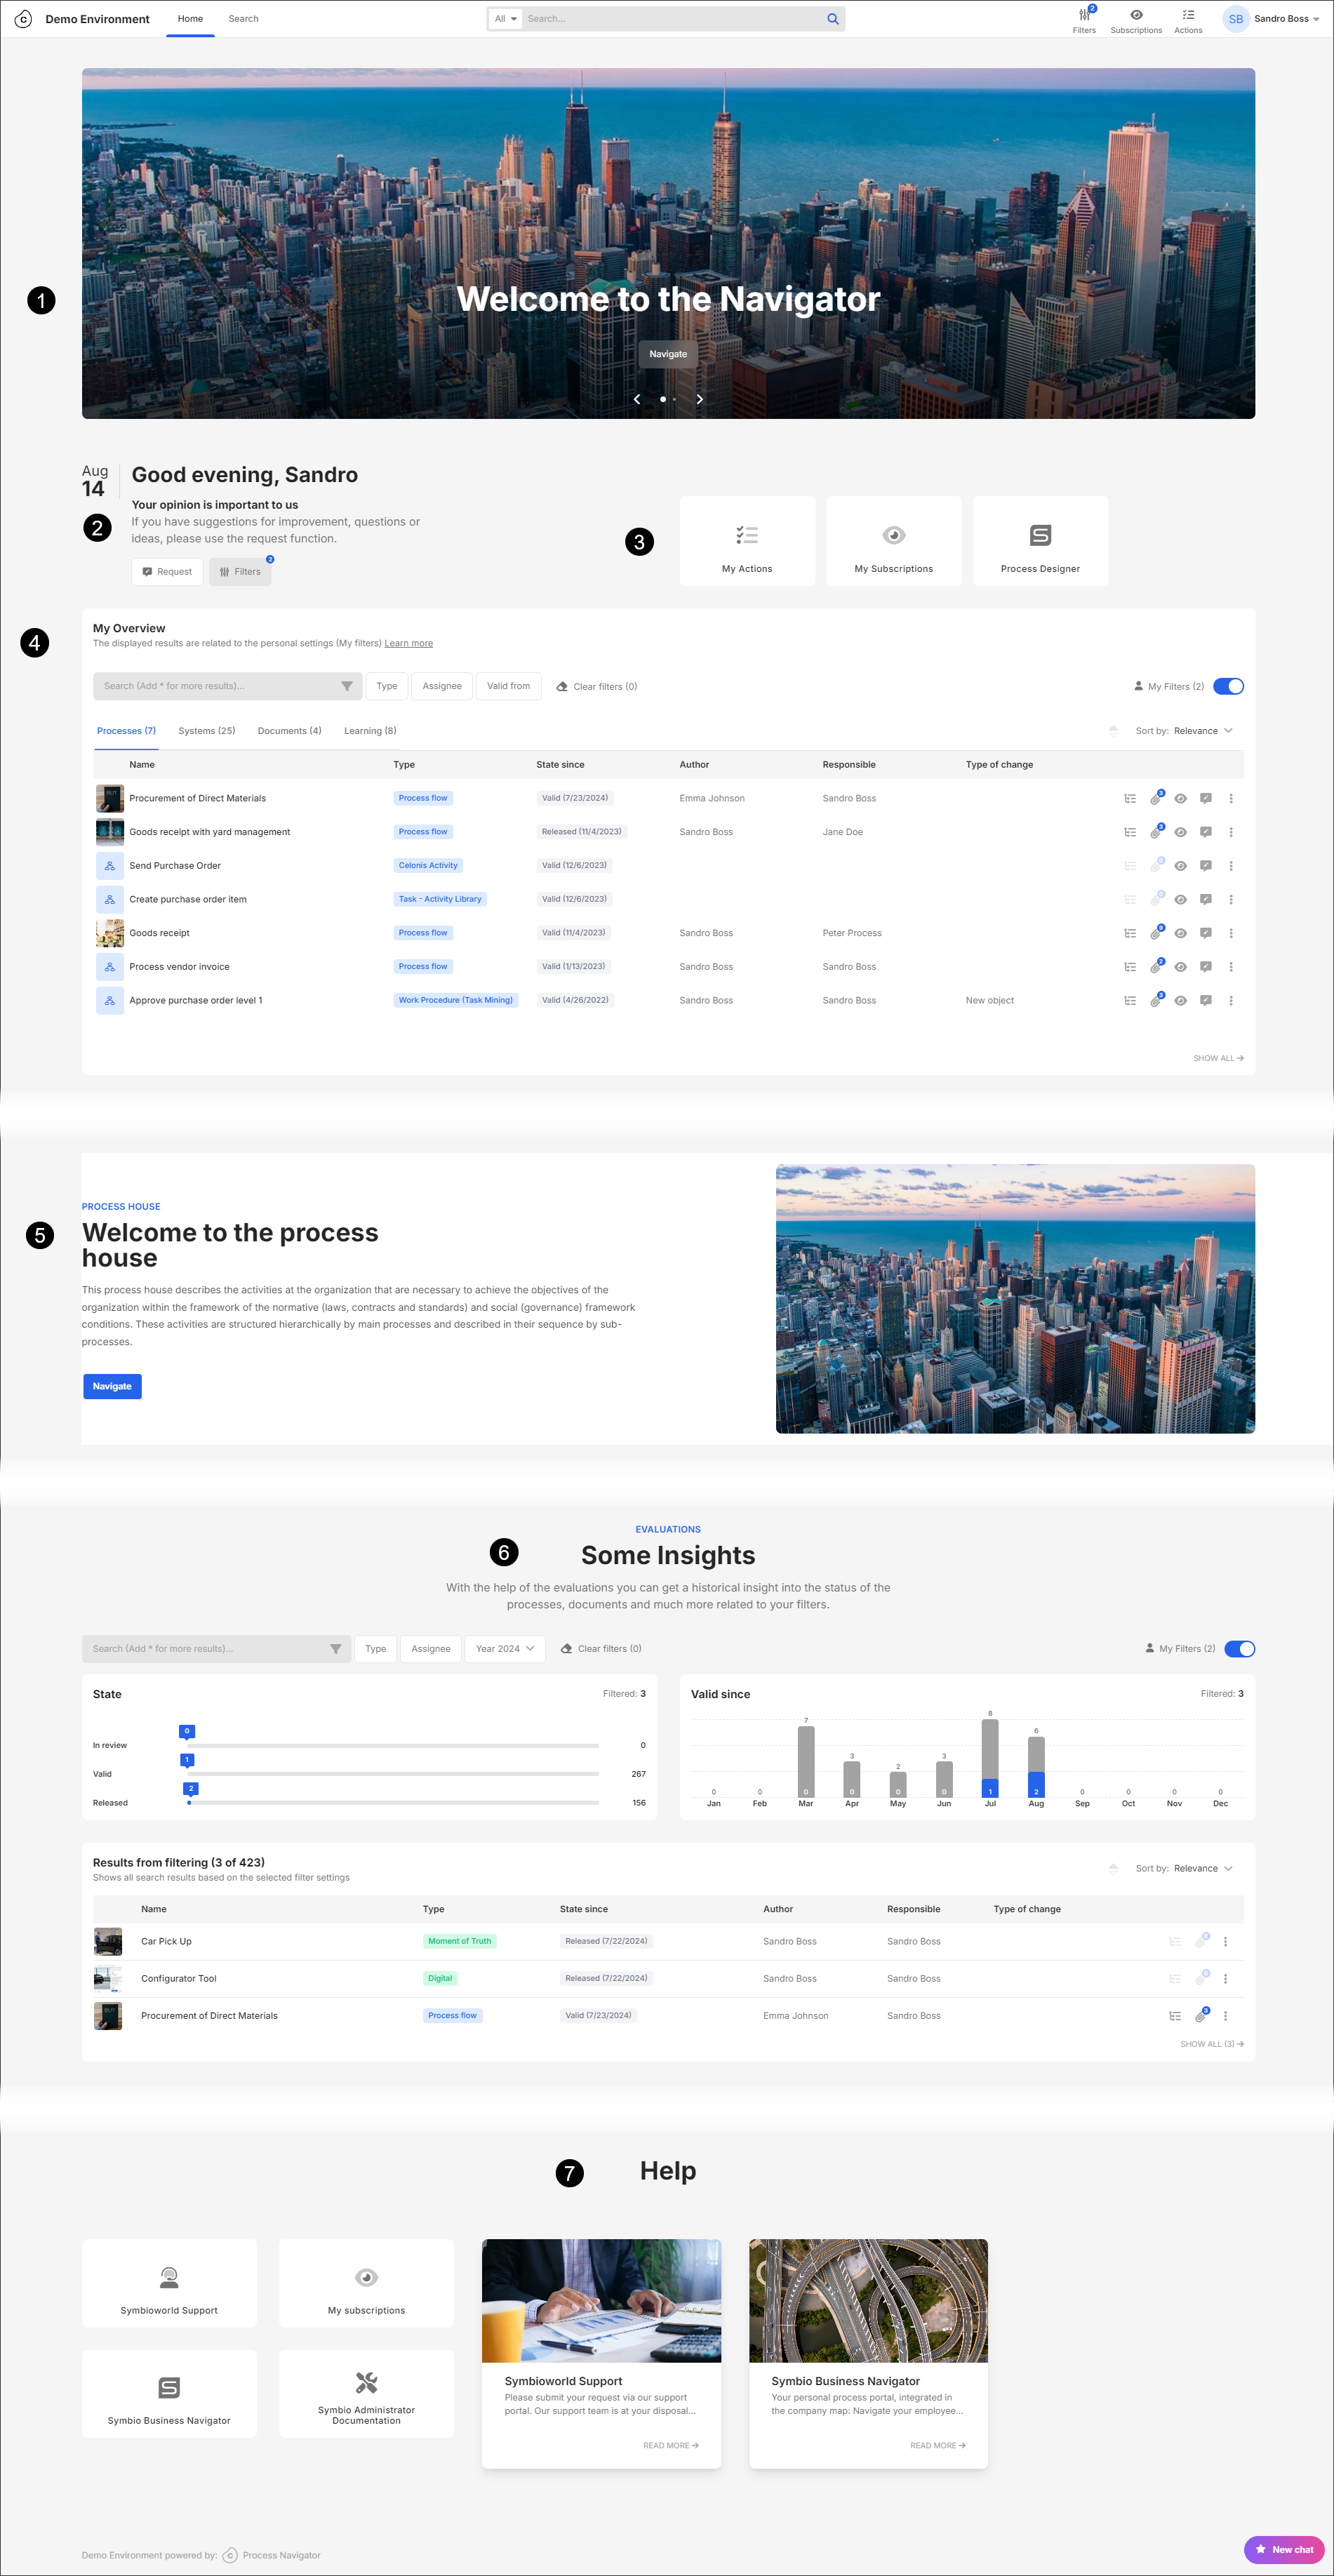
Enable or disable different sections of the Process Navigator home page and change their content.
Change the logo displayed on the Process Navigator home page and the Process Navigator storage name.
Changing display settings
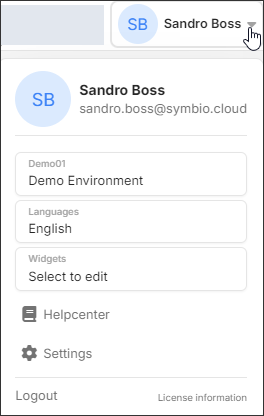
In the top-right of the Process Navigator home page, select the dropdown next to your login name.
Select:
Languages to change the language displayed on the Process Navigator home page.
Widgets to make changes to the sections displayed on the Process Navigator home page and their content.
Settings to change the logo displayed and the Process Navigator storage name.
Tip
The current storage name is dispayed in the menu. In this example, the storage name is Demo Environment.
Editing widgets on the Process Navigator home page
 |
To edit | Select this menu item... | To... |
|---|---|---|
| Edit Slideshow | Add, remove or change the:
|
| Edit Welcome |
|
| Edit Quicklinks |
|
| Edit Overview |
Tip In this example, the type categories displayed are Processes, Systems, Documents and Learning. |
| Edit Full Size |
Tip The maximum file size allowed is 500 KB (0.5 MB). |
| Edit Insight |
|
| Edit Resource | Enable or disable all content in this section.
|


Changing the logo and storage name
Note
You can change the logo, the storage name or both the logo and storage name.
Follow changing display settings for the logo and storage name.
The Settings page opens.
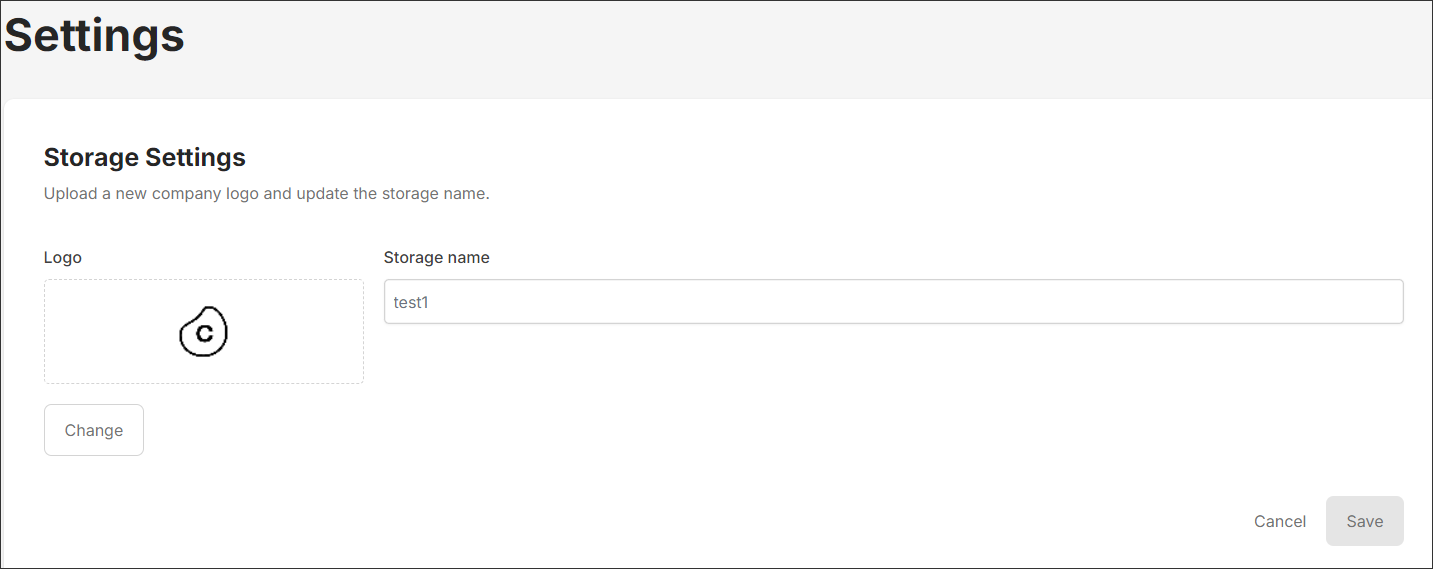
Click Change and navigate to the logo image you want to use (optional).
Note
Logo images must have these characteristics:
Format: jfif, pjpeg, pjp, jpg, png, svgz or svg.
Height: Maximum of 32 px. As larger images will be scaled down, we recommend you use images that are either 32 px exactly or multiples of 32 px.
Width: Maximum of 500 px.
Enter the name you want to use in the Storage name field (optional).
Select Save.