Network Explorer extensions
This page is for advanced users such as analysts setting up Network Explorer features for business users.
You can extend Network Explorer to add some functionality that is not already built in. This page shows how you can:
add dropdown lists.
set up node KPIs and edge KPIs.
Adding dropdown lists in the UI
You can set up set up dropdown list for users based on the Knowledge Model you're using.
There are three main steps:
Define the elements that will appear in the dropdown.\
Create a view variable to hold the user's selection when they choose from the dropdown list.
Set up your component in Network Explorer to consume the view variable.
Here's how to do that.
Define the elements that will appear in the dropdown:
Create a custom attribute in the Knowledge Model's YAML.
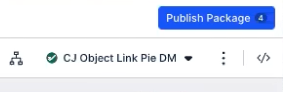
Click Network Explorer.

Click the </> icon to open the YAML editor.
Scroll down until you see the customObjects: attribute.
If you don't find it, you'll need to create it in the next step. Otherwise, you'll need to update it in the next step.
Define the elements you want to see in the dropdown.
To create a dropdown that lists all the layout options, you'll need to define them in YAML.
Add this section to the YAML.
customObjects:
  - id: GRAPH_LAYOUT
    displayName: Graph Layout
    customAttributes:
      list:
        - name: CIRCLE
          displayName: Circle
        - name: HIERARCHY
        - name: HIERARCHY_BT
        - name: HIERARCHY_LR
        - name: HIERARCHY_RL
        - name: SPRING_FDP
        - name: SPRING_NEATO
Close the Knowledge Model and go to the view where you will use the dropdown.
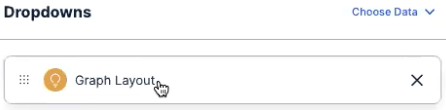
Create a new dropdown.
In the dropdown's visual editor, select the custom attribute you defined in the Knowledge Model.
Click Choose Data.
Select Custom Objects and then select Graph Layout..
Click Apply.
Click Save.
Click Exit Edit Mode.
Create a view variable to hold the user's selection when they choose from the dropdown list:
Create a view variable.
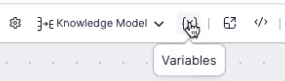
Click Edit Mode.
Click the variables {x} icon.
Click New Variable.
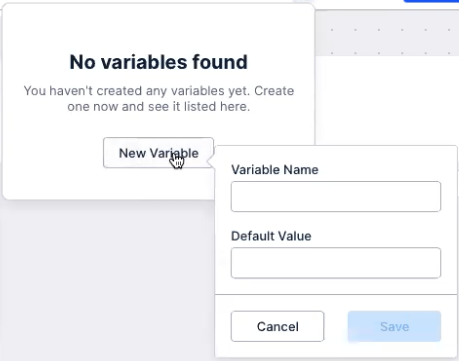
Enter a name for your new variable.
Make a note of the name.
Note that the name cannot include special characters such as dashes.
Optionally, enter a default value for the variable.
Click Save to save the configuration of the variable creation dialog box.
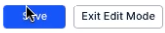
Click Save to save the configuration of the view.
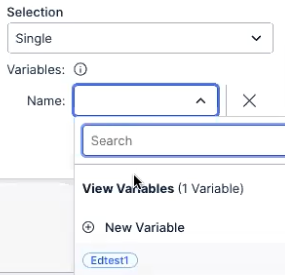
Configure the dropdown to write the user selection to the view variable.
Hover over your dropdown.

Click Edit Component.

Click Graph Layout.
Click the checkbox for Variable update.
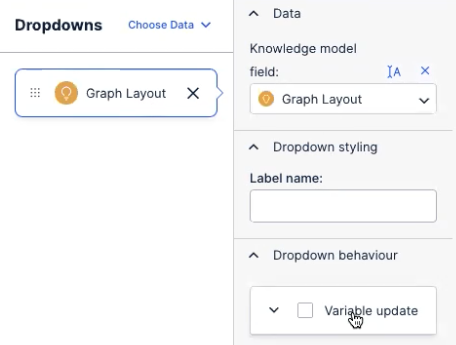
Click Name and select the variable that you want to connect to your dropdown.
Click Save.
Click Exit Edit Mode.
Set up your component in Network Explorer to consume the view variable:
Edit the YAML of the Network Explorer component.
Click Edit Mode
Click the + icon.
Choose a column layout.
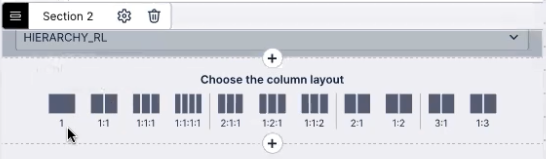
Click Create Component and select the Network Explorer.

Open the Nodes dropdown.
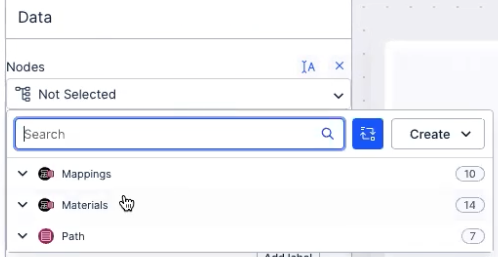
Select Materials and then Material.
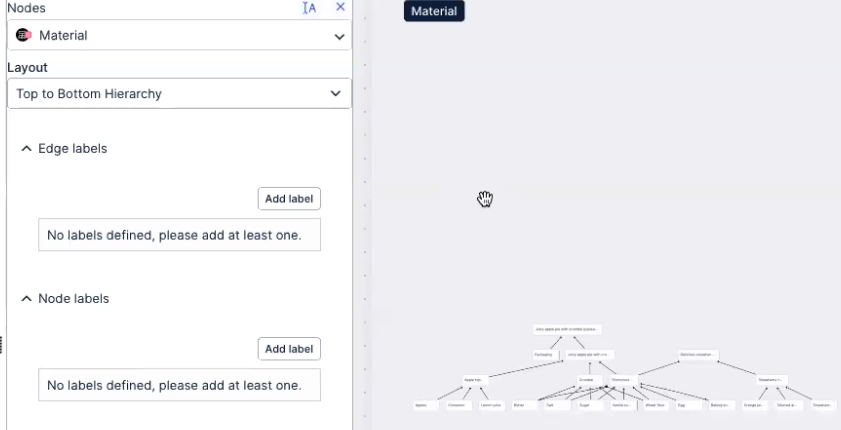
Wait until Celonis Platform builds the preview of the layout in the right pane.
Overwrite the layout definition to include the variable.
Note that variable names take this format: ${example}.
Click the </> icon to open the YAML editor.
The existing YAML might look like this:
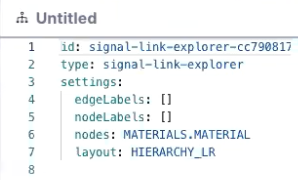
Overwrite the layout: attribute in line 7 with the name of your variable. That is, change line 7 (retaining the indentation) to:
layout: ${Graph_Layout}Click Save and then click Exit Edit Mode.
Click Save.
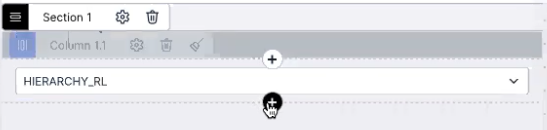
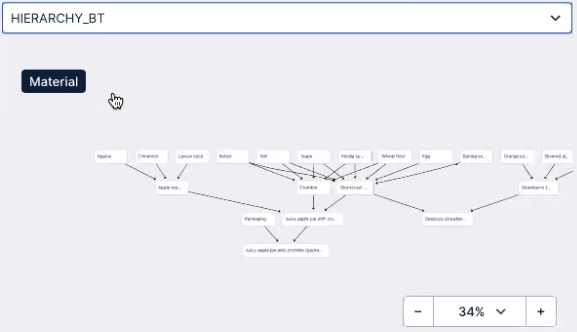
Now you can test that it's all working.
Make a note of the layout you currently have on screen. Here, it's HIERARCHY_RL.
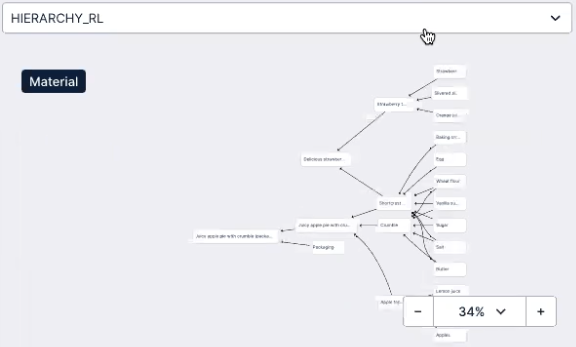
Select a different layout option from the dropdown.
Adding node KPIs and edge KPIs
You can add node or edge KPIs of your choice from a Knowledge Model.
The procedure to do this is almost the same as the procedure shown above (for adding dropdowns). The only difference is in step 1a.
Here, rather than using a predefined list of layout names, you would use the ids of the KPIs you want the user to be able to select from.