Translating Studio Apps
Note
You're currently viewing a topic describing a Studio feature using the general availability feature set. This feature is also available in the new Studio experience, however both the design and the way it works may be different to what you see described here.
For more information about the new Studio experience, see: Studio (new experience)
Analysts can enable App Translations and provide a translation Map for user-generated content like Knowledge Models, Views, etc. This feature is a Package setting, and changes are available when published.
Translation maps can be imported/exported to .CSV to facilitate translation on third-party platforms. Supported languages include Dutch, English, French, German, Italian, Japanese, Portuguese, Russian, and Spanish.Translation.
Enable translations
To enable translations in your App, follow these steps:
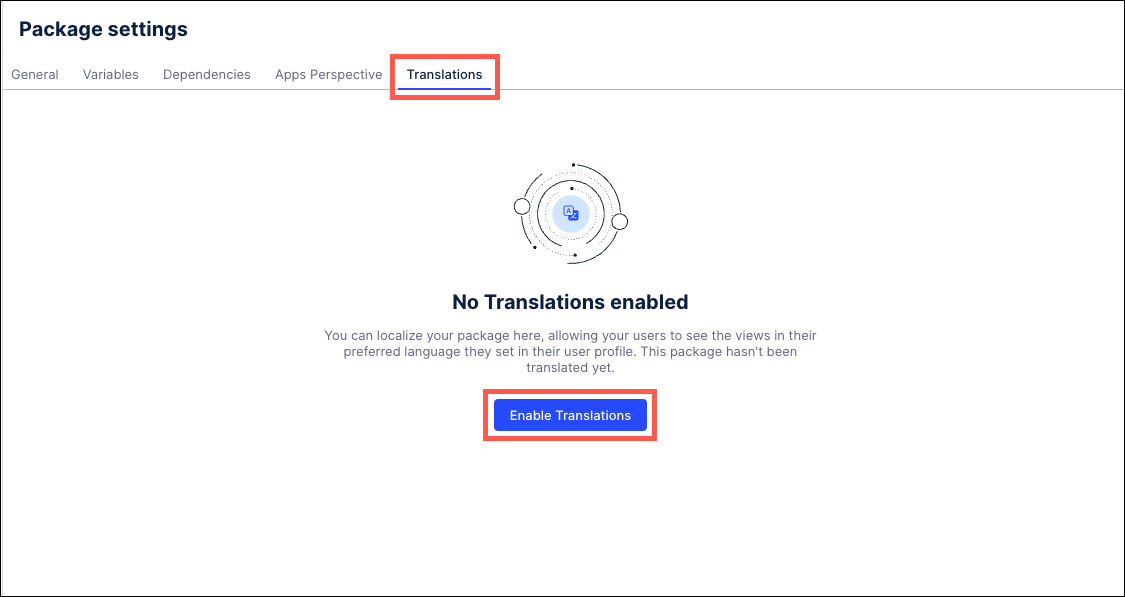
Go to your Package "Settings" and click the Translations tab.
Click Enable Translations to activate the feature.
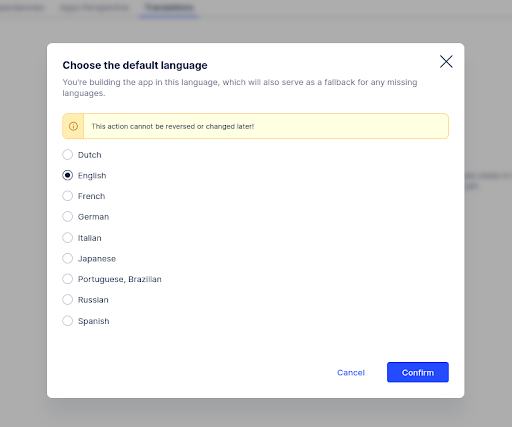
Select the "default language," typically the language your App is built on, and acts as a fallback for missing translations. Click "Confirm" to proceed.
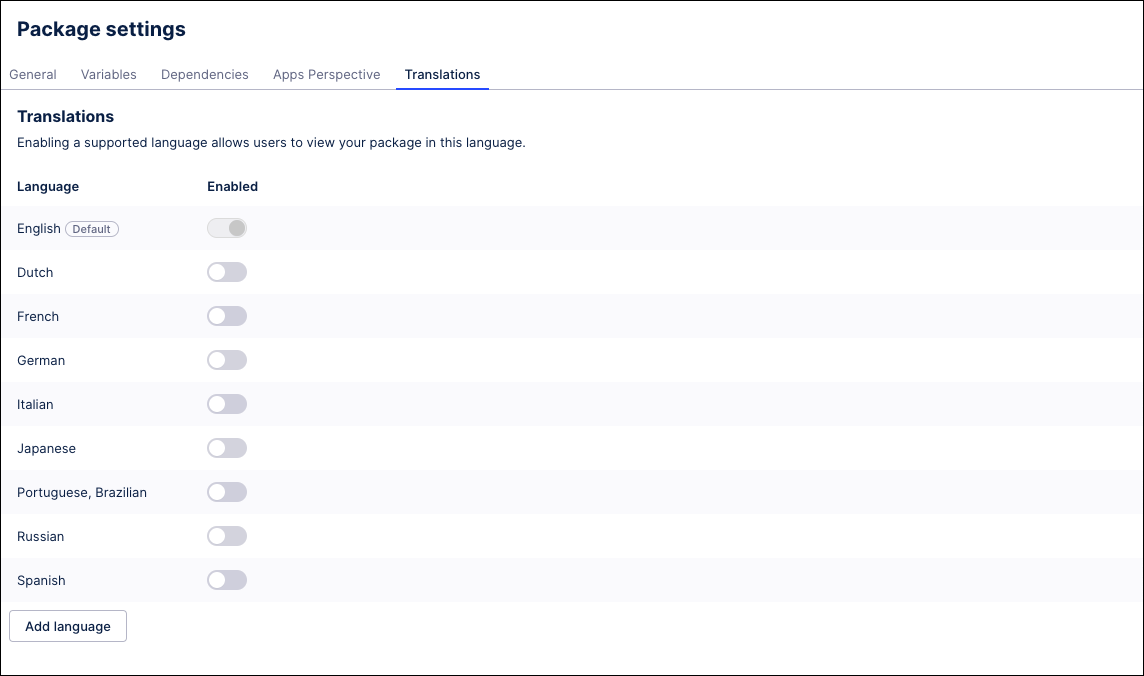
Once enabled, access the Translations tab to manage the languages you want to provide translations for. Currently, we support nine languages.
Use the "Active" column to toggle the availability of a language to business users after publishing. Click Edit to manage each specific language.
Editing languages
While editing a specific language, you'll find two main features:
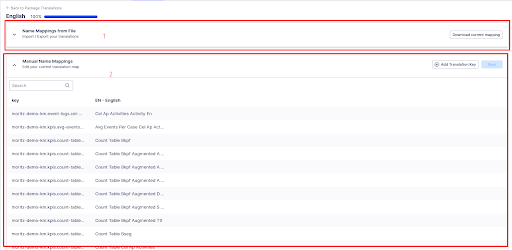
Name Mappings from File: Export your translations to a .csv file, work with them outside Celonis, and upload them back to the system. The .csv file should have three columns: the translation key, the default language value, and the target language.
Manual Name Mappings: Make quick changes and create new translation keys directly in Studio.
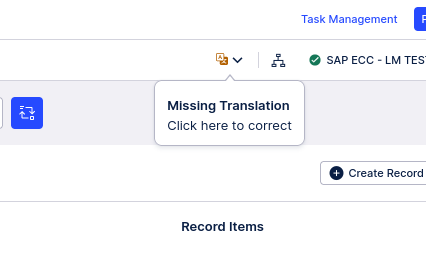
For supported Assets (Knowledge Model & Views only), a new option is now available in the toolbar. This option captures all attributes in the asset that are not translated.
The tool scrapes all strings from the YAML configuration and adds them to the translation map.
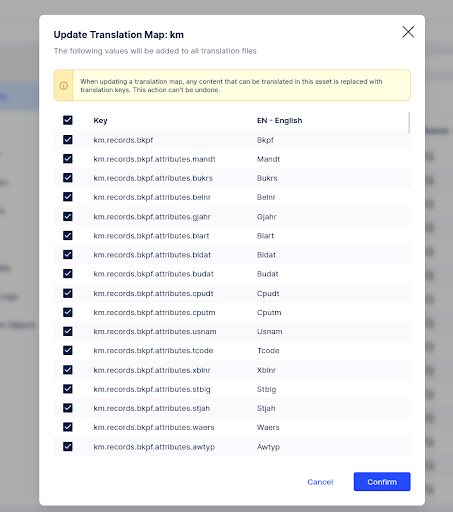
For each value, a translation key is created on the translation maps, and the string in YAML is replaced with the corresponding translation key using the following syntax.

If you have a value with variables, these variables are passed within the translation key and can subsequently be utilized in key values.
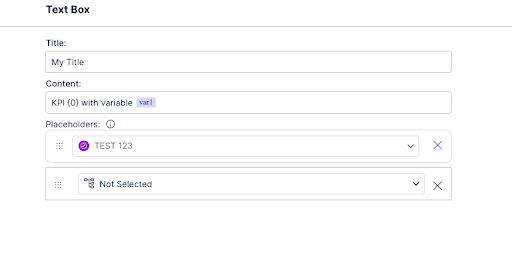
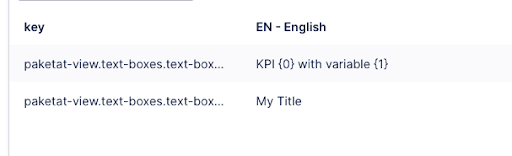
This is how the keys will appear once they are created.

Each variable is converted into a parameterized variable. The order in which the variables are passed to the key is important. So, {0} represents the first variable passed to the key, {1} represents the second, and so forth.
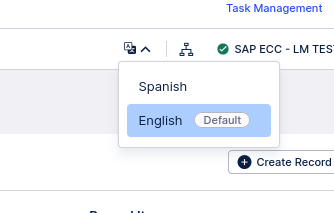
Users can preview the Asset in different languages using the translation button once the Asset is translated.
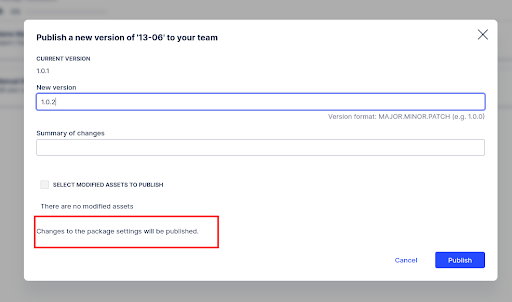
You must publish the package to make the translation available to business users in Apps. Changes to translation maps are displayed as "Package" settings
Once published, the App will be served to the Business user in the language set on their profile in the Celonis Platform.