Views Metadata
Note
You're currently viewing a topic describing a Studio feature using the general availability feature set. This feature is also available in the new Studio experience, however both the design and the way it works may be different to what you see described here.
For more information about the new Studio experience, see: Studio (new experience)
The metadata section of a View's YAML configuration groups attributes together that provide information about the View itself.
The Key and Name of a View are required, the other attributes are optional. Here is a full example configuration:
metadata:
  key: "my-first-view" #required
  name: "My First View" #required
  knowledgeModelKey: "MY_KNOWLEDGE_MODEL"
  template: true
  image: "data:image/png;base64,iVBORw0KGgo..."
  profileView: false
  liveView:
    autoReload: true
Visual View Metadata Editing
Instead of configuring your view metadata with YAML, you can also use the visual view editor. This allows you to do the following:
Change the name of your view.
Select or change the linked Knowledge Model.
Set your view as profile view.
Set your view as live view.
Set your view as template.
 |
Configuring Metadata
Naming a View
When creating a View, you are asked to enter a name. When entering a name, the key of the View is automatically created based on the View's name but without containing spaces and transformed to lower letters only.
metadata:
  name: "Action View"
  key: "action-view"
The View's name is displayed in the left-side navigation panel and on top of the View as the title. However, this name is only the display name of the View (and not its identifier). In contrast to the key of a View, the name can be changed.
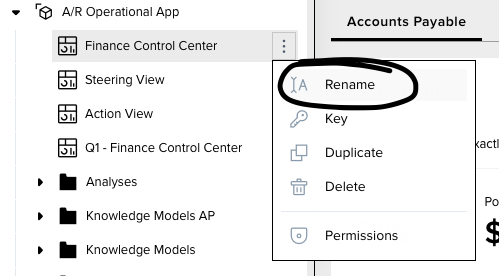
You can rename a View by
Changing the YAML configuration.
Clicking on the three-dot menu next to the View's name and selecting "Rename".
Linking a Knowledge Model
When creating a View, you can simultaneously link a Knowledge Model to it. However, you don't have to. You can also leave the Knowledge Model blank and add it at a later point in time.
 |
To add or change a Knowledge Model at a later point, go to the metadata of your View in the YAML editor and set "knowledgeModelKey: [YOUR_KM]"
The Knowledge Model's Key is linking the View to the respective Knowledge Model that defines the Business Knowledge Entities you would like to display in your View.
Note
Please make sure that you enter the Key of the Knowledge Model and not its name.
How to get a Knowledge Model Key
There are two ways to get a Knowledge Model Key.
Click on the three-dot menu next to the Knowledge Model's name in the left-side navigation panel and select "Key".
Go to the Knowledge Model's YAML configuration and copy "key: SOME_KNOWLEDGE_MODEL" which you can find in its metadata.
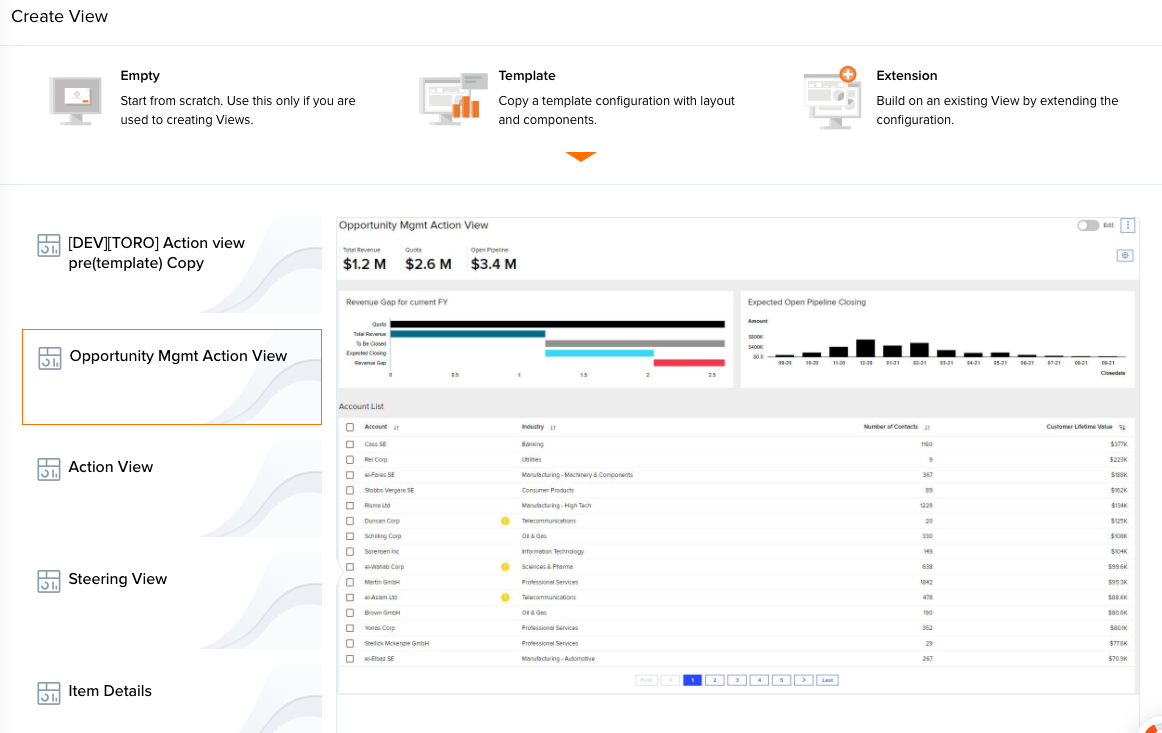
Creating Templates
To make a board configuration accessible as a template within your team, simply add template: true to your metadata.
You can also add a screenshot to make it easier for creators to understand what configuration they are getting when they choose your template. As a result, they can see a preview when choosing the template.
Adding preview images to templates with Base64
Base64 is an encoding scheme used when binary data (such as images or video) needs to be transmitted over systems that are designed only to deal with data in a plain-text format.
Take a screenshot (zoomed in to make it easy to see).
Convert the image to the Base64 format (e.g. https://www.base64-image.de/).
Add it in the metadata as
"image:data:image/png;base64,[your base64 equivalent e.g. iVBORw0KGgoAAAANSUhEUgAAA...]"
Enabling Live Updates
Defines whether the view should check for new Data Model loads. If the Data Model has been reloaded, the view will reload itself automatically (if autoReload: true) or offer to reload the view to not disturb the user flow. You will see the results of this as a note below your View's title informing you about the last reload.
metadata:
  liveView:
autoReload: true/false |
Building Profile Views
A Profile View provides a detailed View for an object that is defined by the Knowledge Model. This Profile View can be used as a modal that is accessible from components of other Views (e.g. a table in an Action View).
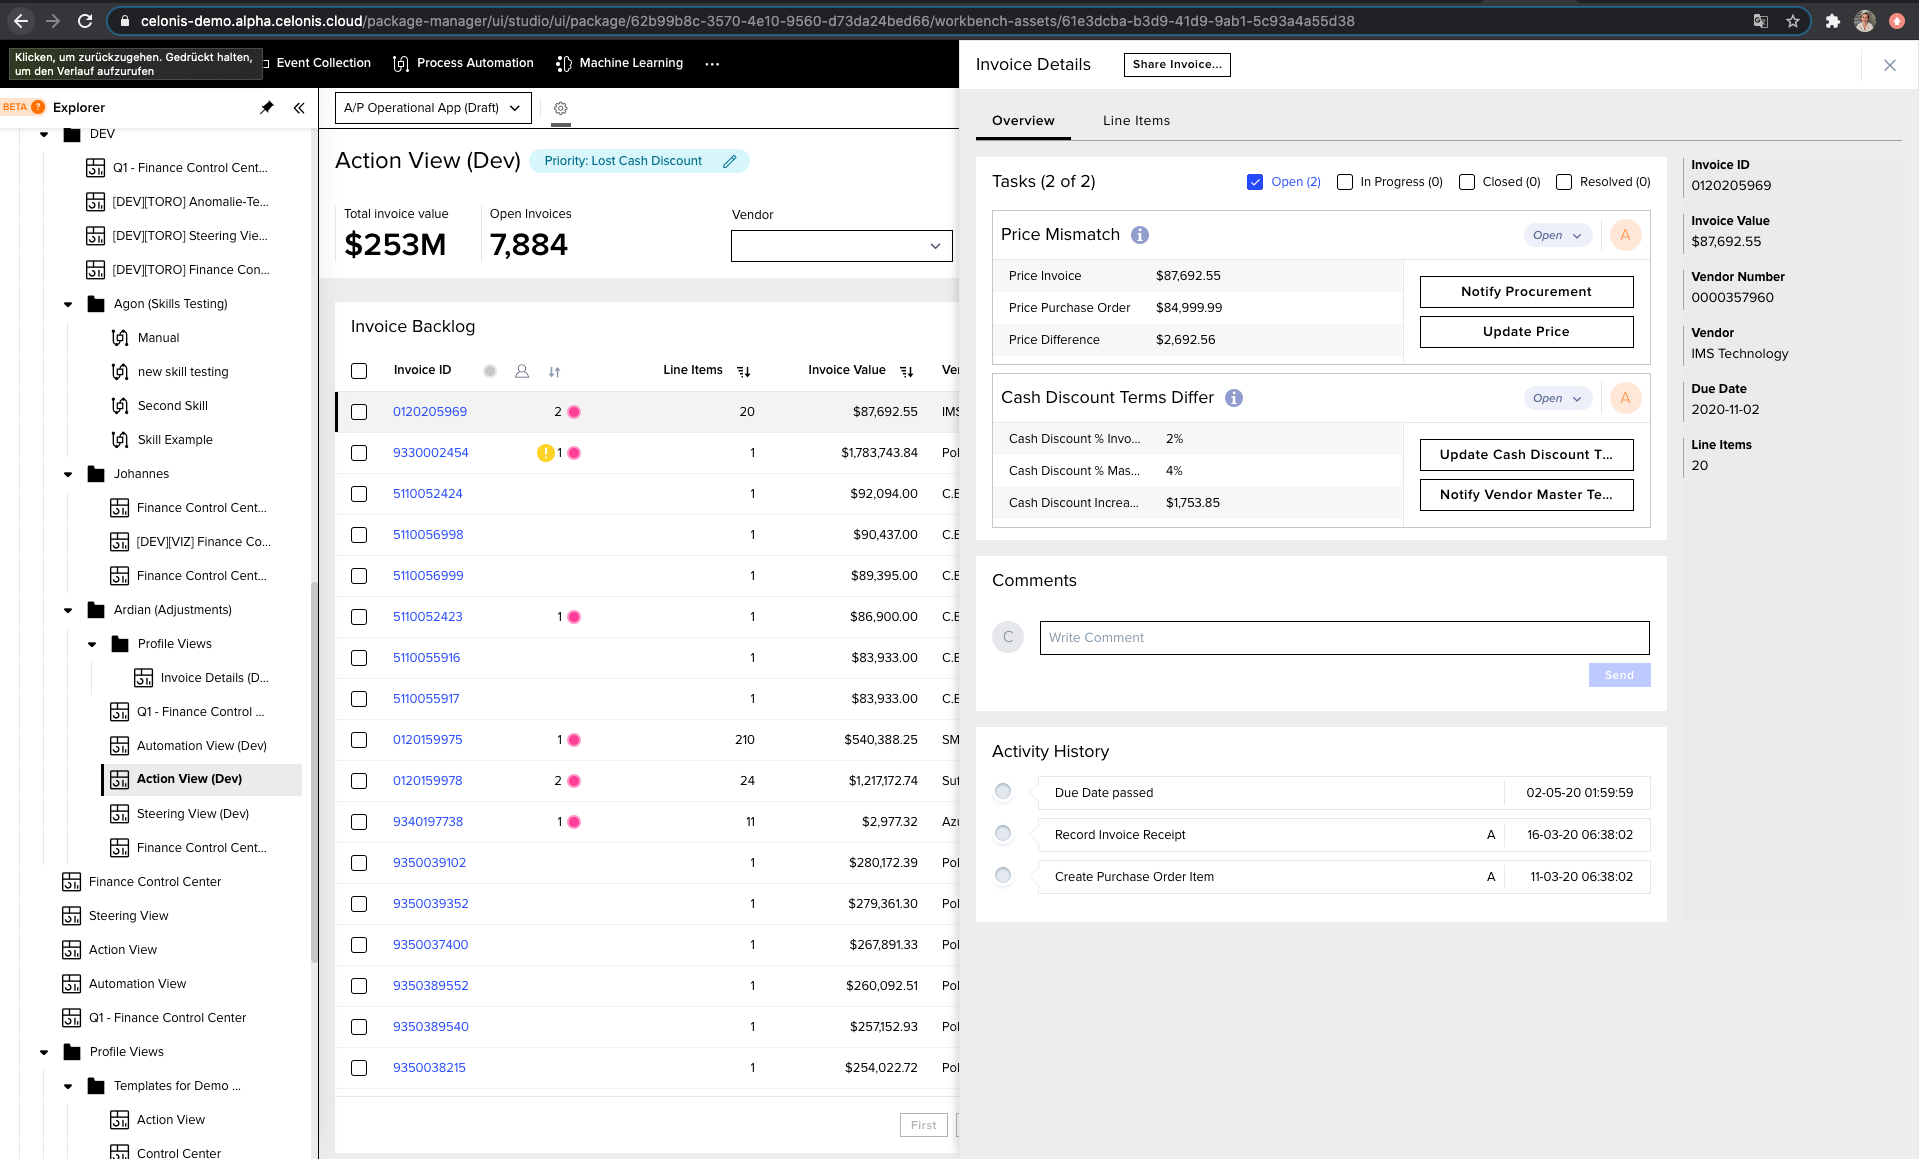 |
To reach this result, follow the steps:
1. Configuring the metadata of the profile view
Metadata configuration
metadata:
  profileView: true
  knowledgeObjectId: INVOICE
In the View you want to use as a Profile View, set "profileView: true" in its metadata and define for which Knowledge Model Object this View should be opened.
2. Building an input
Input configuration in Profile View YAML
inputs:
  - name: id
    defaultValue: #only needs to be used if you want to have a default when opening the view directly from navigation
    type: STRING
The input "id" will be automatically handed over depending on the identifier set on the Knowledge Model Object. It is vital to set this identifier for the link to work.
You can then reuse the id with ${id} in components like the comment component (as attribute "objectId") to save and get data specifically for the opened object.
3. Configuring the table that opens the Profile View
Table configuration
- id: clerk_invoice_table
  type: table
  settings:
    data:
      columns:
        - id: INVOICE.ACCOUNTING_DOC_NO
          link: true
If you now configure in components that support the opening of Profile Views (such as tables) "link: true", the correct Profile View will be displayed.
Important
You need to publish your package to activate your profile view!
Opening a View by Key
You can open a View by package key and view key entering the following URL:
General Format:
[team.realm].celonis.cloud/package-manager/ui/by-keys?packageKey=[your package key]&assetKey=[your view key]&view=true
Example:
celonis.eu-1.celonis.cloud/package-manager/ui/by-keys?packageKey=main-package&assetKey=AP_DEMO_FinanceControlCenter_V1_EXTENSION&view=true